
If you’ve ever found yourself craving warm, freshly baked bread—but with no yeast, no oven, and not a whole lot of time to spare—then you’re in the right place. This stovetop no-yeast bread is a game changer, especially for those of us who love the idea of homemade bread without all the fuss. Whether your kitchen is tiny, your oven is acting up, or you just want something easy and comforting, this recipe has your back.
I stumbled across this idea one summer afternoon when I didn’t feel like turning on the oven (hello, heat wave), and I didn’t have yeast on hand. The result? A gorgeously golden crust with a fluffy, tender inside—and not a packet of yeast or baking time in sight. It became an instant favorite and now it’s one of my go-tos whenever I need something quick and satisfying to serve alongside soup, grilled veggies, or just slathered with butter and jam.
Let’s dive into how to make this no-yeast stovetop bread at home—trust me, once you try it, you’ll be making it on repeat.
Why You’ll Love This No-Yeast Stovetop Bread
This isn’t just a bread hack—it’s genuinely delicious. The outside develops a satisfying crust while the inside stays soft and pillowy, all with just a few pantry staples. Here’s why this recipe has earned a permanent spot in my kitchen:
-
No Yeast Required: This bread rises beautifully with just baking powder, so there’s no need to proof or wait around.
-
No Oven Needed: Everything happens right on the stovetop, making it perfect for summer days or tiny kitchen setups.
-
Quick & Simple: From mixing to slicing, you’re done in under 30 minutes.
-
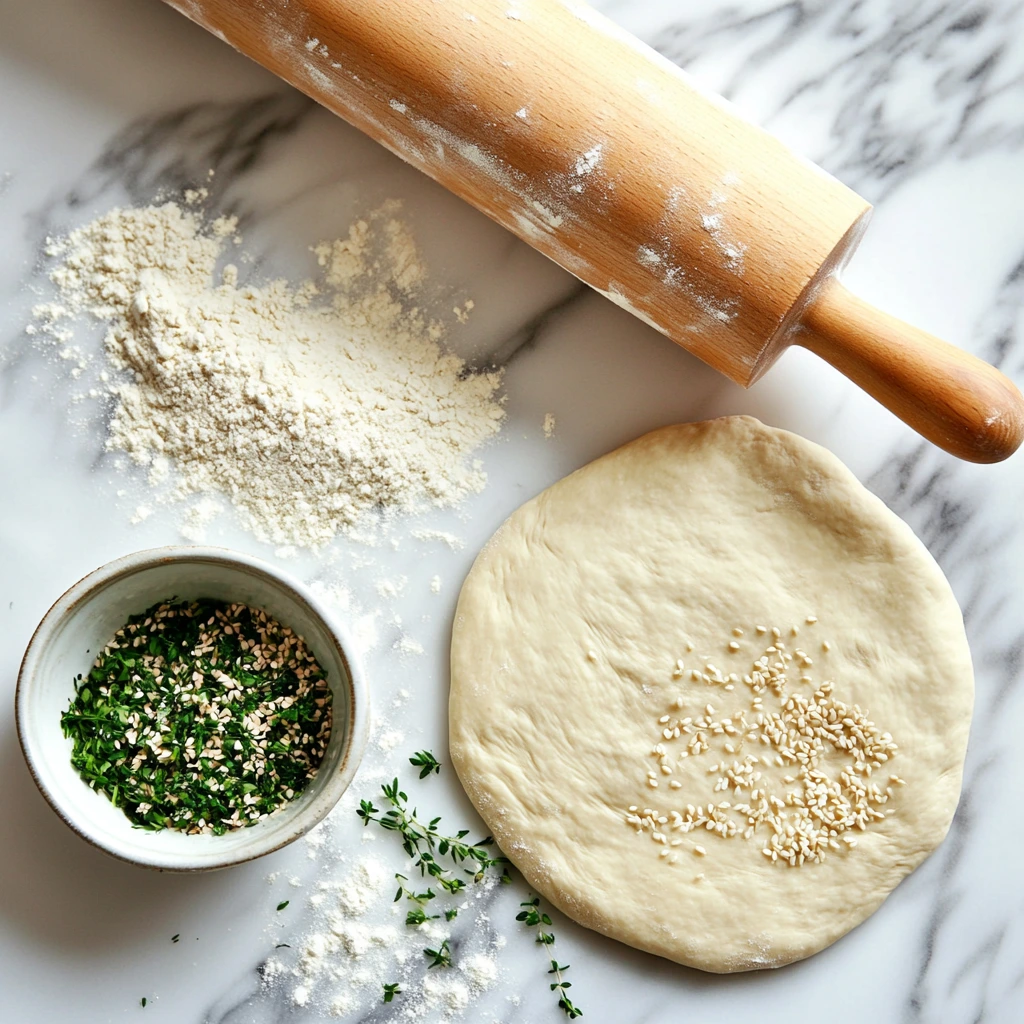
Versatile: Add herbs, cheese, or seeds to make it your own.
-
Pairs with Everything: It’s great with savory dishes, soups, salads, or even on its own with a bit of honey or butter.
Ingredients You’ll Need
This recipe makes one medium-sized loaf. Here’s what you’ll need to get started:
-
2 cups all-purpose flour (you can also use a gluten-free blend)
-
1 tablespoon baking powder
-
1/2 teaspoon salt
-
3/4 cup plain yogurt (full-fat works best)
Optional Mix-Ins:
You can mix and match to suit your taste:
-
1/4 cup chopped fresh herbs (like rosemary or thyme)
-
1/4 cup sesame seeds, poppy seeds, or everything bagel seasoning
-
1/2 cup shredded cheese (cheddar, Parmesan, or feta work great)
Step-by-Step Instructions
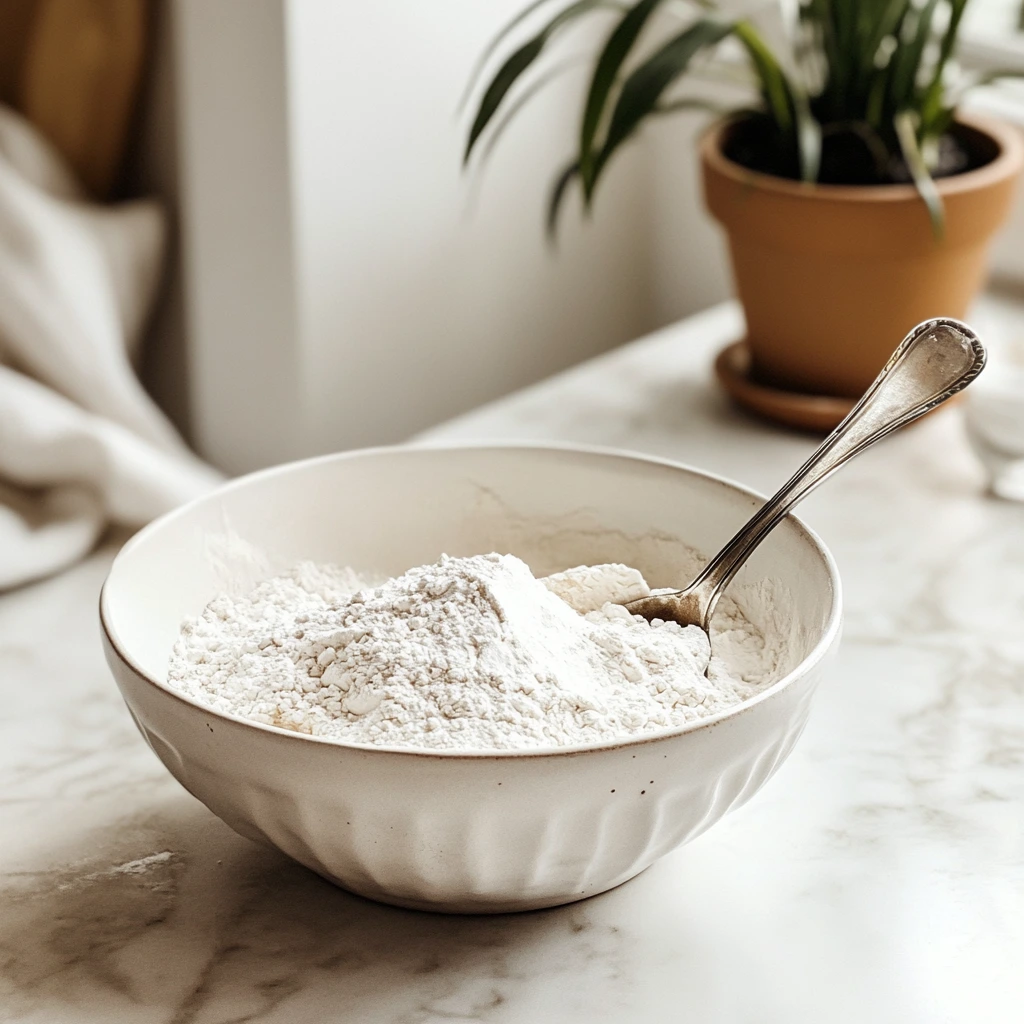
Step 1: Mix the Dough
In a large mixing bowl, combine your flour, baking powder, and salt. Stir them together so the baking powder is evenly distributed. Then, add in the yogurt and stir with a spatula or your hands until it starts to come together into a rough, shaggy dough.
If it feels a little too dry or crumbly, don’t worry—that’s common. Just add 1 to 2 tablespoons of milk (any kind you have on hand) and keep mixing until it becomes easier to work with. The dough should be tacky but not overly sticky.
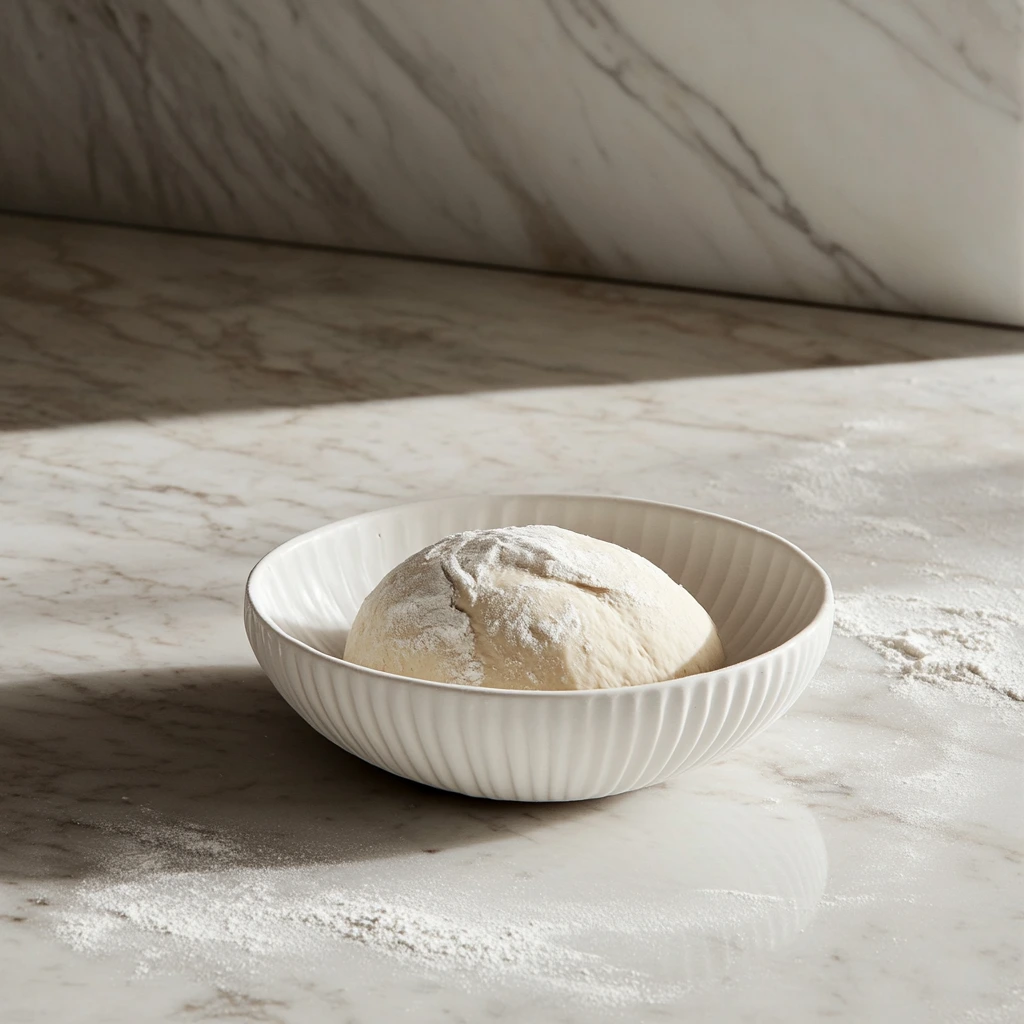
Step 2: Knead and Shape
Turn the dough out onto a lightly floured surface and knead it gently for 2 to 3 minutes. You’re not going for a perfectly smooth dough here—just enough to bring it all together. Be careful not to over-knead, or your bread may turn out tough instead of tender.
Once you’ve got a smooth, cohesive dough, shape it into a round loaf. If you’re feeling creative (or want smaller portions), you can divide it into individual rolls instead.
Stovetop No-Yeast Bread: Golden and Fluffy in Minutes
Now that your dough is prepped and shaped, it’s time for the part that always surprises people—you don’t need an oven to bake this bread. All you need is a good skillet or griddle, a lid, and a little patience while your bread transforms into a golden, crusty loaf right on the stovetop. If you’ve ever doubted whether bread could be made this way, you’re about to be pleasantly surprised.
The key to success here is using the right pan and maintaining medium heat. Too hot and you risk burning the outside before the inside is fully cooked. Too low and it might dry out. But don’t worry—I’ve got some easy tips to help you get it just right.
How to Cook Bread on the Stovetop
Let’s continue with the next step in the recipe and walk through the cooking process.
Step 3: Cook on the Stovetop
Grab your favorite heavy-bottomed skillet, griddle, or Dutch oven—anything that holds heat well and has a lid will work. Cast iron is my personal favorite because it gives that beautiful, even browning.
Start by preheating the skillet over medium heat. Lightly grease it with a bit of oil or butter—just enough to coat the surface without pooling. This not only prevents sticking but helps form that irresistible golden crust.
Gently place your shaped dough into the pan. If you’re working with smaller rolls, make sure to give them a little space to expand. Cover the pan with a lid to trap in heat and moisture. This is your secret weapon—it helps the bread rise without an oven.
Cook for 6 to 8 minutes on the first side. You’ll know it’s ready to flip when the bottom is golden brown and feels firm when you lift it gently with a spatula. Flip it carefully (use two spatulas for larger loaves if needed), then cover again and cook the other side for another 6 to 8 minutes, or until cooked through.
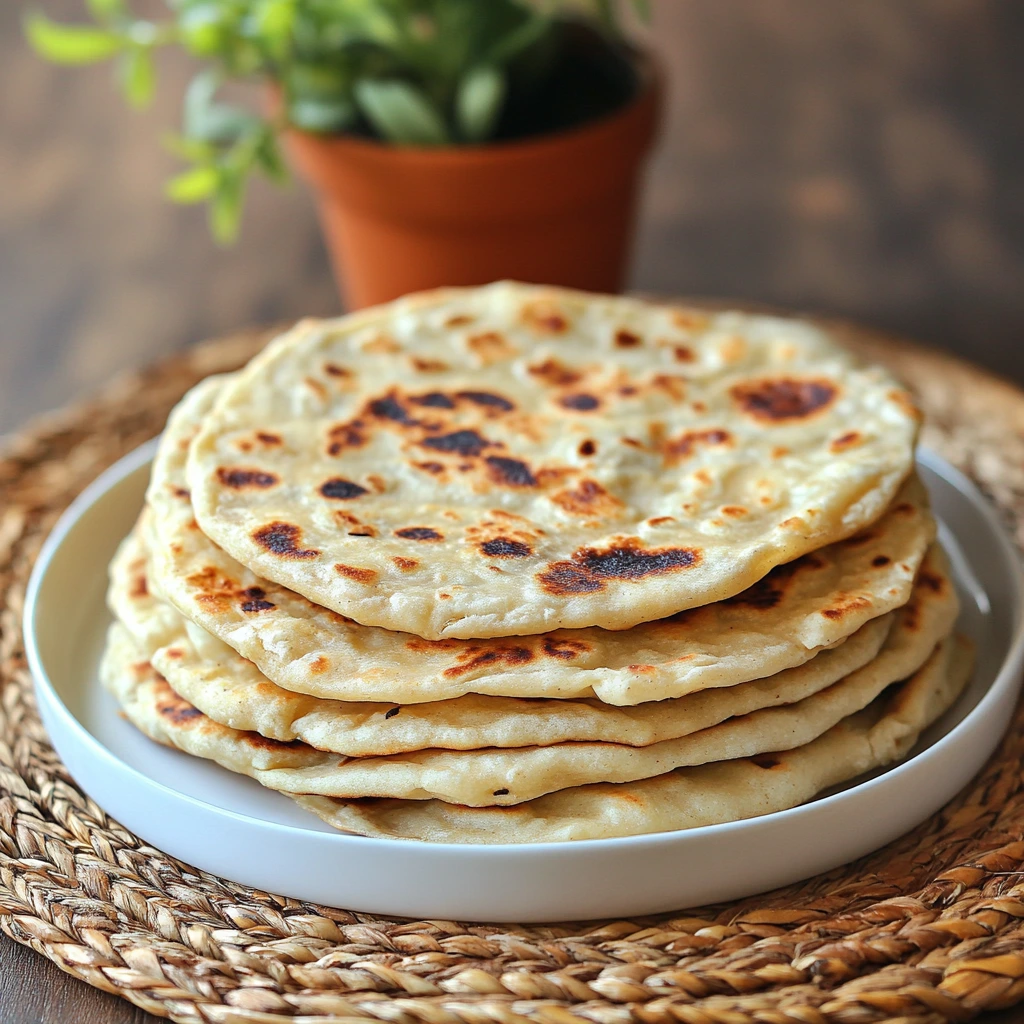
The bread is done when both sides are beautifully golden and it sounds hollow when tapped.
Step 4: Let It Rest and Serve
Once your bread is cooked, remove it from the pan and place it on a wire rack or cutting board. Let it cool slightly before slicing—this helps it set and makes it easier to cut.
This bread is best enjoyed warm, but it’s still delicious later in the day. I love serving it with butter and a drizzle of honey for breakfast, or with a bowl of soup or stew at dinner. It also makes a perfect base for open-faced sandwiches or rustic bruschetta.
Helpful Tips for Perfect Stovetop Bread
If this is your first time making stovetop bread, here are a few quick tips to set you up for success:
-
Use Full-Fat Yogurt: It gives the dough a richer flavor and better texture. If you only have low-fat, it’ll still work, but full-fat is worth it.
-
Don’t Skip the Lid: This traps the heat and simulates oven baking. Without it, your bread won’t rise as well.
-
Flip Carefully: Use a wide spatula or even two if needed. The dough will be soft, so gentle handling is key.
-
Add Mix-Ins Strategically: If you’re adding cheese or herbs, fold them into the dough during kneading. Avoid placing cheese on the outside as it may burn in the pan.
-
Keep the Heat Moderate: Too high and you’ll end up with burnt outsides and a raw center. Medium heat is the sweet spot.
Flavor Variations to Try
Once you’ve mastered the base recipe, the fun really begins. Here are a few of my favorite ways to change it up:
-
Cheesy Herb Loaf: Add 1/2 cup shredded cheddar and 1/4 cup chopped chives or parsley.
-
Garlic & Rosemary: Mix in finely minced garlic and fresh rosemary for a savory kick.
-
Everything Bagel Style: Sprinkle everything bagel seasoning on the surface of the dough before cooking.
-
Sweet Cinnamon Swirl: Mix a little sugar and cinnamon into the dough and brush with butter before serving.
This recipe is incredibly adaptable, so feel free to get creative with what you have on hand.
Stovetop No-Yeast Bread: Final Tips, FAQs & How to Store It
By now, your kitchen probably smells amazing and your stovetop bread is cooling to the perfect temperature. Whether you’re planning to serve it warm with a pat of butter or slice it up for a quick sandwich, one thing’s for sure—this recipe is a lifesaver when you’re short on time, ingredients, or just want something homemade without the wait.
Before we wrap up, let’s go over some common questions that pop up when people try this recipe for the first time. Then, I’ll share a few final thoughts on storage, reheating, and how you can keep this bread in your rotation for easy meals anytime.
Frequently Asked Questions
1. Can I use Greek yogurt instead of regular yogurt?
Yes! Just make sure to thin it out slightly with a splash of milk or water. Greek yogurt is thicker, so the dough might need a little more moisture to come together properly.
2. Can I make this bread gluten-free?
Absolutely. A gluten-free all-purpose flour blend will work well here. Just keep in mind that gluten-free doughs may be a little more delicate, so handle them gently and consider dividing into smaller flatbreads for easier flipping.
3. How do I know when the bread is fully cooked?
Check the color—both sides should be golden brown. It should also feel firm and sound hollow when tapped. If you’re unsure, cut a small slice from the center to check—if it looks doughy, cook it for a few more minutes with the lid on.
4. Can I make this ahead of time?
This bread is best fresh, but it holds up well for about 1 to 2 days. Wrap it tightly in foil or keep it in an airtight container. Reheat in a dry skillet over medium-low heat to bring back that lovely crust.
5. What’s the best pan to use for stovetop bread?
A heavy-bottomed skillet or cast-iron pan is ideal. It holds heat evenly and helps create that crispy, golden crust without burning. A nonstick pan will work too, but the crust might not be quite as crisp.
6. Can I freeze the cooked bread?
Yes, this bread freezes surprisingly well. Let it cool completely, then wrap it tightly in plastic wrap and place in a freezer-safe bag. Reheat from frozen in a skillet or toaster oven until warmed through.
7. What can I serve with stovetop bread?
This bread pairs wonderfully with soups, stews, salads, or dips like hummus or tzatziki. You can also use it for rustic sandwiches, or simply serve it warm with butter and honey for breakfast or a snack.
Final Thoughts & A Little Encouragement
If you’ve ever been intimidated by bread baking, this recipe is a fantastic starting point. It’s forgiving, fast, and totally adaptable to your pantry and taste preferences. No yeast? No oven? No problem. This bread proves that homemade doesn’t have to mean complicated.
The best part? Once you make it a few times, you’ll find ways to make it your own. Add a sprinkle of flaky salt on top, shape it into little flatbreads, or experiment with fillings like olives or caramelized onions tucked into the dough.
And don’t be shy—if you try this stovetop bread, leave a comment and let me know how it turned out. Did you add herbs? Cheese? Serve it with something special? I love hearing your variations and seeing how this simple bread fits into your kitchen routine.
PrintStovetop No-Yeast Bread

This no-yeast, no-oven stovetop bread is the perfect solution for quick, rustic baking. It’s fluffy inside with a crisp, golden crust—all without the hassle of yeast or baking in the oven. Whether you’re in a small kitchen, outdoors, or just short on time, this bread has your back.
- Author: Mark's Recipe
Ingredients
2 cups all-purpose flour (or a gluten-free blend)
1 tablespoon baking powder
1/2 teaspoon salt
3/4 cup plain yogurt (full-fat recommended)
Optional Mix-Ins:
1/4 cup chopped fresh herbs (like rosemary or thyme)
1/4 cup sesame seeds, poppy seeds, or everything bagel seasoning
1/2 cup shredded cheese (cheddar, Parmesan, or feta)
Instructions
Step 1: Mix the Dough
In a large mixing bowl, combine the flour, baking powder, and salt. Add the yogurt and stir with a spatula or your hands until a shaggy dough comes together. If the dough is too dry, add 1 to 2 tablespoons of milk.
Step 2: Knead and Shape
Transfer the dough to a lightly floured surface. Knead gently for 2 to 3 minutes, just until it becomes smooth and cohesive. Avoid over-kneading. Shape into a round loaf or divide into smaller rolls if preferred.
Step 3: Cook on the Stovetop
Heat a heavy-bottomed skillet, griddle, or Dutch oven over medium heat. Lightly grease the surface with oil or butter. Place the dough in the skillet and cover with a lid to trap the heat and encourage rising. Cook for 6 to 8 minutes on each side, flipping carefully once the bottom is golden and firm. Cover again and cook the other side until fully done.
Step 4: Serve
Remove from the skillet and let cool slightly before slicing. Serve warm with butter, jam, or your favorite toppings.
Notes
This bread is best enjoyed fresh but can be stored in an airtight container for up to 2 days. Reheat in a dry skillet or toaster for the best texture. Great for camping, quick snacks, or as a side to a hearty stew.


")
