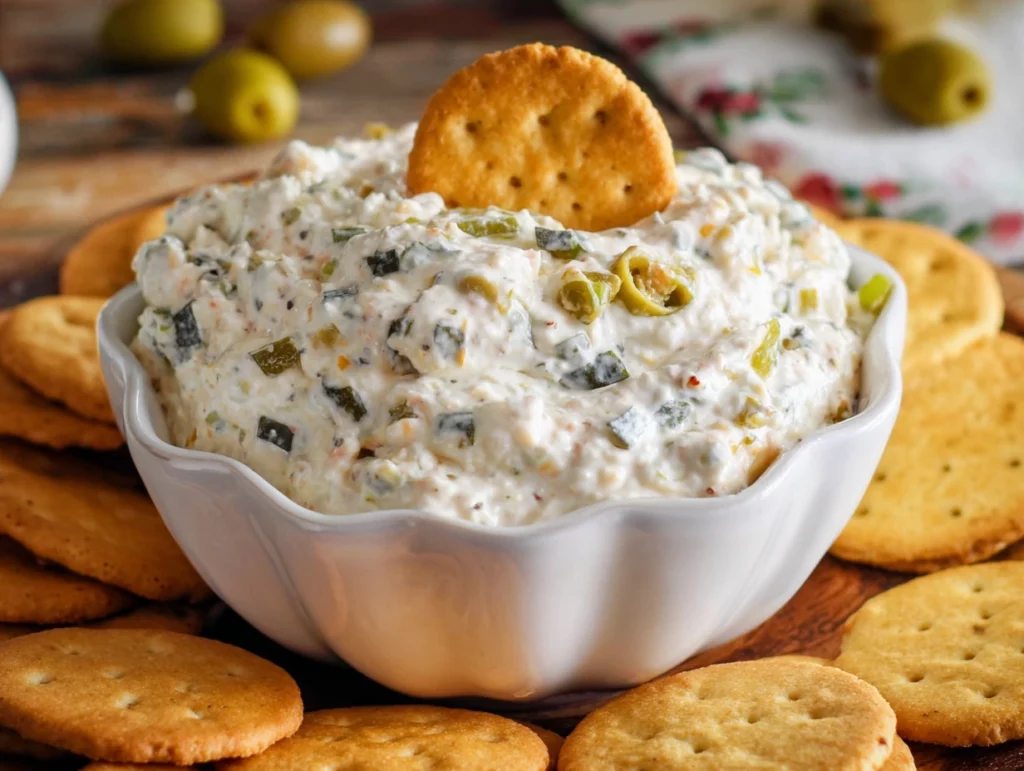
If you’re anything like me, you’re always on the hunt for a quick, flavor-packed appetizer that you can whip up with minimal effort—but still has everyone at the table asking for the recipe. Well, let me introduce you to a personal favorite: Olive Dip. It’s creamy, briny, garlicky, and honestly just a little bit addictive. This is one of those dips that doesn’t look fancy on the outside, but once people take a bite… it’s game over.
This is the kind of recipe I keep in my back pocket, especially during the holiday season or when we’re hosting game night. You can mix it up in under 10 minutes, let it chill for an hour, and have something that feels way more special than the time you put into it. Plus, it’s super versatile—you can use green olives, black olives, or a mix of both, depending on what you love (or what’s in your pantry!).
Let me walk you through how to make this creamy olive dip step by step—and don’t worry, it’s beginner-friendly and totally fuss-free.
Why You’ll Love This Olive Dip
This isn’t just a dip—it’s the kind of appetizer that bridges the gap between creamy comfort food and sharp, salty tang. The combo of cream cheese and mayo gives it that luscious base, while the olives bring a salty punch that wakes up your taste buds. It’s bold, satisfying, and just the right amount of savory.
Plus, it’s a make-ahead winner. Just stir everything together, pop it in the fridge, and you’re good to go. Whether you’re serving it with crackers, crunchy veggies, or even spreading it on sandwiches, this dip finds a way to shine in every setting.
Ingredients You’ll Need
Here’s what you need to bring this dip to life:
-
8 ounces cream cheese, softened
-
½ cup mayonnaise (or sour cream, if you prefer a little tang)
-
1 cup finely chopped green olives (you can use stuffed or pitted)
-
½ cup chopped black olives (optional, but adds great depth and color)
-
1 clove garlic, minced
-
2 tablespoons chopped green onions or chives
-
½ teaspoon onion powder
-
Salt and pepper, to taste
Optional Add-ins:
-
Hot sauce or chopped pickled jalapeños if you like it spicy.
-
A drizzle of olive brine if you want a more intense olive flavor.
-
Blend it in a food processor for a smoother, spreadable texture.
STEP 1: Soften and Mix the Cream Cheese Base
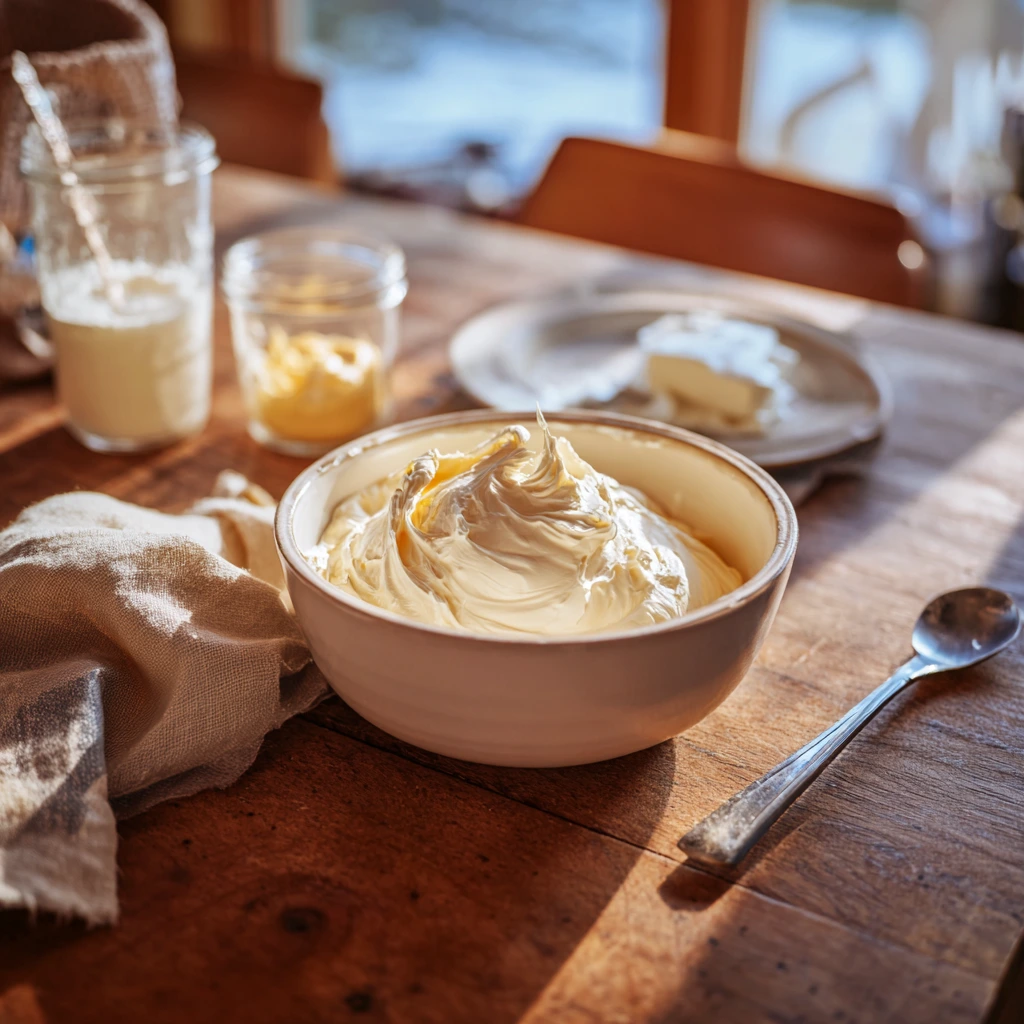
The first thing you want to do is make sure your cream cheese is softened. You can leave it at room temperature for about 30 minutes, or give it a quick zap in the microwave for 10–15 seconds. Once it’s soft, add it to a medium mixing bowl along with the mayo or sour cream. Using a hand mixer or just a sturdy spoon, beat it together until it’s smooth and creamy.
This base is the heart of the dip—it needs to be luscious and easy to stir, so don’t skip this step. If it’s too cold, the cream cheese can stay lumpy and make the dip harder to mix.
STEP 2: Stir in the Flavor Bombs
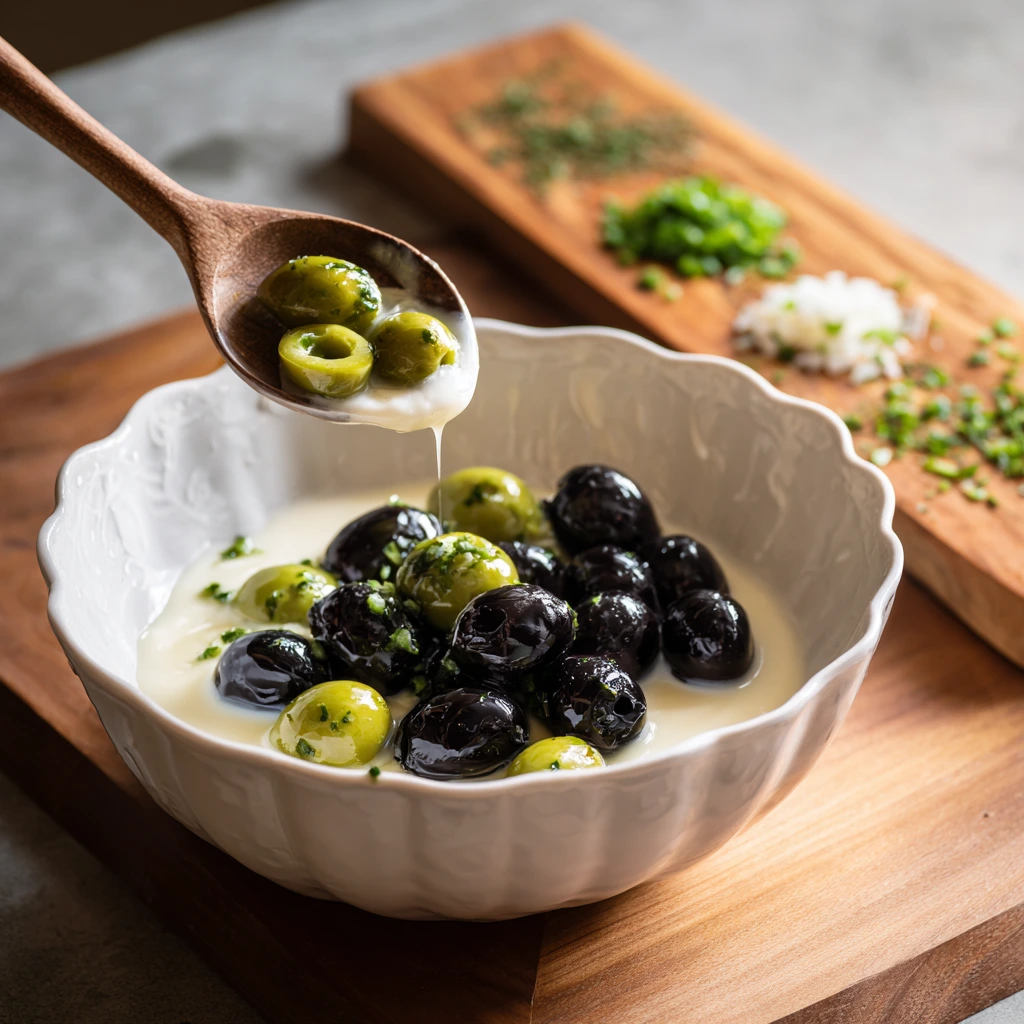
Once your base is smooth, it’s time to fold in the good stuff: chopped green and black olives, minced garlic, chopped green onions or chives, and that little sprinkle of onion powder. Stir it all together until everything is evenly combined.
This part is where the magic happens. The salty, briny olives contrast perfectly with the rich cream cheese, and that pop of fresh green onion brightens it all up. You can also taste and adjust at this point—add a little extra onion powder or a pinch of salt if needed, but remember, olives are already salty, so go easy.
Bold & Creamy Olive Dip: The Ultimate Party Starter
Welcome back! Now that we’ve got the creamy base prepped and the flavorful mix-ins stirred in, it’s time to move on to the next steps that really bring this dip together. While it might be tempting to dive in right away (and believe me, I’ve done it more than once), the real magic happens once everything has had time to chill.
This is one of those dips that actually tastes better the longer it sits—up to a point. The garlic mellows, the onion flavor deepens, and the olives soften slightly into the mix, making every bite more balanced and bold. Let’s get right back into it and finish up this simple but delicious appetizer.
STEP 3: Chill to Let the Flavors Meld
Once everything is stirred together and looking creamy and colorful, it’s time to give your dip a little nap in the fridge. Cover the bowl tightly with plastic wrap or transfer the dip to an airtight container, and let it chill for at least 1 hour.
That chill time is more than just a suggestion—it’s essential. It allows the garlic, onion, and olives to blend into the cream cheese base, creating a much more cohesive flavor. You’ll notice a real difference in taste and texture if you give it this short resting period. If you’re in a rush, you can serve it immediately, but you’ll be missing out on the depth that develops with just a little patience.
Pro tip: If you’re prepping this for a party, you can easily make it the night before and store it in the fridge overnight.
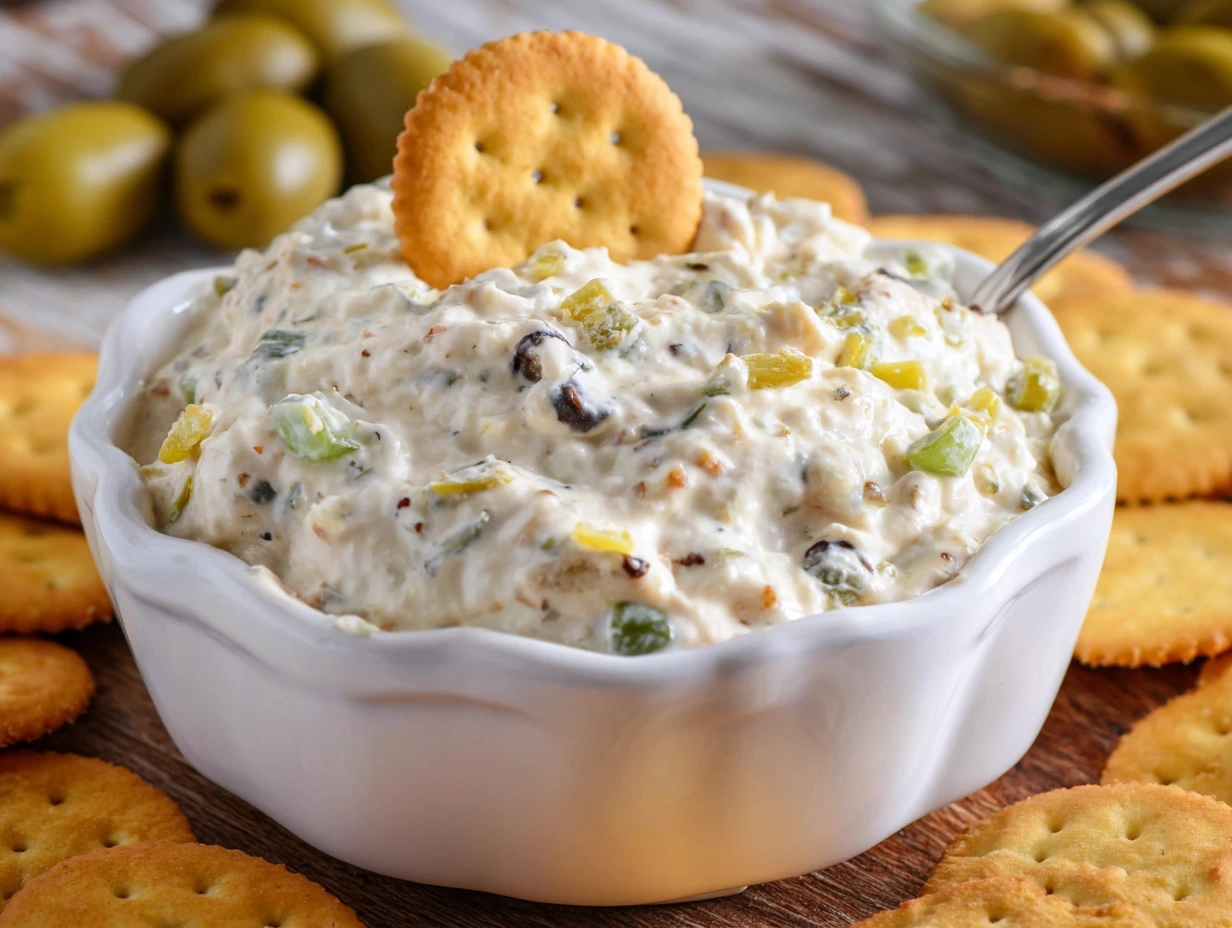
STEP 4: Serve and Style It Your Way
Once your dip is nicely chilled, give it a quick stir to make sure everything is still well combined. Then it’s time to serve! You can go rustic and spoon it into a small bowl with a side of crackers, or get fancy and dollop it into a shallow dish with a few chopped olives and herbs sprinkled on top.
Here are some fun ways to serve it:
-
Crackers or Pita Chips: A classic and crowd-pleasing combo. Pick a sturdy cracker that can hold up to the thickness.
-
Toasted Baguette Slices: Warm, crunchy bread pairs so well with the creamy dip.
-
Veggies: Cucumber rounds, bell pepper strips, carrot sticks—anything fresh and crisp works beautifully.
-
As a Spread: Use it as a sandwich spread or even spooned onto wraps for an extra flavor punch.
-
Stuffed Celery: Old school? Yes. But still so good—and a low-carb option!
Tips for Customizing Your Olive Dip
One of the reasons I keep this recipe on regular rotation is that it’s endlessly customizable. Here are a few of my go-to variations depending on the occasion (or what I have in the fridge):
-
Spicy Kick: Add a few dashes of your favorite hot sauce, or mix in chopped pickled jalapeños. It gives the creamy dip a nice zing without overpowering the other flavors.
-
Herb Upgrade: Swap the green onions for fresh dill or parsley for a different herbal profile.
-
Smooth It Out: Want a more spreadable texture for sandwiches or crostini? Toss everything into a food processor and blend until smooth. It becomes almost like a briny cream cheese spread—SO good on bagels, too.
-
Lower Calorie Option: Use light cream cheese and Greek yogurt instead of mayo or sour cream for a lighter version that still delivers big on flavor.
How to Store Leftovers
This dip holds up surprisingly well in the fridge. Simply transfer any leftovers into an airtight container and store it for up to 4 days. Just give it a stir before serving again, especially if any liquid separates slightly (which is totally normal).
I’ve even used leftover olive dip as a flavor-packed addition to mashed potatoes and as a quick topping for grilled chicken. It’s the kind of thing that never goes to waste in my house!
Bold & Creamy Olive Dip: The Ultimate Party Starter
We’ve mixed, chilled, and served this creamy olive dip, and now it’s time to wrap things up with a few helpful answers to some of the most frequently asked questions I get about this recipe. Whether it’s your first time making it or you’re just looking to tweak it for a new occasion, these quick tips should have you feeling totally confident in the kitchen.
FAQ: Your Olive Dip Questions, Answered
1. Can I use only green olives or only black olives?
Yes, absolutely. If you prefer one over the other, feel free to stick with just that kind. Green olives will give you a bolder, brinier flavor, while black olives are a bit milder and more earthy. A mix gives nice color contrast and flavor depth, but it’s totally up to your taste.
2. What’s the best way to chop the olives?
You can finely chop them by hand with a knife, which gives a nice rustic texture. If you’re short on time or prefer a smoother dip, a few quick pulses in a food processor does the trick. Just be careful not to over-process—you want small bits, not a paste.
3. Can I make this olive dip ahead of time?
Definitely! This is a perfect make-ahead recipe. In fact, making it a day in advance allows the flavors to really meld. Just store it in the fridge in an airtight container and give it a stir before serving.
4. Is there a dairy-free version of this dip?
Yes! You can use dairy-free cream cheese and a plant-based sour cream or mayo substitute. There are several good options on the market now that taste great and work just as well in this recipe.
5. How can I make this dip lower in calories?
Swap regular cream cheese with light cream cheese or Neufchâtel, and replace the mayo with Greek yogurt. It lightens the dip without sacrificing too much on creaminess or flavor.
6. Can I freeze this dip?
Technically, yes, but I don’t recommend it. Cream cheese-based dips tend to separate and become grainy after freezing and thawing. It’s best enjoyed fresh or within a few days of making it.
7. What are some fun serving ideas for parties?
Serve this dip in a hollowed-out bread bowl, or portion it into small cups with veggie sticks for individual servings. You can also use it as a filling for mini tart shells or cucumber cups for a fancier presentation.
Final Thoughts: Why This Dip Belongs at Every Party
This olive dip has become a staple in my recipe rotation for a reason—it’s effortless, incredibly flavorful, and always disappears fast. Whether I’m putting together a last-minute snack board for friends or prepping for a bigger gathering, this dip fits right in. It’s got that perfect mix of creamy, salty, and savory, and it plays so well with just about every cracker or veggie you throw at it.
What I love most is how easy it is to make your own. You can customize it to fit your taste, make it spicy or herby, chunky or smooth. No matter how you tweak it, it always delivers.
PrintOlive Dip
Olive Dip is a creamy, savory spread that brings together the briny flavor of olives with rich cream cheese and a hint of garlic. It’s quick to make, perfect for parties, and pairs wonderfully with crackers, veggies, or toasted bread. Whether you use green olives, black olives, or a mix, this dip is a bold and addictive appetizer.
- Author: Mark's Recipe
Ingredients
8 ounces cream cheese, softened
½ cup mayonnaise or sour cream
1 cup finely chopped green olives (stuffed or pitted)
½ cup chopped black olives (optional for color and depth)
1 clove garlic, minced
2 tablespoons chopped green onions or chives
½ teaspoon onion powder
Salt and pepper to taste
Instructions
In a medium bowl, beat the softened cream cheese with mayonnaise or sour cream until smooth and creamy.
Fold in the chopped olives, garlic, green onions, and onion powder. Stir until evenly combined.
Taste and adjust seasoning with salt and pepper if needed.
Cover and refrigerate for at least 1 hour to allow flavors to meld.
Serve chilled with crackers, pita chips, toasted baguette slices, or fresh vegetables.
Notes
For a spicier version, add a dash of hot sauce or chopped pickled jalapeños. This dip can also be blended in a food processor for a smoother texture. It’s great as a sandwich spread or dolloped on top of baked potatoes. Store leftovers in the fridge for up to 4 days.