There’s something magical about the crispy edges of a brownie, isn’t there? You know the kind—that chewy, slightly caramelized border that’s usually only found in the corners of a traditional brownie pan. But what if you could get that chewy edge in every single bite? That’s exactly what these Muffin Pan Brownies deliver. Baked in a muffin tin, these rich, fudgy brownies are portion-perfect, incredibly easy to serve, and dangerously delicious.
I first stumbled upon this idea when I needed a dessert that would be easy to portion for a birthday party. I didn’t want to deal with slicing a messy tray of brownies, so I thought, “Why not bake them in a muffin tin?” Turns out, it was a total game-changer! Each brownie came out with perfectly chewy edges and a gooey center, just the way I like them. And clean-up? Way easier.
So whether you’re prepping for a bake sale, packing lunchbox treats, or just need a quick, no-fuss dessert for a weeknight, these muffin pan brownies are a must-try. They’re everything you love about classic brownies—rich, chocolatey, indulgent—but with a crisp twist.
Let’s get baking!
Ingredients You’ll Need
-
½ cup unsalted butter, melted
-
1 cup granulated sugar
-
2 large eggs
-
1 teaspoon vanilla extract
-
⅓ cup unsweetened cocoa powder
-
½ cup all-purpose flour
-
¼ teaspoon salt
-
¼ teaspoon baking powder
-
½ cup chocolate chips or chunks
Simple pantry staples—that’s one of the best parts of this recipe. No fancy ingredients required, and you probably have most of these on hand already.
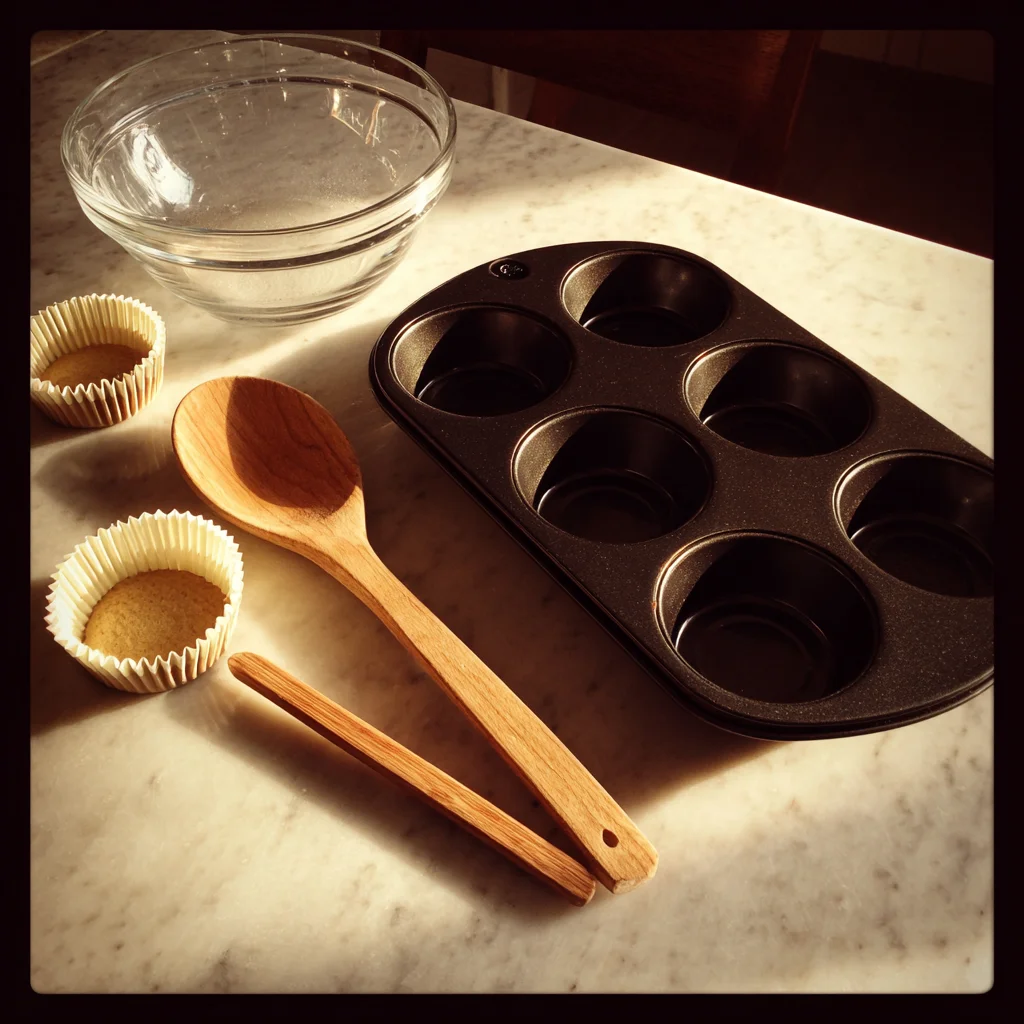
STEP 1: Prep Your Muffin Tin
Before you do anything else, preheat your oven to 350°F. Then, lightly grease a standard muffin pan with non-stick spray or use paper liners if you want an even easier cleanup. Either method works just fine, but I love using liners when I’m taking these to a party or packing them up for lunches. It keeps things neat!
STEP 2: Mix the Wet Ingredients
Grab a large mixing bowl and combine your melted butter and sugar, whisking until smooth and shiny. This step helps dissolve the sugar a bit and gives you that classic crackly top everyone loves in a brownie.
Next, add in your eggs and vanilla extract. Whisk again until fully incorporated and smooth. It should be thick and glossy by this point—looking good already!
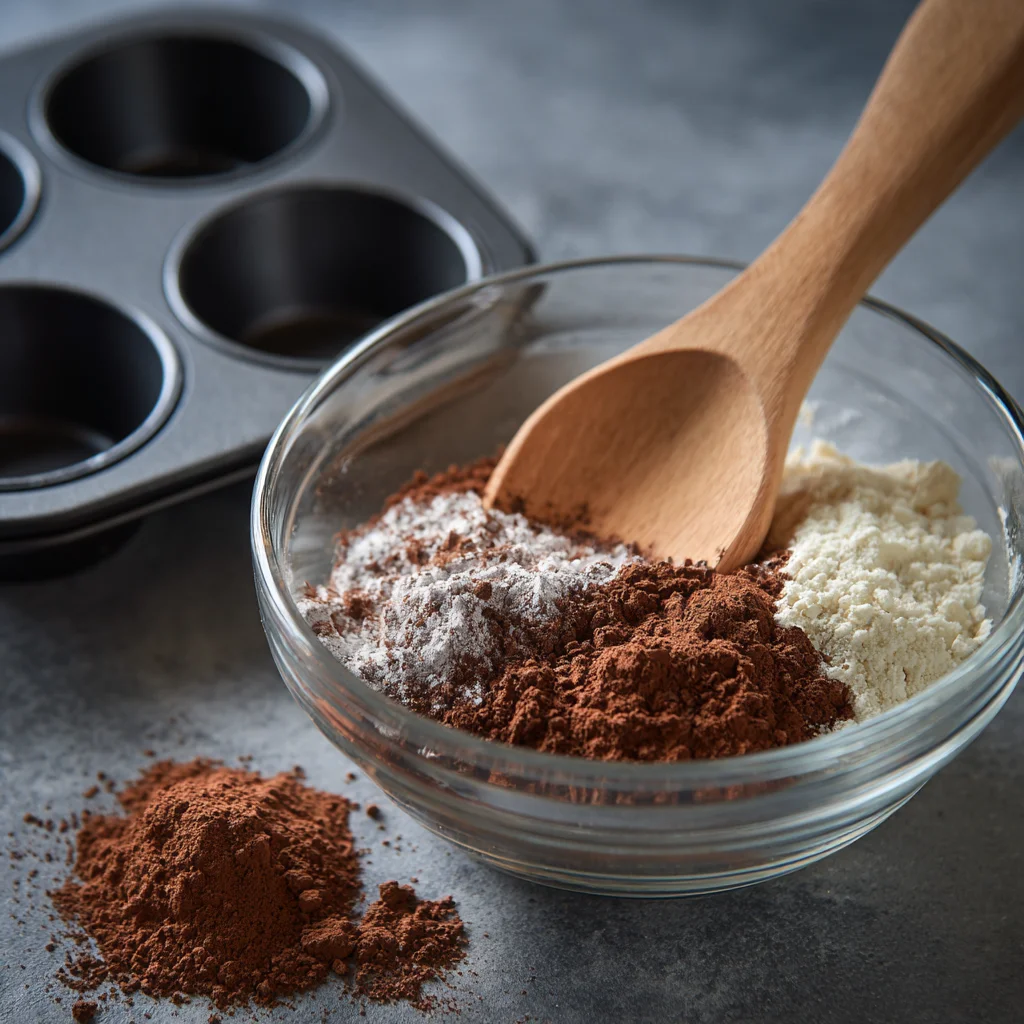
STEP 3: Add the Dry Ingredients
Now it’s time to build that chocolatey base. Sift in your unsweetened cocoa powder, flour, salt, and baking powder right into the wet mixture. I like to use a fine-mesh strainer to keep everything lump-free. Gently stir it all together using a spatula or wooden spoon—just until it’s combined.
Tip: Don’t overmix here! Overmixing can make your brownies tough instead of tender and fudgy. You want to stop mixing as soon as the flour disappears.
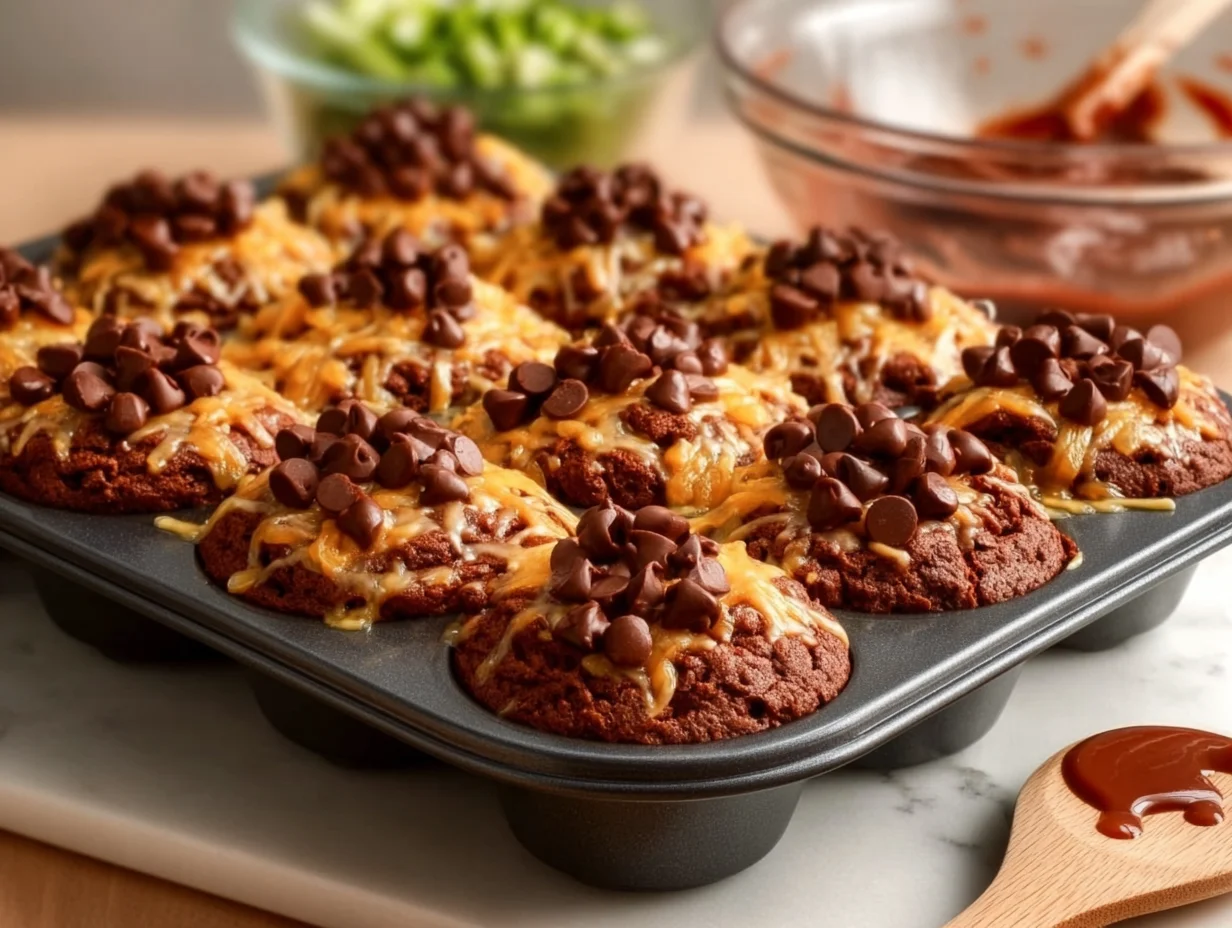
![]()
STEP 4: Fold in the Chocolate
Here’s where things get even better: stir in your chocolate chips or chunks. I usually go with semi-sweet chunks because I love those pockets of melted chocolate in every bite. But feel free to use milk chocolate, dark chocolate, or even a combo if you’re feeling wild.
And that’s it! Your batter is ready to go.
STEP 5: Fill the Muffin Tin
Using a spoon or cookie scoop, divide the batter evenly between the muffin cups. You’ll want to fill each one about two-thirds full to give them room to rise while baking.
Pro Tip: If you’re using a dark muffin pan, you might want to check the brownies a minute or two earlier to prevent overbaking. Dark pans tend to heat up a little faster.
Muffin Pan Brownies: Easy Fudgy Brownie Bites with Chewy Edges in Every Bite
Now that you’ve got your brownie batter scooped into your muffin tin, the real magic begins. This is the part where your kitchen starts to smell amazing, the chocolate gets gooey, and those iconic chewy edges begin to form. If you’re someone who always grabs the corner piece of a brownie tray, you’re in for a treat—because every single one of these has that perfect edge.
Let’s move on to the final steps of the recipe and chat about a few ways to personalize these brownie bites to make them totally your own.
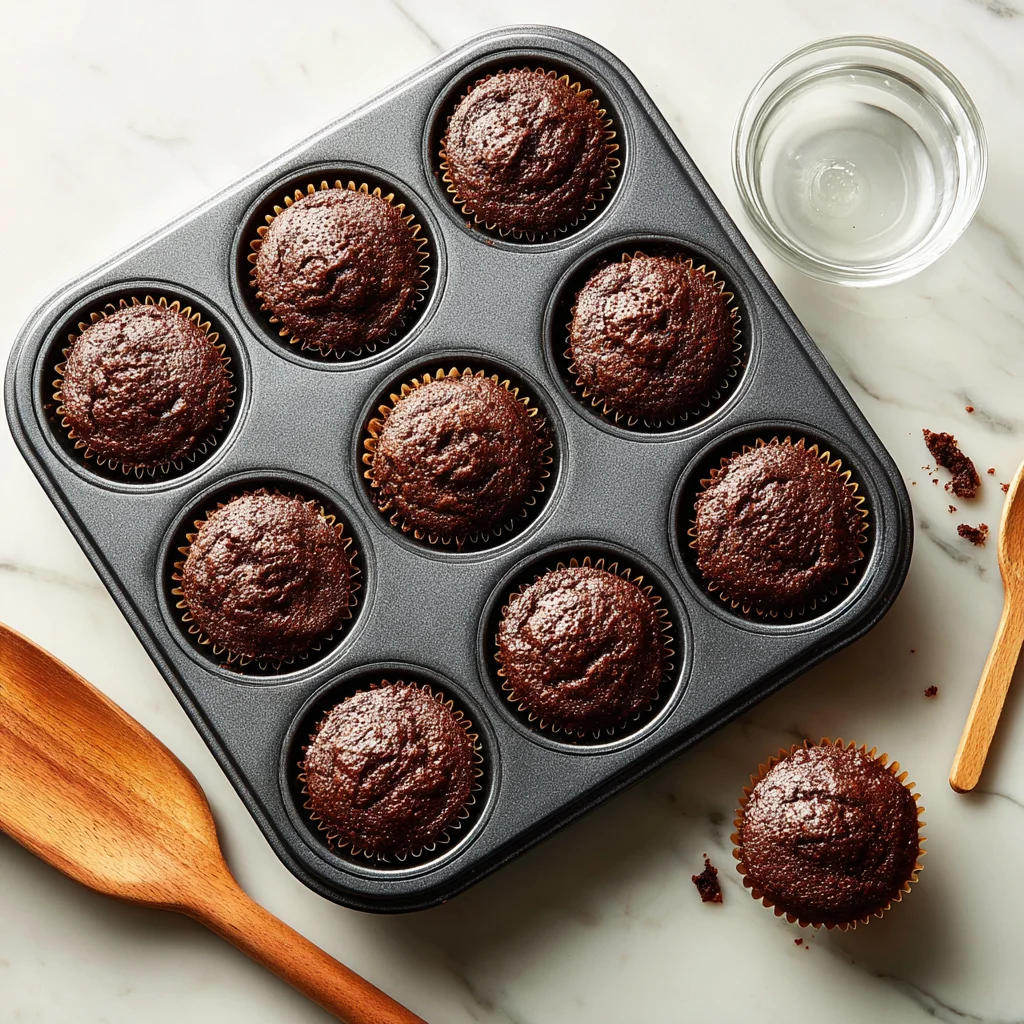
STEP 6: Bake the Brownies
Once your oven is preheated to 350°F and your muffin cups are filled about two-thirds of the way, slide the pan into the oven and bake for 15 to 18 minutes.
Every oven is a little different, so I always start checking around the 15-minute mark. You’re looking for the tops to look set and slightly cracked. To test for doneness, insert a toothpick into the center of one brownie—if it comes out with a few moist crumbs (not wet batter), they’re ready.
If you want a slightly gooier center (which I totally recommend), aim for the lower end of the time range. The edges will still be crisp and chewy, while the center stays soft and fudgy.
STEP 7: Cool Before Removing
Once they’re out of the oven, let the brownies cool in the muffin pan for about 10 minutes. This helps them set up a bit so they don’t fall apart when you remove them.
After 10 minutes, gently run a butter knife around the edges (if you didn’t use liners) and pop them out onto a cooling rack. They’ll continue to firm up slightly as they cool, but they’re absolutely delicious warm, too.
Customizations & Add-Ins
One of the things I love about this muffin pan brownie recipe is how flexible it is. Once you’ve got the base recipe down, there are so many ways to mix things up depending on what you’re craving or what’s in your pantry.
Here are a few easy ideas to try:
-
Nutty Crunch: Fold in ½ cup chopped walnuts, pecans, or almonds along with the chocolate chips for a crunchy texture and nutty flavor.
-
Peanut Butter Swirl: Drop small spoonfuls of peanut butter on top of each muffin cup before baking and swirl with a toothpick for a rich, salty-sweet twist.
-
Caramel Drizzle: Add a few caramel baking bits to the batter or drizzle caramel sauce over the finished brownies.
-
Espresso Kick: Stir ½ teaspoon of instant espresso powder into the batter for a deeper, more intense chocolate flavor (it won’t taste like coffee—just more chocolatey).
-
Holiday Remix: Mix in crushed candy canes during the holidays or sprinkle the tops with festive sprinkles before baking.
Storage Tips & Make-Ahead Advice
If you don’t eat them all in one sitting (which is honestly a challenge), here’s how to store them:
-
Room Temperature: Store your muffin pan brownies in an airtight container for up to 4 days. Keep a piece of parchment or wax paper between layers to prevent sticking.
-
Freezing: These freeze beautifully. Just wrap each brownie in plastic wrap and place them in a freezer-safe zip bag. They’ll stay fresh for up to 2 months.
-
Reheating: Pop one in the microwave for about 10–15 seconds to bring back that warm, just-baked taste and texture.
Why This Recipe Works So Well
The real genius behind muffin pan brownies is the way the pan helps you strike the perfect balance between texture and flavor. Traditional brownie recipes usually leave you choosing between the edge piece and the soft middle. But with this version, every single brownie has the best of both worlds.
Plus, you don’t have to worry about cutting perfect squares or messy edges. These little brownie bites are individually portioned, which makes them great for bake sales, potlucks, kids’ lunchboxes, and even freezing for later cravings. They also bake faster than a big tray of brownies, which is ideal for busy nights or last-minute dessert needs.
Muffin Pan Brownies: Easy Fudgy Brownie Bites with Chewy Edges in Every Bite
By now, your muffin pan brownies should be baked, cooled (or still warm if you couldn’t resist), and hopefully enjoyed! These bite-sized treats are such a fun and simple twist on a classic dessert, and I love how they check all the boxes—crispy edges, gooey centers, easy to serve, and freezer-friendly too.
Before we wrap things up, let’s tackle some of the most common questions you might have about making brownie bites in a muffin tin. Whether it’s your first time baking them or you’re looking to tweak the recipe for next time, these quick tips should help.
Frequently Asked Questions
1. Can I use boxed brownie mix instead of making them from scratch?
Yes, absolutely! If you’re short on time, boxed brownie mix works great in a muffin pan. Just follow the box instructions for ingredients, but use this method: scoop the batter into greased or lined muffin cups and bake at 350°F for 15–18 minutes. Keep an eye on them to avoid overbaking.
2. Why did my brownie bites sink in the middle?
This can happen if they’re slightly underbaked or if there’s too much air beaten into the batter. Try baking a minute or two longer next time and be gentle when mixing to avoid incorporating too much air.
3. How do I keep brownie bites from sticking to the muffin pan?
The best way is to either grease the muffin tin generously with nonstick spray or use paper liners. If you’re not using liners, let them cool for at least 10 minutes and run a knife around the edges to loosen before removing.
4. Can I make these gluten-free?
Yes! You can swap the all-purpose flour for a 1:1 gluten-free baking flour blend. Just make sure the blend includes xanthan gum for best results. The texture may be slightly different, but still delicious.
5. How do I know when they’re done baking?
The tops should look set and a little cracked. A toothpick inserted in the center should come out with a few moist crumbs, not wet batter. If it’s totally clean, they’re probably a little overbaked (but still tasty).
6. Can I double the recipe?
Definitely. If you’re using two standard muffin pans, just double all the ingredients. You can also bake in batches if you only have one pan—just keep the second batch of batter at room temperature while the first one bakes.
7. What’s the best way to reheat them?
A quick 10–15 seconds in the microwave will bring back that warm, fudgy texture. If they’re frozen, thaw them first or microwave for about 30 seconds.
Final Thoughts: Share the Brownie Love
Whether you’re baking for a party, packing a sweet surprise into lunchboxes, or just treating yourself after a long day, these muffin pan brownies are a go-to dessert that never fails. I love how easy they are to customize, how quick they bake, and—of course—how each one has that irresistible edge.
If you give this recipe a try, I’d love to hear how they turn out for you! Did you add peanut butter? Try them with nuts? Maybe you found your own twist? Share your tips and variations in the comments—I always love seeing what others come up with.
PrintMuffin Pan Brownies

Muffin pan brownies are the perfect solution for brownie lovers who crave those chewy, crisp edges in every bite. Baked individually in a muffin tin, these rich, fudgy brownies are portion-controlled, easy to serve, and ideal for parties, lunchboxes, or quick desserts. The centers stay gooey while the edges turn perfectly chewy.
- Author: Mark's Recipe
Ingredients
½ cup unsalted butter, melted
1 cup granulated sugar
2 large eggs
1 teaspoon vanilla extract
⅓ cup unsweetened cocoa powder
½ cup all-purpose flour
¼ teaspoon salt
¼ teaspoon baking powder
½ cup chocolate chips or chunks
Instructions
Preheat the oven to 350°F and lightly grease a standard muffin pan or line with paper liners.
In a large bowl, whisk together the melted butter and sugar until smooth. Add the eggs and vanilla extract, whisking until fully combined.
Sift in the cocoa powder, flour, salt, and baking powder. Stir with a spatula until just combined. Do not overmix. Fold in the chocolate chips or chunks.
Spoon the batter evenly into the muffin cups, filling each about two-thirds full.
Bake for 15 to 18 minutes or until the tops are set and a toothpick inserted in the center comes out with a few moist crumbs.
Allow the brownies to cool in the pan for about 10 minutes before carefully removing them. Serve warm or at room temperature.
Notes
These brownie bites can be customized with nuts, peanut butter swirls, or caramel chips for added flavor. Be sure not to overbake if you want fudgy centers. Store in an airtight container for up to four days or freeze for longer storage. Reheat briefly in the microwave for that just-baked texture.
")
