
There’s just something magical about homemade candy, isn’t there? It brings out the kid in all of us—and when it comes to colorful, swirly treats like these Lollipop Twist candies, I can promise you they’re just as fun to make as they are to eat. These vibrant lollipops are perfect for birthday parties, holiday favors, or a rainy-day kitchen project with the kids. Plus, they’re totally customizable—think endless combinations of flavors and colors, all swirled into shiny little circles of sugary joy.
I remember the first time I made these—my kitchen smelled like a candy shop, and I was instantly hooked. Once I got the hang of swirling in the colors (more on that below), it became my go-to for party favors and little sweet gifts. And don’t worry—it’s easier than you might think. With just a few ingredients and a little patience, you’ll be making your own gorgeous, glossy lollipops from scratch.
Let’s get started with the basics.
Ingredients You’ll Need
-
2 cups granulated sugar
-
1/2 cup light corn syrup
-
1/2 cup water
-
1/4 teaspoon cream of tartar (optional – helps with smoother texture)
-
1/2 teaspoon flavor extract (vanilla, peppermint, lemon, etc.)
-
Food coloring of your choice (liquid or gel-based works best)
-
Lollipop sticks
-
Parchment paper or a silicone baking mat
STEP 1: PREP YOUR WORKSPACE
This part’s quick but important—having your area ready will make the rest go so much smoother. Start by lining a baking sheet with either parchment paper or a silicone mat. This creates a nonstick surface for the candy and makes cleanup a breeze.
Lay out your lollipop sticks on the sheet, spacing them out so each candy has room to spread. You don’t want your lollipops merging into each other! If you’re working with kids, now’s a good time to show them how spacing works—and maybe even have them help lay out the sticks.
STEP 2: COOK THE CANDY BASE
Here comes the science-y part—but don’t worry, it’s simple. In a medium-sized saucepan, mix the sugar, corn syrup, water, and cream of tartar (if you’re using it). Turn the heat to medium-high and stir gently just until the sugar dissolves. You’ll see it go from cloudy to clear, and that’s your cue to stop stirring.
Once dissolved, let the mixture boil without touching it. No stirring here—seriously, hands off. Stirring at this stage can cause crystallization, and that’s a one-way ticket to grainy candy. Use a candy thermometer and let it boil until it reaches 300°F (149°C), known as the hard crack stage. This takes about 10 minutes depending on your stove, so just watch that thermometer closely.
Pro tip: Have your flavor extract and food coloring ready before the syrup hits temperature. Once it does, you’ll need to move fast.
STEP 3: ADD FLAVOR AND COLOR
As soon as the syrup reaches 300°F, remove the pan from the heat. Be extra careful here—this sugar syrup is incredibly hot and sticky.
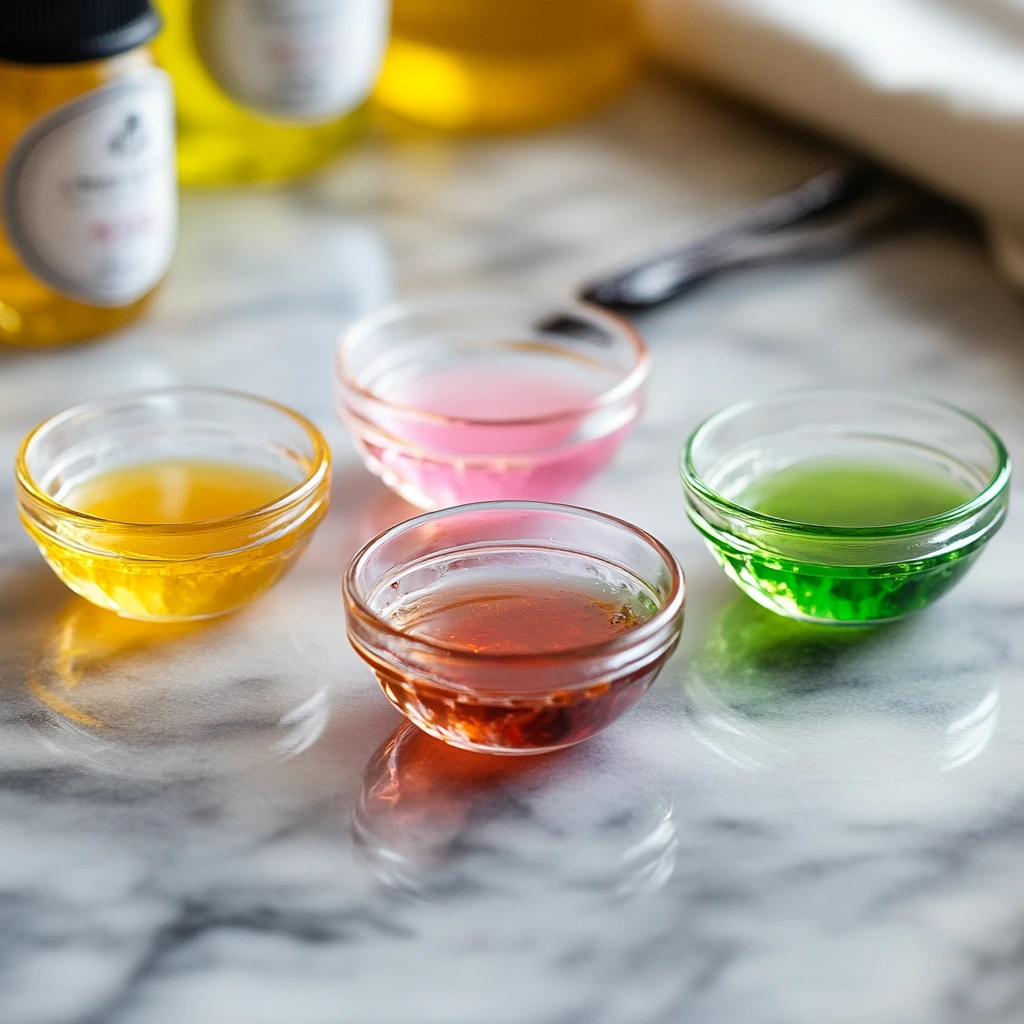
Stir in your chosen flavor extract and a few drops of food coloring. Want to get creative? Divide the syrup into a few bowls and add different colors to each. Just remember—it starts to harden quickly, so move with purpose!
If you’ve never worked with hot sugar before, this is a great place to pause and gather everything ahead of time. Timing really matters here.
How to Shape, Swirl, and Perfect Your Lollipop Twist Candies
Now that your candy base is flavored and colored, it’s time for the fun part—actually making the lollipops! This is where your creativity gets to shine. Whether you’re going for bold red and white peppermint spirals or pastel rainbow swirls, the method stays the same—and the results are always impressive.
Honestly, swirling the colors together is one of my favorite parts. It feels a bit like edible art, and even if things don’t turn out “Pinterest perfect,” they still taste amazing. So let’s roll up those sleeves and make some candy magic happen.
STEP 4: SHAPE AND SWIRL YOUR LOLLIPOPS
Once your candy mixture is colored and flavored, start spooning or gently pouring small circles of the hot syrup onto your prepared baking sheet. Aim for about 2-inch wide rounds directly over the top of each lollipop stick. You don’t need a mold—gravity and the natural spread of the syrup will do the work for you.
Want a swirl effect? Here’s the trick:
If you’re using more than one color, drizzle a little of your second color right on top of the first one. Then take a toothpick and gently drag it through the candy in a circular motion to create that marbled twist. You’ll need to work quickly—the mixture will begin to set in under a minute once it hits the parchment.
A few tips I’ve learned the hard way:
-
Don’t over-swirl. Two or three quick swipes is usually enough. Overdoing it can cause the colors to blend too much and turn muddy.
-
Keep your bowls warm. If your syrup starts to harden before you’re done, set the bowl over a pan of hot water to gently loosen it again.
-
Be cautious. Hot sugar is no joke—keep kids at a safe distance during this step unless they’re just watching.
STEP 5: COOL AND WRAP
Once your lollipops are shaped and swirled, let them sit undisturbed at room temperature. In about 30 minutes, they’ll be completely hardened and ready to peel off the parchment or silicone mat.
After they’ve cooled, you can wrap them individually in clear cellophane or small treat bags. Secure each one with a twist tie or a colorful ribbon if you’re gifting them. I like to keep a batch ready for impromptu gifts—they look like something you’d find in a fancy candy store, and people are always impressed when they find out they’re homemade.
Bonus Tips for Perfect Homemade Lollipops
-
Avoid humidity. Sugar candies are sensitive to moisture. If it’s a particularly humid day, your lollipops might end up a little sticky. Try to make them on a dry day if possible.
-
Storage matters. Once wrapped, store the lollipops in an airtight container at room temperature. They’ll stay fresh for several weeks.
-
Get creative with flavors. Peppermint and lemon are classics, but don’t be afraid to mix in things like strawberry, cherry, orange, or even bubblegum extract. Just stick to about 1/2 teaspoon total per batch to avoid overpowering the sugar base.
Lollipop Twist FAQs and Sweet Final Thoughts
Before you grab your sticks and start swirling your next batch of homemade Lollipop Twist candies, let’s go over a few frequently asked questions. Whether you’re brand new to candy-making or just want to perfect your technique, these quick answers should help you feel more confident going in.

Frequently Asked Questions
1. How do I know when the candy mixture has reached the hard crack stage?
The hard crack stage is reached when the sugar syrup hits 300°F (149°C) on a candy thermometer. The mixture will bubble actively and become slightly golden. At this stage, a small drop of syrup in cold water should harden into a brittle thread that snaps when bent.
2. Can I make these without a candy thermometer?
It’s possible, but not ideal. Without a thermometer, use the cold water test—drop a small bit of syrup into a glass of cold water. If it hardens immediately and breaks when you try to bend it, it’s ready. That said, a thermometer gives you much more control and consistency.
3. What can I use instead of corn syrup?
Light corn syrup is used to help prevent crystallization and give the lollipops their smooth texture. You can substitute glucose syrup or golden syrup in equal amounts, but the results might vary slightly in color and taste.
4. How can I keep the candy from hardening too fast while I’m still shaping lollipops?
If your candy syrup starts to set before you’ve finished shaping, place the bowl over a pan of hot water to gently reheat it. Avoid using direct heat, as it may cook the sugar too much and alter the flavor.
5. Can I add decorations like sprinkles or edible glitter?
Absolutely! Once you’ve poured the syrup and swirled your colors, you can quickly sprinkle edible glitter, tiny candy confetti, or nonpareils over the surface before it hardens. Just avoid large or heavy decorations—they won’t stick well and may crack the candy.
6. Is it okay to use natural food coloring or flavorings?
Yes, natural options work fine! Just make sure they’re oil-based or water-soluble and not alcohol-based, which can cause the hot syrup to splatter. Natural colors may be less vibrant, but they still look beautiful.
7. How long do homemade lollipops last?
When wrapped and stored properly in an airtight container at room temperature, these lollipops can last 2 to 4 weeks. Keep them away from moisture and direct sunlight for the best shelf life.
Sweet Conclusion: Make It Yours
That’s the full scoop on making Lollipop Twist candies right in your own kitchen. They’re the kind of project that feels both nostalgic and creative, and there’s something satisfying about seeing a tray of shiny, colorful lollipops you made from scratch.
Once you’ve got the basic technique down, the possibilities are endless. You can mix and match flavors, experiment with color combinations, or even tie on little tags to turn them into sweet party favors or thoughtful handmade gifts. And don’t worry if your first batch isn’t picture-perfect—candy-making is as much about having fun as it is about precision.
I’d love to hear how your lollipops turn out. Did you go with classic peppermint or try a bold new flavor combo? Leave a comment below and share your experience—and any variations or tips you discovered along the way.
PrintLollipop Twist

Lollipop Twist candies are a fun and colorful treat that combine simple ingredients with a bit of creativity. These homemade lollipops offer a customizable swirl of flavors and colors, making them perfect for parties, gifts, or just a sweet crafting project. By using different extracts and hues, you can create a variety of unique confections that are as eye-catching as they are delicious.
- Author: Mark's Recipe
Ingredients
2 cups granulated sugar
1/2 cup light corn syrup
1/2 cup water
1/4 teaspoon cream of tartar (optional, for smoother texture)
1/2 teaspoon flavor extract such as vanilla, lemon, or peppermint
Food coloring of your choice
Lollipop sticks
Parchment paper or a silicone mat
Instructions
Prepare Your Workspace
Line a baking sheet with parchment paper or a silicone mat to create a nonstick surface for the candy. Place the lollipop sticks spaced apart on the prepared sheet, ensuring they have room for the candy to spread without overlapping.
Make the Candy Mixture
In a medium saucepan, mix together the sugar, corn syrup, water, and cream of tartar if using. Heat the mixture over medium-high heat, stirring gently until the sugar is fully dissolved. Once dissolved, stop stirring and allow the mixture to boil undisturbed until it reaches 300°F (149°C), known as the hard crack stage, using a candy thermometer to monitor the temperature.
Add Flavor and Color
Once the candy mixture reaches the correct temperature, remove the saucepan from the heat. Carefully stir in the flavor extract and a few drops of food coloring. If you are using multiple colors, divide the mixture into separate bowls before adding the different dyes.
Create the Lollipops
Quickly spoon or pour the candy onto the prepared sheet, forming small circles over the top portion of each lollipop stick. If using more than one color, drizzle a second color over the first and use a toothpick to swirl the colors gently, creating a twisted, marbled effect. Work quickly, as the mixture will begin to harden.
Wrap and Store
Allow the lollipops to cool and harden completely, which usually takes about 30 minutes at room temperature. Once fully set, peel them off the parchment or silicone mat and wrap each one in clear plastic or cellophane. Secure the wrapping with twist ties or small ribbons to keep them fresh and attractive.
Notes
To prevent crystallization, avoid stirring once the sugar has dissolved and the mixture begins to boil. Be cautious when handling hot sugar syrup, as it can cause severe burns. These lollipops can be stored at room temperature in an airtight container for several weeks, making them a great make-ahead treat for special occasions or edible gifts.


")
