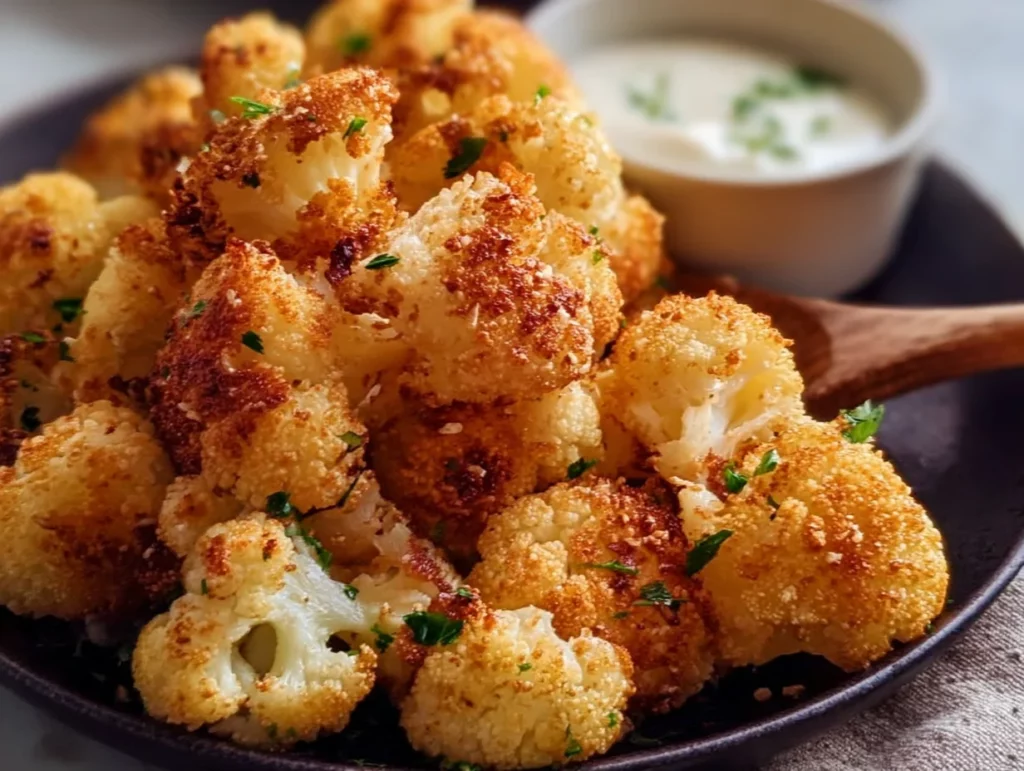
If you’re like me and always looking for ways to get your family (and maybe yourself) to eat more veggies without it feeling like a chore, you’re going to love this recipe for Crispy Cauliflower. It’s crunchy, flavorful, and honestly tastes like a guilty pleasure—but without all the deep-frying. I’ve been making this as a go-to side dish, snack, and even as a game day appetizer, and it disappears faster than I can set the plate down.
There’s just something magical about taking a humble head of cauliflower, dressing it up with a seasoned batter, rolling it in panko, and baking it until it’s golden brown and perfectly crisp. Whether you’re eating plant-based, trying to sneak in more vegetables, or just craving something crunchy without the grease, this recipe checks all the boxes.
The best part? You don’t need any fancy ingredients or kitchen gadgets—although if you’ve got an air fryer, it does speed things up a bit. Let’s dive right into how to make this irresistible crispy cauliflower that just might become your new obsession.
Ingredients You’ll Need:
-
1 medium head of cauliflower, cut into bite-sized florets
-
¾ cup all-purpose flour
-
½ cup water
-
1 teaspoon garlic powder
-
½ teaspoon onion powder
-
½ teaspoon smoked paprika
-
½ teaspoon salt
-
¼ teaspoon black pepper
-
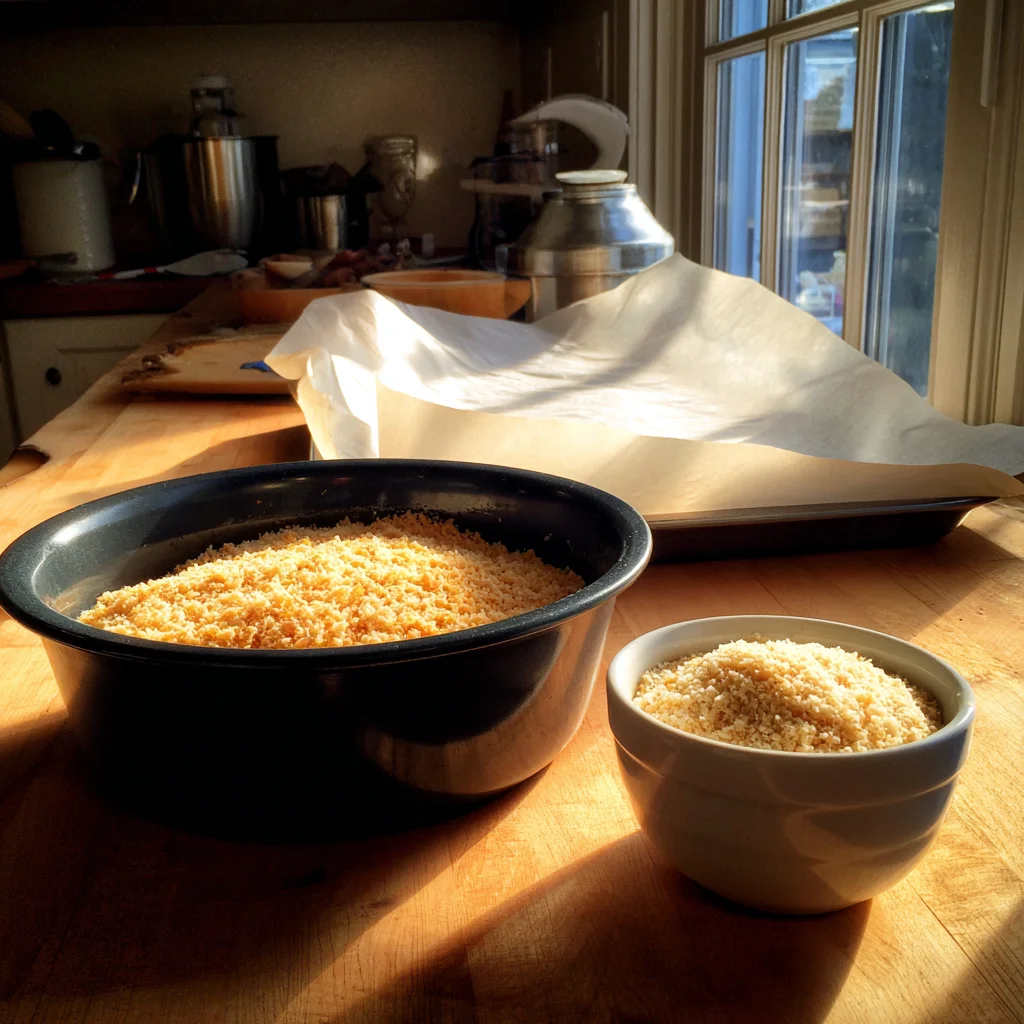
1½ cups panko breadcrumbs
-
Cooking spray or oil for baking
Optional for Serving: Garlic aioli, ranch dressing, spicy mayo, buffalo sauce, or barbecue sauce.
STEP 1: PREHEAT YOUR OVEN OR AIR FRYER
Start by preheating your oven to 425°F. If you’re using an air fryer, go ahead and set it to 400°F. Line a baking sheet with parchment paper or lightly grease it with oil. This helps prevent sticking and gives the cauliflower that extra crisp edge we’re after.
STEP 2: MAKE THE BATTER
In a medium-sized mixing bowl, whisk together the flour, water, garlic powder, onion powder, smoked paprika, salt, and black pepper. You’re looking for a smooth, lump-free batter—thick enough to coat the cauliflower but still light enough to let the panko stick nicely.
This batter is where all the flavor starts, so don’t be shy about those seasonings. The smoked paprika gives it a little warmth and color, and the garlic and onion powders bring that classic savory punch.
STEP 3: SET UP YOUR COATING STATION
Pour the panko breadcrumbs into a shallow dish or bowl. You want a wide enough surface that you can easily roll the battered cauliflower around without making a huge mess. (Though, let’s be honest—kitchen messes are part of the fun, right?)
STEP 4: DIP AND COAT
Here’s the fun part. Take each cauliflower floret and dip it into the batter. Let any excess drip off before rolling it in the panko breadcrumbs, making sure it’s fully coated. This double-layer of flavor and texture is what gives you that perfect crunch on the outside while keeping the inside tender.
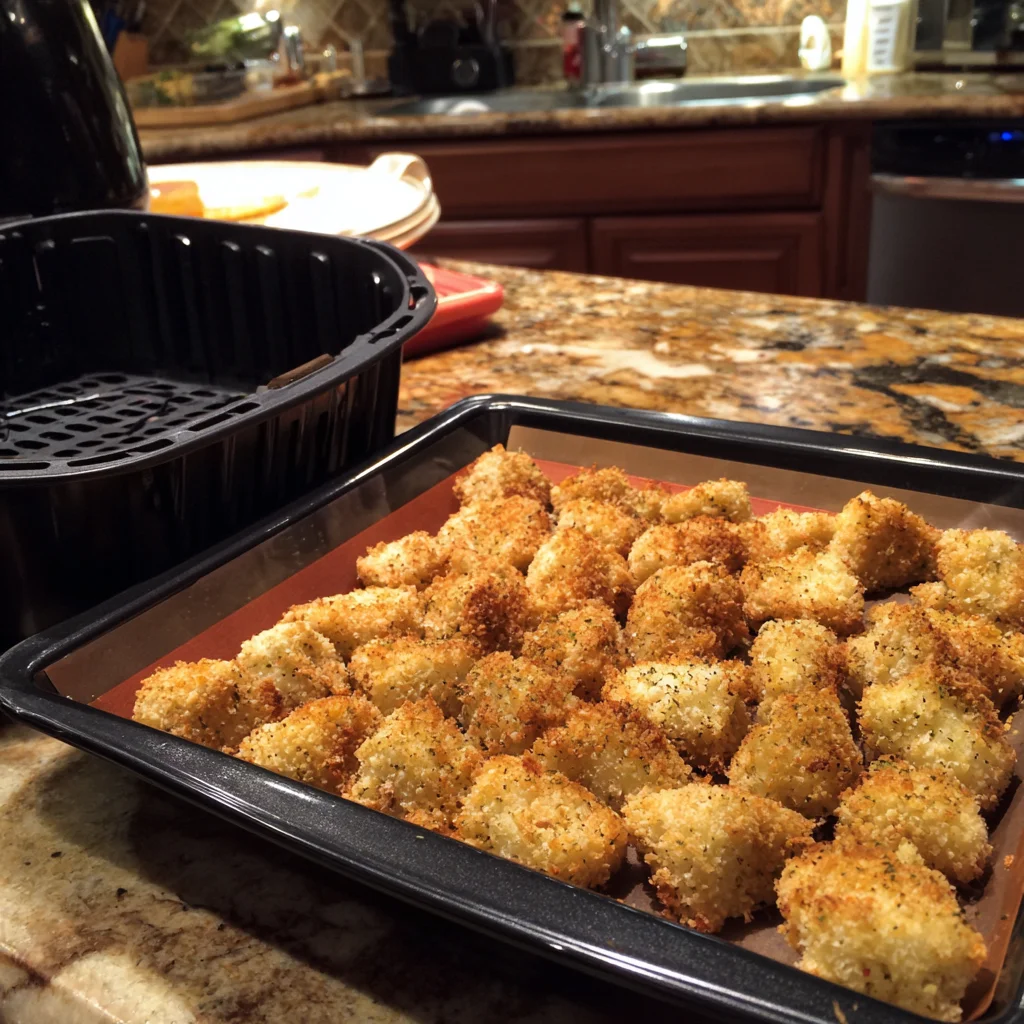
Once coated, place the cauliflower pieces on your prepared baking sheet in a single layer. Try not to overcrowd the pan—this helps everything crisp up evenly.
STEP 5: SPRAY AND BAKE
Give the tops of the florets a quick spray with cooking oil or a light drizzle of oil. This step is key for getting that golden, crispy finish without needing to deep fry.
Now pop them in the oven and bake for about 25 to 30 minutes, flipping halfway through so both sides get evenly crispy. If you’re using an air fryer, cook in batches for about 15 to 18 minutes, shaking the basket once during cooking to make sure nothing sticks and everything gets evenly browned.
How to Serve Crispy Cauliflower + Tasty Variations You’ll Want to Try
Alright, now that your kitchen smells amazing and your crispy cauliflower is baking (or air frying) to golden perfection, let’s talk about what comes next. This is where the real fun begins—because crispy cauliflower is more than just a healthy side dish. It’s a blank canvas for flavor, and the possibilities are endless.
Whether you’re keeping it simple with a dip or getting bold with sauces and seasonings, this dish can be tailored to whatever mood you’re in. I’ve made these for family dinners, girls’ night appetizers, and even as a meatless game day snack. Every time, they’re a hit.
So let’s jump back into the recipe and cover the final steps, plus some of my favorite tips, variations, and ways to serve this crunchy veggie superstar.
STEP 6: BAKE OR AIR FRY TO CRISPY PERFECTION
By now, your cauliflower should be in the oven (at 425°F) or the air fryer (at 400°F). If you’re baking, don’t forget to flip them halfway through—usually around the 15-minute mark. This ensures that all sides get that beautiful golden color and crisp texture.
You’re aiming for about 25 to 30 minutes total in the oven or 15 to 18 minutes in the air fryer. You’ll know they’re ready when they’re a deep golden brown and the coating is firm to the touch. If you’re anything like me, you’ll want to sneak one off the tray as soon as they’re done—just try not to burn your tongue!

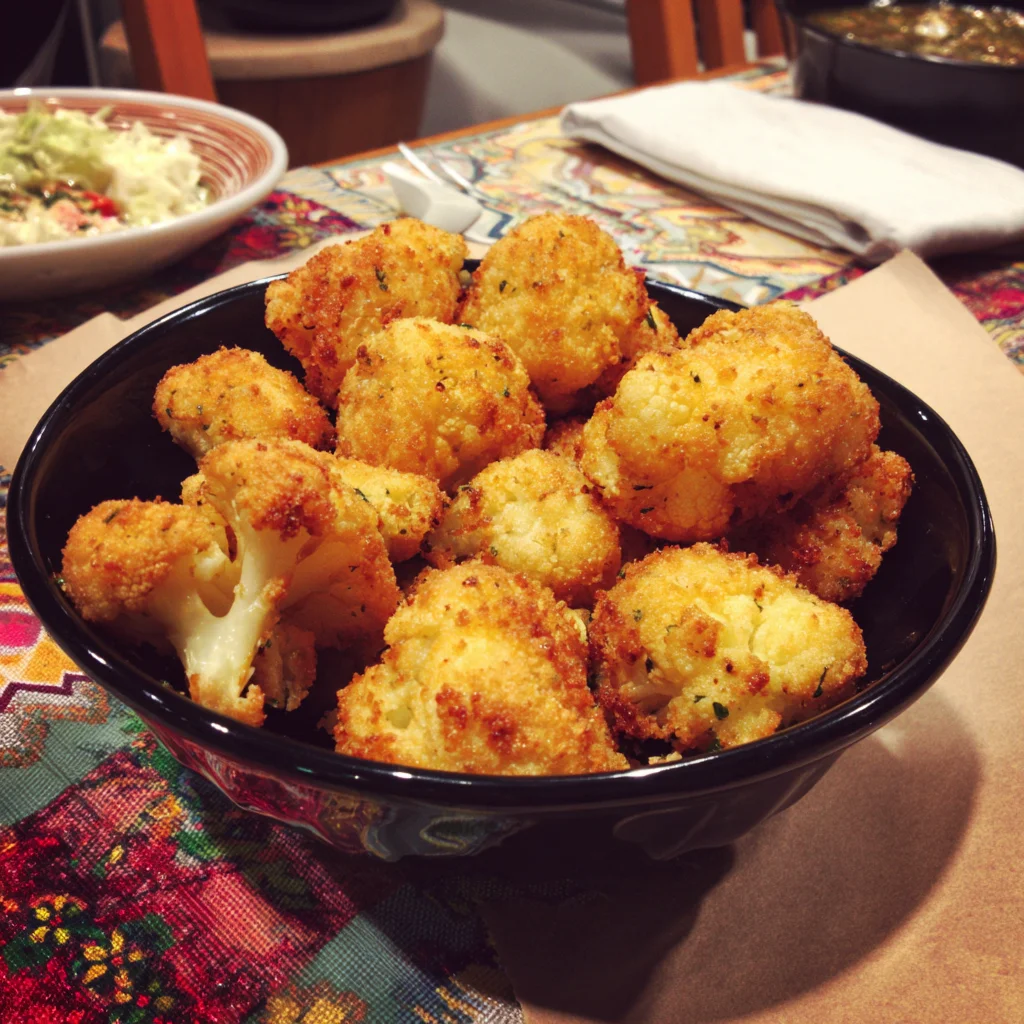
STEP 7: SERVE HOT WITH YOUR FAVORITE DIPPING SAUCE
Once they’re crispy and cooked through, transfer the cauliflower to a serving platter and serve immediately while they’re still hot and crunchy. These are best enjoyed fresh out of the oven or air fryer, while the exterior is perfectly crisp and the inside is soft and tender.
Here are a few dipping sauces I highly recommend:
-
Garlic Aioli: Creamy, garlicky, and the perfect pairing for crispy veggies.
-
Ranch Dressing: Always a classic. It cools things down and adds a little tang.
-
Spicy Mayo: For a little kick! Just mix mayo with a bit of sriracha.
-
Buffalo Sauce: Toss the cauliflower in warm buffalo sauce after baking for a bold, spicy twist.
-
BBQ Sauce: A sweet and smoky option that gives major comfort food vibes.
VARIATIONS TO TRY
What I love about this recipe is how flexible it is. Once you’ve got the basic method down, it’s super easy to switch things up based on your cravings or what you have on hand.
1. Parmesan Crusted Cauliflower
Before coating in panko, mix a few tablespoons of grated Parmesan into the breadcrumbs. It adds a cheesy, salty flavor that gets even more golden in the oven.
2. Spicy Kick
Add a pinch of cayenne or a few dashes of hot sauce to the batter for heat lovers. Just enough to warm things up without overpowering the flavor.
3. Gluten-Free Option
Need to make it gluten-free? Swap the all-purpose flour with rice flour or chickpea flour, and use gluten-free breadcrumbs. It’s just as crispy and just as tasty.
4. Saucy Finish
For a more indulgent twist, toss your crispy cauliflower in buffalo or barbecue sauce after baking. Just make sure to serve it right away—saucing them up too early can soften the coating.
5. Add a Touch of Freshness
Sprinkle the finished cauliflower with fresh chopped parsley or green onions before serving. It adds a nice color contrast and a fresh bite that balances the savory flavors.
REHEATING TIPS
If you’ve got leftovers (which is rare in my house), you can bring them back to life! Reheat in the oven at 375°F for about 10 minutes or pop them into the air fryer for 5–7 minutes. Skip the microwave—it tends to make them soggy, and we’re all about that crunch.
Crispy Cauliflower FAQ + Final Thoughts
You’ve made it to the final stretch—and by now, you probably have a tray full of golden, crunchy cauliflower ready to be devoured. Whether this is your first time making crispy cauliflower or you’re already dreaming of the next batch, let’s go over some frequently asked questions that come up with this recipe.
These tips will help you troubleshoot, customize, and make this recipe work for just about any occasion or dietary preference. After that, I’ll share a few final thoughts to help you get the most out of this easy, crowd-pleasing dish.
FAQ: Your Crispy Cauliflower Questions, Answered
1. Can I use frozen cauliflower instead of fresh?
Yes, but with a few adjustments. Thaw the frozen cauliflower completely and pat it dry with paper towels. Excess moisture will keep the coating from sticking and getting crispy. Fresh cauliflower still gives the best texture, but frozen works in a pinch.
2. How do I keep the cauliflower crispy after baking?
Serve it right away for the best crunch. If you need to hold it for a bit, place it on a wire rack instead of a plate to let air circulate. Avoid covering it tightly or stacking it, which traps steam and softens the coating.
3. What’s the best way to reheat leftovers?
Reheat in a preheated oven at 375°F for 8–10 minutes or in the air fryer at 350°F for 5–7 minutes. Avoid the microwave—it’ll make them soft and chewy instead of crisp.
4. Can I make this recipe ahead of time?
You can prep the cauliflower up to the coating stage and store it in the fridge for a few hours. When you’re ready to serve, pop it into the oven or air fryer. It’s not ideal to bake them ahead of time, as they’ll lose their crunch.
5. What dipping sauces pair best with crispy cauliflower?
Ranch, garlic aioli, spicy mayo, buffalo sauce, or barbecue sauce are all great options. You can also go with tahini dressing or a sweet chili sauce for something a little different.
6. Can I bake this without oil or cooking spray?
Yes, but the cauliflower won’t get quite as golden or crispy. A light spray or drizzle of oil really helps with browning and crunch. If you’re avoiding oil completely, try broiling them for the last 2–3 minutes for extra color.
7. Is this recipe vegan and/or gluten-free?
As written, it’s vegan. To make it gluten-free, substitute the all-purpose flour with rice flour or a gluten-free blend, and use gluten-free breadcrumbs.
Final Thoughts: Why You’ll Keep Coming Back to This Recipe
Crispy cauliflower is one of those recipes that manages to be healthy, comforting, and totally crave-worthy all at the same time. It’s easy to prepare, incredibly versatile, and a great way to enjoy a veggie that too often gets overlooked.
What I love most about this recipe is how adaptable it is. Whether you’re keeping things simple with a classic ranch dip or tossing them in spicy buffalo sauce for a bolder flavor, crispy cauliflower fits just about any mealtime mood.
If you try this recipe, I’d love to hear how it turned out for you. Did you stick to the basics or try one of the fun variations? Leave a comment, share your own twist, or let me know which sauce you loved best. And if you’re making this for a party or family dinner—just be prepared to make a second batch. These little bites disappear fast.
PrintCrispy Cauliflower

Crispy cauliflower is a simple yet flavorful dish that delivers a satisfying crunch with every bite. Whether served as a side, snack, or appetizer, these golden cauliflower florets are coated in a seasoned breading and baked or air-fried until perfectly crisp. With a tender interior and a crunchy, savory crust, this dish is a great alternative to fried foods and a delicious way to enjoy vegetables.
- Author: Mark's Recipe
Ingredients
1 medium head of cauliflower, cut into bite-sized florets
¾ cup all-purpose flour
½ cup water
1 teaspoon garlic powder
½ teaspoon onion powder
½ teaspoon smoked paprika
½ teaspoon salt
¼ teaspoon black pepper
1½ cups panko breadcrumbs
Cooking spray or oil for baking
Instructions
1 Preheat the oven to 425°F and line a baking sheet with parchment paper or lightly grease it. For air fryer, preheat to 400°F.
2 In a medium bowl, whisk together the flour, water, garlic powder, onion powder, paprika, salt, and pepper until a smooth batter forms.
3 Place the panko breadcrumbs in a separate shallow bowl.
4 Dip each cauliflower floret into the batter, allowing any excess to drip off, then coat thoroughly in the breadcrumbs. Place coated florets on the prepared baking sheet.
5 Lightly spray the tops with cooking spray or drizzle with a little oil to help them crisp.
6 Bake for 25 to 30 minutes, flipping halfway through, until golden and crispy. If using an air fryer, cook in batches for 15 to 18 minutes, shaking once during cooking.
7 Serve hot, optionally with your favorite dipping sauce such as garlic aioli, ranch, or spicy mayo.
Notes
For extra flavor, add grated parmesan to the breadcrumb mixture or toss the finished florets in buffalo or barbecue sauce. These are best enjoyed fresh but can be reheated in the oven or air fryer to restore crispiness. To make gluten-free, use rice flour and gluten-free breadcrumbs.

")
