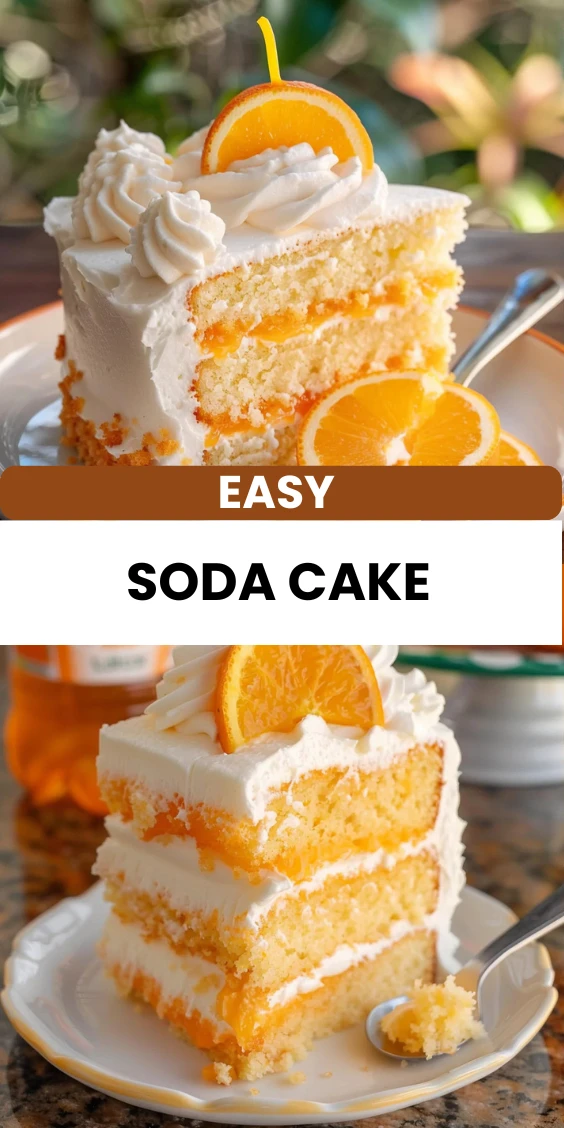
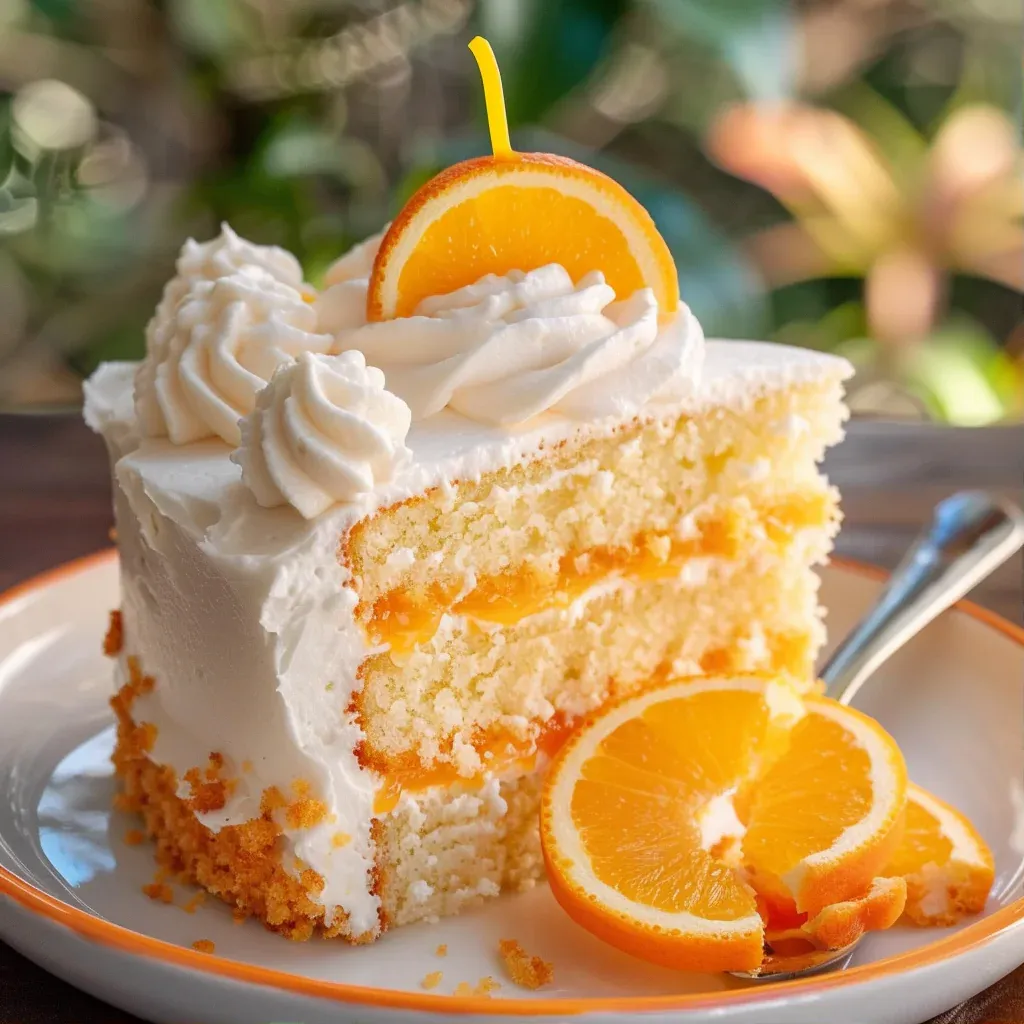
Soda Cake is a delightful dessert that transforms simple ingredients into a soft, moist, and flavorful treat. Picture this: a sunny afternoon, the aroma of freshly baked cake wafting through your kitchen, and the anticipation of a light, fluffy dessert that’s as easy to make as it is delicious. This easy 2-ingredient dessert hack creates a unique texture without the need for eggs or oil, allowing the refreshing taste of orange soda to shine through. It’s perfect for a family gathering, a weekend brunch, or even a special occasion, and it is sure to impress your loved ones with its artisan quality and vibrant flavor.
- Why This Soda Cake Is Worth Your Time
- Main Ingredients for Soda Cake
- Tools Needed for Soda Cake
- Step-by-Step Instructions for Soda Cake
- Pro Tips for Perfect Soda Cake
- Serving Ideas and Pairings
- Variations and Swaps for Soda Cake
- Leftovers and Storage Tips
- Nutrition Notes
- Frequently Asked Questions About Soda Cake
Why This Soda Cake Is Worth Your Time
This Soda Cake showcases the delightful balance of flavors that come from combining a simple cake mix with the effervescence of orange soda. The craftsmanship lies in the way the soda interacts with the cake mix, resulting in a texture so fluffy and moist that you’ll find it hard to believe it requires only two main ingredients. The use of pure orange extract enhances the citrus aroma, creating a dessert that is not only visually appealing but also bursting with flavor. By mastering the technique of blending these ingredients, you elevate a standard cake into a stunning centerpiece that can be enjoyed by all. Whether you are a novice baker or a seasoned pro, this recipe invites you to explore the joy of artisan baking.
Main Ingredients for Soda Cake
The ingredients you choose can make or break a recipe, and in the case of Soda Cake, quality is key. Here’s a breakdown of what you’ll need:
- 15.25 ounces vanilla cake mix: The base of the cake, providing sweetness and structure. Choose a high-quality brand for the best flavor.
- 12 ounces orange soda: This is the magic ingredient that replaces eggs and oil, creating a light and airy texture. Opt for a soda with natural flavors for a fresher taste.
- 1 teaspoon pure orange extract: Enhances the orange flavor and adds depth. Avoid imitation extracts for a more authentic taste.
- 24 ounces whipped white frosting: The perfect finishing touch that adds creaminess. Make sure to select a frosting that complements the cake’s lightness.
- 2 to 3 drops orange gel food color: Optional, but it adds a beautiful pop of color to your frosting, making your cake visually appealing.
Tools Needed for Soda Cake
| Tool | Purpose / what it helps with |
| 9-inch round cake pans | For baking the cake layers evenly. |
| Parchment paper | For easy removal of the cake from the pans. |
| Baking spray | Prevents the cake from sticking to the pans. |
| Mixing bowls | For combining the cake mix and soda. |
| Handheld mixer | Ensures a smooth batter without lumps. |
| Silicone spatula or offset spatula | For spreading frosting evenly over the cake. |
| Decorator’s bag or quart-size Ziploc bag | For creating decorative frosting designs. |
Step-by-Step Instructions for Soda Cake
Making Soda Cake is a straightforward process that yields spectacular results. Follow these steps to create your masterpiece:
- Preheat the oven: Start by preheating your oven to 350°F. While it heats, line two 9-inch round cake pans with parchment circles and lightly spray them with baking spray. This will ensure your cakes come out easily.
- Add the cake mix: Pour the 15.25 ounces of vanilla cake mix into a medium-sized mixing bowl. This will serve as the foundation of your cake.
- Pour the soda: Take the 12 ounces of orange soda and pour it over the cake mix. Watch as the bubbles from the soda mix with the dry ingredients, creating a fun and fizzy reaction.
- Add the orange extract: Measure and add 1 teaspoon of pure orange extract to the mixture. This will elevate the flavor profile, giving it a more intense orange taste.
- Mix it up: Using a handheld mixer on medium-low speed, mix the ingredients for about 1 to 1½ minutes until everything is completely combined and smooth. You should have a fluffy batter that smells amazing.
- Divide the batter: Evenly divide the cake batter between the 2 prepared cake pans. Spread it evenly using a spatula to ensure even baking.
- Bake the cakes: Place the pans in the oven and bake for 22 to 24 minutes. The cakes are done when a toothpick inserted into the center comes out clean. Allow the cakes to cool completely in the pans.
- Prepare the frosting: Once the cakes have cooled, scoop half of one container of whipped frosting into a small mixing bowl. Add 2 to 3 drops of orange gel food color and stir well until the color is uniform. This will create a vibrant frosting that complements the cake.
- Assemble the first layer: Carefully remove one of the cakes from the pan and place it on a serving dish. Spoon the remaining half of the frosting container onto the cake, using your spatula to spread it evenly over the top.
- Add the second layer: Gently place the second cake layer on top of the frosted cake. This creates a beautiful two-tiered effect.
- Frost the top and sides: With the silicone spatula or offset spatula, spread the second container of whipped frosting evenly over the top and sides of the cake, ensuring it’s well coated.
- Decorate the cake: Fill a decorator’s bag fitted with a star-shaped tip, or use a Ziploc bag with a small corner snipped off. Hold the bag ½ inch above the surface of the outer edge of the cake and squeeze evenly to form small rose shapes. Continue this pattern around the cake for an elegant finish.
Pro Tips for Perfect Soda Cake
- Use room temperature ingredients for a smoother batter that incorporates air better.
- Do not overmix the batter; mix just until combined to keep the cake light and fluffy.
- Ensure your oven is properly calibrated; an oven thermometer can help achieve consistent baking results.
- Cool the cakes in the pans for about 10 minutes before transferring them to a wire rack to cool completely.
- For a more intense flavor, consider adding the zest of an orange to the batter.
- Experiment with different flavors of soda for unique variations of this cake.
Serving Ideas and Pairings
- Serve with fresh fruit like berries or sliced oranges for a refreshing contrast.
- Pair with a scoop of vanilla ice cream to balance the sweetness of the cake.
- Top with a sprinkle of powdered sugar for an elegant presentation.
- Drizzle with chocolate sauce for an indulgent dessert experience.
- Accompany with a cup of coffee or tea for a delightful afternoon treat.
Variations and Swaps for Soda Cake
Restaurant-Style Version
For a more upscale version, consider adding layers of different flavored frosting between the cake layers or incorporating a fruit filling.
Rustic Home-Cook Version
Try using a homemade whipped cream instead of store-bought frosting for a more rustic, homemade feel.
Make-Ahead Version
This cake can be made in advance and stored in the refrigerator. Just frost it before serving to keep it fresh.
Seasonal Ingredient Version
Incorporate seasonal fruits like strawberries or peaches into the frosting or as a topping for a fresh twist.
Leftovers and Storage Tips
- Store leftovers in an airtight container in the refrigerator for up to 3 days.
- To maintain moisture, cover the cake with plastic wrap or foil.
- This cake can also be frozen for up to 2 months. Wrap tightly in plastic wrap and then in aluminum foil.
- When reheating, place slices in the microwave for a few seconds to regain softness.
Nutrition Notes
While this Soda Cake is a delightful treat, it’s good to be mindful of portion sizes. Each slice offers a sweet and fluffy indulgence. You can adjust the sweetness by altering the amount of frosting used. If you prefer a lighter option, consider reducing the frosting or serving it alongside yogurt or fresh fruit. The use of soda adds a unique twist, providing a cake experience that can be enjoyed without the heaviness often associated with traditional desserts.
Frequently Asked Questions About Soda Cake
Can I use different flavors of soda for Soda Cake?
Absolutely! You can experiment with various flavors of soda, such as lemon-lime or cherry, to create different flavor profiles.
How do I store Soda Cake?
Store your Soda Cake in an airtight container in the refrigerator for up to 3 days or freeze it for longer storage.
What is the best way to frost Soda Cake?
Using a silicone spatula or offset spatula will help you spread the frosting evenly for a smooth finish. Don’t forget to decorate with a piping bag for an artistic touch.
How can I make Soda Cake more flavorful?
Consider adding orange zest to the batter or using a flavored frosting to enhance the overall taste of the cake.
Is Soda Cake suitable for special occasions?
Yes, Soda Cake is perfect for birthdays, parties, or any gathering where you want to impress with a light and flavorful dessert.
Now that you have the secrets to making a delightful Soda Cake, I encourage you to give this recipe a try. Its simplicity and unique flavor will have you embracing the joy of artisan cooking, creating sweet memories around your dining table. Enjoy the process and let the flavors take you on a delicious journey!
Soda Cake Delight
Ingredients
Method
- Preheat the oven to 350°F. Line two 9-inch round cake pans with parchment circles, and lightly spray with baking spray (Baker’s Joy or a generic version). Set them aside.
- Add the cake mix to a medium-sized mixing bowl.
- Pour the orange soda over the cake mix.
- Add the orange extract.
- Use a handheld mixer on medium-low speed and mix for 1 to 1½ minutes until completely combined and smooth.
- Evenly divide the cake batter between the 2 prepared cake pans. Bake for 22 to 24 minutes, or until a toothpick inserted comes away clean. Allow the cakes to completely cool.
- Once the cakes have cooled, place half of 1 of the containers of whipped frosting into a small mixing bowl. Add 2 to 3 drops of the orange gel food color. Stir well until the color is uniform. Set it aside.
- Remove 1 of the cakes from the cake pan and place on a serving dish.
- Spoon the remaining ½ of the opened frosting container onto the cake. Using a silicone spatula or an offset spatula, spread the frosting evenly over the top of the cake.
- Carefully place the second cake layer on top of the bottom layer.
- Using the silicone spatula or the offset spatula, evenly spread the second container of whipped frosting over the top and sides of the cake.
- Using a decorator’s bag fitted with a star-shaped decorator’s tip, or a quart-size Ziploc with a small corner of the bag snipped off, hold the bag ½ inch above the surface of the outer edge of the cake. Using even pressure squeeze the bag in a circle to form a small rose shape. Repeat the pattern around the cake.