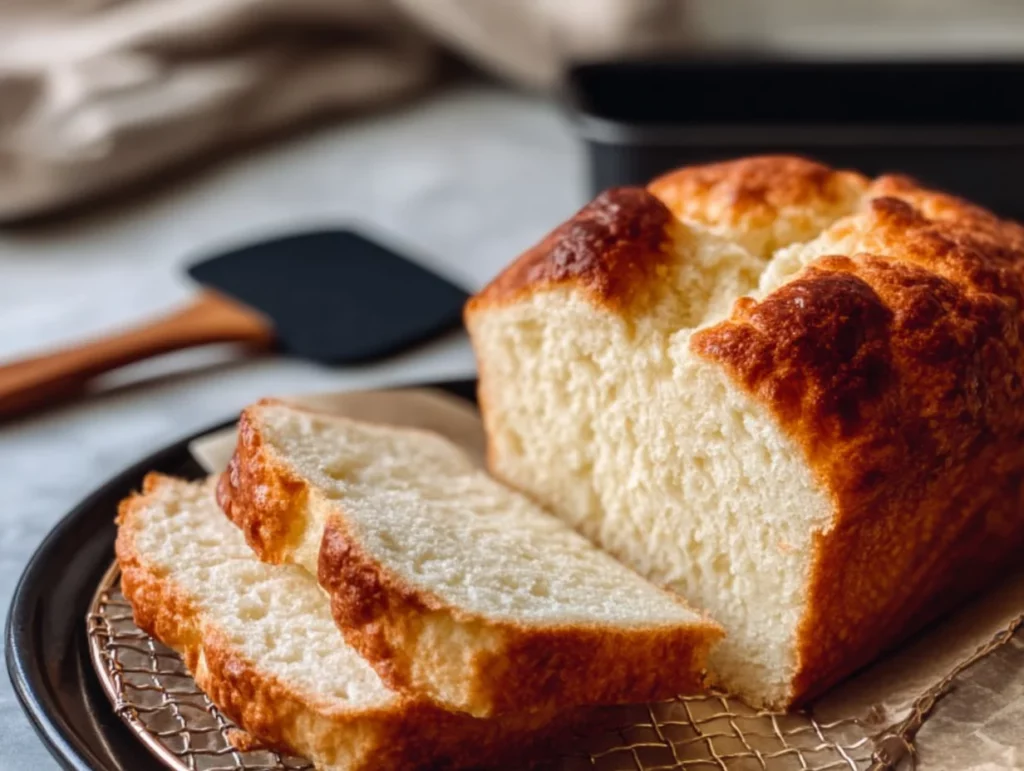
If you’ve been on a low-carb or keto journey for a while, you probably already know that finding a truly satisfying bread substitute is no small task. Sure, there are store-bought options, but they’re often loaded with preservatives, funky textures, or hidden carbs. That’s why I’m so excited to share this Zero Carb Yogurt Bread recipe with you!
This bread is soft, slightly chewy, and has that perfect subtle tang thanks to the Greek yogurt. It’s not just low in carbs—it’s zero carb per slice (depending on your ingredients, of course), making it ideal for anyone following a keto, diabetic-friendly, or grain-free lifestyle. Even if you’re not strictly low-carb, this bread is a fantastic high-protein option to add to your meal rotation.
Personally, I first made this on a Sunday afternoon when I was craving something warm and bready to go with my tomato basil soup. The first bite was a game-changer. It held up well, had a great texture, and toasted beautifully the next morning with some avocado on top. It’s now a regular in my kitchen!
So, whether you’re missing sandwiches, need a toastable option for breakfast, or just want something cozy to pair with your dinner, this recipe has your back. And the best part? It comes together in about 10 minutes of prep time with just a handful of clean, easy-to-find ingredients.
Let’s get into it!

Ingredients You’ll Need
-
1 cup plain Greek yogurt (unsweetened, full-fat)
-
4 large eggs
-
1 cup shredded mozzarella cheese
-
2 tablespoons coconut flour
-
1 tablespoon psyllium husk powder
-
1 teaspoon baking powder
-
½ teaspoon salt
This combination creates a thick, batter-style dough that bakes into a light, fluffy loaf. The psyllium husk is especially important—it acts as a binder and gives the bread a bit of that “stretch” we expect from regular bread.
STEP 1: Preheat and Prep the Pan
Before you mix anything, preheat your oven to 350°F. I like to use a small loaf pan for this recipe, which helps the bread rise properly and hold its shape. Either grease it well with butter or oil, or line it with parchment paper to avoid sticking. Trust me, the parchment makes cleanup so much easier.
STEP 2: Mix the Yogurt and Eggs
In a large mixing bowl, whisk together your Greek yogurt and eggs until the mixture is smooth and uniform. This step helps create the creamy base for the bread and ensures your loaf won’t be too eggy or uneven in texture.

STEP 3: Add the Dry Ingredients
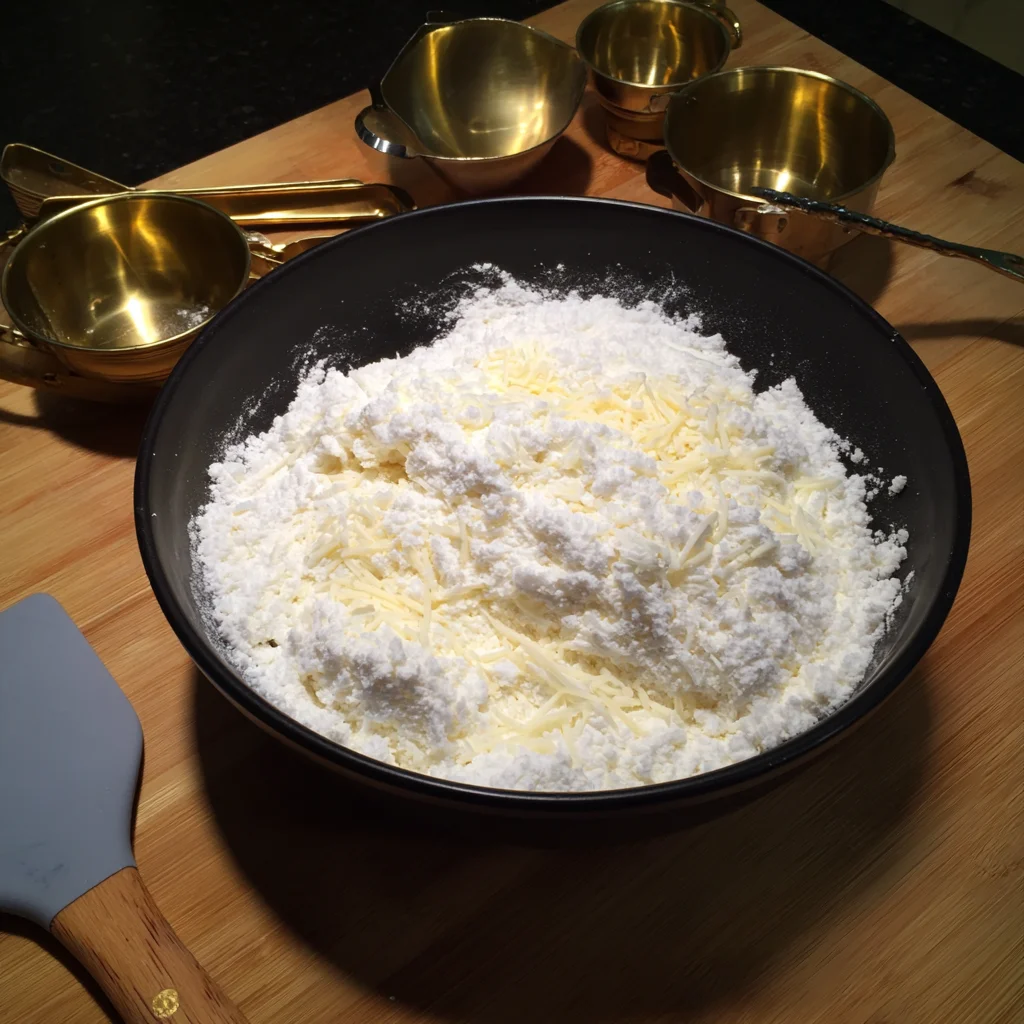
Now it’s time to bring in the rest of the crew: mozzarella cheese, coconut flour, psyllium husk powder, baking powder, and salt. Add them all in and mix until everything is well combined.
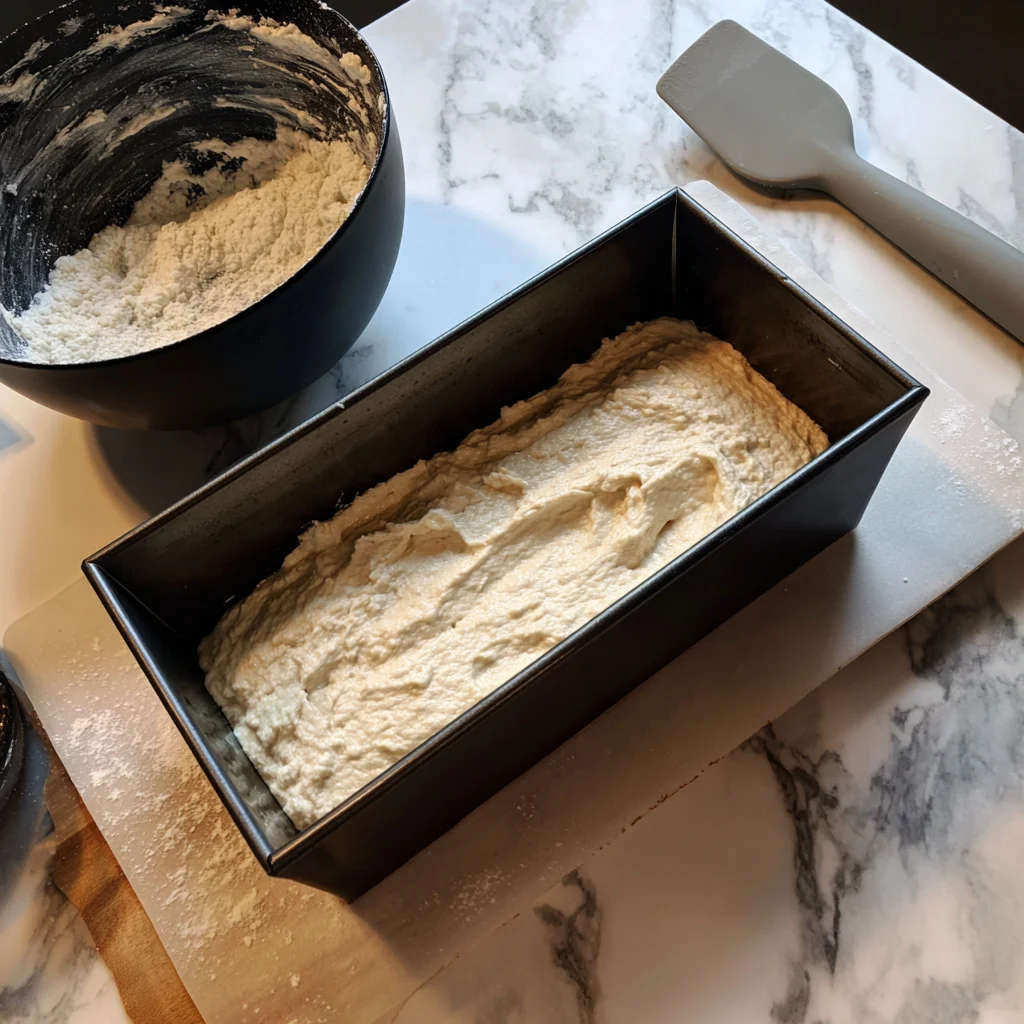
The batter will look thick, kind of like a sticky dough. This is exactly what you want. Let it sit for a few minutes—this is key—so the psyllium husk can absorb some of the moisture and thicken up even more. This resting time gives the final bread that classic, bread-like texture and keeps it from falling apart once sliced.
STEP 4: Transfer to the Loaf Pan
Spoon the batter into your prepared loaf pan and smooth out the top with a spatula. It doesn’t need to be perfect, but leveling it off a bit will help it bake evenly and give you a nicer finished look.
At this point, your kitchen probably already smells a little cozy from the yogurt and cheese mixture, and things are only going to get better once it hits the oven!
Zero Carb Yogurt Bread: Baking, Serving Tips, and Variations
Now that we’ve got our batter in the pan and ready to go, it’s time to turn that mixture into a golden, fluffy loaf of bread that you’ll want to make again and again. If you’ve never baked low-carb bread before, don’t worry—it’s simpler than it sounds, and this recipe is one of the most forgiving I’ve tried. The yogurt and cheese help keep the bread moist, while the coconut flour and psyllium husk give it a nice structure.
Let’s finish baking and talk about how to get the most out of your loaf once it’s done!
STEP 5: Bake Until Golden and Firm
Place your loaf pan on the center rack of your preheated oven and bake for 35 to 40 minutes. The top should be a beautiful golden brown, and a toothpick inserted into the center should come out clean.
Every oven is a little different, so start checking around the 35-minute mark. You’re looking for a firm top with just a slight spring when gently pressed. Don’t worry if it domes slightly—this bread holds its shape really well.
STEP 6: Cool Before Slicing
Once it’s fully baked, remove the loaf from the oven and let it cool in the pan for about 10 minutes. This step helps it firm up a bit more and makes it easier to remove from the pan without tearing.
Then, gently transfer it to a wire rack and let it cool completely before slicing. I know it’s tempting to cut into it right away, but this bread needs that extra cooling time to set its structure. Cutting it too early might result in a gummy texture—definitely worth the wait.
Tips for Best Results
Use Fine Psyllium Husk Powder
The type of psyllium husk you use can dramatically affect the texture of your bread. Go for a fine powder version—it blends better and gives the loaf that smooth, consistent crumb. If you use whole flakes or coarse ground, the texture might turn out more dense or gritty.
Don’t Skip the Resting Time Before Baking
After you mix the batter and before you pour it into the pan, let it sit for at least 3–5 minutes. This allows the psyllium and coconut flour to absorb moisture and firm up the batter. Skipping this step can result in a loaf that collapses or bakes unevenly.
Keep It Moist with Full-Fat Yogurt
Using full-fat, unsweetened Greek yogurt makes a big difference. It adds moisture, richness, and a slight tang that mimics traditional bread flavor. Avoid fat-free versions—they can make the texture rubbery or too dry.
Serving Ideas for Zero Carb Yogurt Bread
You can enjoy this bread in so many ways! Here are a few of my favorites:
-
Toasted with butter or ghee – A classic. The edges get slightly crisp and the flavor really shines.
-
With avocado and everything bagel seasoning – A perfect breakfast or light lunch.
-
Grilled cheese – Yes, you can make a killer low-carb grilled cheese with this bread!
-
As a soup side – Try it with tomato soup, chicken broth, or even a hearty chili.
-
As a sandwich base – The texture holds up beautifully to meats, cheese, and spreads.
How to Store and Freeze Your Loaf
This bread keeps really well for a low-carb recipe.
-
Refrigerator: Store slices in an airtight container for up to 5 days.
-
Freezer: Freeze individual slices with parchment paper between them, then keep them in a zip-top freezer bag. They’ll last for up to 2 months.
-
Reheat: Toast frozen slices directly from the freezer or warm in a pan over low heat.
I like to make a loaf on Sunday, freeze half, and use the rest throughout the week. It reheats beautifully and doesn’t lose its texture.
Flavor Variations to Try
Once you’ve mastered the basic version, you can easily switch it up. Here are some simple variations to keep things interesting:
-
Herb & Garlic: Add 1 teaspoon of garlic powder and 1 tablespoon of dried herbs (like rosemary or Italian seasoning) to the batter.
-
Cheddar & Jalapeño: Swap the mozzarella for shredded cheddar and mix in finely chopped jalapeños.
-
Sweet Cinnamon: Add a few drops of vanilla extract, 1 teaspoon of cinnamon, and a pinch of sweetener for a breakfast-style loaf.
Each variation still keeps it low-carb but adds a little personality to the bread, depending on how you want to enjoy it.
Zero Carb Yogurt Bread: FAQ and Final Thoughts
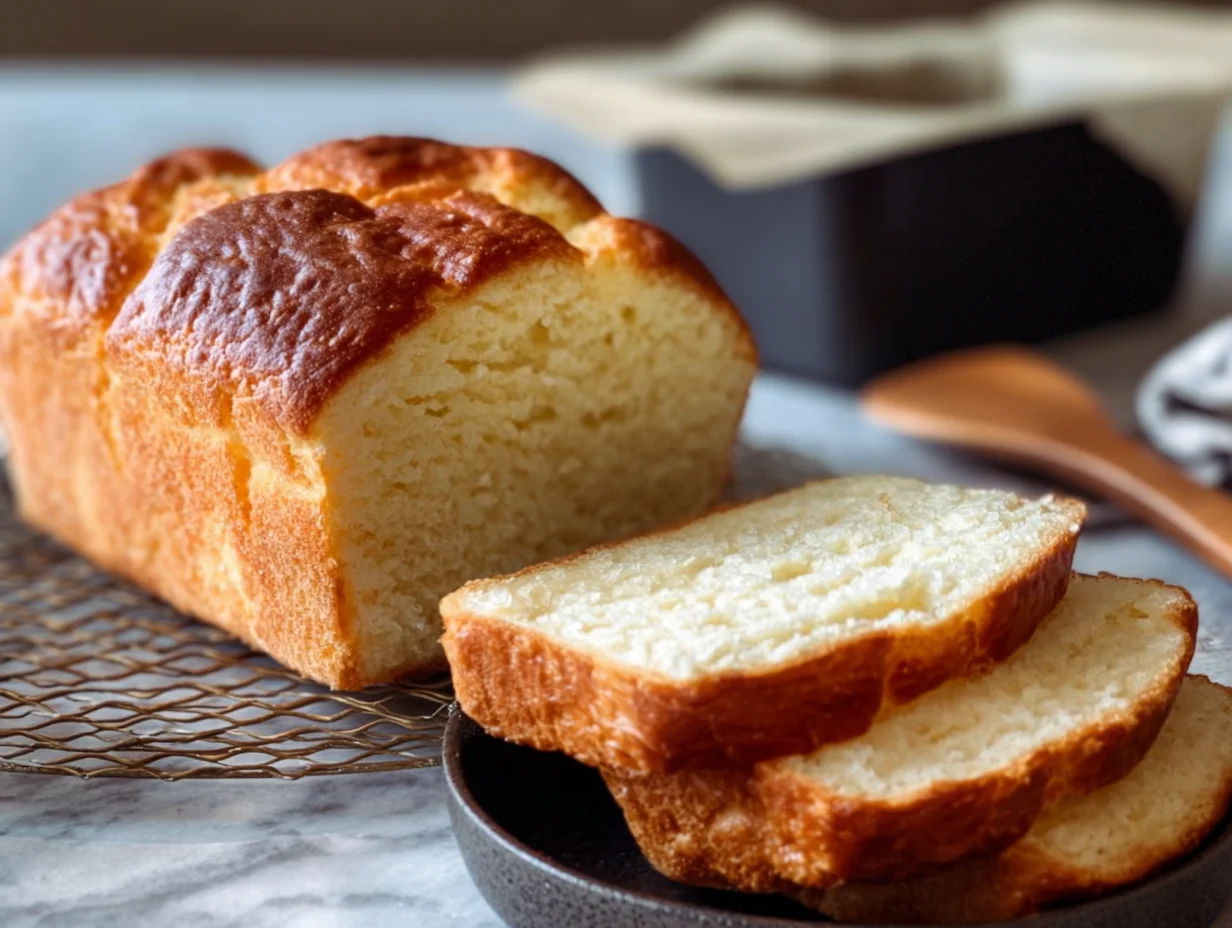
By now, your kitchen probably smells amazing and your freshly baked loaf of Zero Carb Yogurt Bread is cooling on the counter. Whether this is your first time making low-carb bread or you’re a seasoned keto baker, it’s always helpful to have a few answers ready to go—especially when working with ingredients like psyllium husk and coconut flour, which behave a little differently than traditional flours.
Below, I’ve gathered the most commonly asked questions about this recipe. Hopefully, this helps clear up any uncertainties and sets you up for bread-baking success every time.
Frequently Asked Questions
1. Can I use almond flour instead of coconut flour?
Coconut flour is much more absorbent than almond flour, so it’s not a 1:1 substitution. If you want to try using almond flour, you’ll need about 3 to 4 times more than the coconut flour measurement (around 6 tablespoons), and you may also need to slightly reduce the yogurt or increase the psyllium to balance the moisture. The texture will be a bit more delicate.
2. What’s the role of psyllium husk in this recipe?
Psyllium husk acts as a binder and helps create a chewy, bread-like texture. It also helps the bread rise and hold its shape. Without it, the loaf may turn out flat, crumbly, or too soft. Using a fine powder form gives the best result.
3. Can I make this dairy-free?
This particular recipe is based on Greek yogurt and mozzarella, so it’s not naturally dairy-free. However, you could try using a thick, unsweetened dairy-free yogurt (like coconut or almond yogurt) and a dairy-free shredded cheese substitute. Just keep in mind that results may vary and the bread may not rise or firm up in the same way.
4. Why does my bread turn purple or gray inside?
This is a common issue when using certain brands of psyllium husk. It’s purely cosmetic and doesn’t affect the flavor or safety of the bread. If the color bothers you, try switching to a different brand—look for one that’s labeled as “blonde” or light in color.
5. Can I double the recipe for a larger loaf?
Yes, you can double the ingredients, but be sure to use a larger loaf pan and extend the baking time as needed—likely closer to 55–60 minutes. Keep a close eye on the center with a toothpick test to ensure it’s fully baked.
6. How do I know when it’s done baking?
The top should be golden brown, and a toothpick inserted in the center should come out clean or with just a few crumbs. The loaf should feel firm and slightly springy to the touch. If it seems too soft or wet in the middle, give it another 5–10 minutes.
7. Can I toast this bread?
Absolutely! Toasting enhances the flavor and gives it a firmer texture—especially great if you plan to use it for sandwiches, buttered toast, or avocado slices. Just be sure to toast on a low setting to avoid burning.
Final Thoughts: Your Go-To Low-Carb Bread
Whether you’re cutting carbs, living keto, managing blood sugar, or simply trying to eat a little cleaner, this Zero Carb Yogurt Bread is one of those staple recipes that just makes life easier. It’s quick to prepare, reliably delicious, and versatile enough for breakfast, lunch, or dinner. You can dress it up or keep it simple, slice it thick or thin, and store it for days without it going stale.
One of the things I love most about this bread is that it doesn’t feel like a compromise. It’s not “good for a keto bread”—it’s just good, period.
PrintZero Carb Yogurt Bread
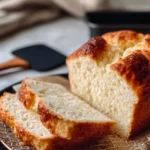
Zero Carb Yogurt Bread is a light, protein-packed alternative to traditional bread, made without any flour or grains. It’s soft, slightly tangy from the yogurt, and holds up well for sandwiches, toast, or as a side to soups and salads. Ideal for keto, low-carb, or diabetic-friendly diets, this bread satisfies the craving for a slice without the carbs.
- Author: Mark's Recipe
Ingredients
1 cup plain Greek yogurt (unsweetened, full-fat)
4 large eggs
1 cup shredded mozzarella cheese
2 tablespoons coconut flour
1 tablespoon psyllium husk powder
1 teaspoon baking powder
½ teaspoon salt
Instructions
1️⃣ Preheat the oven to 350°F. Line a small loaf pan with parchment paper or grease it well to prevent sticking.
2️⃣ In a large bowl, whisk together the Greek yogurt and eggs until smooth and well combined.
3️⃣ Add in the mozzarella cheese, coconut flour, psyllium husk powder, baking powder, and salt. Stir until a thick batter forms. Let it sit for a few minutes to allow the psyllium husk to absorb moisture and thicken the batter further.
4️⃣ Pour the batter into the prepared loaf pan and smooth the top with a spatula.
5️⃣ Bake for 35 to 40 minutes, or until the bread is golden brown on top and a toothpick inserted in the center comes out clean.
6️⃣ Let the bread cool in the pan for 10 minutes before removing it to a wire rack to cool completely. Slice once fully cooled.
Notes
For best texture, use fine psyllium husk powder and be sure not to skip the resting time before baking. This bread can be stored in an airtight container in the refrigerator for up to five days or frozen in slices for longer storage. Toast it lightly before serving for a firmer texture and even better flavor.