
Creamy Chicken Wellingtons Wrapped in Buttery Puff Pastry
There’s something undeniably magical about flaky, golden-brown puff pastry wrapped around a rich, creamy filling. And when that filling is tender, flavorful chicken smothered in a velvety sauce? Absolute perfection. These Chicken Wellingtons are an easy yet impressive dish that will make any dinner feel special. Whether you’re looking for a comforting weeknight meal or an elegant dish for guests, this recipe has you covered.
I love recipes that look fancy but are secretly super simple to make, and these creamy chicken pouches are just that. The puff pastry does all the hard work, giving you a beautifully crisp, golden crust without any complicated steps. Plus, the creamy, savory chicken filling is so good, you might be tempted to eat it straight from the bowl. (No judgment here!)
Let’s dive into the details and get started on this irresistible dish.
What You’ll Need for Chicken Wellingtons
Before we begin, here’s a quick rundown of what you’ll need:
Ingredients:
- Butter – Adds richness and depth of flavor.
- Onion & Garlic – The dynamic duo of aromatics, bringing sweetness and warmth.
- Flour – Helps thicken the creamy sauce.
- Chicken Stock & Bouillon – These create a flavorful base for the sauce.
- Milk & Heavy Cream – For that luxurious, velvety texture.
- Italian Seasoning & Black Pepper – Simple seasonings that enhance the flavors.
- Cooked Chicken – Diced into small pieces for easy filling.
- Puff Pastry – The star of the show, providing that signature flaky crunch.
- Egg Wash – Gives the pastry a gorgeous golden finish.
This recipe makes eight servings, making it perfect for family dinners or meal prep. Now, let’s get cooking!
Step 1: Prepping the Oven and Cooking the Filling
Start by preheating your oven to 350°F. You’ll also want to line two baking sheets with parchment paper to prevent sticking and make cleanup easier.
Now, onto the creamy chicken filling!
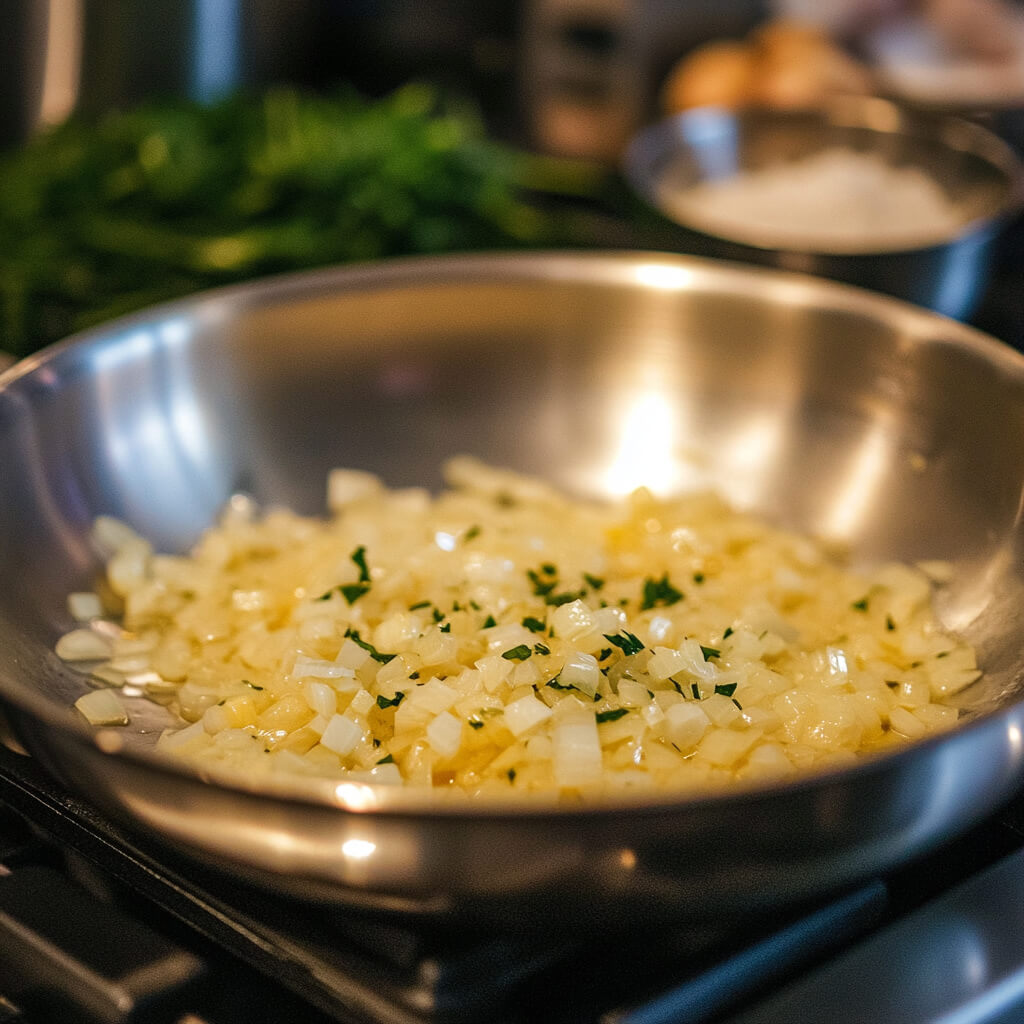
- Sauté the Aromatics – Melt 4 tablespoons of butter in a large skillet over medium heat. Once melted, add the diced onion and cook until it turns soft and translucent—about 8-10 minutes. Stir in the minced garlic and cook for another 30 seconds until fragrant.
- Make the Creamy Sauce – Sprinkle in 4 tablespoons of flour, stirring constantly, and let it cook for about 1 minute. This helps eliminate the raw flour taste and gives the sauce a nice thickness.
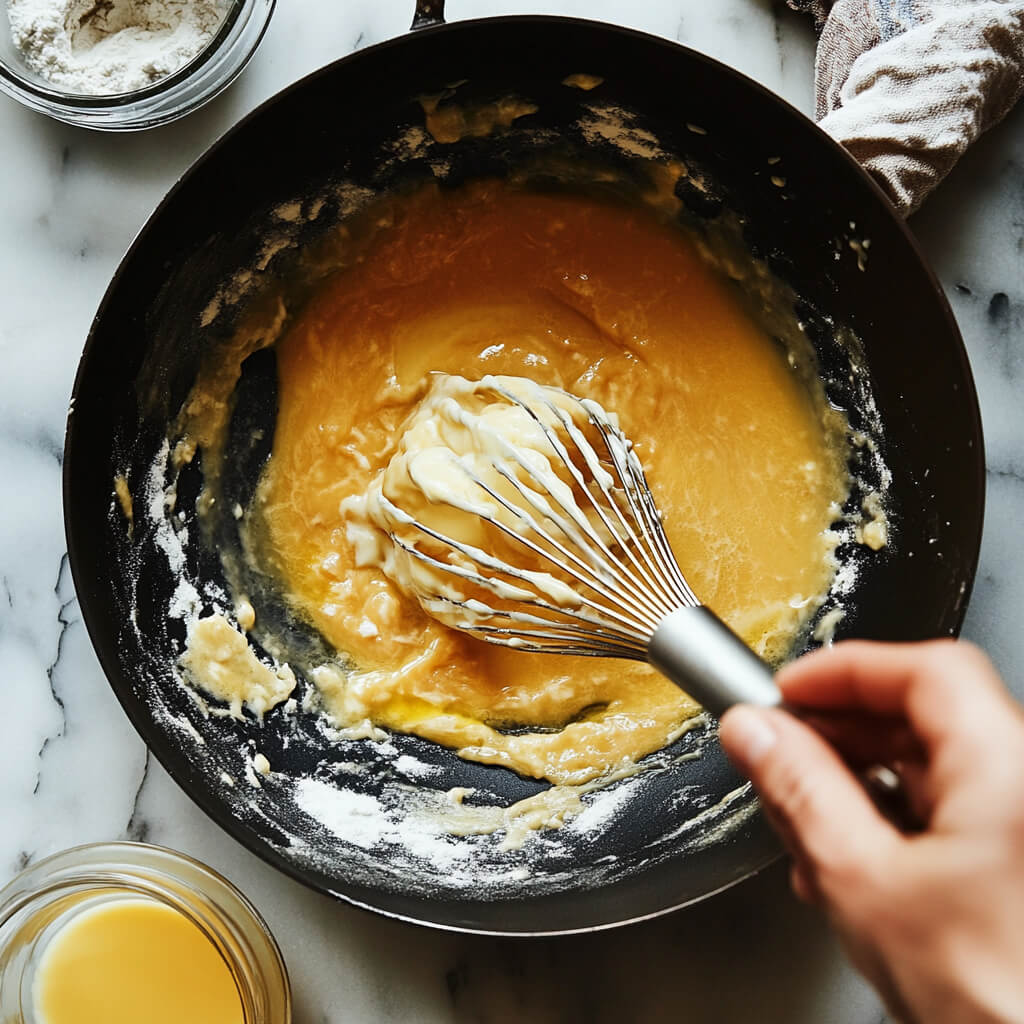
- Add the Liquids – Gradually whisk in 1 cup of chicken stock and 1 ½ tablespoons of Better Than Bouillon chicken base. Stir until everything is smooth and well combined. Next, pour in 1 cup of milk and 2 cups of heavy cream, followed by ½ teaspoon of Italian seasoning and ¼ teaspoon of black pepper. Bring everything to a gentle simmer and let it cook for about 3-5 minutes, until thickened.
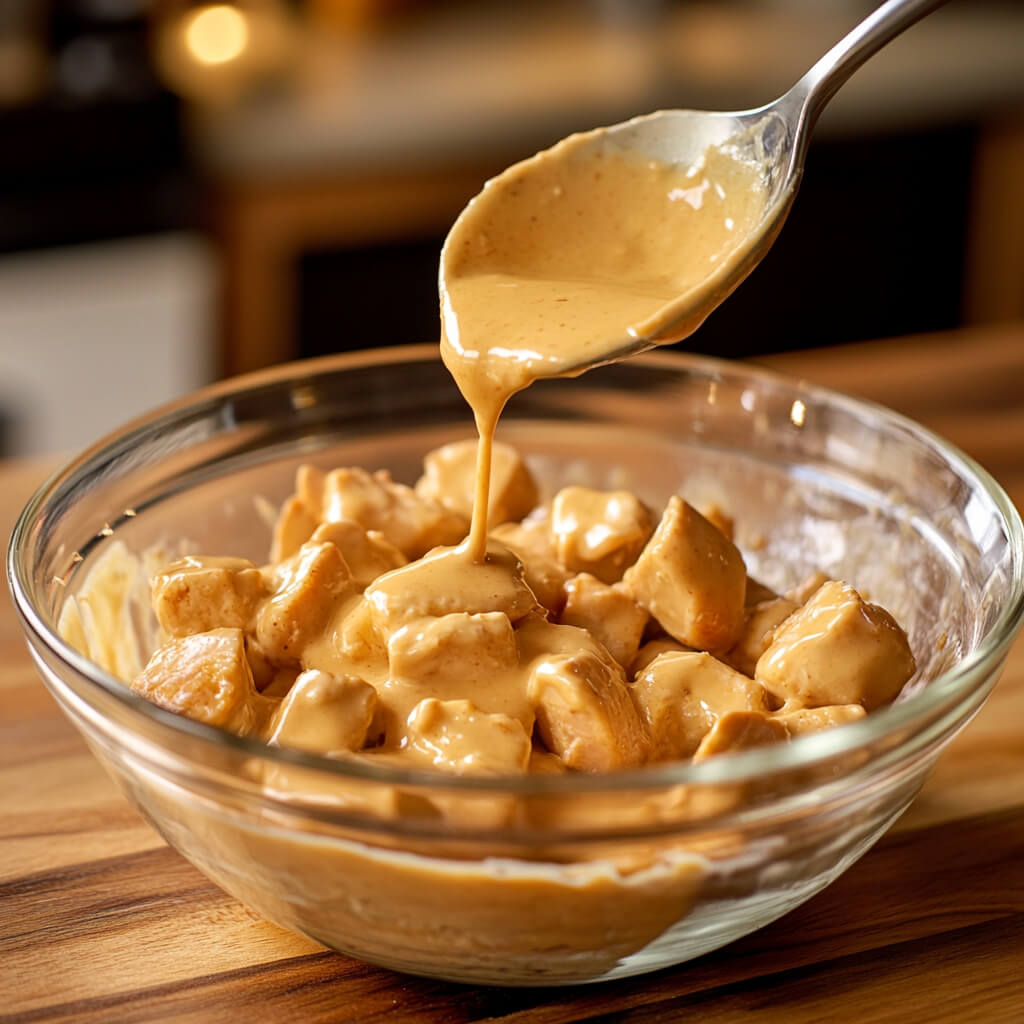
- Combine with Chicken – Once the sauce is ready, remove it from the heat. In a large bowl, combine 4 cups of cooked, diced chicken with 1 cup of the sauce. Give it a good stir, ensuring every piece of chicken is coated in that creamy goodness. Set the rest of the sauce aside—you’ll want it for serving later!
Part 2: Assembling and Baking the Perfect Chicken Wellingtons
Now that we have our creamy, flavor-packed chicken filling ready to go, it’s time for my favorite part—wrapping everything up in buttery, flaky puff pastry. If you’ve never worked with puff pastry before, don’t worry! It’s surprisingly easy to handle, and as long as you follow a few simple steps, you’ll get those beautifully crisp, golden parcels every time.
Step 2: Rolling and Cutting the Puff Pastry
- Prepare Your Work Surface – Lightly flour your countertop or a large cutting board. This keeps the pastry from sticking and makes rolling easier.
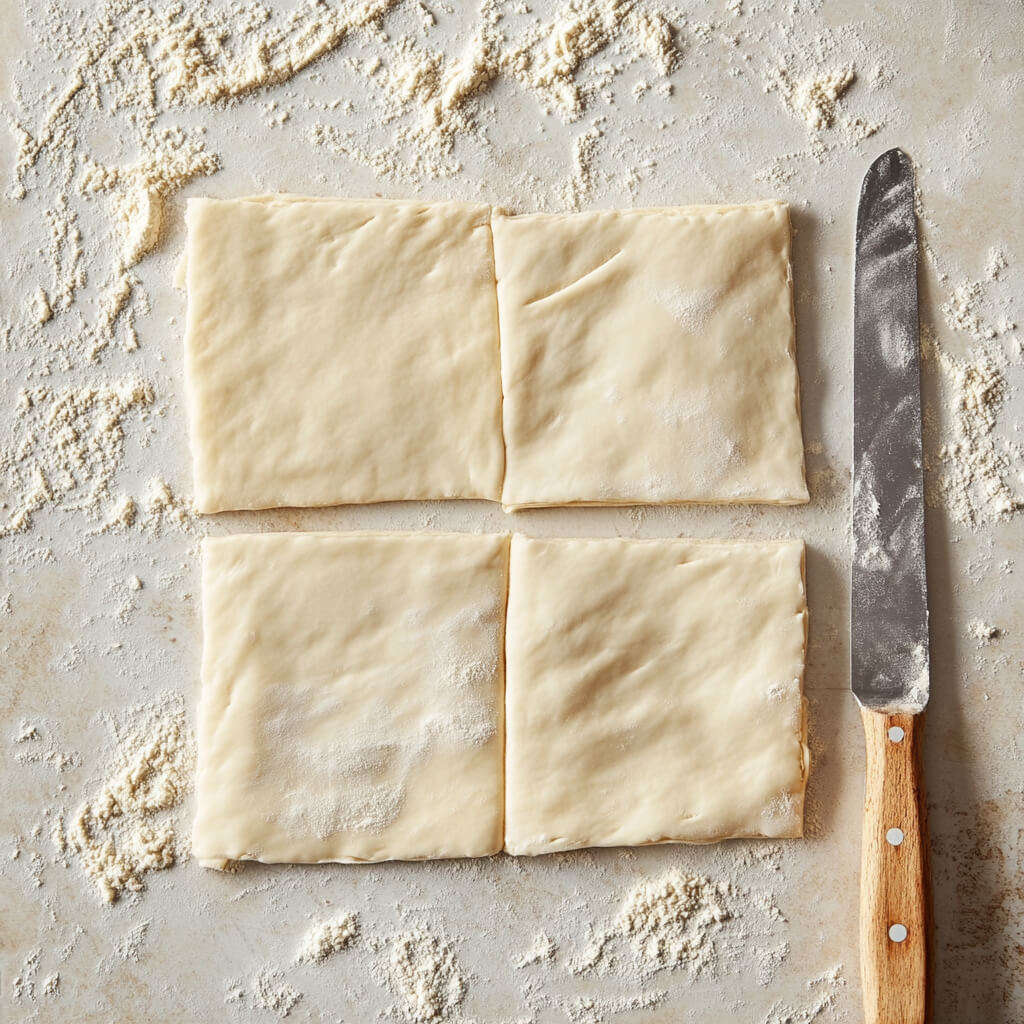
- Roll Out the Dough – Take one sheet of thawed puff pastry and roll it out into a 12×12 inch square using a rolling pin. This extra bit of rolling helps create more surface area to hold the creamy filling.
- Cut into Sections – Using a sharp knife or a pizza cutter, divide the sheet into four equal sections. You’ll repeat this process with the second sheet later, giving you a total of eight pieces.
💡 Pro Tip: If your puff pastry gets too soft while working with it, pop it back into the fridge for 5-10 minutes. Cold dough is much easier to handle!
Step 3: Filling and Sealing the Wellingtons
- Spoon on the Filling – Place ½ cup of the creamy chicken mixture onto the center of each puff pastry section. You want just the right amount—not too little (or they won’t be full and satisfying) and not too much (or they’ll burst open while baking).
- Dampen the Edges – Using a pastry brush or your fingertip, lightly dampen the edges of the pastry with a bit of water. This helps create a tight seal so the filling stays inside.
- Fold and Seal – Gently fold the pastry over the filling, forming a triangle or rectangle, depending on your preference. Press the edges together firmly, then use a fork to crimp them for an extra-secure seal.
💡 Pro Tip: If you want a neater look, trim any excess dough before sealing. But don’t throw those scraps away—you can use them to make cute decorative shapes to place on top of your Wellingtons!
Step 4: Egg Wash and Baking
- Transfer to Baking Sheets – Place the prepared chicken pouches on your parchment-lined baking sheets, spacing them about 1-2 inches apart.
- Brush with Egg Wash – In a small bowl, whisk together 1 large egg with a splash of water. Using a pastry brush, lightly coat the tops of each Wellington. This gives them that signature golden-brown shine when they bake.
- Bake to Perfection – Pop the trays into your preheated 350°F oven and bake for 30-32 minutes, or until the pastry is crisp and golden brown.
While they’re baking, warm up the remaining creamy sauce over low heat. This makes the perfect dipping sauce when serving!
Step 5: Serving Your Chicken Wellingtons
Once they come out of the oven, let them cool for 5 minutes before serving. The filling inside will be piping hot, so this little waiting time helps everything settle while keeping them crispy on the outside.
Serve them with a generous spoonful of the warm sauce on the side, or drizzle a little right over the top. Pair these flaky, creamy delights with a simple green salad, steamed vegetables, or even roasted potatoes for a complete meal.
And there you have it—golden, flaky Chicken Wellingtons that look like they came straight from a fancy bakery but were made right in your own kitchen.
By now, your kitchen is filled with the buttery, savory aroma of freshly baked Chicken Wellingtons, and you’re probably already thinking about making them again. (Trust me, once you try these, they’ll become a regular in your meal rotation!)
Before we wrap things up, let’s go over some frequently asked questions that might help you along the way.
Frequently Asked Questions
1. Can I make Chicken Wellingtons ahead of time?
Absolutely! You can assemble the Wellingtons a few hours ahead and store them in the fridge until you’re ready to bake. Just be sure to keep them covered with plastic wrap to prevent the pastry from drying out. When you’re ready, bake them as directed—no need to adjust the time!
2. Can I freeze Chicken Wellingtons?
Yes! To freeze, assemble the Wellingtons as instructed but don’t brush them with egg wash yet. Place them on a baking sheet and freeze until solid, then transfer them to an airtight container or freezer bag. When ready to bake, brush with egg wash and bake from frozen at 375°F for 35-40 minutes, or until golden brown.
3. What’s the best way to reheat leftovers?
Reheat Chicken Wellingtons in the oven at 350°F for about 10-15 minutes to keep the pastry crispy. Avoid the microwave, as it can make the pastry soggy.
4. Can I use store-bought rotisserie chicken for this recipe?
Yes! Using shredded rotisserie chicken is a fantastic shortcut that saves time while still keeping the dish flavorful. Just dice it into small pieces for an even texture.
5. Can I add vegetables to the filling?
Definitely! Finely diced mushrooms, spinach, or bell peppers work great in the filling. Just sauté them with the onions and garlic to ensure they’re tender before mixing with the chicken.
6. Can I use a different type of pastry?
Puff pastry works best for that light, flaky texture, but if you’re in a pinch, you can try using pie crust or crescent roll dough. Just note that the texture will be slightly different.
7. What can I serve with Chicken Wellingtons?
These creamy, flaky pouches pair beautifully with a light side salad, roasted vegetables, mashed potatoes, or even a simple rice pilaf. They’re super versatile!
Final Thoughts: Why You’ll Love This Recipe
These Chicken Wellingtons are one of those magical recipes that look fancy but are shockingly easy to make. The combination of creamy chicken and flaky puff pastry is pure comfort food, and the fact that they’re baked into individual portions makes them perfect for family dinners, entertaining, or even meal prep.
If you try this recipe, I’d love to hear how it turned out! Leave a comment below with your thoughts, any variations you tried, or what you served them with. Happy cooking!
PrintThe Best Chicken Wellington Recipe – A Puff Pastry Wrapped Delight
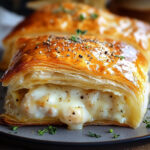
These flaky, golden-brown puff pastry pockets are stuffed with creamy, seasoned chicken and served with a rich, savory sauce—perfect for a special dinner or an elegant comfort meal!
- Prep Time: 20 minutes
- Cook Time: 30 minutes
- Total Time: 50 minutes
- Yield: 8 servings 1x
Ingredients
For the Filling & Sauce:
- 4 tablespoons unsalted butter
- 1 small sweet onion, finely diced
- 5 cloves garlic, minced
- 4 tablespoons all-purpose flour
- 1 cup chicken stock
- 1 ½ tablespoons Better Than Bouillon chicken base
- 1 cup milk
- 2 cups heavy cream
- ½ teaspoon dried Italian seasoning
- ¼ teaspoon black pepper
- 4 cups cooked chicken, small diced
For the Pastry:
- 2 sheets puff pastry, thawed
- 1 large egg, beaten with a splash of water (for egg wash)
Instructions
1️⃣ Preheat Oven & Prep Baking Sheets:
- Preheat oven to 350°F (175°C).
- Line two baking sheets with parchment paper.
2️⃣ Make the Creamy Chicken Filling:
- In a large skillet, melt butter over medium heat.
- Add diced onion and sauté until translucent (8-10 minutes).
- Stir in minced garlic and cook until fragrant (30 seconds).
- Sprinkle in flour, stirring constantly, and cook for 1 minute.
- Gradually whisk in chicken stock and bouillon until smooth.
- Add milk, heavy cream, Italian seasoning, and black pepper.
- Simmer until thickened (3-5 minutes), then remove from heat.
3️⃣ Combine with Chicken:
- In a large bowl, mix 4 cups cooked chicken with 1 cup of the sauce.
- Set aside while preparing the puff pastry.
4️⃣ Prepare the Puff Pastry:
- Roll out one sheet of puff pastry on a lightly floured surface into a 12×12-inch square.
- Cut into 4 equal sections.
- Place ½ cup of the chicken filling in the center of each section.
- Dampen the edges with water, fold over the filling, and pinch to seal.
- Repeat with the second sheet of puff pastry.
5️⃣ Bake the Wellingtons:
- Place the sealed pastry pouches on the prepared baking sheets.
- Brush with egg wash for a golden finish.
- Bake for 30-32 minutes, or until golden brown and crispy.
6️⃣ Serve with Extra Sauce:
- Warm the remaining sauce and serve alongside the Wellingtons for dipping or drizzling.
Notes
- Want it cheesier? Stir ½ cup shredded Gruyère or Parmesan cheese into the sauce.
- Extra crispy? Bake at 375°F (190°C) for the last 5 minutes.
- Storage: Store leftovers in an airtight container in the fridge for up to 3 days. Reheat in the oven at 350°F (175°C) for best texture.
- Vegetarian Option: Swap chicken for sautéed mushrooms and spinach!
")
