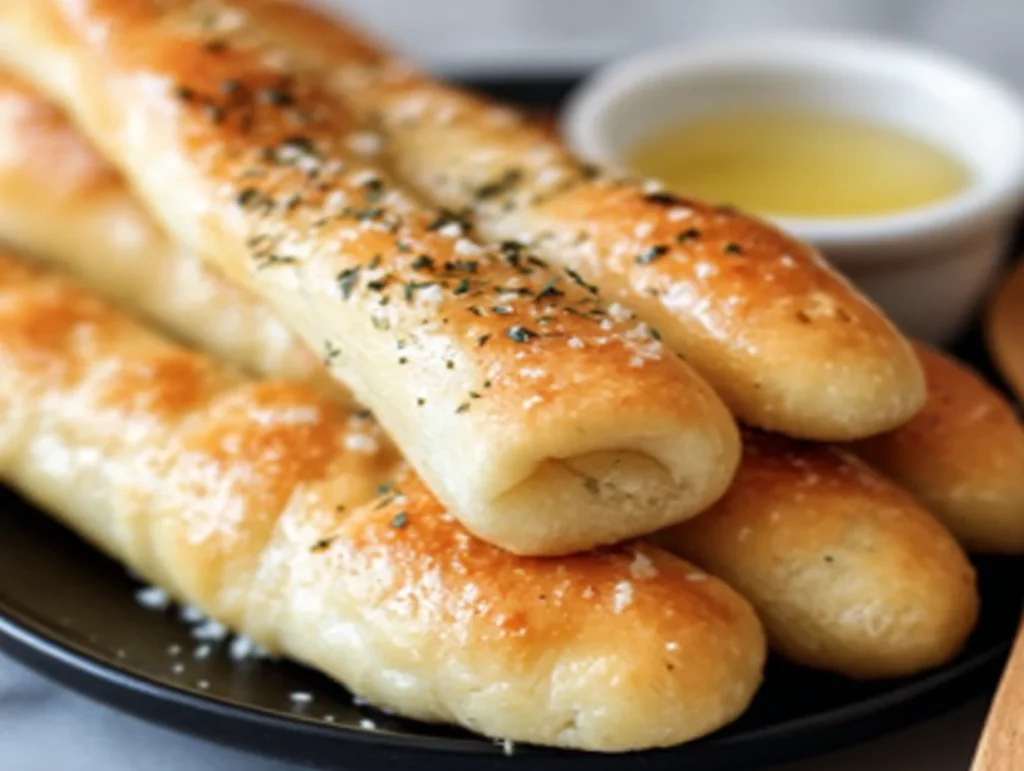
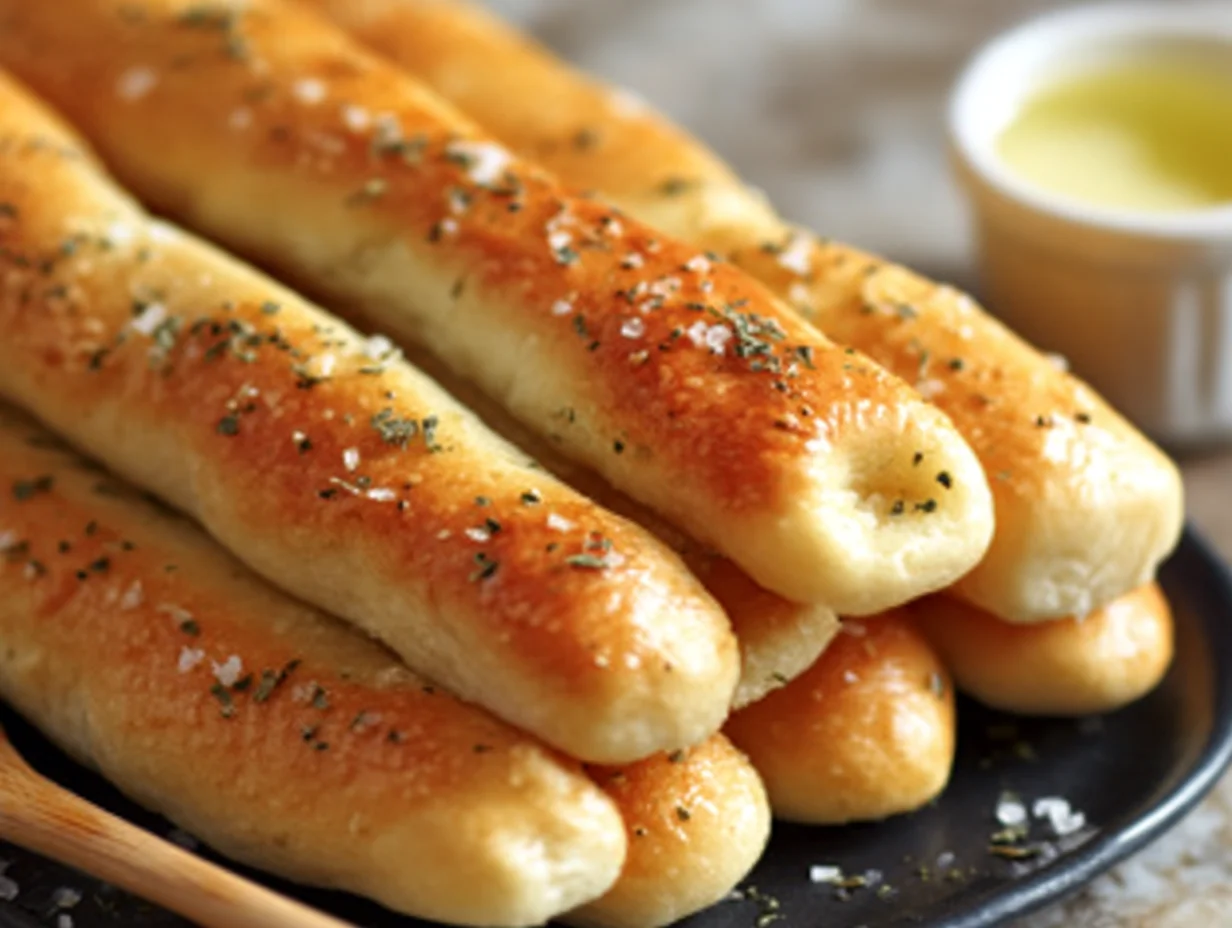
There’s just something magical about those warm, garlicky breadsticks that arrive at your table when you sit down at Olive Garden, right? Honestly, I could skip the pasta and just have a basket of those breadsticks and be perfectly happy. If you’ve ever dreamed of recreating that iconic side dish at home, you’re in for a treat today. These homemade Olive Garden-style breadsticks are soft, fluffy, and brushed with a rich garlic butter that tastes just like the real deal (maybe even better!).
What I love most about this recipe is how simple it is. With just a few pantry staples and some time to let the dough rise, you’ll be pulling golden, buttery breadsticks from the oven that your whole family will rave about. This has become one of our go-to sides whenever we’re making pasta night feel a little more special—and the leftovers (if there are any!) reheat beautifully.
These breadsticks pair perfectly with everything from spaghetti and meatballs to creamy soups or even just a Caesar salad. But if you’re anything like me, you might find yourself sneaking one before dinner even hits the table.
Let’s get into the first part of this easy, crowd-pleasing recipe!
Ingredients You’ll Need:
For the Dough:
-
1 cup warm water (about 110°F)
-
2 tablespoons granulated sugar
-
1 packet active dry yeast (2 ¼ teaspoons)
-
3 cups all-purpose flour
-
1 ½ teaspoons salt
-
2 tablespoons unsalted butter, softened
For the Topping:
-
3 tablespoons unsalted butter, melted
-
½ teaspoon garlic powder
-
½ teaspoon salt
STEPS: Getting the Dough Started
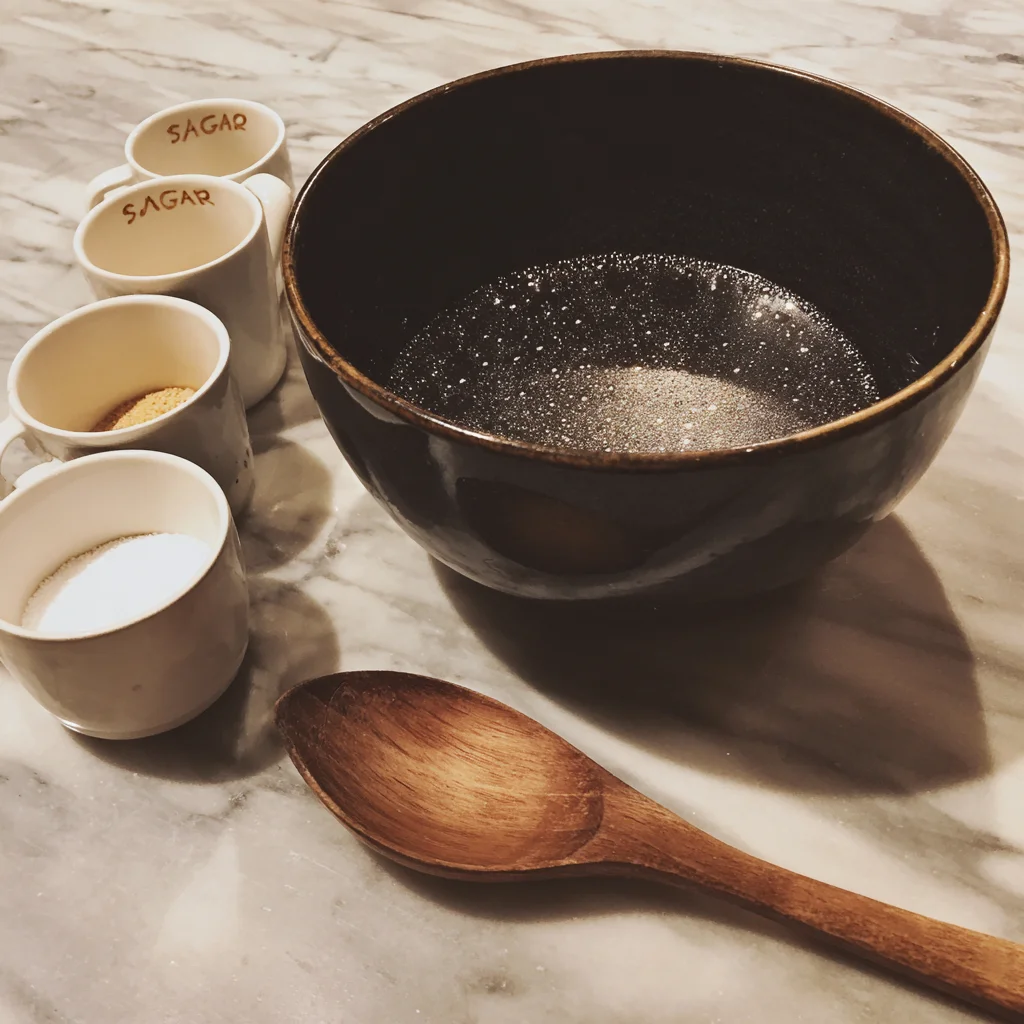
Step 1: Activate the Yeast
In a large mixing bowl, combine the warm water, sugar, and active dry yeast. Give it a gentle stir and let it sit for 5 to 10 minutes. You’re looking for the mixture to get frothy on top—that’s how you know the yeast is alive and working. If it doesn’t foam up, your water might have been too hot or your yeast might be expired, so it’s worth checking.
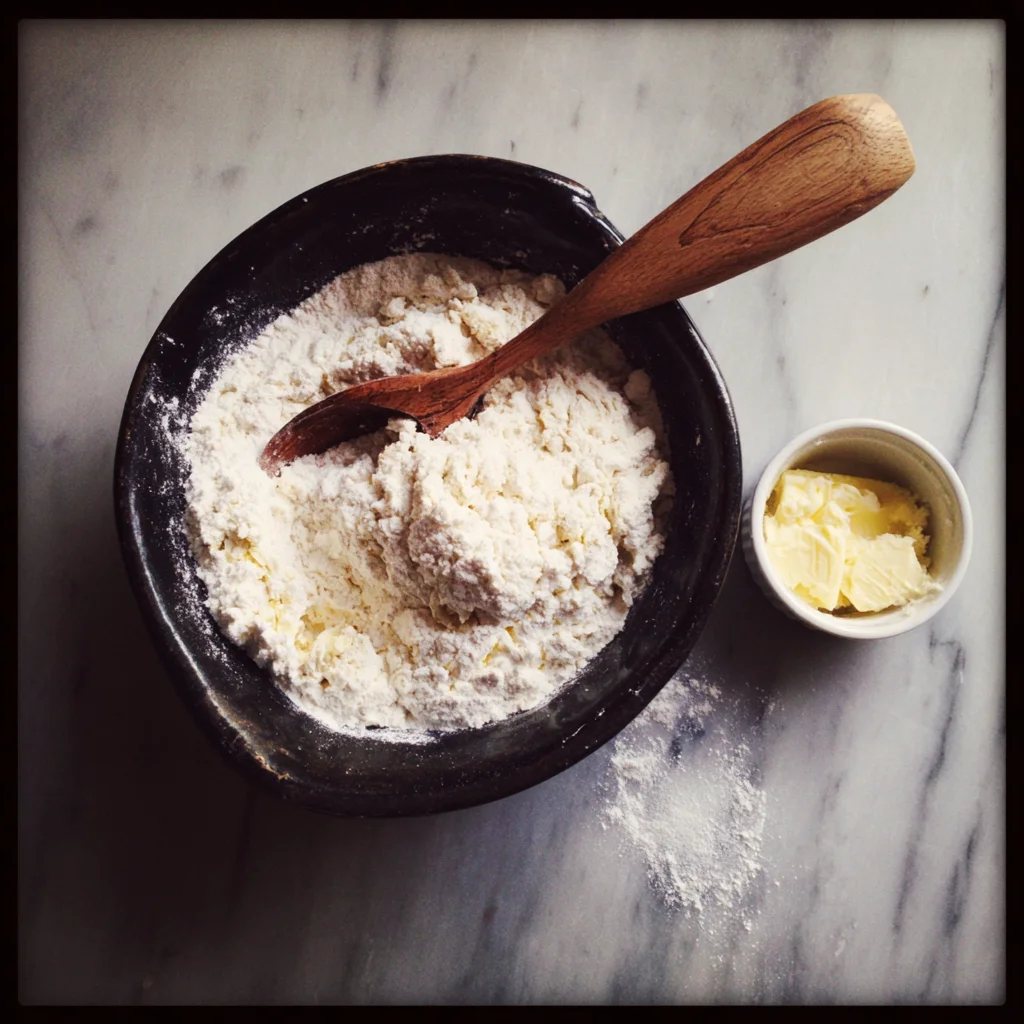
Step 2: Mix the Dough
Once the yeast is bubbly, add in the flour, salt, and softened butter. Mix everything together until the dough starts to form. Then knead it—either by hand or with a stand mixer—for about 7 to 8 minutes. The goal is a smooth, elastic dough that feels slightly tacky but not sticky.
I usually let my mixer do the heavy lifting here, especially if I’m making a double batch. But if you knead by hand, it’s actually pretty satisfying and gives you that old-school kitchen moment. Either way, you’ll know it’s ready when the dough springs back when lightly pressed with a finger.
Step 3: Let the Dough Rise
Place your dough ball into a lightly greased bowl, cover it with a damp towel or plastic wrap, and let it rise in a warm spot. This first rise should take about an hour, and the dough should roughly double in size.
Here’s a little tip: If your kitchen tends to be on the cooler side, turn your oven on for a minute or two (just to warm it up), then shut it off and place the bowl inside. It creates a cozy little proofing box that works like a charm.
STEPS: Shaping, Proofing, and Baking
Step 4: Punch Down and Portion the Dough
After that first rise, it’s time to punch down the dough. Just press your fist gently into the center to deflate it—it’s oddly satisfying! Then turn it out onto a lightly floured surface.
Divide the dough into 12 equal pieces. You don’t need to be perfect here, but try to get them close in size so they bake evenly. I like to cut the dough in half, then each half into thirds, and then divide those into two pieces each. Works every time.
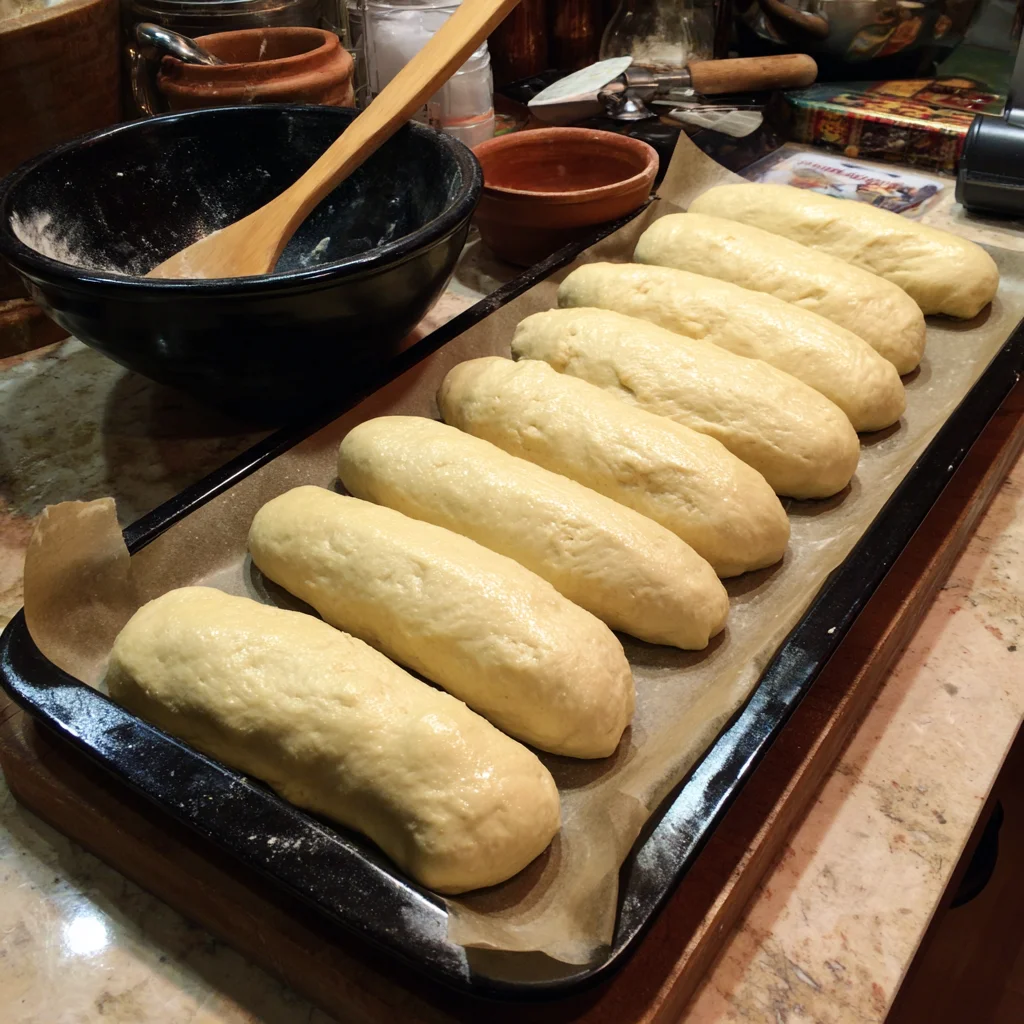
Step 5: Shape the Breadsticks
Take each piece and gently roll it into a rope, about 6 to 7 inches long. You’re aiming for that classic breadstick shape—smooth, even, and just thick enough that they’ll puff up nicely in the oven.
Place them onto a parchment-lined baking sheet, leaving a little space between each one. They’ll rise again and spread a bit as they bake, so you don’t want them too crowded.
Step 6: Let Them Rise Again
Cover the shaped breadsticks loosely with plastic wrap or a clean kitchen towel and let them rise for about 30 minutes. This second rise gives them that super fluffy texture Olive Garden breadsticks are known for.
They should look puffy and soft by the end of the rise, like little doughy clouds. If your kitchen is on the cooler side, remember the oven trick from earlier—it works great here, too.
Step 7: Bake to Golden Perfection
Preheat your oven to 400°F (200°C) while the breadsticks finish rising. Once they’re ready, pop them into the oven and bake for 12 to 14 minutes, or until they’re just lightly golden on top.
Keep an eye on them toward the end of the bake time. You’re not looking for a deep golden brown—just a gentle kiss of color on the tops and edges. This keeps them soft and tender inside.
STEPS: Garlic Butter Finishing Touch
Step 8: Make the Garlic Butter
While the breadsticks are baking, melt the butter for the topping. Stir in the garlic powder and salt until well combined. If you’re feeling adventurous, you can even toss in a pinch of Italian seasoning or a sprinkle of Parmesan for a twist.
Step 9: Brush and Serve
The second those breadsticks come out of the oven, brush them generously with the garlic butter. Don’t wait—they absorb the butter best while they’re hot, and that’s what gives them that signature flavor and sheen.
Serve them warm, right off the tray, and watch them disappear. Trust me, nothing beats that first bite into a soft, buttery breadstick that tastes just like the ones you get at the restaurant—only fresher and (dare I say?) even better.
Helpful Tips for Breadstick Success
-
Use the Right Water Temperature: Your water should be warm—not hot. Aim for about 110°F to activate the yeast without killing it.
-
Don’t Over-Flour the Dough: The dough should be soft and slightly tacky, but not sticky. Too much flour can make the breadsticks dense instead of fluffy.
-
Customize the Flavor: While the classic garlic butter is a must, you can switch things up with a Parmesan herb topping or even a bit of crushed red pepper for a kick.
-
Freeze for Later: Want fresh breadsticks on demand? Shape them, then freeze the dough logs on a tray. Once frozen, transfer to a bag and bake straight from frozen, adding a few extra minutes to the bake time.
Your Olive Garden Breadstick Questions, Answered
Before we wrap things up, I wanted to take a moment to answer some of the most common questions I’ve received about this recipe over the years. Whether it’s your first time working with yeast or you’re just looking for tips to level up your breadstick game, this section should help clear up any lingering doubts.
FAQ: Olive Garden-Style Breadsticks
1. Can I make these breadsticks ahead of time?
Absolutely! You can make the dough and let it rise, then shape the breadsticks and refrigerate them overnight. Just let them come back to room temperature and rise a bit more before baking the next day. You can also freeze the shaped dough for longer storage.
2. How do I store leftovers?
These are definitely best when fresh, but leftovers can be stored in an airtight container or zip-top bag at room temperature for up to 2 days. Reheat them in a 300°F oven for 5 to 7 minutes to bring back that soft texture.
3. Can I use instant yeast instead of active dry yeast?
Yes, you can substitute instant yeast 1:1. The main difference is that you don’t need to proof it in warm water first—just mix it right in with the dry ingredients. Still, I like proofing even instant yeast for that extra fluffy texture.
4. What if I don’t have garlic powder?
You can use minced fresh garlic if you want, just sauté it in the butter for a minute before brushing it onto the breadsticks. It gives a slightly different (but still delicious) flavor.
5. Can I make these gluten-free?
While this recipe was developed with all-purpose flour, you could try using a 1:1 gluten-free flour blend designed for yeast baking. Just note that results may vary, and the texture might be a bit different.
6. Why didn’t my dough rise properly?
This usually comes down to the yeast. Make sure it’s fresh (check the expiration date!) and that your water isn’t too hot. Yeast that’s been sitting around too long or water that’s too warm can prevent a proper rise.
7. Can I double the recipe?
Yes! This recipe doubles easily. Just be sure to use a large enough mixing bowl and baking sheets. You can also freeze half the dough after shaping to bake another time.
Conclusion: Better Than the Breadsticks at the Table? Maybe.
There’s something really satisfying about recreating your favorite restaurant foods at home—and this recipe delivers that classic Olive Garden breadstick experience with soft centers, golden tops, and that buttery garlic finish we all love. The best part? You control the ingredients, and they’re always fresh from the oven.
Whether you’re planning a cozy Italian dinner at home, meal-prepping sides for the week, or just in the mood for warm, homemade breadsticks on a rainy afternoon, this recipe is a keeper. Every time I make them, I’m reminded how easy and rewarding baking from scratch can be.
So if you give these a try (and I really hope you do), don’t forget to come back and let me know how they turned out. Did you add Parmesan? Did your family eat the whole batch in one sitting like mine? I’d love to hear your spin on it!
PrintOlive Garden Breadsticks
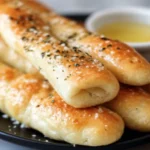
These Olive Garden-style Breadsticks are soft, fluffy, and coated in a delicious garlic butter that makes them utterly irresistible. Perfect as a side for pasta, soup, or salad, these homemade breadsticks bring the restaurant experience right to your kitchen with their golden exterior and melt-in-your-mouth texture.
- Author: Mark's Recipe
Ingredients
1 cup warm water (about 110°F)
2 tablespoons granulated sugar
1 packet active dry yeast (2 ¼ teaspoons)
3 cups all-purpose flour
1 ½ teaspoons salt
2 tablespoons unsalted butter, softened
For the topping
3 tablespoons unsalted butter, melted
½ teaspoon garlic powder
½ teaspoon salt
Instructions
In a large mixing bowl, combine warm water, sugar, and yeast. Stir gently and let sit for about 5 to 10 minutes, until the mixture becomes frothy.
Add the flour, salt, and softened butter to the yeast mixture. Mix until the dough comes together, then knead by hand or with a mixer for about 7 to 8 minutes, until the dough is smooth and elastic.
Place the dough in a lightly greased bowl, cover with a damp towel or plastic wrap, and let rise in a warm place for about 1 hour or until doubled in size.
Punch down the dough and divide it into 12 equal portions. Roll each portion into a 6 to 7-inch log and place them on a parchment-lined baking sheet, leaving space between each one.
Cover loosely and let rise again for about 30 minutes until puffy.
Preheat the oven to 400°F (200°C). Bake the breadsticks for 12 to 14 minutes, or until lightly golden on top.
While the breadsticks are baking, mix melted butter with garlic powder and salt for the topping.
Brush the hot breadsticks immediately with the garlic butter once they come out of the oven.
Notes
For a slightly sweeter flavor, add a touch more sugar to the dough. These breadsticks are best served warm but can be stored in an airtight container and reheated in the oven. You can customize the topping with Parmesan or Italian herbs for variation. This recipe can also be doubled and frozen after shaping for future baking.

")
