
If you’ve ever craved a fresh, homemade loaf of bread but didn’t have the patience (or ingredients) for yeast, this No-Yeast Wonder Bread might just become your new best friend. It’s soft, tender, slightly dense in the best way, and bakes up in under an hour—no rise time, no kneading, and no fancy equipment required. Honestly, this recipe saved me on a weeknight when my family was asking for grilled cheese sandwiches, and I realized we were completely out of bread. Cue the pantry sweep and the baking magic.
What makes this recipe so great is how approachable it is. You probably already have everything you need: flour, baking powder, milk, an egg, and a little oil or butter. That’s it! And despite its simplicity, the result is a loaf that holds its own with all kinds of toppings and uses. I’ve used it for everything from peanut butter toast in the morning to hearty turkey sandwiches at lunch, and it’s a hit every time.
Let’s dive into how easy it is to whip up this delightful no-yeast bread!
Ingredients You’ll Need
Before we get into the steps, here’s what you’ll need to gather:
-
2 cups all-purpose flour
-
1 tablespoon baking powder
-
1 teaspoon salt
-
1 tablespoon sugar (optional, but adds a lovely hint of sweetness)
-
1½ cups milk
-
2 tablespoons neutral oil or melted butter
-
1 egg
STEP-BY-STEP INSTRUCTIONS
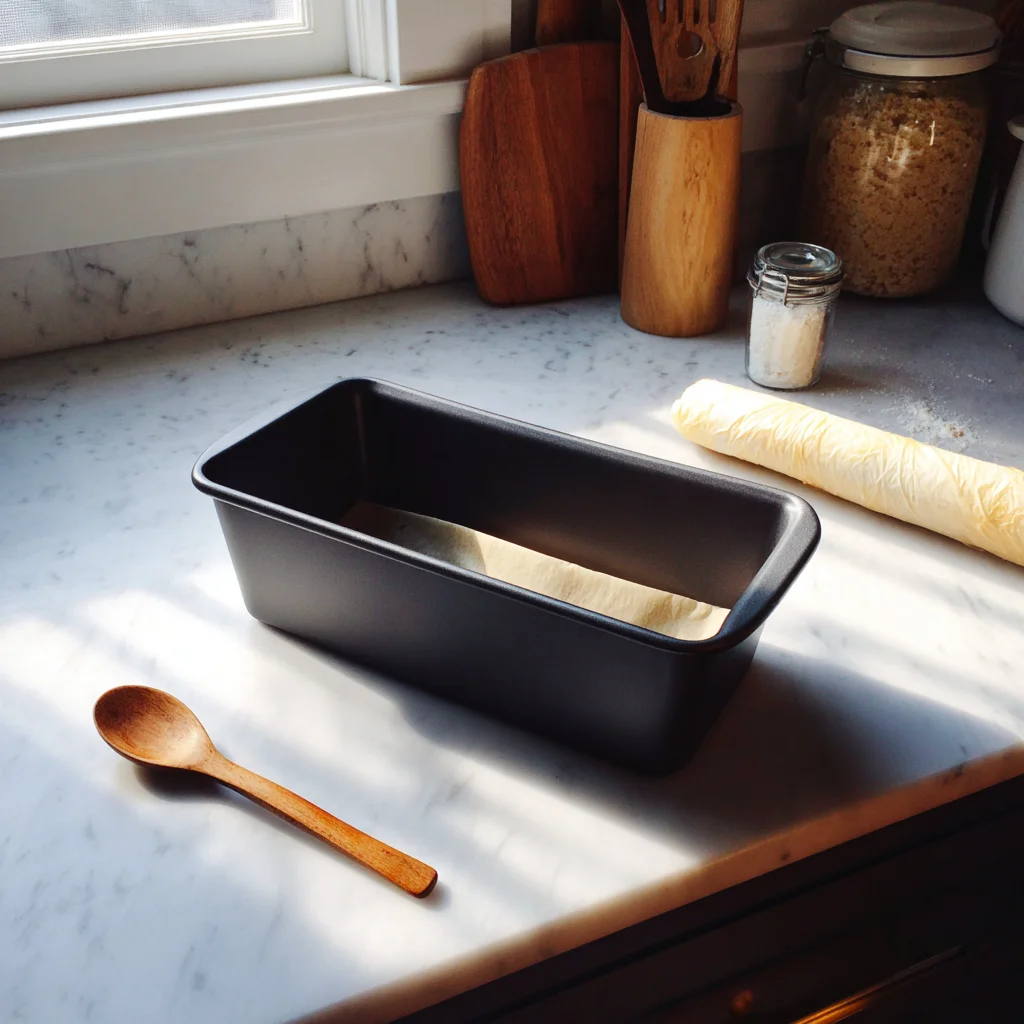
Step 1: Preheat and Prep the Pan
Start by preheating your oven to 350°F. While that’s warming up, go ahead and grease a standard 9×5-inch loaf pan. If you’d rather not deal with sticking or cleanup, you can also line it with parchment paper.
I like to lightly butter my pan and then line it with parchment—it helps lift the bread out super easily once it’s baked.
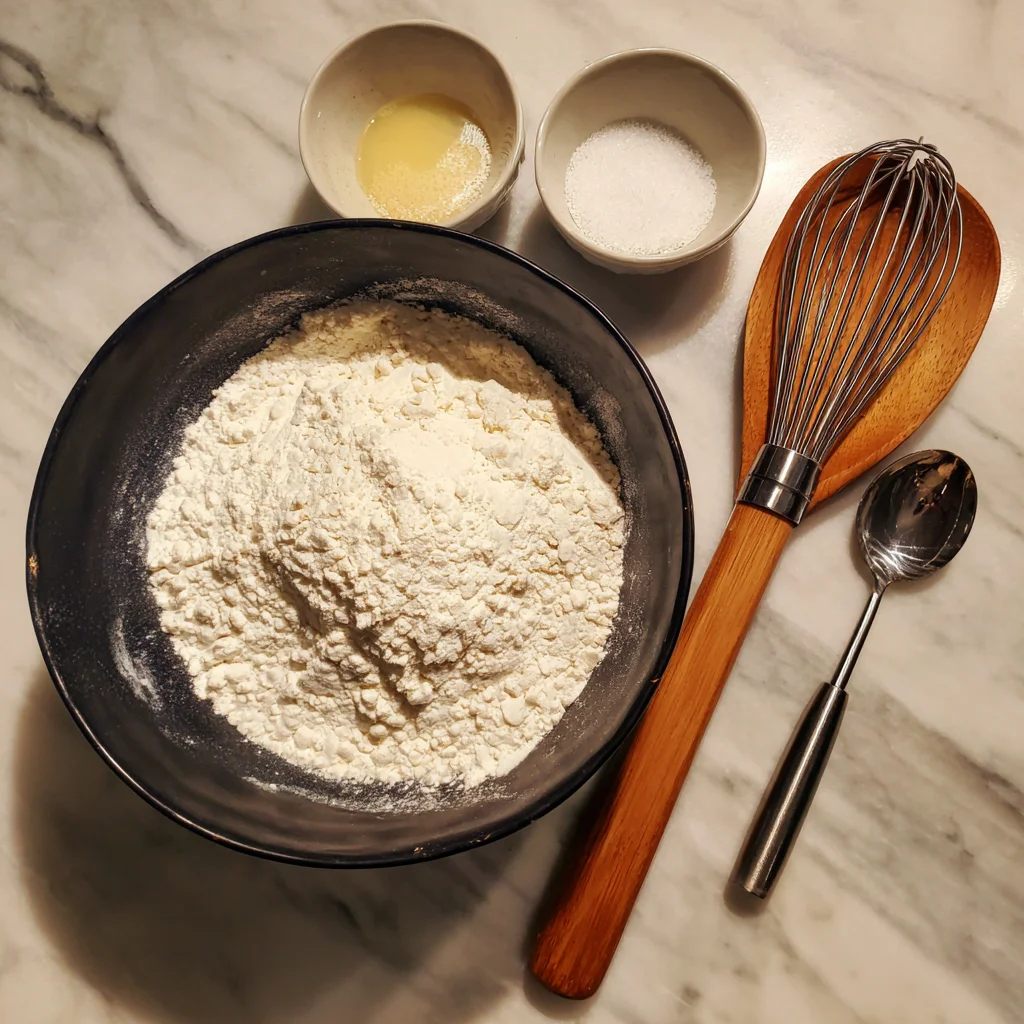
Step 2: Mix Your Dry Ingredients
In a large mixing bowl, whisk together:
-
2 cups of all-purpose flour
-
1 tablespoon of baking powder
-
1 teaspoon of salt
-
1 tablespoon of sugar (if using)
This is your dry mix base. The baking powder acts as our leavening agent here, replacing the traditional yeast. So make sure it’s fresh—old baking powder won’t give your bread that nice rise.
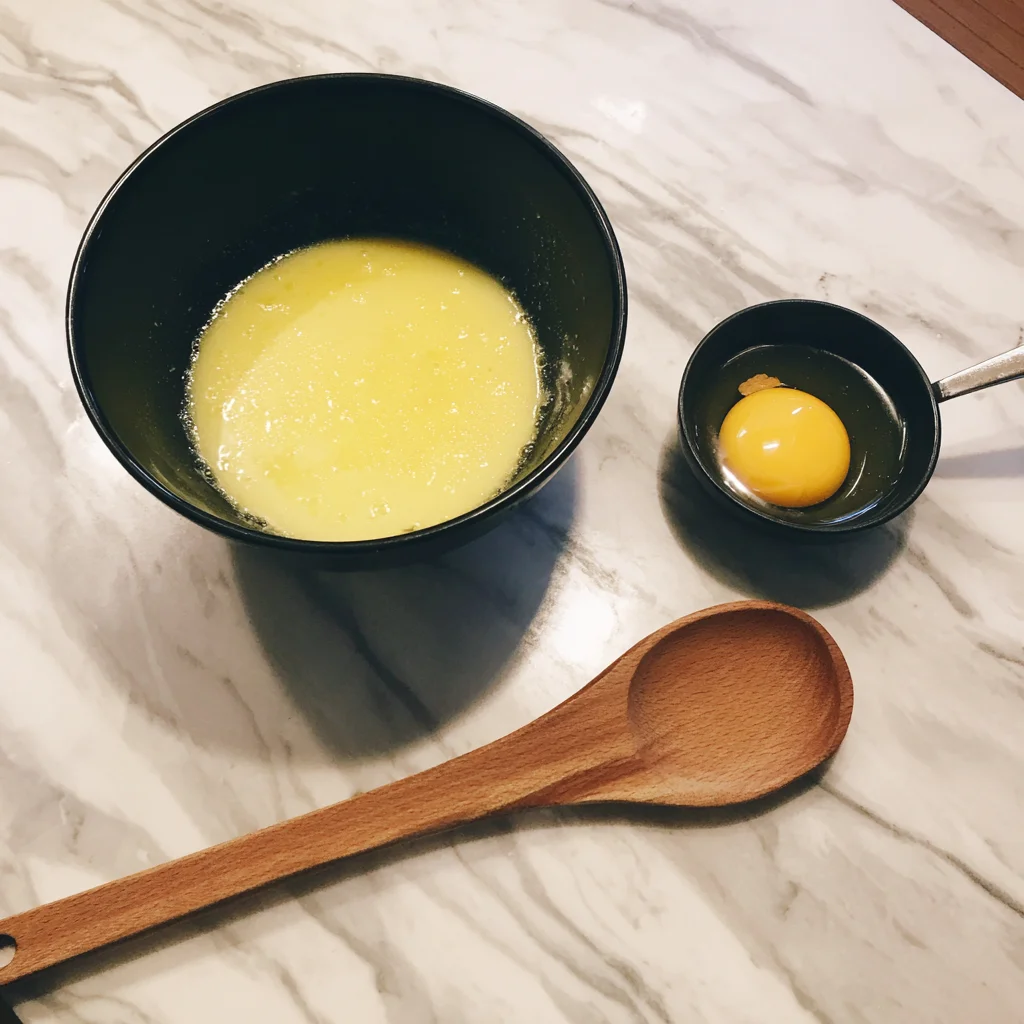
Step 3: Whisk the Wet Ingredients
In a separate bowl, combine:
-
1½ cups of milk
-
2 tablespoons of neutral oil or melted butter
-
1 egg
Whisk these together until everything is smooth and well combined. The egg gives the bread structure and helps bind everything together, while the fat (oil or butter) keeps it tender and flavorful.
You can use any milk you prefer—whole milk makes for a richer loaf, but I’ve had great results with almond and oat milk too!
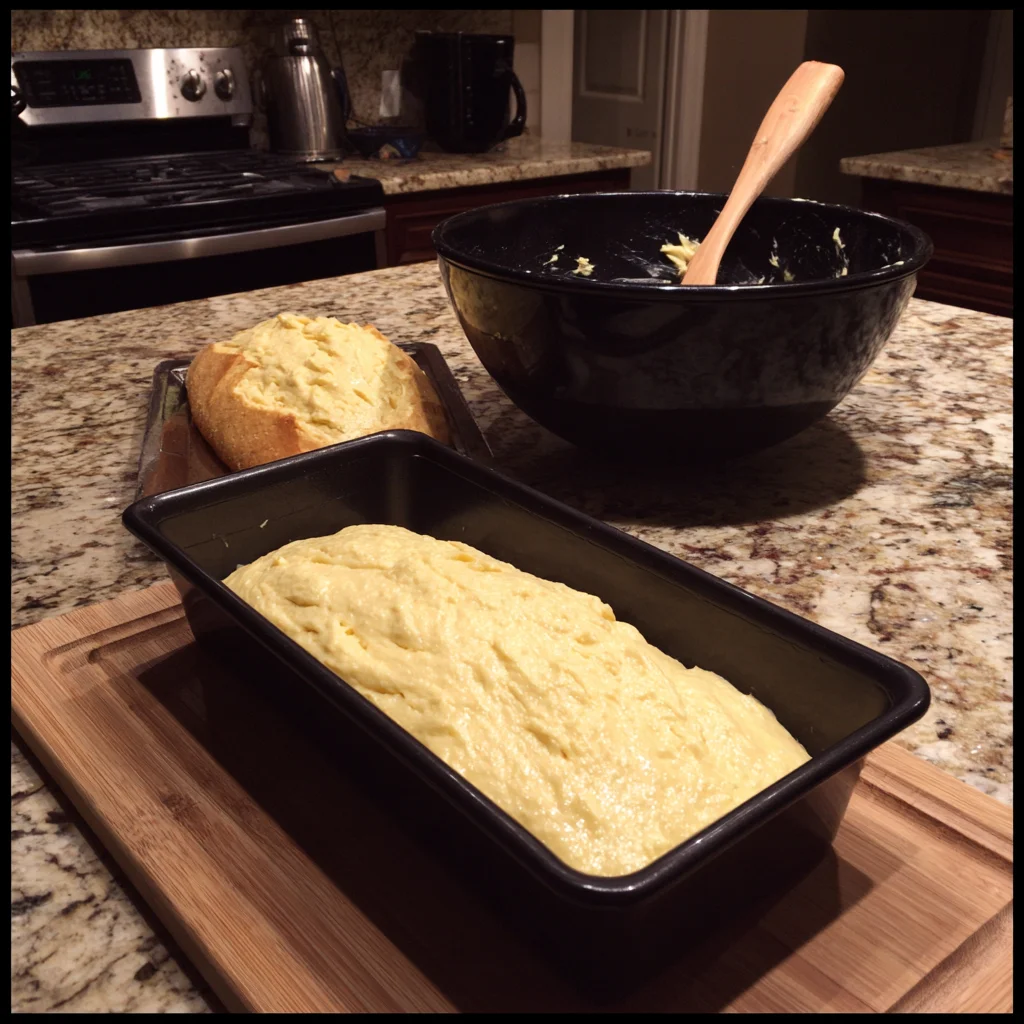
Step 4: Combine Wet and Dry
Now pour the wet ingredients into the dry ingredients and stir gently until everything is just combined. The batter will be thick and slightly lumpy—that’s totally normal!
Tip: Don’t overmix. Overworking the batter can lead to a tough loaf. You just want the flour to be incorporated, and then stop.
Step 5: Pour Into the Pan
Scoop the batter into your prepared loaf pan and smooth out the top with a spatula or the back of a spoon. It won’t level itself out like a cake batter, so take a moment here to spread it evenly.
No-Yeast Wonder Bread: Bake It, Slice It, Love It
Now that your batter is nestled in the loaf pan and your oven is preheated, it’s time for the part where the magic happens—baking this no-yeast beauty to golden perfection. This is one of those recipes that makes your kitchen smell like you’ve been baking all day, even though it only takes about 10 minutes to mix up.
If you’ve never made a quick bread without yeast before, don’t worry. This one is incredibly forgiving. The crumb comes out soft, the crust gets just the right amount of golden, and you won’t miss the yeast one bit. It’s the kind of loaf that begs for a slather of butter straight out of the oven, but it’s sturdy enough to handle sandwiches too. Let’s finish up the baking process and then I’ll walk you through some fun ways to customize it to your taste!
Step 6: Bake the Bread
Place your loaf pan on the center rack of the preheated 350°F oven. Bake for 40 to 45 minutes, or until the top is lightly golden and a toothpick inserted in the center comes out clean. Every oven is a little different, so I recommend starting to check at the 40-minute mark.
Tip: If the top starts to brown too quickly, you can tent it loosely with a piece of foil for the last 10-15 minutes of baking.
You’re looking for a nicely domed top with a golden crust that feels firm but not hard when you press it gently. The inside should be cooked through with no wet spots—this is where that toothpick test is really handy.
Step 7: Cool Before Slicing
Once it’s done baking, let the loaf cool in the pan for about 10 minutes. This allows it to set just enough so it doesn’t fall apart when you remove it.
Then, lift it out of the pan (use the parchment paper if you lined it) and let it cool on a wire rack completely before slicing. I know it’s tempting to cut into it right away—especially with that amazing smell—but letting it cool helps you get clean slices and a better texture.
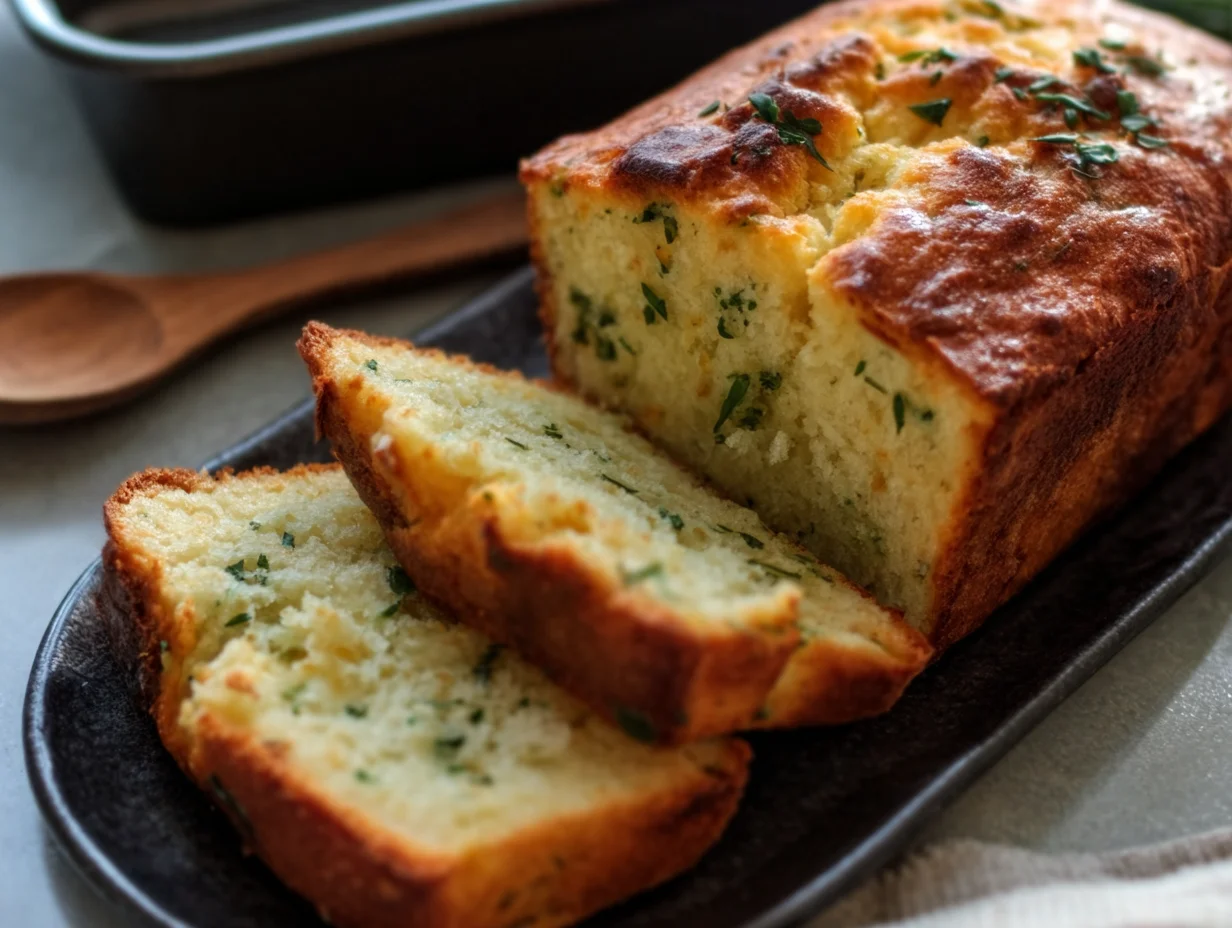
Tips, Variations, and Custom Add-Ins
This recipe is a blank canvas in the best way. It’s delicious on its own, but there are so many fun ways to change it up depending on what you’re using it for or what flavors you love.
Savory Add-Ins:
-
Garlic & Herb: Add 1 teaspoon garlic powder and a tablespoon of dried herbs (like rosemary, thyme, or Italian seasoning) to the dry ingredients.
-
Cheddar Jalapeño: Stir in ½ cup shredded sharp cheddar and a tablespoon of finely chopped jalapeños for a kick.
-
Parmesan & Black Pepper: Add ¼ cup grated Parmesan and a few cracks of fresh black pepper for a savory, cheesy loaf.
Sweet Twists:
-
Cinnamon Sugar Swirl: Mix 2 tablespoons of brown sugar with 1 teaspoon cinnamon, and swirl it into the batter before baking.
-
Berry Boost: Gently fold in ½ cup of fresh or frozen blueberries or chopped strawberries. Just be sure not to overmix!
Make It Dairy-Free:
Use your favorite plant-based milk (like oat, almond, or soy) and swap the butter with neutral oil or vegan butter.
Gluten-Free Option:
You can try substituting a 1:1 gluten-free flour blend, but keep in mind the texture may be slightly different. I’ve had success with King Arthur’s Gluten-Free Measure for Measure Flour in this recipe.
Serving Suggestions
Once cooled, this bread slices beautifully and is perfect for:
-
Toast: Slathered with butter, jam, or nut butter.
-
Grilled Cheese: Especially good with melty cheddar and a slice of tomato.
-
Breakfast Sandwiches: Egg, cheese, and bacon on this bread? Game-changer.
-
Soup Sidekick: Serve it toasted with a bowl of creamy soup or chili.
Whether you keep it simple or go wild with add-ins, this no-yeast loaf delivers on flavor, texture, and convenience. It’s one of those recipes that feels like a small win on a busy day, and it’s always nice to have something warm and homemade on the table with minimal effort.
No-Yeast Wonder Bread: FAQ and Final Thoughts
We’ve covered the mixing, baking, and even some delicious ways to customize this No-Yeast Wonder Bread—and now it’s time to answer some of the most common questions I get about this recipe. Whether you’re baking for the first time or looking to switch things up with your weekly sandwich loaf, this section will help troubleshoot and inspire.
Let’s dive into the FAQ section, then I’ll leave you with a few closing thoughts and tips to make this bread a staple in your kitchen.
FREQUENTLY ASKED QUESTIONS
1. Can I make this bread without eggs?
Yes, you can! If you need an egg-free version, you can replace the egg with a flaxseed egg (1 tablespoon ground flaxseed mixed with 3 tablespoons of water). Let it sit for 5 minutes before adding it to the wet ingredients. The texture will be slightly different—maybe a bit more dense—but it still works great.
2. Can I use whole wheat flour instead of all-purpose?
You can substitute up to half of the all-purpose flour with whole wheat flour without affecting the structure too much. Using 100% whole wheat may make the bread more dense and hearty. If you do go fully whole wheat, consider adding an extra tablespoon or two of milk to keep the batter from getting too thick.
3. How should I store this bread?
Once the bread has completely cooled, wrap it tightly in plastic wrap or store it in an airtight container at room temperature. It’s best enjoyed within 1 to 2 days. For longer storage, slice the loaf and freeze it in a zip-top bag. You can toast slices straight from the freezer.
4. Can I double the recipe?
Technically, yes—but instead of doubling it into one pan, I recommend using two separate 9×5-inch loaf pans. That way, the bread bakes evenly and you don’t end up with an undercooked center. You can bake both loaves side-by-side in the oven.
5. Why is my bread dense or gummy in the middle?
If the center is undercooked, it could be due to overmixing the batter or baking at the wrong temperature. Always check your oven with an oven thermometer if your loaves seem to be taking longer than expected. Also, make sure to let the bread rest and cool completely before slicing—it continues to set as it cools.
6. Can I add nuts, seeds, or dried fruit?
Absolutely. Chopped walnuts, sunflower seeds, or even raisins can be folded into the batter just before pouring it into the pan. Stick to about ½ cup of mix-ins total to avoid overloading the batter.
7. What’s the best way to toast this bread?
I love slicing it a bit thick and toasting it in a skillet with a little butter for extra flavor. You can also pop it in your toaster or toast it under the broiler for a minute or two. It crisps up beautifully.
FINAL THOUGHTS: GIVE THIS NO-YEAST WONDER A TRY
If you’re looking for a reliable, quick, and comforting bread recipe that doesn’t require yeast, this No-Yeast Wonder Bread is a must-try. It’s especially perfect for those days when you’re low on ingredients or time but still want something homemade and satisfying on the table.
What I love most about this bread is how versatile it is. You can go savory or sweet, keep it simple or dress it up with add-ins, and it always delivers. The crumb is soft and tender, the crust is lightly golden, and it toasts like a dream.
So if you haven’t tried making your own bread before, or if yeast-based recipes feel a little intimidating, this is your gentle nudge to go for it. You’ve got this.
PrintNo-Yeast Wonder Bread

No-Yeast Wonder Bread is a quick and easy alternative to traditional sandwich bread, made without any yeast or rise time. It bakes up soft, tender, and slightly dense—perfect for slicing and toasting, or using in sandwiches, grilled cheese, or breakfast toast. With just a few pantry staples, this recipe delivers homemade comfort in under an hour, no kneading or proofing required.
- Author: Mark's Recipe
Ingredients
2 cups all-purpose flour
1 tablespoon baking powder
1 teaspoon salt
1 tablespoon sugar (optional, for a hint of sweetness)
1½ cups milk
2 tablespoons neutral oil or melted butter
1 egg
Instructions
1️⃣ Preheat the oven to 350°F and grease a 9×5-inch loaf pan or line it with parchment paper.
2️⃣ In a large bowl, whisk together the flour, baking powder, salt, and sugar.
3️⃣ In a separate bowl, whisk the milk, oil or melted butter, and egg until well combined.
4️⃣ Pour the wet ingredients into the dry and stir just until combined. Do not overmix; the batter will be thick and slightly lumpy.
5️⃣ Transfer the batter to the prepared loaf pan and smooth the top with a spatula.
6️⃣ Bake for 40 to 45 minutes, or until the top is golden and a toothpick inserted in the center comes out clean.
7️⃣ Let the bread cool in the pan for 10 minutes before transferring to a wire rack to cool completely.
Notes
This bread is best eaten within a day or two of baking, but it toasts beautifully after that. For extra flavor, try adding herbs, garlic powder, or shredded cheese to the batter. Use whole milk for a richer texture, or substitute with plant-based milk if desired. This loaf slices cleanly and holds up well for sandwiches, especially when toasted or grilled.


")
