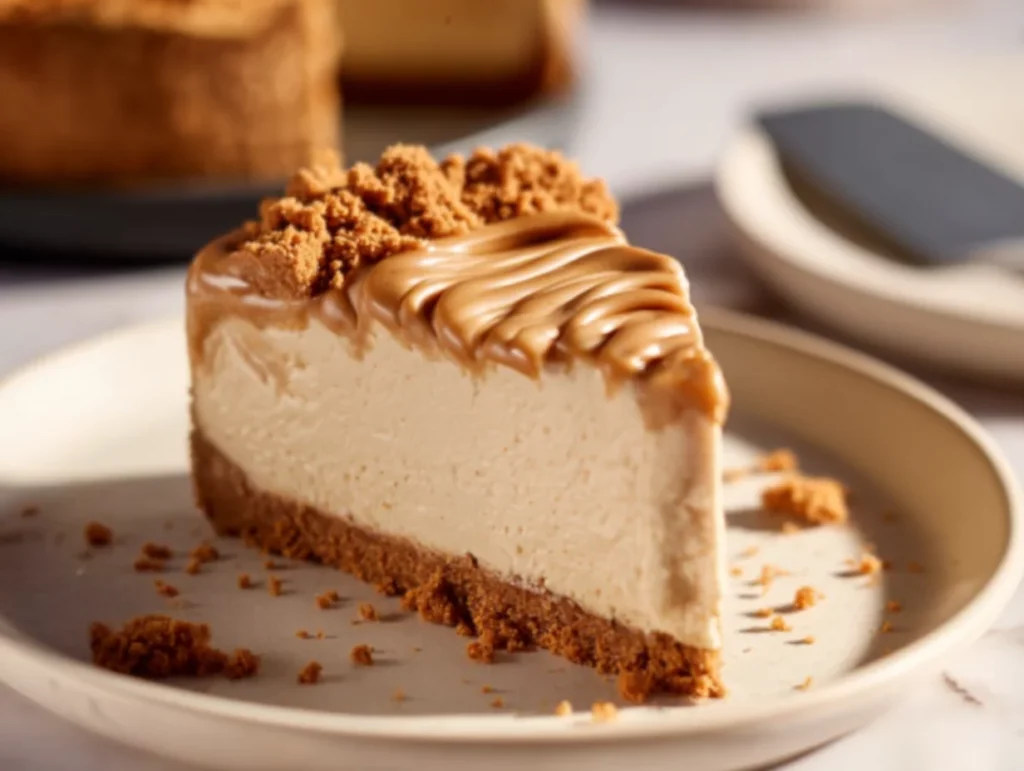
If you’ve got a soft spot for anything cookie butter (hello, fellow Biscoff lovers!), then this No Bake Biscoff Cheesecake is about to become your new go-to dessert. It’s rich, creamy, and packed with that signature caramelized spice flavor we all know and love from Biscoff cookies. The best part? No oven needed!
I originally made this cheesecake for a weekend dinner with friends, and let me just say—there wasn’t a single crumb left on the plate. It’s seriously one of those “make once, make forever” kind of recipes. With a buttery Biscoff crust, a silky-smooth cookie butter filling, and a dreamy drizzle of melted Biscoff on top, this is what dessert dreams are made of.
Plus, since it’s a no-bake recipe, it’s perfect for summer when turning on the oven feels like a crime, or for holidays when your oven is already working overtime. Let’s dive right in and get started, because I can already tell you—you’re going to want a slice (or two) of this one ASAP.
Ingredients You’ll Need
Before we jump into the steps, let’s talk ingredients. One of the best things about this Biscoff cheesecake is how simple it is—no fancy tools, no hard-to-find ingredients, just pure cookie butter goodness.
For the crust:
-
2 cups Biscoff cookies, finely crushed
-
6 tablespoons melted butter
For the filling:
-
16 oz cream cheese, softened
-
¾ cup Biscoff cookie butter
-
½ cup powdered sugar
-
1 teaspoon vanilla extract
-
1 cup heavy whipping cream, cold
Optional topping:
-
¼ cup Biscoff cookie butter, melted
-
Crushed Biscoff cookies for garnish
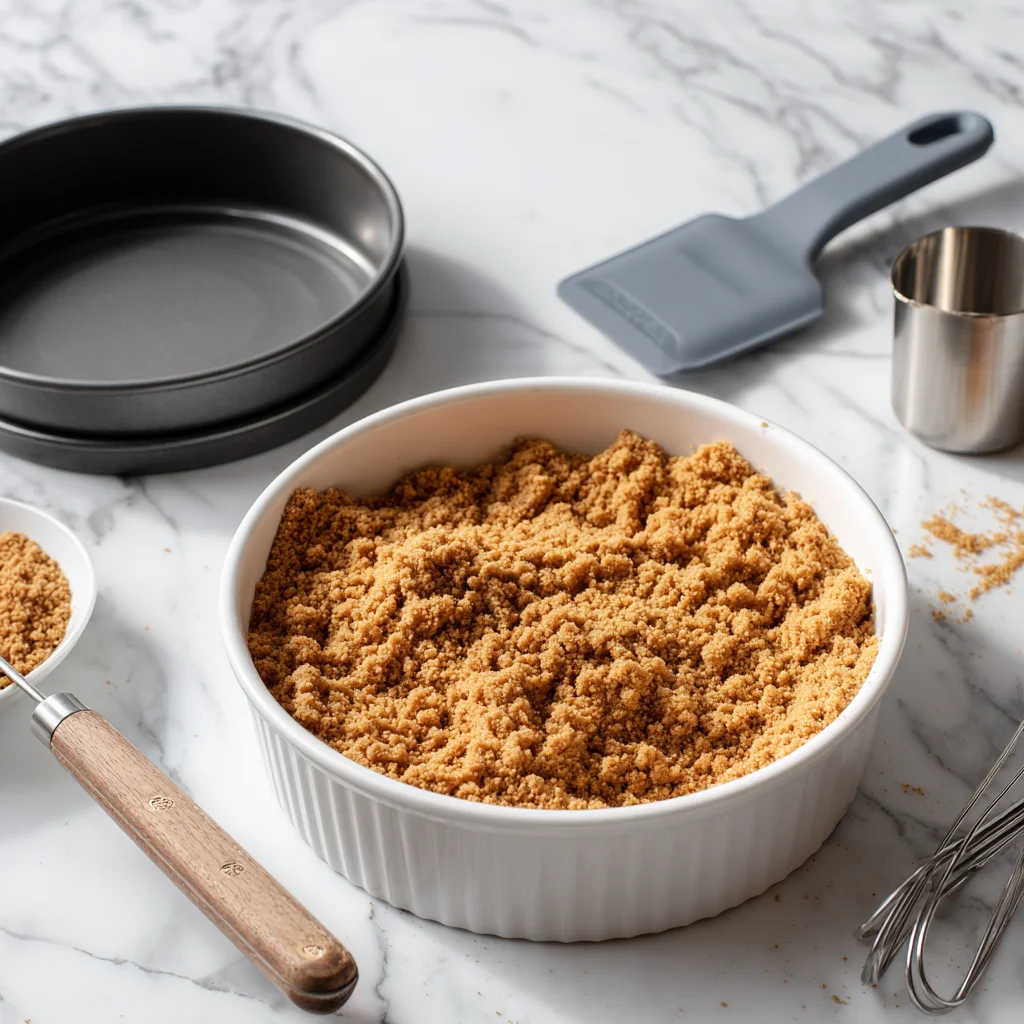
STEP 1: Make the Biscoff Cookie Crust
This crust is ridiculously easy and comes together in just minutes.
Start by finely crushing your Biscoff cookies. You can do this in a food processor for a super even texture, or just toss them in a zip-top bag and crush them with a rolling pin. Either way works!
Next, mix the crushed cookies with the melted butter until the mixture resembles wet sand. You want every crumb to be nicely coated so it holds together well.
Now, press that mixture firmly into the bottom of a 9-inch springform pan. Use the bottom of a measuring cup or a glass to really pack it down tightly—this helps the crust stay intact when slicing later.
Pop the crust into the refrigerator while you work on the filling. This quick chill gives the crust time to set and firm up.
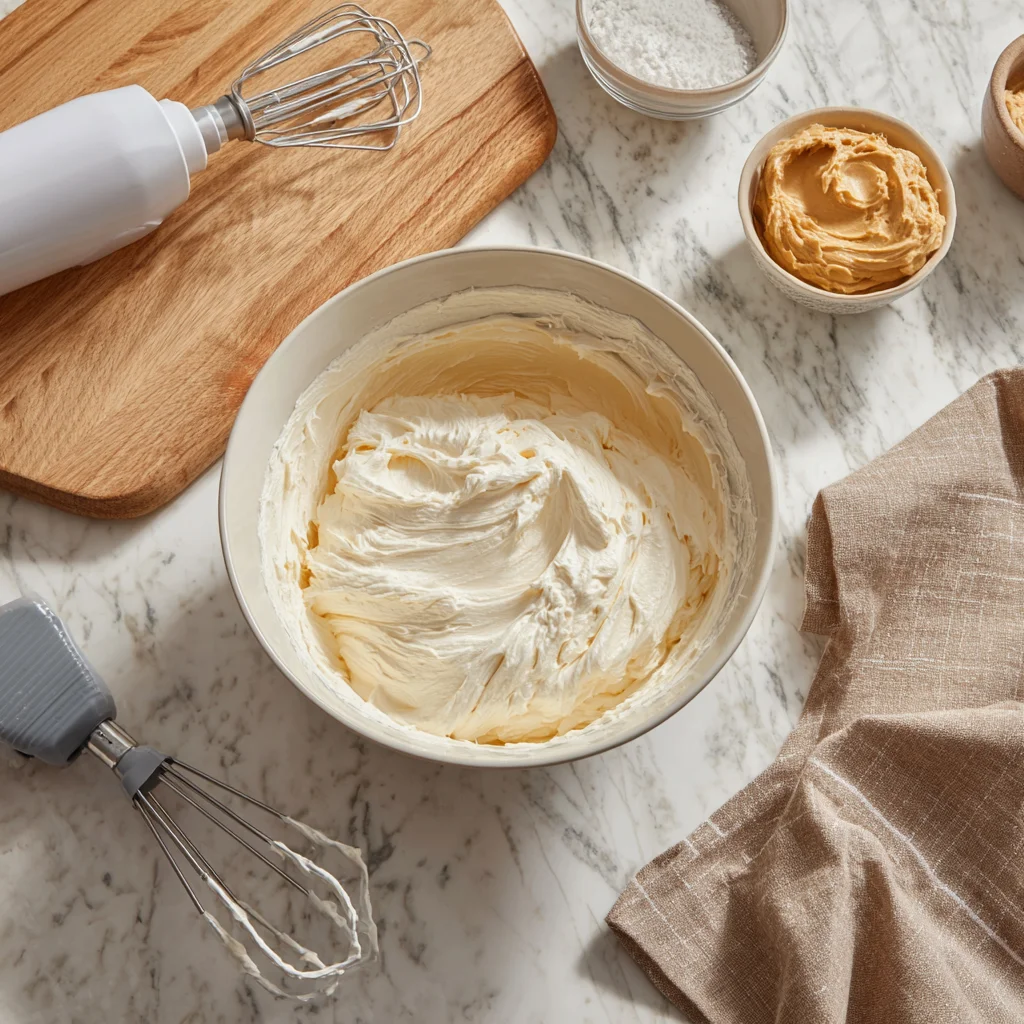
STEP 2: Prepare the Biscoff Cheesecake Filling
Okay, here’s where the magic happens. The filling is smooth, creamy, and bursting with that sweet, spiced cookie butter flavor.
In a large mixing bowl, beat the softened cream cheese until smooth. You really want to take your time here—no lumps allowed! Make sure your cream cheese is truly softened (let it sit out for about 30 minutes) so you get a silky texture.
Once it’s smooth, add in the Biscoff cookie butter, powdered sugar, and vanilla extract. Keep mixing until everything is well combined and the mixture is light and fluffy. This base is already irresistible—you’ve been warned.

STEP 3: Whip and Fold in the Cream
Now it’s time to add the whipped cream for that light and airy cheesecake texture.
In a separate bowl, whip the cold heavy cream until stiff peaks form. You can use a hand mixer or a stand mixer for this. The key is to make sure the whipped cream holds its shape but doesn’t get over-whipped and grainy.
Gently fold the whipped cream into the Biscoff cream cheese mixture. Take your time and use a spatula—this keeps the mixture fluffy and helps it hold together. You want everything to be fully combined but still airy.
No Bake Biscoff Cheesecake: The Ultimate Cookie Butter Dessert You’ll Crave Again and Again
We’ve already whipped up that luscious cookie butter filling and pressed the crust into the pan—now we’re ready for the fun part: assembling the cheesecake, chilling it to perfection, and adding those dreamy final touches that make this dessert truly irresistible.
This second half is just as simple and satisfying as the first, and I’ve got a few extra tips to make sure your cheesecake turns out smooth, sliceable, and downright stunning every time. Let’s keep going!
STEP 4: Assemble the Cheesecake
Once your whipped cream is folded gently into the cookie butter filling, you’re ready to bring it all together.
Take the springform pan out of the fridge and carefully spoon the cheesecake filling over the chilled crust. Use a rubber spatula or an offset spatula to spread it out evenly and smooth the top.
This step doesn’t need to be perfect, but a nice, even top makes for a beautiful final presentation—especially if you’re planning to serve this at a gathering or party.
Once it’s filled and smoothed, it’s time to pop the whole thing in the refrigerator.
STEP 5: Chill for Best Texture
Now, here’s where patience pays off. The cheesecake needs to chill for at least 6 hours, but overnight is even better. This gives the filling time to set properly and makes it easier to slice cleanly.
I like to make this cheesecake the night before I plan to serve it—it’s a great make-ahead dessert, and you’ll love how firm and flavorful it becomes after a night in the fridge.
Pro tip: If you’re in a rush or just want extra-firm slices, you can pop the cheesecake in the freezer for about 1 hour before slicing. It gives you those perfect, clean cuts without being frozen solid.
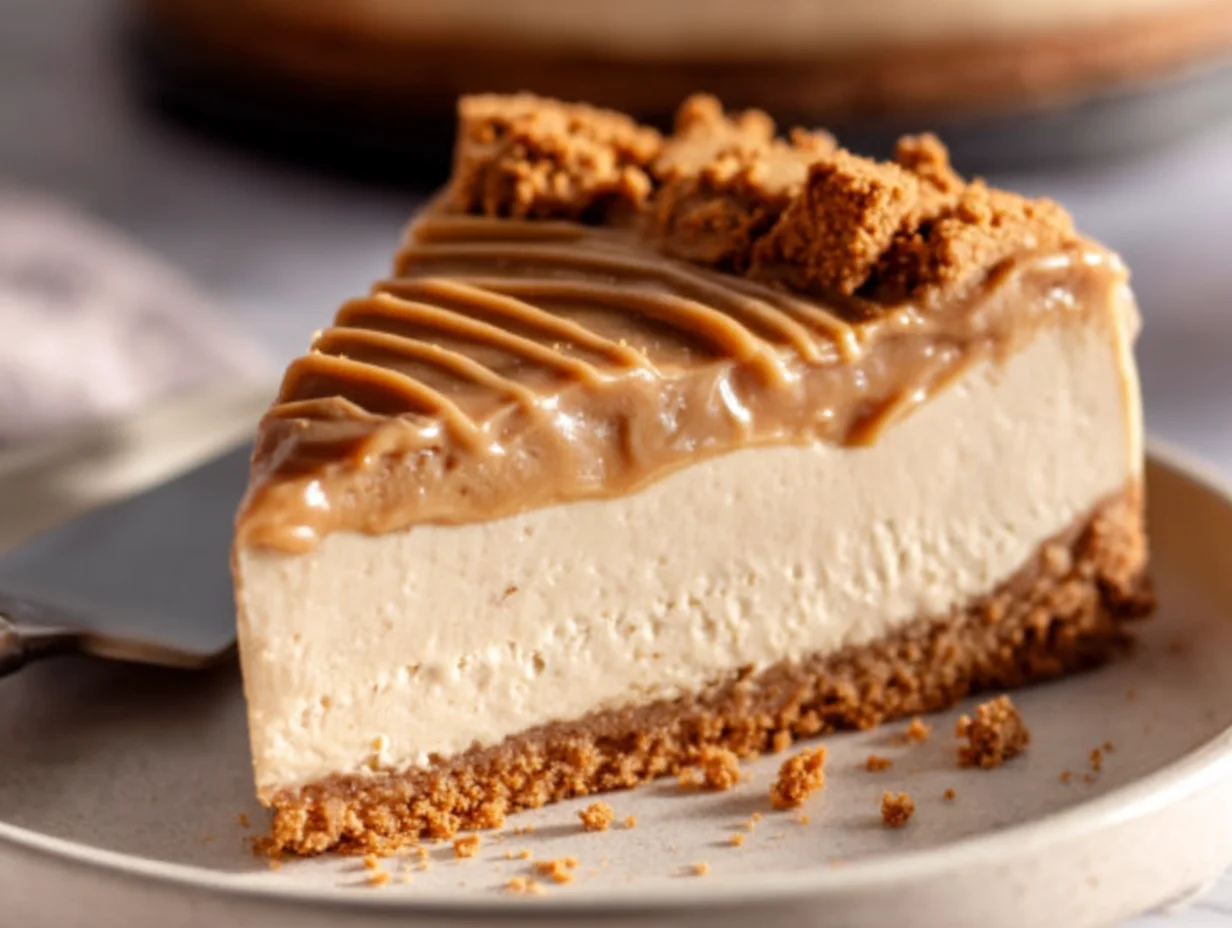
STEP 6: Add the Finishing Touches
Right before serving, it’s time to give this cheesecake a little extra flair. The optional toppings are simple but take things to the next level.
Drizzle melted Biscoff cookie butter over the top—it’s easy to do, and just a few tablespoons go a long way. If your cookie butter is too thick, microwave it for 10–15 seconds to make it nice and pourable.
Then, sprinkle crushed Biscoff cookies over the top for that perfect crunch. It’s totally optional, but honestly, why not? It adds texture and lets everyone know exactly what delicious flavor they’re about to dive into.
Helpful Tips for Success
Let’s talk a few quick troubleshooting and success tips, because while this recipe is super simple, these little tricks can make it even more foolproof:
-
Use room temperature cream cheese – This is non-negotiable for that ultra-smooth filling. If the cream cheese is too cold, it’ll stay lumpy no matter how much you beat it.
-
Whip the cream just right – You want stiff peaks, but don’t overmix. Over-whipped cream can turn grainy and affect the texture of your filling.
-
Fold gently – When mixing the whipped cream into the filling, don’t stir aggressively. Gentle folding keeps the air in the mixture and gives you that light, mousse-like texture.
-
Chill thoroughly – The longer this cheesecake chills, the better it sets. Six hours is the minimum, but overnight will give you a firmer, more sliceable dessert.
-
Springform pan = clean release – If you have a springform pan, use it. It makes removing the cheesecake so much easier and keeps the edges neat.
Make It Your Own: Easy Variations
This no-bake Biscoff cheesecake is already packed with flavor, but if you’re feeling creative, here are a few fun twists you can try:
-
Add a chocolate swirl – Melt some dark or milk chocolate and swirl it into the filling before chilling.
-
Top with whipped cream – A dollop of freshly whipped cream on each slice adds a light contrast to the rich filling.
-
Mini cheesecakes – Divide the crust and filling between muffin tins lined with paper cups for individual servings.
-
Frozen version – Want a more ice cream-like texture? Freeze the cheesecake for 3–4 hours before serving. Let it sit at room temp for 15 minutes before slicing.
No Bake Biscoff Cheesecake: The Ultimate Cookie Butter Dessert You’ll Crave Again and Again
You’ve made it to the final part of this creamy, dreamy journey! By now, your No Bake Biscoff Cheesecake should be chilling in the fridge (or maybe already half-devoured). In this last section, we’re covering the most frequently asked questions about this recipe—from storage tips to ingredient swaps—so you feel confident making this again and again.
Whether it’s your first time making a no-bake cheesecake or you’re already a Biscoff devotee, this FAQ section will help you troubleshoot, tweak, and serve your cheesecake like a pro.
FAQ: No Bake Biscoff Cheesecake
1. Can I make this cheesecake ahead of time?
Yes! This is actually a perfect make-ahead dessert. You can prepare the cheesecake up to 2 days in advance and keep it covered in the fridge. Just hold off on adding the toppings until right before serving for the freshest look and taste.
2. What kind of cream cheese should I use?
Stick with full-fat brick-style cream cheese for best results. Avoid the spreadable kind that comes in tubs, as it’s too soft and won’t hold up as well in a no-bake filling.
3. How long does it need to chill?
The cheesecake needs to chill for at least 6 hours, but overnight is ideal. If you’re short on time, you can place it in the freezer for 1 hour before serving to help it set more firmly.
4. Can I freeze Biscoff cheesecake?
Absolutely! This cheesecake freezes beautifully. Wrap it tightly in plastic wrap and foil, or place it in an airtight container. It’ll keep in the freezer for up to 1 month. Let it thaw in the fridge overnight before serving.
5. What’s the best way to crush the Biscoff cookies?
A food processor works great for a super-fine crumb, but if you don’t have one, just place the cookies in a zip-top bag and use a rolling pin to crush them. Either method works just fine!
6. Can I use Cool Whip instead of whipped cream?
Yes, if you prefer or are short on time, Cool Whip can be used as a substitute for whipped cream. Use about 2 cups of Cool Whip in place of the freshly whipped cream. The texture will be slightly different, but still delicious.
7. What if I don’t have a springform pan?
You can use a regular 9-inch pie dish or baking dish, but be aware that it may be harder to slice cleanly. For best presentation, a springform pan really is the way to go.
Final Thoughts: Why You’ll Love This No Bake Biscoff Cheesecake
There’s something undeniably magical about this cheesecake. It hits all the right notes—sweet, creamy, spiced, and just a little indulgent without being over-the-top. Plus, no oven means it’s nearly foolproof, and the texture is everything you want in a no-bake dessert: light, smooth, and satisfying.
I love how this recipe comes together with just a few ingredients and minimal effort, but the results always feel special. Whether you’re making it for a holiday dessert table, a birthday celebration, or a casual weeknight treat, it’s guaranteed to impress.
If you do make this No Bake Biscoff Cheesecake (and I hope you do!), I’d love to hear how it turned out! Leave a comment below and let me know if you tried any fun variations—like chocolate swirls, a whipped cream topping, or mini cheesecake cups.
There’s no wrong way to enjoy cookie butter, after all.
PrintNo Bake Biscoff Cheesecake
This No Bake Biscoff Cheesecake is a luscious, creamy dessert that delivers rich caramelized cookie flavor in every bite. With a buttery Biscoff cookie crust and a smooth cheesecake filling blended with cookie butter, it’s a dream come true for Biscoff lovers. The best part is that it requires no oven time, making it the perfect make-ahead dessert for parties, holidays, or any sweet craving.
- Author: Mark's Recipe
Ingredients
For the crust:
2 cups Biscoff cookies, finely crushed
6 tablespoons melted butter
For the filling:
16 oz cream cheese, softened
¾ cup Biscoff cookie butter
½ cup powdered sugar
1 teaspoon vanilla extract
1 cup heavy whipping cream, cold
For the topping (optional):
¼ cup Biscoff cookie butter, melted
Crushed Biscoff cookies for garnish
Instructions
1 In a bowl, combine crushed Biscoff cookies with melted butter until evenly moistened. Press the mixture firmly into the bottom of a 9-inch springform pan. Chill in the refrigerator while you prepare the filling.
2 In a large mixing bowl, beat the softened cream cheese until smooth. Add the cookie butter, powdered sugar, and vanilla extract, and continue to beat until well combined and creamy.
3 In a separate bowl, whip the cold heavy cream until stiff peaks form. Gently fold the whipped cream into the Biscoff cream cheese mixture until fully incorporated and smooth.
4 Spoon the filling over the prepared crust and spread evenly with a spatula. Smooth the top and refrigerate for at least 6 hours or overnight for best results.
5 Before serving, drizzle melted Biscoff cookie butter over the top and sprinkle with crushed cookies if desired.
Notes
Make sure the cream cheese is fully softened to avoid lumps in the filling. For a firmer texture, freeze the cheesecake for an hour before slicing. You can adjust the sweetness by reducing or increasing the powdered sugar slightly. This cheesecake can be stored in the refrigerator for up to 4 days and freezes well for longer storage.


")
