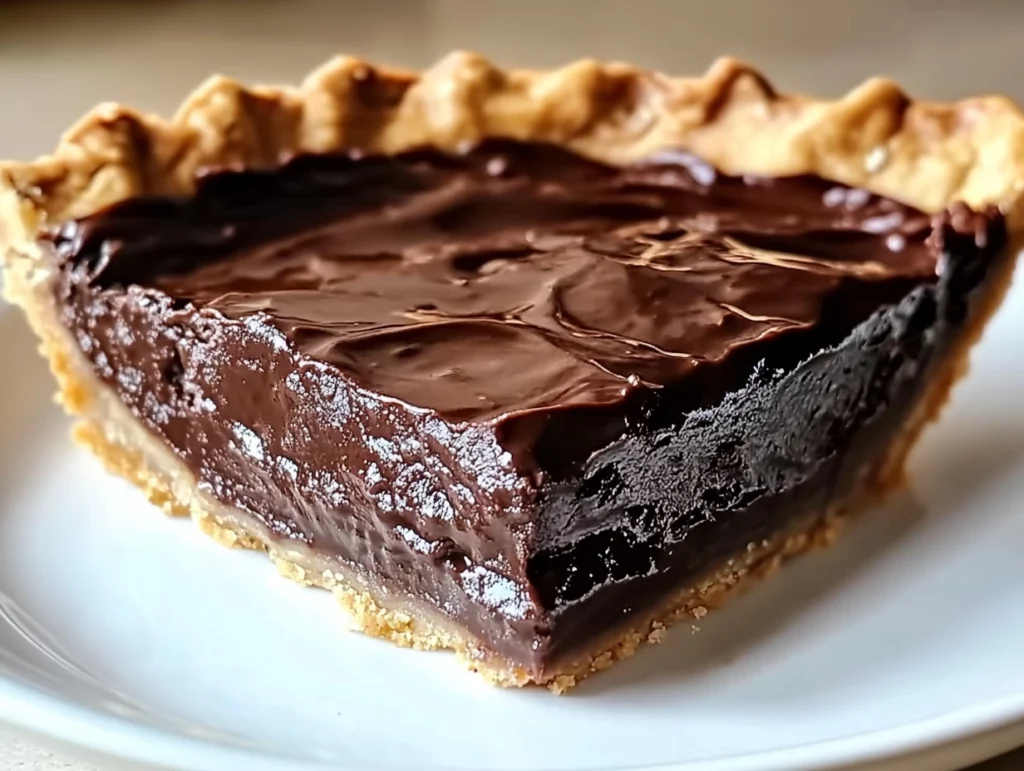
There’s something about warm chocolate desserts that just makes everything feel a little more special—especially when they’re as easy and indulgent as this Hot Fudge Pie. This dreamy dessert sits right at the crossroads of a fudgy brownie and a classic pie. It’s rich, gooey in the center, and perfectly crisp around the edges. Basically, it’s everything a chocolate lover dreams about—plus, you probably already have the ingredients sitting in your pantry.
I first made this recipe on a rainy weeknight when I was craving something chocolatey but didn’t feel like going full-on “bake a cake from scratch” mode. I tossed it together in one bowl, popped it in the oven, and twenty-five minutes later I had a bubbling, brownie-like masterpiece on my hands. Served warm with a big scoop of vanilla ice cream? Total magic. It instantly became a staple in our house for cozy nights in, last-minute desserts for friends, and those “just because” baking moments.
If you’re looking for a no-fuss dessert that still delivers on all the rich, fudgy flavor, this is it. So let’s dive right into how you can make this Hot Fudge Pie at home in under an hour!
Ingredients You’ll Need
-
1/2 cup unsalted butter, melted
-
1 cup granulated sugar
-
1/4 cup unsweetened cocoa powder
-
2 large eggs
-
1 teaspoon vanilla extract
-
1/4 cup all-purpose flour
-
1/4 teaspoon salt
Optional Toppings (for extra indulgence):
-
Vanilla ice cream
-
Whipped cream
-
Hot fudge sauce
-
Chopped nuts or chocolate shavings
STEP 1: Preheat the Oven
Start by preheating your oven to 350°F (175°C). This step might seem simple, but it’s crucial. A properly preheated oven ensures your pie bakes evenly, with those perfectly set edges and that signature molten center.
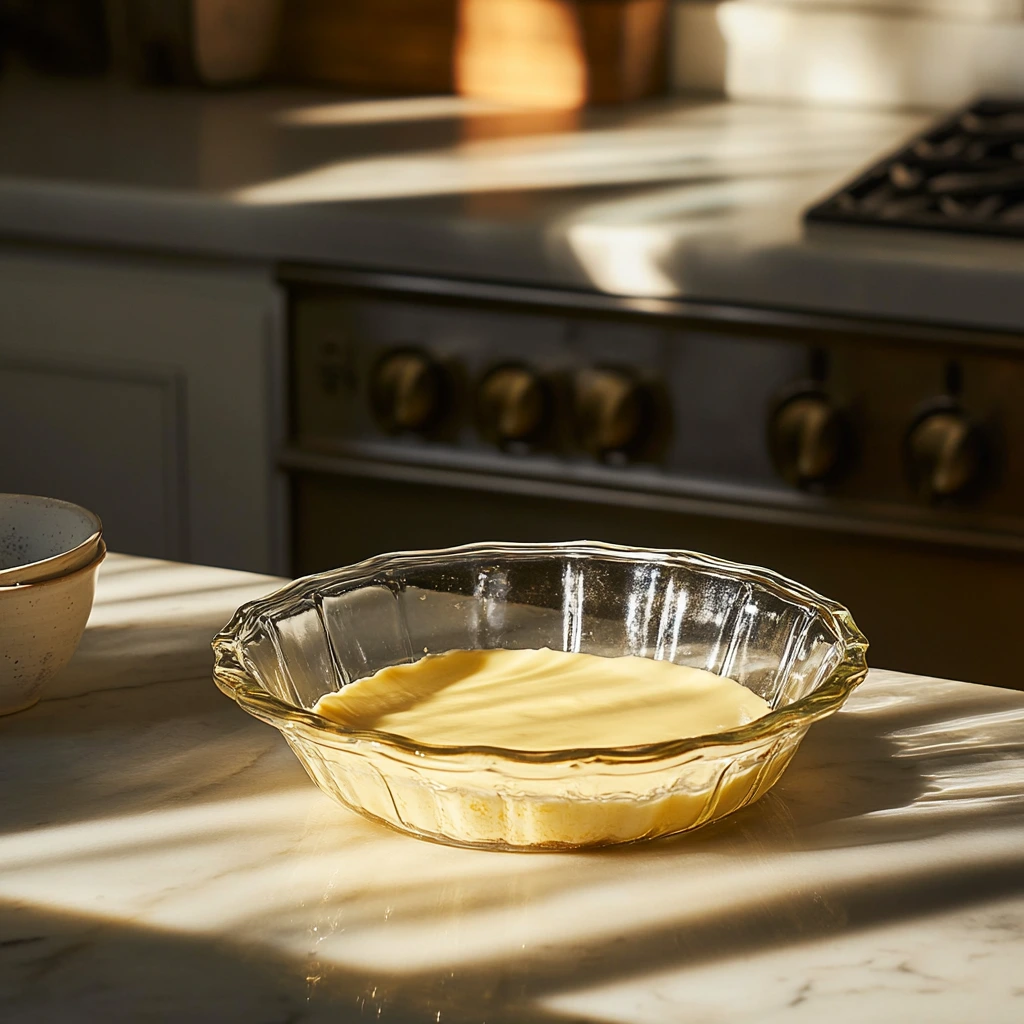
Grease a 9-inch pie dish or an 8×8-inch baking dish with either non-stick spray or a bit of butter. Personally, I love using butter here—it adds a subtle richness and helps that crisp edge form around the gooey middle.
STEP 2: Make the Batter
This is the part where the magic begins—and the best part? You only need one bowl.
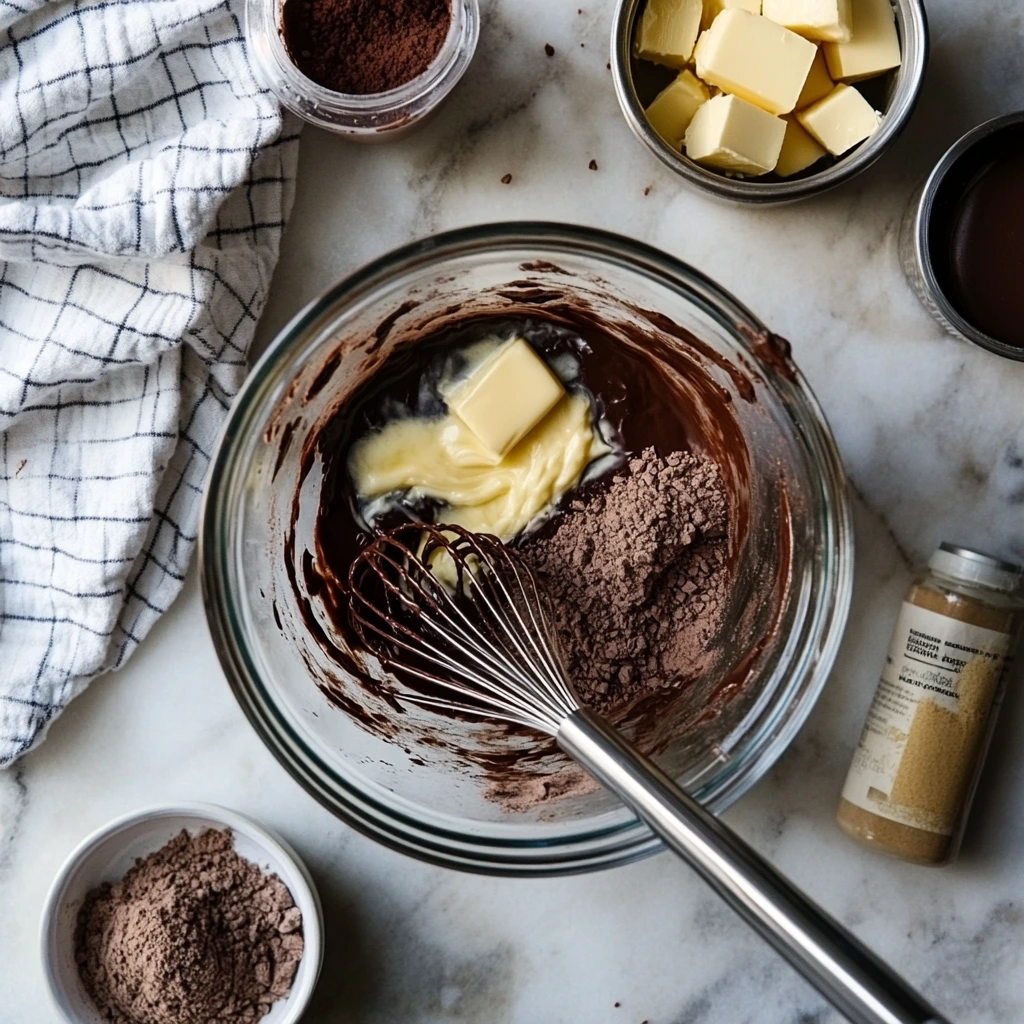
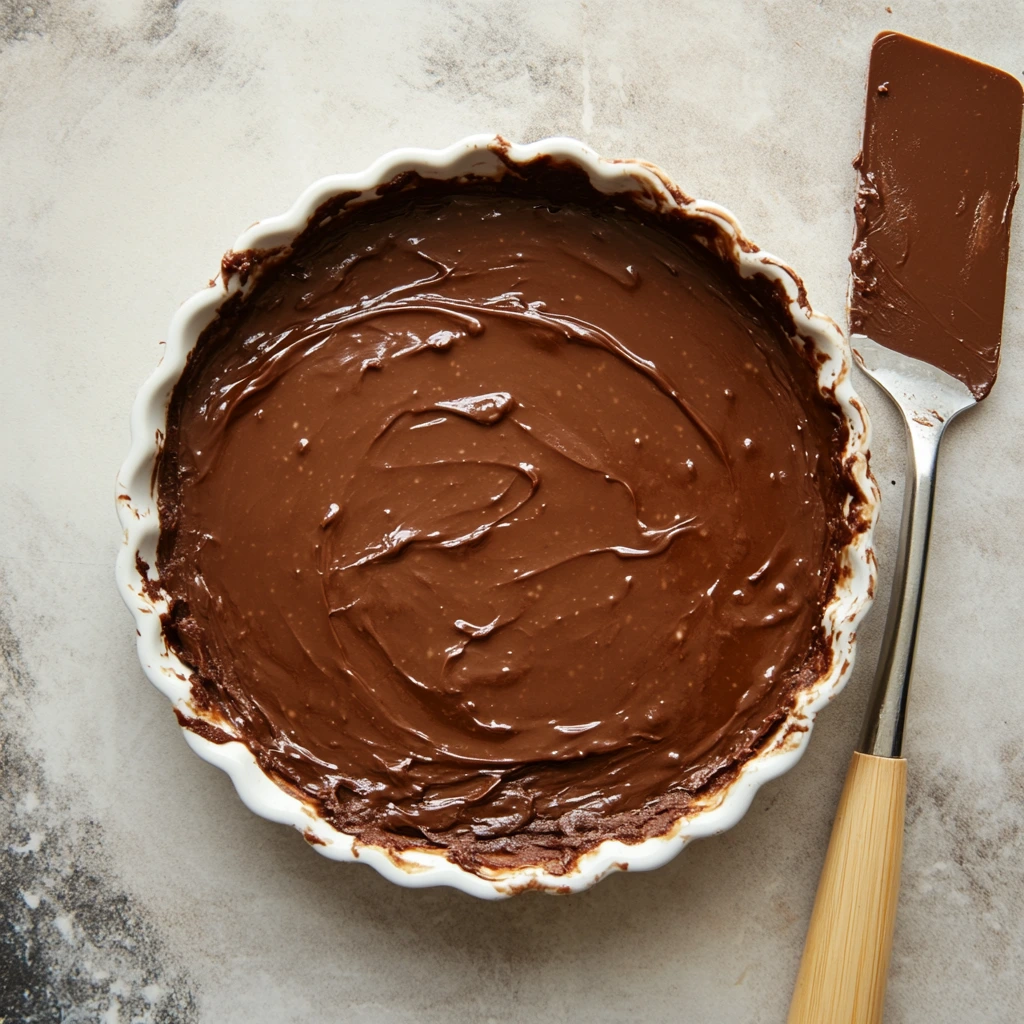
In a medium mixing bowl, whisk together the melted butter, granulated sugar, and cocoa powder until everything is smooth and glossy. That deep chocolate color will start to shine through as the butter and cocoa combine, and trust me, it smells heavenly already.
Next, add in the eggs and vanilla extract, and whisk again until it’s fully blended. You want the mixture to look thick and creamy at this stage.
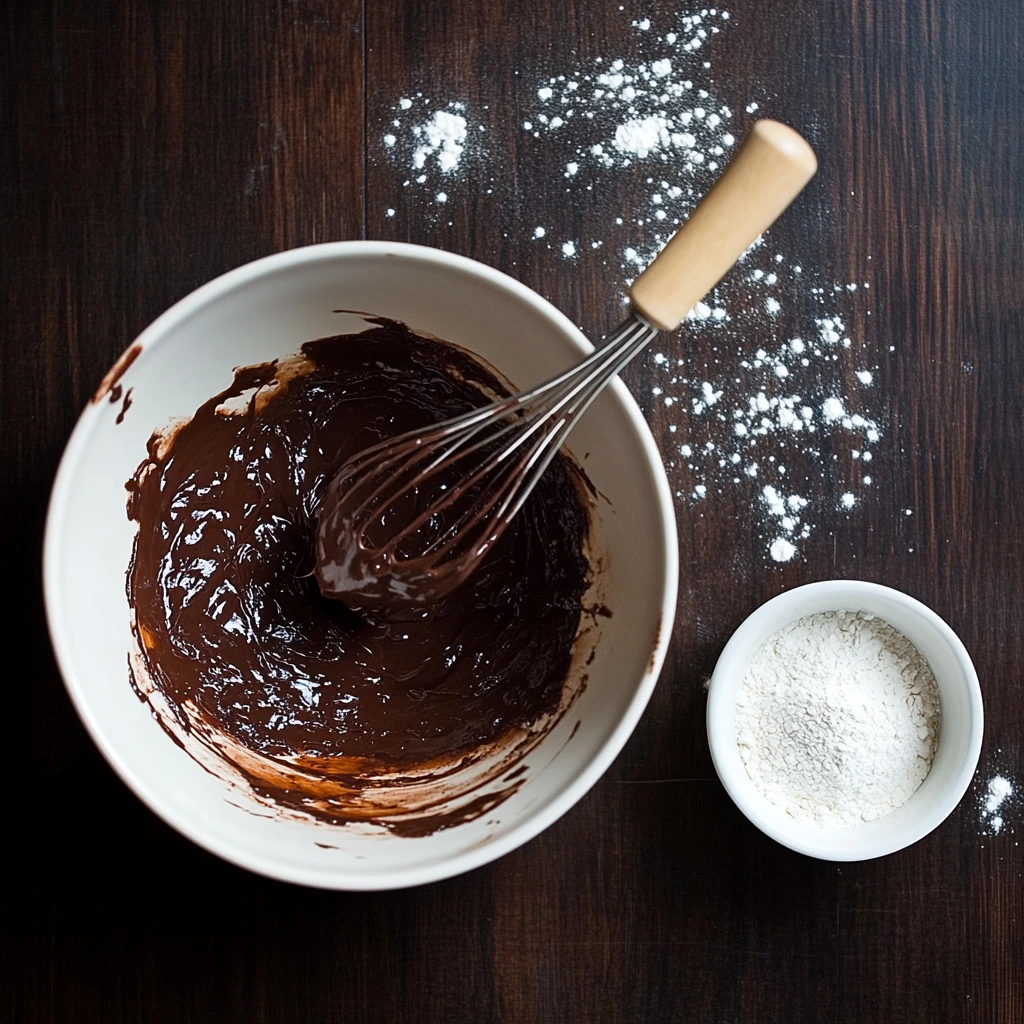
Now, gently stir in the flour and salt just until incorporated. This is where it’s important not to overmix. Overworking the batter can make the texture cakier instead of gooey—and we’re going for that classic hot fudge pie feel here. Stir just until you don’t see any more dry flour, and you’re good to go.
STEP 3: Bake the Pie
Pour the batter into your prepared baking dish and spread it out evenly. You’ll notice it’s thick and fudgy—almost like brownie batter—and that’s exactly what you want.
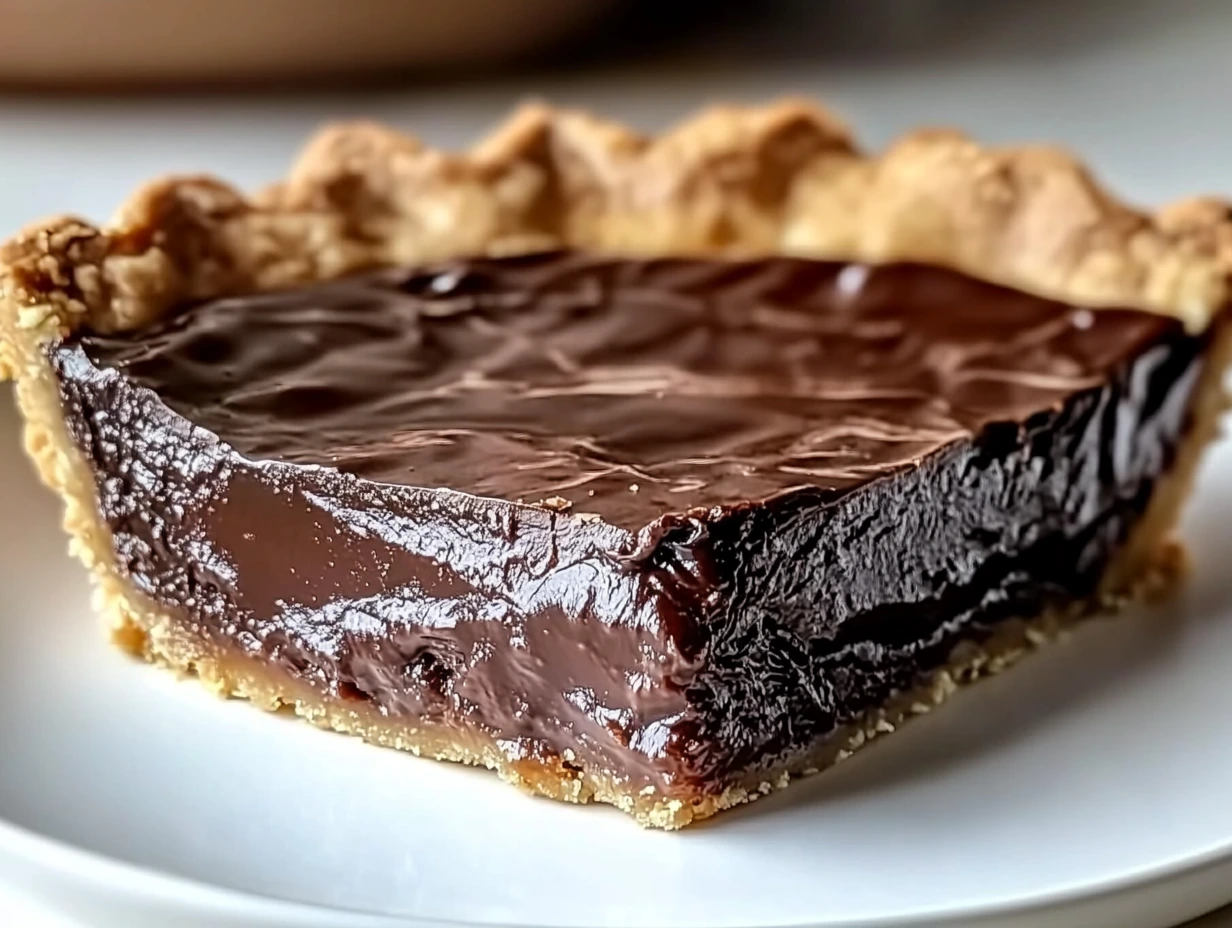
Pop it into the oven and bake for 25 to 30 minutes. Keep a close eye toward the end of the baking time. You’re looking for the edges to be set while the center remains a bit gooey. Don’t panic if the middle looks slightly underbaked—this is key to that molten, fudgy bite. It will firm up slightly as it cools, but still stay decadently soft inside.
Once it’s out of the oven, let it cool for at least 10 minutes before serving. It’ll still be warm and gooey, but easier to slice and serve.
How to Serve and Customize the Perfect Hot Fudge Pie
By now, your kitchen probably smells like a cozy little chocolate haven—and if you followed along with Part 1, your Hot Fudge Pie should be resting on the counter, slightly cooled but still warm and gooey inside. And let me tell you, this is where things get really fun. Because while this pie is delicious all on its own, dressing it up with the right toppings or adding a few twists can take it to the next level.
This part of the recipe is all about serving suggestions, customization ideas, and those little insider tips that make all the difference when you’re baking at home. Whether you’re going all out with toppings or keeping it simple, I’ve got you covered.
STEP 4: Serve and Enjoy
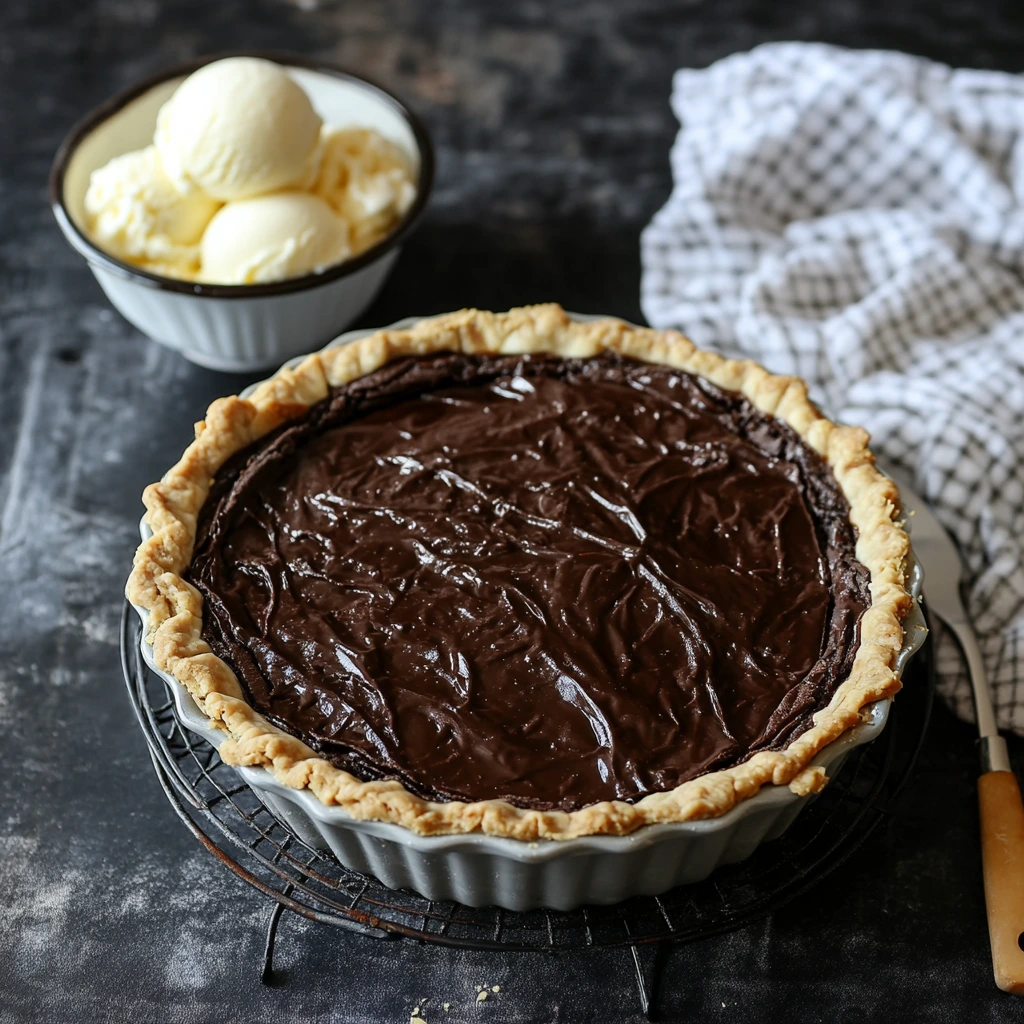
You can serve the pie straight from the dish while it’s still warm—that’s actually the best way to enjoy it. The center should still be a little molten, giving it that perfect hot fudge texture that’s rich without being overly dense.
Here’s how I love to serve it:
-
Slice the pie into warm wedges and place each one in a small bowl or on a dessert plate.
-
Add a generous scoop of vanilla ice cream right on top. The contrast between the cold ice cream and the warm, fudgy pie is just unbeatable.
-
Drizzle with hot fudge sauce if you’re feeling extra decadent.
-
Finish it off with whipped cream, chopped nuts, or even a few chocolate shavings for added texture.
If you’re making this for a gathering or holiday, you can even turn it into a build-your-own dessert station with all the topping options laid out. It’s always a hit with guests, and honestly, it turns dessert into a fun little event.
Tips for the Best Hot Fudge Pie Every Time
Over the years (and many late-night chocolate cravings later), I’ve picked up a few helpful tips to make sure this recipe turns out just right every time. Here are my go-to tricks:
1. Don’t Overmix the Batter
This pie is meant to be soft and fudgy, not cakey. So once you add in the flour and salt, mix gently—just until you can’t see any more dry flour.
2. Watch the Edges
When baking, look for the edges to become set and slightly crisp, while the center stays gooey. That contrast is what makes this pie so satisfying. If the entire top is firm, it may be slightly overbaked.
3. Let It Cool Slightly
Yes, it’s tempting to dig right in the second it’s out of the oven. But letting the pie cool for 10 to 15 minutes helps the center set just enough so it’s easier to serve, while still keeping that warm, fudgy texture.
4. Add Chocolate Chips (Optional but Amazing)
If you want to bump up the chocolate factor even more, stir in a handful of semi-sweet chocolate chips into the batter before baking. They melt into the pie and create extra gooey pockets of chocolate throughout.
5. Use a Metal or Glass Dish
Either works well, but I’ve found that glass dishes tend to cook a little slower, which can help maintain that soft center. Metal dishes may bake slightly faster, so keep a closer eye during the last few minutes.
Fun Variations to Try
One of the best things about this Hot Fudge Pie recipe is how versatile it is. If you’ve made it a few times and want to mix things up, here are some fun variations to try:
-
Peanut Butter Swirl: Drop spoonfuls of peanut butter on top of the batter before baking and swirl with a knife. It creates beautiful ribbons of peanut butter and a delicious flavor combo.
-
Salted Caramel Drizzle: Add a drizzle of store-bought or homemade salted caramel sauce on top before serving for a sweet-salty twist.
-
Espresso Kick: Stir in 1 teaspoon of instant espresso powder with the cocoa powder to deepen the chocolate flavor.
-
Mint Chocolate Version: Add 1/4 teaspoon of peppermint extract to the batter and top with crushed peppermint candies or Andes mints for a festive variation.
-
Nut Lover’s Pie: Stir in chopped walnuts or pecans for some crunch. They add great texture and pair beautifully with the gooey chocolate base.
Hot Fudge Pie FAQ and Final Thoughts
By now, you’ve got everything you need to make a rich, gooey Hot Fudge Pie that’s equal parts easy and irresistible. But before we wrap things up, let’s cover a few of the most common questions people have about this recipe. Whether you’re wondering about substitutions, make-ahead tips, or how to store leftovers, I’ve got answers that will help you feel 100% confident in the kitchen.
Frequently Asked Questions
1. Can I make this pie ahead of time?
Yes, you absolutely can! While it’s best served warm, you can make the pie earlier in the day and reheat it before serving. Just pop individual slices in the microwave for about 15–20 seconds, or warm the entire pie in a low oven (around 300°F) for 10–15 minutes.
2. Can I use salted butter instead of unsalted?
Yes. If you only have salted butter on hand, you can use it—just reduce the added salt in the recipe to a pinch or skip it altogether to balance the flavor.
3. How do I know when the pie is done baking?
Look for the edges to be set and slightly pulling away from the sides of the dish, while the center still looks soft and a little gooey. It will continue to set as it cools, so don’t worry if the middle looks slightly underbaked right out of the oven.
4. Can I double the recipe?
Yes, you can double the ingredients and bake it in a 9×13-inch pan. The baking time may increase slightly—start checking around the 30-minute mark, and remove it from the oven when the edges are set and the center still has a little jiggle.
5. What’s the best way to store leftovers?
Store any leftover pie covered in the refrigerator for up to 4 days. Reheat individual servings in the microwave for 15–30 seconds before serving to bring back that warm, fudgy texture.
6. Can I freeze Hot Fudge Pie?
You can! Let the pie cool completely, then wrap it tightly in plastic wrap and foil. It will keep in the freezer for up to 2 months. Thaw overnight in the fridge and warm it up in the oven or microwave when ready to serve.
7. Is this pie gluten-free?
As written, this recipe is not gluten-free due to the all-purpose flour. However, you can substitute a 1:1 gluten-free flour blend if needed. Just be sure it includes xanthan gum or a similar binder for the best texture.
Conclusion: Why You’ll Keep Coming Back to This Recipe
If you’re anything like me, once you’ve made this Hot Fudge Pie once, it’s going to become one of your go-to desserts. It’s the kind of recipe you pull out when you need something fast but impressive, when you’re craving chocolate in a big way, or when you want to bring a crowd-pleasing treat to the table without a lot of prep.
It checks all the boxes:
-
Minimal ingredients
-
One bowl
-
Rich, fudgy texture
-
Totally customizable
-
Always a hit
So whether you’re making it for a dinner party, a holiday gathering, or just a Tuesday night that needs a little sweetness, this pie delivers every single time.
I’d love to hear how your Hot Fudge Pie turns out! Did you go classic with vanilla ice cream, or did you add your own twist? Drop a comment below and let me know how you served it—or what you’d try next time. Happy baking!
PrintHot Fudge Pie

This Hot Fudge Pie is a rich, gooey dessert that brings together the decadence of a brownie and the simplicity of a pie. With its fudgy center and crisp edges, it’s best served warm and pairs beautifully with vanilla ice cream or whipped cream. It’s a perfect choice for chocolate lovers and an easy treat to whip up any day of the week.
- Author: Mark's Recipe
Ingredients
1/2 cup unsalted butter, melted
1 cup granulated sugar
1/4 cup unsweetened cocoa powder
2 large eggs
1 teaspoon vanilla extract
1/4 cup all-purpose flour
1/4 teaspoon salt
Optional Toppings:
Vanilla ice cream
Whipped cream
Hot fudge sauce
Chopped nuts or chocolate shavings
Instructions
1️⃣ Preheat the Oven
Preheat your oven to 350°F (175°C). Grease a 9-inch pie dish or an 8×8-inch baking dish with non-stick spray or butter.
2️⃣ Make the Batter
In a medium bowl, whisk the melted butter, sugar, and cocoa powder together until smooth. Add the eggs and vanilla extract, whisking until fully combined. Stir in the flour and salt just until incorporated. Avoid overmixing to maintain a fudgy texture.
3️⃣ Bake the Pie
Pour the batter into the prepared baking dish and spread it evenly. Bake for 25 to 30 minutes, or until the edges are set but the center remains slightly gooey. Let it cool for at least 10 minutes before serving.
4️⃣ Serve and Enjoy
Serve the pie warm, topped with vanilla ice cream, whipped cream, hot fudge sauce, or your choice of garnishes for a decadent dessert experience.
Notes
The pie is meant to have a soft, molten center, so don’t worry if it seems underbaked in the middle. It will continue to set as it cools slightly. For a deeper chocolate flavor, add a few tablespoons of semi-sweet chocolate chips to the batter before baking. Leftovers can be stored in the fridge and gently reheated before serving.