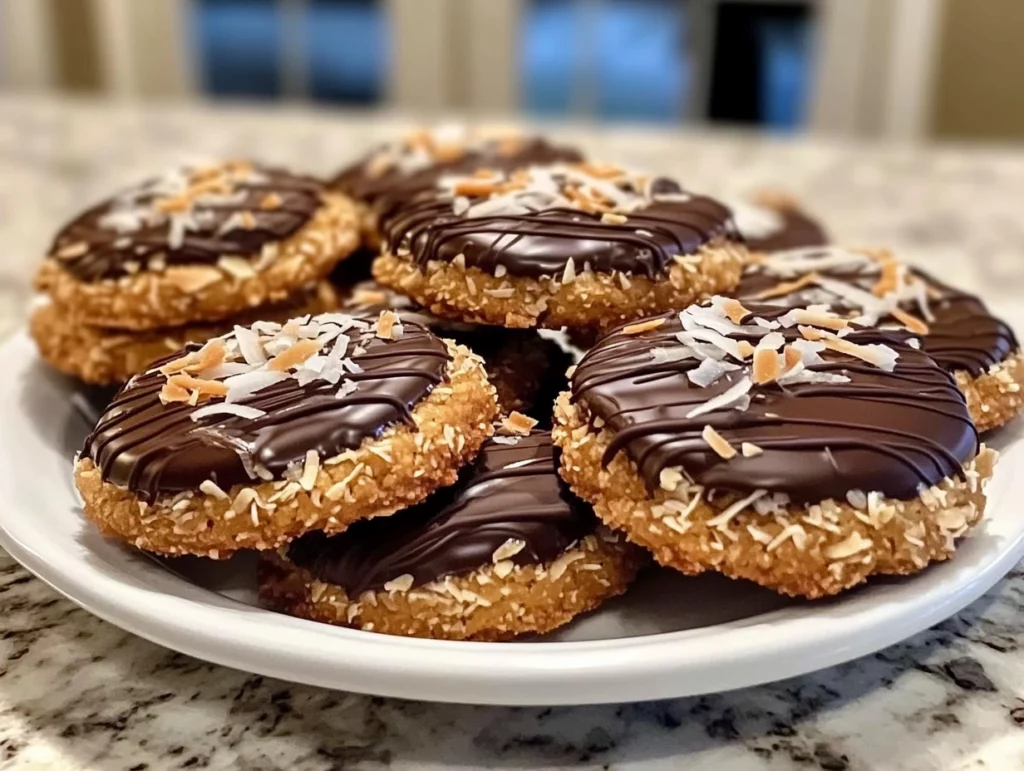
Let’s talk about that one cookie everyone seems to have a soft spot for — the chewy, coconutty, chocolaty magic of a Samoa (or Caramel deLite, depending on where you’re from). I don’t know about you, but every year when Girl Scout Cookie season rolls around, I’m strategically mapping out where I can grab a few boxes before they sell out. But let’s be real — they disappear faster than they arrive. So, what’s a cookie lover to do the other 10 months of the year?
Well, this is where today’s recipe comes in: homemade Samoas that bring the magic of those seasonal favorites right into your kitchen. And dare I say it… these might even be better than the boxed version.
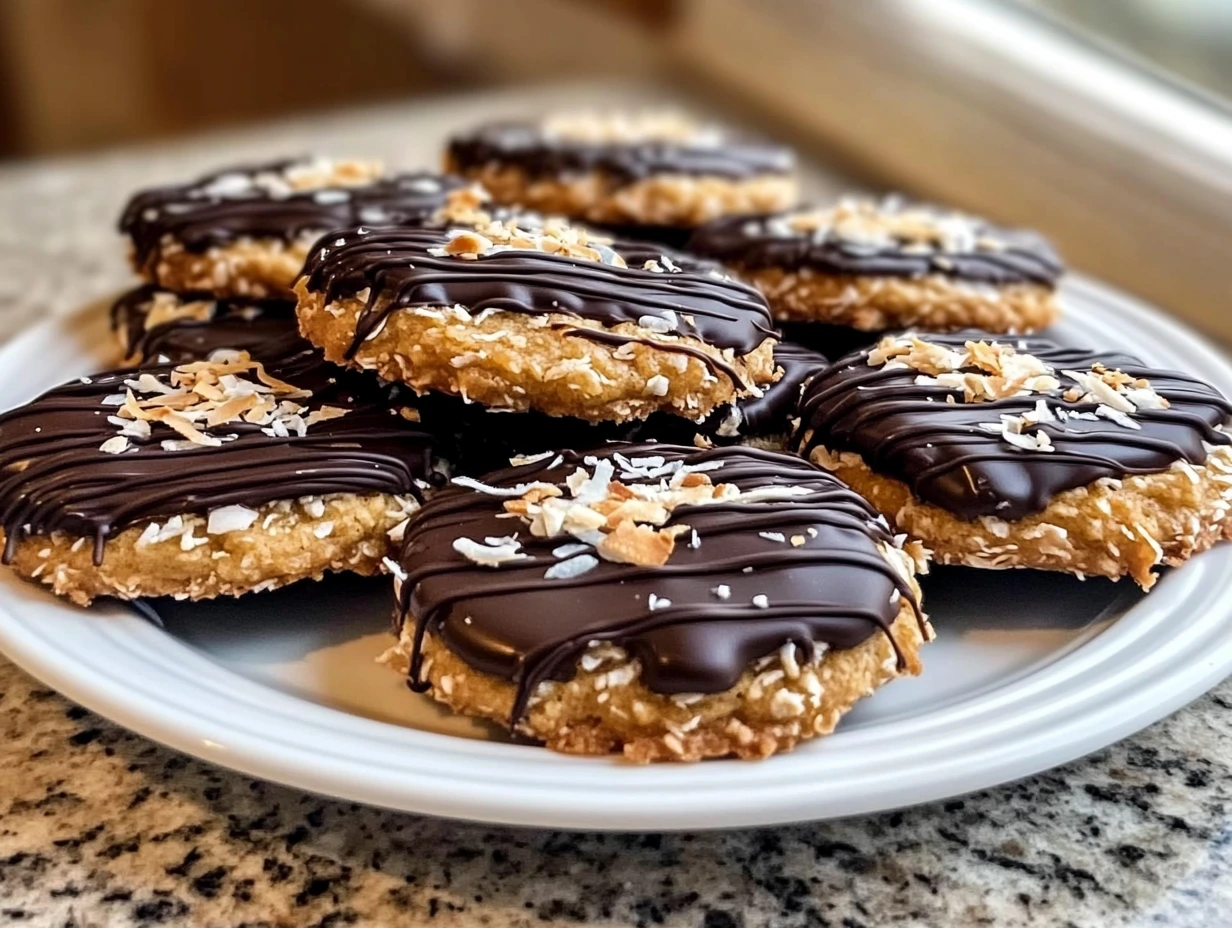
This recipe has all the classic components — a buttery, melt-in-your-mouth shortbread base, a sticky-sweet toasted coconut and caramel topping, and a decadent layer of semi-sweet chocolate that ties it all together. If you’ve ever thought these cookies were too complicated to make from scratch, let me assure you — it’s totally doable, and absolutely worth it.
I first made these during a rainy weekend when I was craving something nostalgic. The smell of toasted coconut wafting through the kitchen, the satisfying drizzle of chocolate over each cookie — it was all the cozy vibes I didn’t know I needed. And when my husband walked in and immediately said, “Are those Samoas?!” — I knew I had nailed it.
So let’s dive right in. Here’s how to make your own homemade Samoas that’ll have everyone thinking you bought them from a Girl Scout herself.
Ingredients You’ll Need
For the shortbread cookies:
-
1 cup unsalted butter, softened
-
1/2 cup granulated sugar
-
2 cups all-purpose flour
-
1/4 teaspoon salt
-
1/2 teaspoon vanilla extract
For the topping:
-
3 cups shredded sweetened coconut
-
1 cup caramel sauce (store-bought or homemade)
-
1/4 teaspoon salt (only if your caramel isn’t already salted)
-
10 oz semi-sweet chocolate chips
STEPS
Step 1: Prep Your Oven and Pans
Start by preheating your oven to 350°F (175°C) and lining two baking sheets with parchment paper. This makes cleanup super easy and helps keep the cookies from sticking.
Step 2: Make the Shortbread Dough
In a large bowl, cream together 1 cup of softened butter and 1/2 cup of sugar until it’s light and fluffy. This step is key — you’re adding air into the butter, which helps make the shortbread tender and not overly dense.
Next, stir in the 1/2 teaspoon of vanilla extract, then gradually add the 2 cups of flour and 1/4 teaspoon of salt. Mix until a soft dough forms. Don’t worry if it looks a little crumbly at first — it’ll come together with a few kneads by hand.
Step 3: Roll and Cut the Cookies
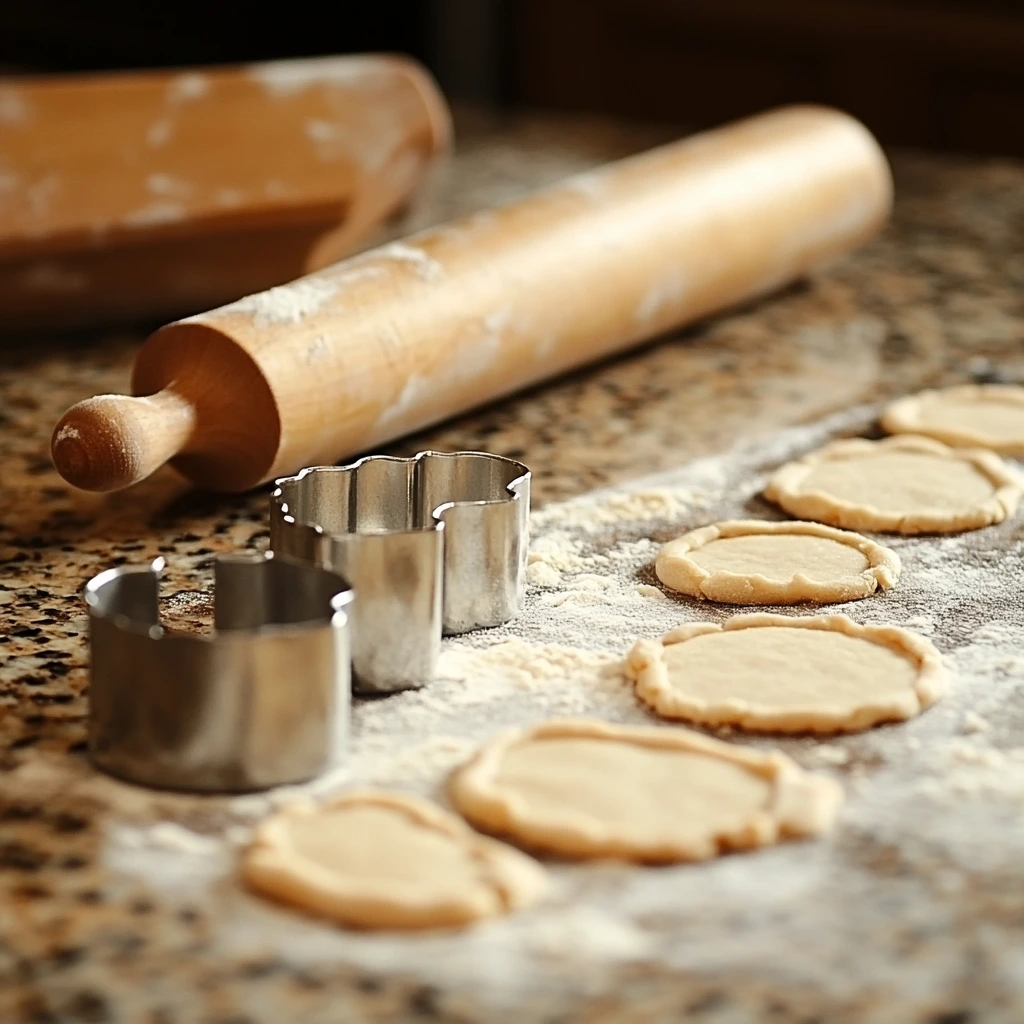
Lightly flour your work surface and roll the dough out to about 1/4-inch thickness. You’re aiming for a sturdy base, but not so thick that the cookie overpowers the topping. Use a round cookie cutter (or the rim of a glass!) to cut out circles. Then, take a smaller cutter (a bottle cap works great) to punch out the centers. You’re looking for that classic donut-shaped cookie.
Place your cookie cutouts on the prepared baking sheets, leaving a little space between each.
Step 4: Bake and Cool
Bake the cookies for 10 to 12 minutes, or until the edges are just lightly golden. You don’t want to overbake them — these should be delicate and buttery, not crunchy. Once baked, let them cool completely on a wire rack before adding the topping.
How to Make the Perfect Homemade Samoas (Caramel deLites)
Now that you’ve got those buttery shortbread cookies baked and cooled, it’s time for the part that really makes Samoas shine — the toasted coconut-caramel topping and that signature semi-sweet chocolate finish. This step is where all the gooey, chewy, crunchy magic comes together. And trust me, it’s simpler than it sounds — especially if you’ve got a good playlist or podcast going in the background while you work.
This stage of the recipe is where your kitchen starts to smell like a candy shop — in the best way. The coconut gets all golden and toasty in the oven, the caramel softens just enough to be stirrable and sticky, and then comes the fun part: assembling and decorating. Let’s get back to it.
Step 5: Toast the Coconut
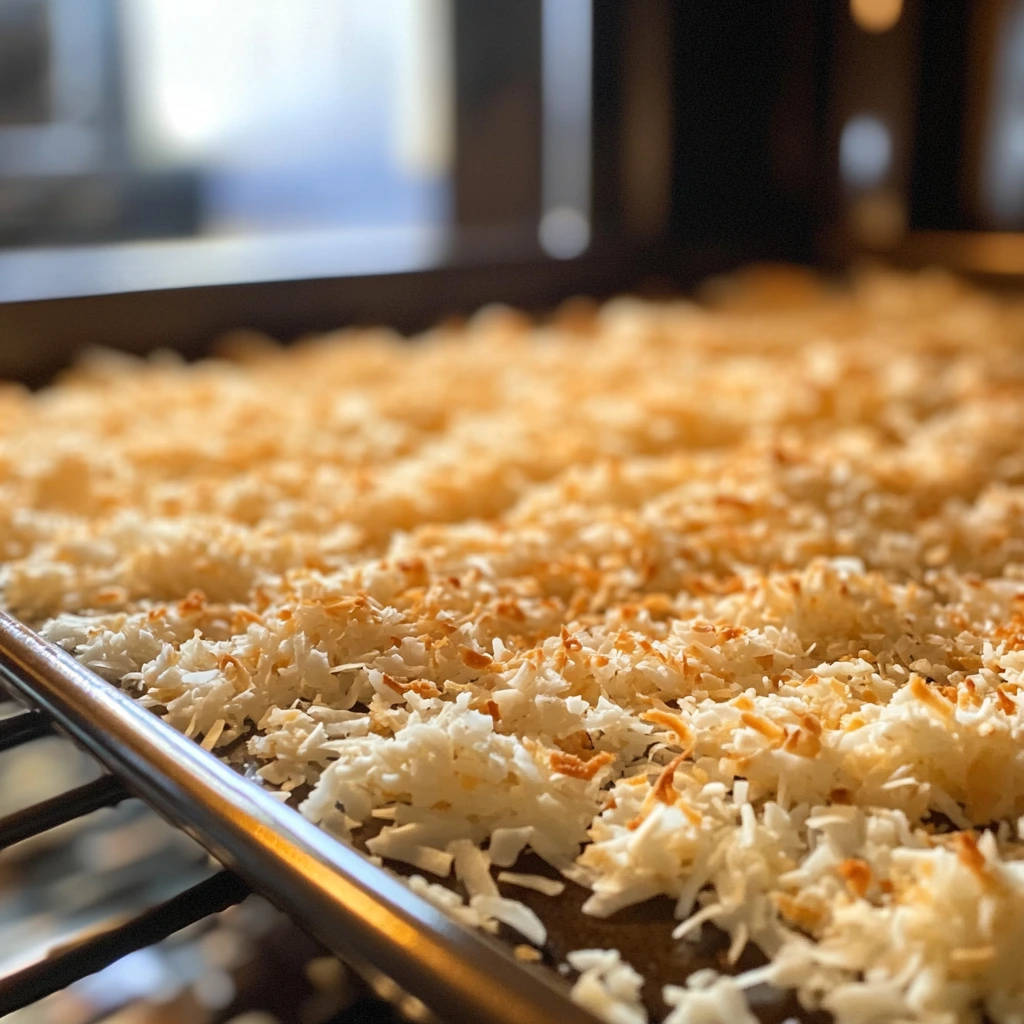
Spread 3 cups of shredded sweetened coconut out on a large baking sheet. Toast it in your preheated oven at 350°F (175°C) for about 5 to 7 minutes, giving it a stir halfway through. Keep a close eye on it — coconut goes from perfectly golden to burnt in a flash.
Once it’s toasted and smelling amazing, set it aside to cool slightly.
Step 6: Mix the Coconut and Caramel
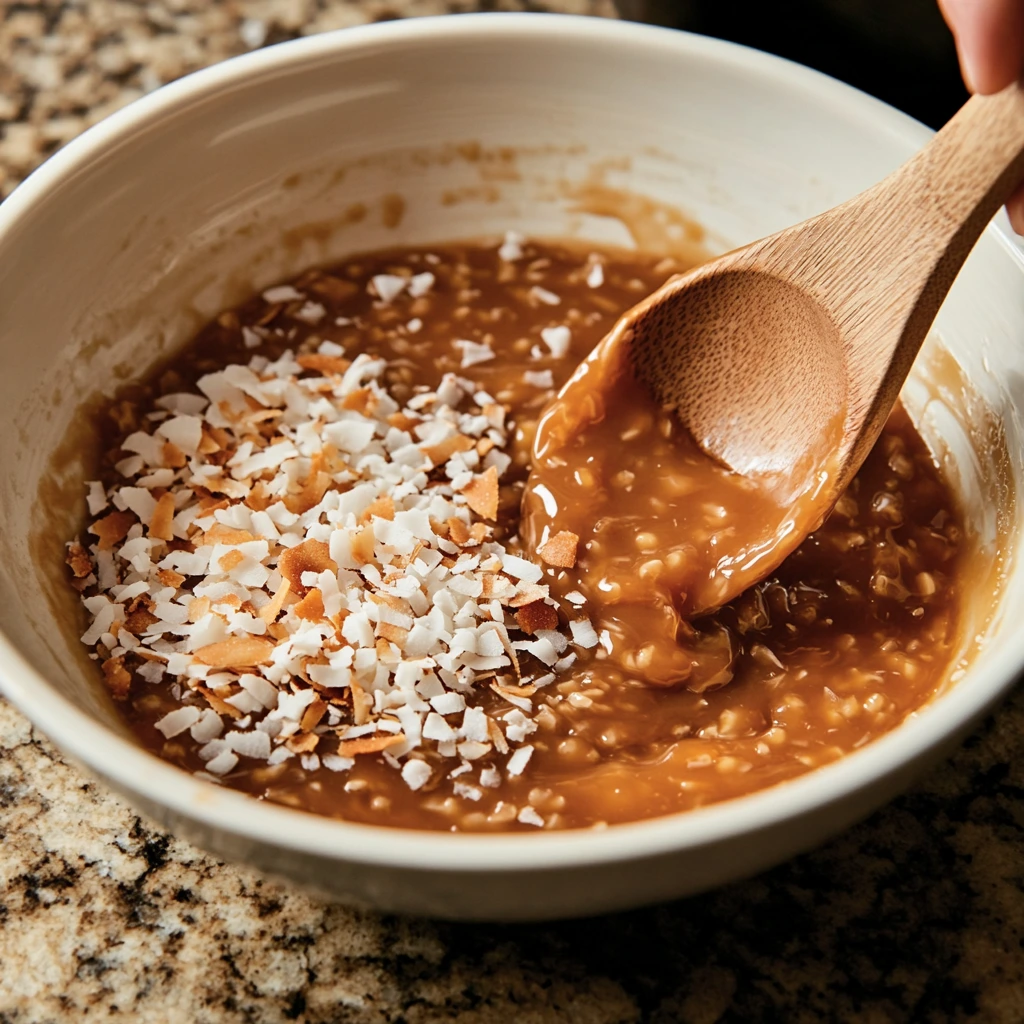
In a medium mixing bowl, combine your 1 cup of caramel sauce with the toasted coconut. If your caramel sauce is on the thick side, warming it slightly in the microwave (about 15 seconds) will make it easier to stir. If it’s unsalted, add in 1/4 teaspoon of salt to balance out the sweetness.
Stir everything together until the coconut is well coated and glossy with caramel. It should be sticky and cohesive but still spoonable — kind of like a thick, golden granola.
Step 7: Add the Topping to the Cookies
Once your cookies are completely cool and your topping is ready, it’s time to assemble. Spoon a small amount of the coconut-caramel mixture onto each cookie, using the back of the spoon or your fingers to gently press it down so it sticks.
Don’t stress about making it look perfect — that rustic, slightly uneven look is part of what makes them feel homemade. Just aim for a nice even layer that covers the top of the cookie without overflowing too much over the sides.
After topping all the cookies, pop the baking sheet into the fridge for about 10 to 15 minutes. This helps the topping set and makes the next step (chocolate!) way easier.
Step 8: Dip and Drizzle with Chocolate
Melt your 10 oz of semi-sweet chocolate chips in a microwave-safe bowl. Do it in 30-second intervals, stirring between each one until the chocolate is smooth and glossy. You can also use a double boiler if you prefer, but the microwave works just fine.
Now comes the fun part: dip the bottom of each cookie into the melted chocolate, then place it back on the parchment-lined baking sheet. Once all the bottoms are dipped, transfer the remaining chocolate into a small piping bag or a zip-top plastic bag with the corner snipped off.
Drizzle the melted chocolate over the tops of the cookies in a zigzag pattern — this is where they really start to look like the real deal. If you want to get a little fancy, you can even do a double drizzle for extra chocolatey goodness.
Step 9: Let Them Set
Let the cookies sit at room temperature until the chocolate is fully set, or pop them back into the fridge if you’re in a hurry. Either way, once they’re set, they’re ready to enjoy!
Tips for Success
-
Use good caramel. If you have the time, making your own caramel sauce adds an extra layer of richness. But if you’re going store-bought, pick a high-quality one that’s thick and buttery.
-
Don’t skip toasting the coconut. It’s tempting to just mix it in as-is, but toasting brings out a deep, nutty flavor that really makes a difference.
-
Keep a damp paper towel nearby. The coconut-caramel mixture can get sticky, so having a way to quickly wipe your fingers helps make assembly a lot easier.
-
Freeze extras. These cookies freeze beautifully! Just layer them between wax paper in an airtight container. They thaw in minutes and taste just as good as fresh.
Homemade Samoas (Caramel deLites) – FAQs and Final Thoughts
By now, you’ve rolled, baked, toasted, dipped, and drizzled your way to a batch of the most irresistible homemade Samoas — and if your kitchen isn’t smelling like a dream right now, I’d be seriously surprised.
Before we wrap this up, I wanted to answer a few common questions that tend to come up when making these cookies at home. Whether it’s about storage, substitutions, or just trying to troubleshoot the caramel step, I’ve got you covered.
FAQ Section
1. Can I use unsweetened coconut instead of sweetened?
You can, but it’ll change the flavor and texture. Sweetened shredded coconut adds moisture and stickiness, which helps hold the topping together. If using unsweetened, you may want to add a touch of honey or extra caramel to compensate.
2. What’s the best way to make these gluten-free?
Swap the all-purpose flour for your favorite 1:1 gluten-free baking blend. Just make sure it includes xanthan gum (or add a little yourself) to help bind the dough together. Everything else in the recipe is naturally gluten-free!
3. My caramel is too thick to mix with the coconut — what can I do?
Warm it up! A quick zap in the microwave (about 15–20 seconds) or a few minutes on the stovetop over low heat will loosen it up. You want it soft enough to stir but not so hot that it melts the coconut.
4. How long do these cookies last?
Stored in an airtight container at room temperature, they’re good for about 5 to 7 days. If you refrigerate them, they’ll last a bit longer, and they also freeze beautifully for up to 2 months.
5. Can I make these ahead of time?
Absolutely! You can bake the shortbread cookies a day or two ahead and store them in an airtight container. The coconut-caramel topping and chocolate are best added the day you’re serving (or the night before), but even fully assembled cookies hold up well.
6. Can I use homemade caramel sauce?
Yes, and it’s a game-changer. If you have a favorite homemade caramel recipe (or even a can of dulce de leche), go for it. Just make sure it’s thick enough to hold the coconut together without running off the cookies.
7. What can I use if I don’t have cookie cutters?
No problem! Use the rim of a glass for the outer shape and a bottle cap or the end of a piping tip to cut the centers. You can even skip the hole in the middle if you want — they’ll still taste amazing.
Wrapping It Up: Why These Homemade Samoas Are Worth the Effort
There’s something incredibly satisfying about recreating a nostalgic treat like this at home. You get all the cozy, indulgent goodness of the original Samoas — the crunch of the shortbread, the chewy sweetness of the caramel-coconut topping, and that perfect snap of chocolate — but with the added bonus of fresh-from-the-oven flavor and the pride of having made them yourself.
They’re perfect for gifting (if you can bear to part with them), ideal for bake sales, or just a fun weekend baking project. Honestly, I’ve never met anyone who didn’t light up when I offered them one of these homemade Samoas. They disappear fast, so you might want to double the batch — just saying.
If you try this recipe, I’d love to hear how it goes! Did you tweak the caramel? Try a dark chocolate drizzle? Make them mini-sized? Let me know in the comments — and don’t forget to share with anyone who’s ever wished Girl Scout Cookie season lasted year-round.
Happy baking!
PrintHomemade Samoas (Caramel deLites) Girl Scout Cookies

These homemade Samoas cookies bring the iconic Girl Scout favorite right into your kitchen. A buttery shortbread base is topped with a sweet, chewy coconut-caramel mixture and finished with rich semi-sweet chocolate. They’re the perfect combination of crunchy, gooey, and chocolaty — and they taste just like the real thing, if not better.
- Author: Mark's Recipe
Ingredients
For the cookies: 1 cup unsalted butter, softened
1/2 cup granulated sugar
2 cups all-purpose flour
1/4 teaspoon salt
1/2 teaspoon vanilla extract
For the topping:
3 cups shredded sweetened coconut
1 cup caramel sauce (store-bought or homemade)
1/4 teaspoon salt (if the caramel isn’t salted)
10 oz semi-sweet chocolate chips
Instructions
Preheat the oven to 350°F (175°C) and line two baking sheets with parchment paper.
In a large mixing bowl, beat the softened butter and sugar together until light and fluffy. Add the vanilla extract and mix until combined. Gradually add in the flour and salt, mixing until a soft dough forms.
Roll out the dough on a lightly floured surface to about 1/4-inch thickness. Use a round cookie cutter to cut out circles, and a smaller cutter to remove the centers, creating a classic donut shape.
Place the cutouts onto the prepared baking sheets and bake for 10 to 12 minutes, or until the edges are lightly golden. Allow the cookies to cool completely on a wire rack.
To make the topping, spread the shredded coconut on a baking sheet and toast it in the oven for 5 to 7 minutes, stirring occasionally, until golden brown and fragrant. Keep an eye on it to avoid burning.
In a mixing bowl, combine the toasted coconut with the caramel sauce. Add a pinch of salt if your caramel isn’t salted. Stir until the coconut is evenly coated.
Spoon the coconut-caramel mixture onto the cooled cookies and gently press it down to adhere. Place the cookies in the refrigerator for about 10 to 15 minutes to help the topping set.
Melt the chocolate chips in the microwave in 30-second intervals, stirring between each, until smooth.
Dip the bottom of each cookie into the melted chocolate and place them back on the parchment-lined baking sheet. Transfer the remaining chocolate to a piping or zip-top bag, snip off the tip, and drizzle over the tops of the cookies in a decorative pattern.
Allow the cookies to set at room temperature or place them in the fridge for quicker setting.
Notes
For best results, use high-quality caramel sauce or make your own for a richer flavor. If you’re short on time, the store-bought version still gives great results. Be careful not to overbake the shortbread — you want them to stay tender. These cookies keep well in an airtight container for up to a week and freeze beautifully if you want to save some for later.