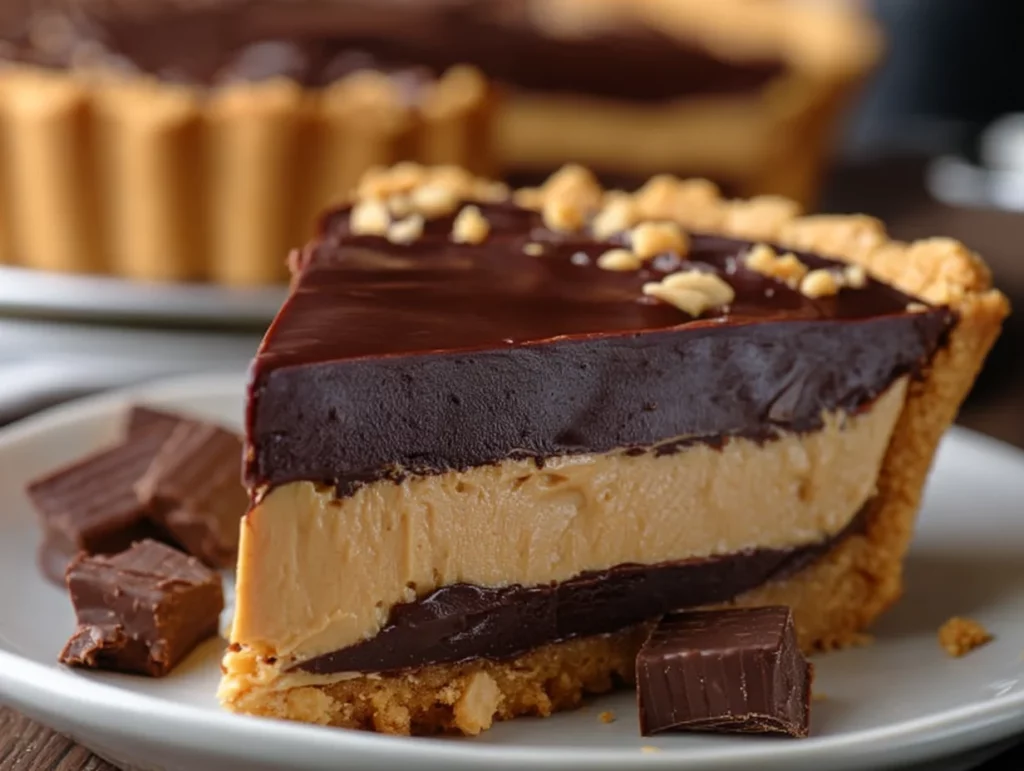
If there’s one dessert I could eat every week and never get tired of, it’s this Decadent Layered Chocolate and Peanut Butter Pie. It’s that dreamy combination of rich, creamy, and crunchy that hits every craving right where it counts. Think: a buttery cookie crust, velvety peanut butter filling, and a luscious chocolate ganache on top. And guess what? It’s completely no-bake. That’s right — not even a second near the oven.
This pie has made appearances at everything from casual weekend dinners to holiday dessert tables, and every single time, someone asks for the recipe. It’s one of those desserts that looks super fancy and indulgent (which it totally is), but it’s actually incredibly easy to make. We’re talking pantry staples, no complicated steps, and basically foolproof results.
Let me walk you through it step by step, starting with that chocolate cookie crust we all know and love.
The Dreamy Start – Cookie Crust and Creamy Peanut Butter Filling
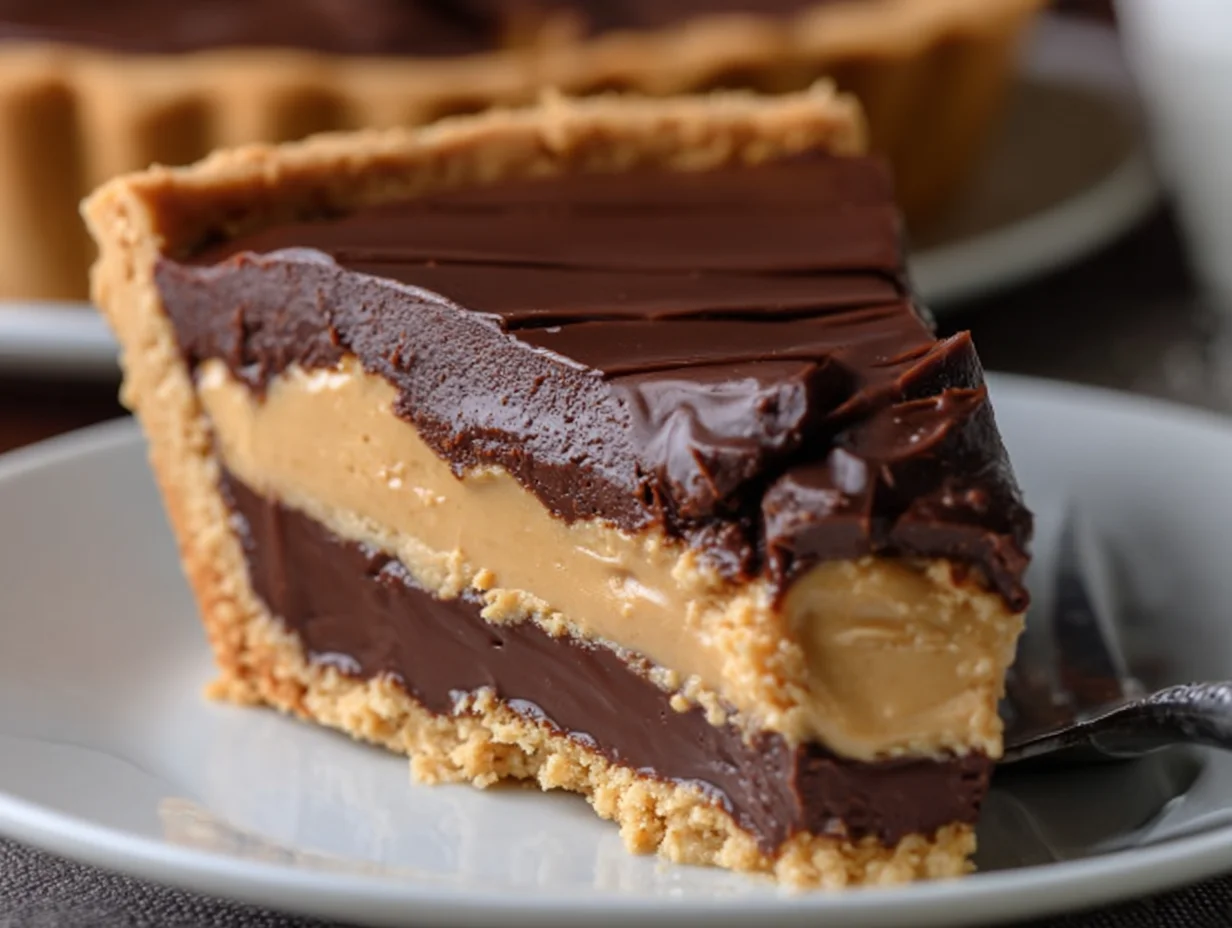
We’re building this pie in layers, and each one brings its own kind of magic. The first layer is the base — a rich, chocolatey cookie crust that sets the stage for all that deliciousness on top. Then comes the peanut butter filling, which is smooth, creamy, and just the right amount of sweet. Let’s dive in.

Ingredients You’ll Need
For the crust:
-
24 chocolate sandwich cookies (like Oreos), crushed into fine crumbs
-
5 tablespoons unsalted butter, melted
For the peanut butter layer:
-
1 cup creamy peanut butter
-
8 ounces cream cheese, softened
-
1 cup powdered sugar
-
1 teaspoon vanilla extract
-
1 cup whipped topping or whipped cream
STEP 1: Make the Cookie Crust
Start by crushing your chocolate sandwich cookies into fine crumbs. You can do this in a food processor, or place the cookies in a zip-top bag and crush them with a rolling pin. Either way works — just make sure there are no big chunks left.
In a medium bowl, mix the crushed cookies with the melted butter until everything is evenly moistened. It should look like wet sand.
Now, press the cookie mixture into the bottom and up the sides of a 9-inch pie dish. Use the back of a spoon or the bottom of a measuring cup to pack it down firmly — this helps create that nice, solid crust that won’t fall apart when you slice into it.
Pop the crust in the fridge while you move on to the filling. Let it chill and firm up — about 15 to 20 minutes is perfect.
STEP 2: Make the Peanut Butter Filling
In a large bowl, beat together the peanut butter and softened cream cheese until smooth and creamy. This step is key for getting that silky texture — no lumps here!
Add in the powdered sugar and vanilla extract, and keep mixing until it’s all fully combined. The mixture will start to thicken up a bit.
Finally, fold in the whipped topping. Don’t overmix — you want the filling to stay nice and light. Folding gently keeps everything fluffy and gives you that melt-in-your-mouth texture that makes this pie so special.
Once it’s ready, spread the peanut butter filling over your chilled cookie crust. Use a spatula to get it nice and even, making sure it reaches all the way to the edges.
Back into the fridge it goes! Give it a little time to set while you make the final layer — the showstopping chocolate ganache.
Decadent Layered Chocolate and Peanut Butter Pie (No-Bake & Irresistible)
If you thought the cookie crust and peanut butter filling were indulgent enough, just wait until we finish it off with the smoothest chocolate ganache you’ve ever had. This layer is what truly sets the pie apart — it’s rich, silky, and brings everything together in the most decadent way. And the best part? It’s only three ingredients and takes just minutes to make.
In this part, I’ll show you how to make the ganache, assemble the final layer of the pie, and give you a few handy tips and variations to help you make this recipe your own. Whether you love a salty-sweet combo or prefer your desserts super smooth, I’ve got you covered.
Ganache Layer and Final Assembly
We’ve already got our chilled crust and a fluffy peanut butter filling setting up in the fridge. Now it’s time to finish this pie off with that glossy, rich chocolate layer that makes every bite unforgettable.
Ingredients for the Ganache:
-
1 cup semi-sweet chocolate chips
-
½ cup heavy cream
-
Pinch of salt
-
1 teaspoon vanilla extract
STEP 3: Make the Chocolate Ganache
In a small saucepan, heat the heavy cream over medium heat. You don’t want it to boil — just bring it to a gentle simmer, where small bubbles are forming around the edges. This usually takes about 2-3 minutes.
Once the cream is hot, immediately pour it over the chocolate chips in a heatproof bowl. Let it sit for about 2 minutes without stirring — this gives the chocolate time to soften.
Now, gently stir the mixture until all the chocolate is melted and the ganache is silky and smooth. Add in a pinch of salt and the vanilla extract, and stir again until everything is fully combined. The salt might seem small, but it really enhances the chocolate flavor and balances out the sweetness of the pie.
STEP 4: Assemble the Pie
Take the pie out of the refrigerator and pour the warm ganache directly over the peanut butter filling. Use a spatula or the back of a spoon to spread it evenly across the top, smoothing it out as you go.
This layer should glide on like a dream — it’s thick enough to sit beautifully on top of the peanut butter, but soft enough to spread without disturbing the layer underneath.
Once it’s evenly spread, return the pie to the fridge and let it chill for at least 3 hours, or until fully set. You can also make it the night before and let it chill overnight. That makes it even easier if you’re serving this for a party or a holiday gathering.
TIPS AND VARIATIONS
This pie is already a showstopper, but here are a few fun ways to make it even more special (or to tweak it based on what you’ve got on hand):
-
Add Some Crunch: Before pouring the ganache over the peanut butter layer, sprinkle a handful of chopped roasted peanuts on top. It gives the pie a fun texture and a salty bite that balances the sweetness perfectly.
-
Try a Different Crust: Not a fan of chocolate sandwich cookies? No problem! You can easily swap in a graham cracker crust or even a pretzel crust for a salty-sweet twist.
-
Go Extra Fancy: Once the pie is fully set, garnish with shaved chocolate, mini peanut butter cups, or a light drizzle of warmed peanut butter over the ganache. It looks beautiful and adds even more flavor.
-
Make It Ahead: This pie is perfect for prepping the day before. It holds up beautifully in the fridge for up to four days, and it even slices better when fully chilled.
-
Get a Clean Slice: For perfect slices, dip your knife in hot water, wipe it clean, and cut. Repeat between each slice for those smooth, bakery-style cuts.
Decadent Layered Chocolate and Peanut Butter Pie (No-Bake & Irresistible)
We’ve layered, chilled, and perfected this no-bake masterpiece — and now you’re just about ready to dive in. But before we wrap up, let’s tackle some of the most common questions I get about this pie. Whether it’s about substitutions, storage, or slicing tips, these quick answers will help make your baking experience even smoother.
FREQUENTLY ASKED QUESTIONS
Can I use natural peanut butter in this recipe?
You can, but it’s not ideal. Natural peanut butter tends to be runnier and separates more easily, which can affect the consistency of the filling. For best results, stick with a creamy, no-stir variety like Jif or Skippy.
How long does the pie need to chill before serving?
The pie should chill for at least 3 hours to fully set, but overnight is even better. This gives each layer time to firm up and makes slicing much easier.
Can I freeze this pie?
Yes! This pie freezes very well. Just cover it tightly in plastic wrap and then foil. It will keep in the freezer for up to 2 months. Let it thaw in the fridge for several hours (or overnight) before serving.
What’s the best way to crush the cookies for the crust?
You can use a food processor for quick, even crumbs. If you don’t have one, place the cookies in a zip-top bag and crush them with a rolling pin. Just be sure to crush them finely so the crust holds together well.
Can I make this with a different nut butter?
Absolutely. Almond butter or cashew butter can be used in place of peanut butter, but keep in mind that the flavor will change slightly. Just make sure the nut butter you choose is creamy and not too oily or runny.
Is whipped cream better than whipped topping?
Either works! Whipped topping (like Cool Whip) is more stable and holds its shape longer, especially if you’re making the pie ahead. But if you prefer a homemade touch, whipped cream (whipped to stiff peaks) is a great option too.
How do I store leftovers?
Store any leftovers in the refrigerator, covered tightly. The pie will stay fresh for up to 4 days. For best texture, let it sit at room temperature for about 10 minutes before slicing and serving.
FINAL THOUGHTS: A No-Bake Dessert Worth Repeating
There’s something so comforting — and downright irresistible — about the combination of chocolate and peanut butter. And when it’s layered into a creamy, chilled pie with a cookie crust? It’s next-level delicious.
What I love most about this Decadent Layered Chocolate and Peanut Butter Pie is that it looks like something you’d spend hours on, but it’s actually super simple. It’s ideal for holidays, birthday parties, or just a weekend treat when you’re craving something sweet but don’t want to turn on the oven.
You can easily make it ahead of time, customize it to fit your taste, and trust that it will be a hit with just about anyone who tries it. Honestly, don’t be surprised if you end up adding this one to your regular dessert rotation — it’s that good.
PrintDecadent Layered Chocolate and Peanut Butter Pie with Cookie Crust

This decadent layered chocolate and peanut butter pie is the ultimate no-bake dessert for anyone who loves the classic combination of rich chocolate and creamy peanut butter. It starts with a buttery cookie crust, followed by a smooth peanut butter layer, then topped with a silky chocolate ganache. Each bite delivers a perfect balance of sweetness, creaminess, and crunch. This show-stopping pie is ideal for holidays, special occasions, or anytime you’re craving something indulgent and satisfying.
- Author: Mark's Recipe
Ingredients
For the crust:
24 chocolate sandwich cookies (like Oreos), crushed into fine crumbs
5 tablespoons unsalted butter, melted
For the peanut butter layer:
1 cup creamy peanut butter
8 ounces cream cheese, softened
1 cup powdered sugar
1 teaspoon vanilla extract
1 cup whipped topping or whipped cream
For the chocolate ganache:
1 cup semi-sweet chocolate chips
½ cup heavy cream
Pinch of salt
1 teaspoon vanilla extract
Instructions
In a mixing bowl, combine the crushed cookies with melted butter until evenly moistened. Press the mixture firmly into the bottom and up the sides of a 9-inch pie dish. Place the crust in the refrigerator to chill while preparing the filling
In a separate bowl, beat the peanut butter and cream cheese together until smooth. Add powdered sugar and vanilla extract, and mix until fully incorporated. Fold in the whipped topping until the mixture is light and fluffy. Spread the peanut butter filling evenly over the chilled crust and return to the refrigerator
To make the ganache, heat the heavy cream in a saucepan over medium heat until it just begins to simmer. Remove from heat and pour over the chocolate chips in a heatproof bowl. Let sit for 2 minutes, then stir until the chocolate is fully melted and the mixture is smooth. Add the salt and vanilla extract, and stir to combine
Pour the ganache over the peanut butter layer and spread it evenly with a spatula. Chill the pie for at least 3 hours or until fully set
Serve chilled, optionally garnished with shaved chocolate, chopped peanuts, or a drizzle of peanut butter
Notes
For extra crunch, add a layer of chopped roasted peanuts over the peanut butter filling before adding the ganache. You can also use a graham cracker crust or a pretzel crust for a salty-sweet variation. The pie can be made a day in advance and stores well in the refrigerator for up to four days. Let it sit at room temperature for a few minutes before slicing for clean, smooth cuts.


")
