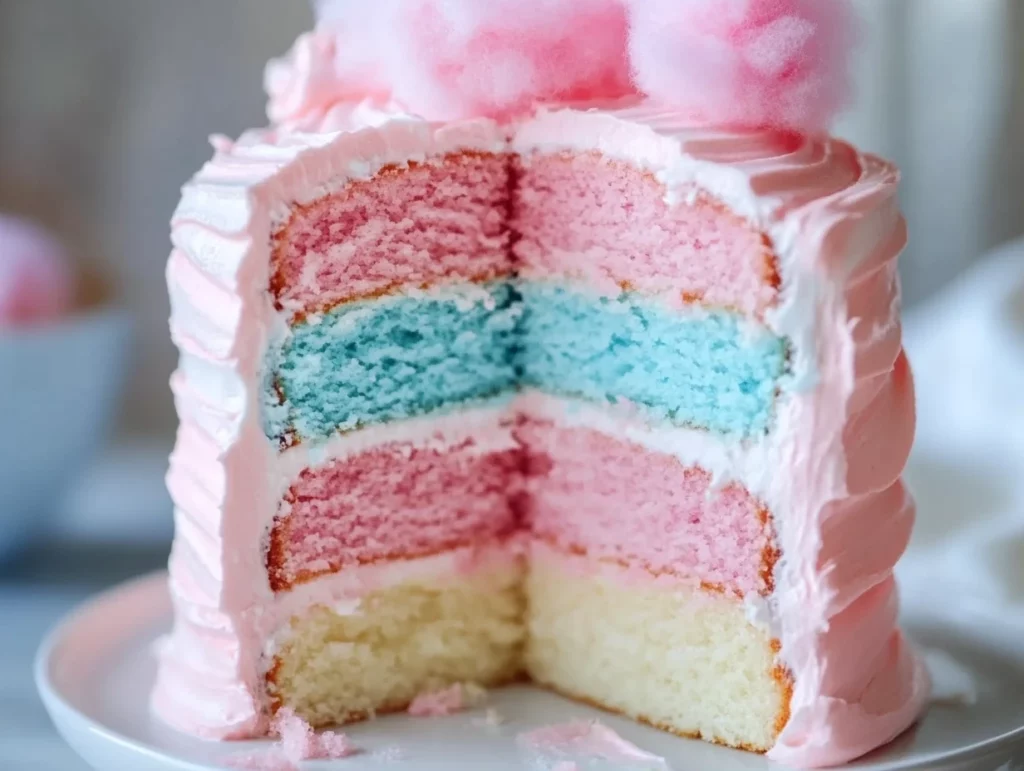
If you’ve ever taken a trip to the fair or a carnival, you know the magical, nostalgic feeling that comes with grabbing a fluffy stick of cotton candy. It’s sweet, light, and completely enchanting. Now, imagine that same sugary sweetness but in cake form! Introducing the Cotton Candy Cake—a whimsical, colorful dessert that will transport you right back to those carefree, fun-filled days of childhood. Whether you’re planning a birthday party, hosting a celebration, or just craving a show-stopping treat, this cake is sure to impress both the young and the young-at-heart.
This cake is as delightful to the eyes as it is to the taste buds. The soft, pastel pink layers of the cake, combined with a dreamy cotton candy-flavored frosting, create a dessert that’s truly special. The sweet cotton candy flavor in both the cake and the frosting is the perfect balance of light and sugary, making every bite feel like a celebration. Plus, it’s so easy to make that anyone—whether you’re a beginner or a seasoned baker—can pull it off with a little patience and creativity.
In this article, I’ll walk you through the steps to make this gorgeous and delicious cake from start to finish. And trust me, it’s a lot easier than it looks!
Ingredients: What You’ll Need
Before diving into the recipe, let’s take a quick look at the ingredients. You might already have most of them in your pantry, with the special touch of cotton candy extract being the star of the show. Here’s everything you’ll need to make this cake:
For the Cake:
-
2 1/2 cups all-purpose flour
-
2 1/2 tsp baking powder
-
1/2 tsp salt
-
1 cup unsalted butter, softened
-
1 1/2 cups granulated sugar
-
4 large eggs
-
1 tbsp vanilla extract
-
1/2 tsp cotton candy extract (or cotton candy flavoring)
-
1 cup whole milk
-
Pink food coloring (optional)
For the Cotton Candy Frosting:
-
1 cup unsalted butter, softened
-
4 cups powdered sugar
-
2 tbsp whole milk
-
1 tbsp cotton candy extract (or cotton candy flavoring)
-
1/4 tsp salt
-
Pink food coloring (optional)
-
Cotton candy for garnish (optional)
Step 1: Prepare the Cake
The first step in making your cotton candy cake is to preheat the oven to 350°F (175°C). This is crucial because a properly heated oven ensures even baking, so your cake layers come out perfectly fluffy and light. While the oven is heating, grease and flour two 9-inch round cake pans, or line them with parchment paper for easy cake removal.
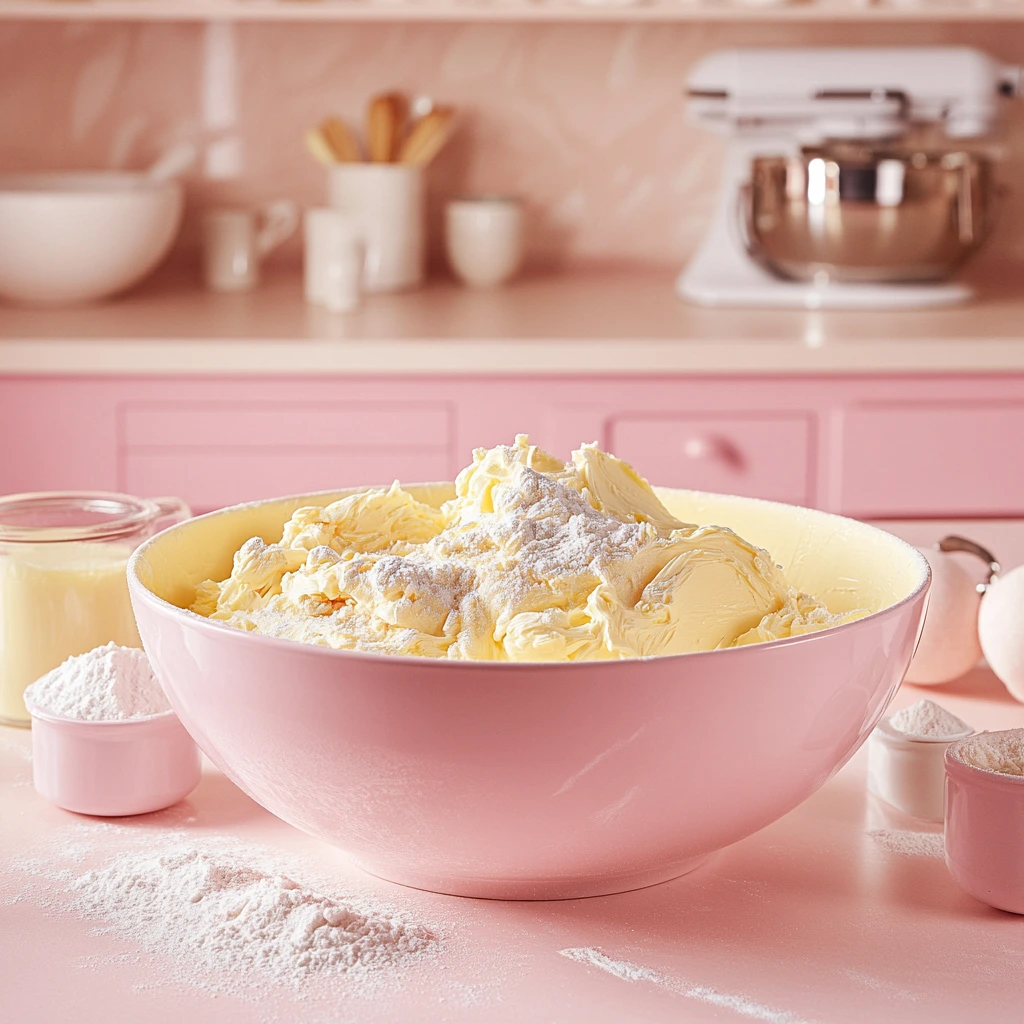
In a medium bowl, whisk together your dry ingredients: the flour, baking powder, and salt. Set this mixture aside for later. Next, in a large bowl, it’s time to cream together the softened butter and granulated sugar. Use a hand mixer or stand mixer to beat them together until the mixture is light, fluffy, and smooth. This step is important because it helps to create a nice airy texture in your cake.
Once the butter and sugar mixture is fluffy, it’s time to add in the eggs. Add them one at a time, making sure to beat well after each addition. This step helps ensure that the eggs incorporate smoothly into the mixture, avoiding any lumps or inconsistencies. Now, stir in the vanilla extract and the cotton candy extract (the secret ingredient that gives the cake its signature sweet flavor!). If you’re really craving that pastel pink look, you can add a few drops of pink food coloring at this stage.
Next, you’ll alternately add the dry flour mixture and the milk to the butter mixture, starting and ending with the dry ingredients. This method helps ensure that your batter doesn’t become too thin or too thick, and it allows for even mixing. Once everything is combined, you can give the batter one last gentle mix until smooth.
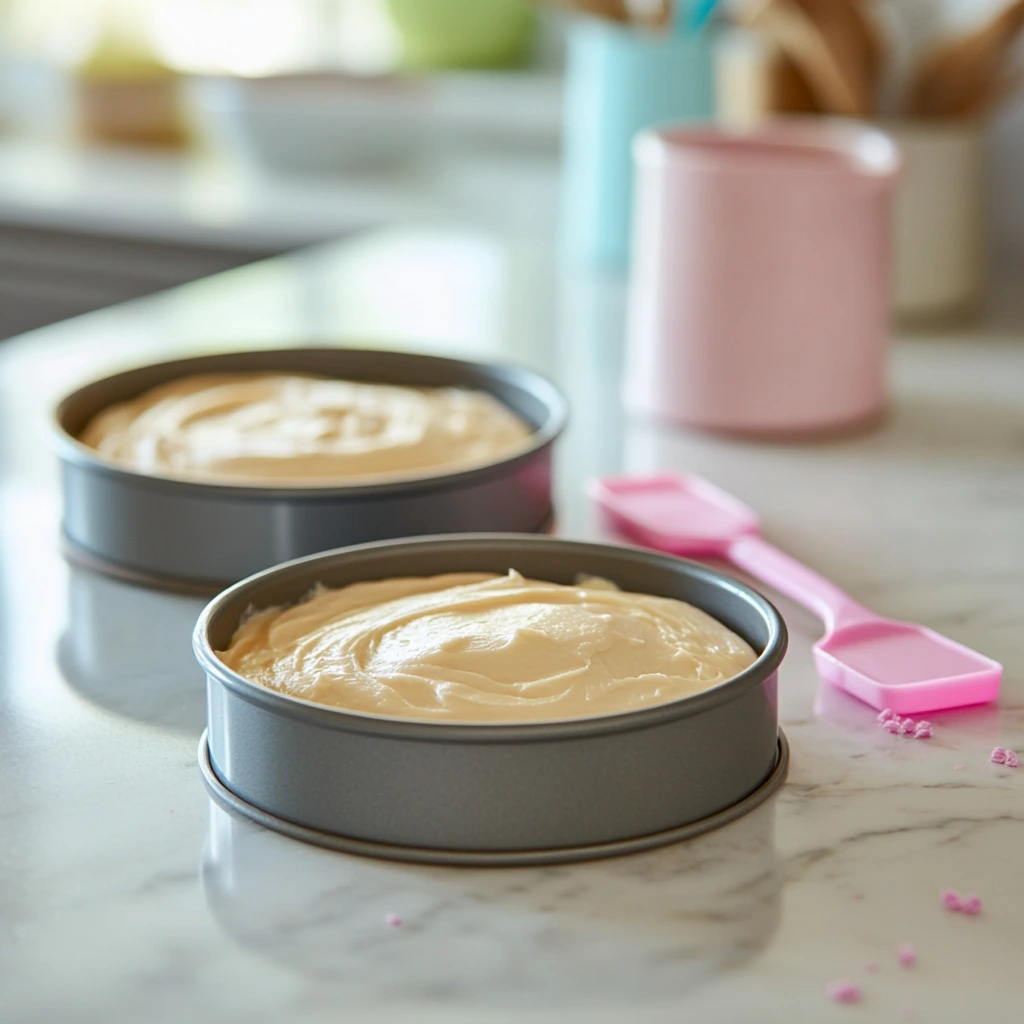
Now comes the fun part! Divide the batter evenly between your prepared cake pans. Use a spatula or spoon to smooth the tops, making sure the batter is spread evenly in both pans. The better the batter is spread out, the more even your cake layers will bake.
Pop the pans into the preheated oven and bake for about 25-30 minutes. Keep an eye on the cakes as they bake, and use the toothpick test to check for doneness: insert a toothpick into the center of the cakes, and if it comes out clean, your cakes are ready to come out of the oven. Allow the cakes to cool in the pans for 10 minutes before transferring them to a wire rack to cool completely.
Step 2: Make the Cotton Candy Frosting
While your cakes are cooling, it’s time to make the frosting. The frosting is where the magic happens, so let’s make sure it’s as fluffy and delicious as possible.
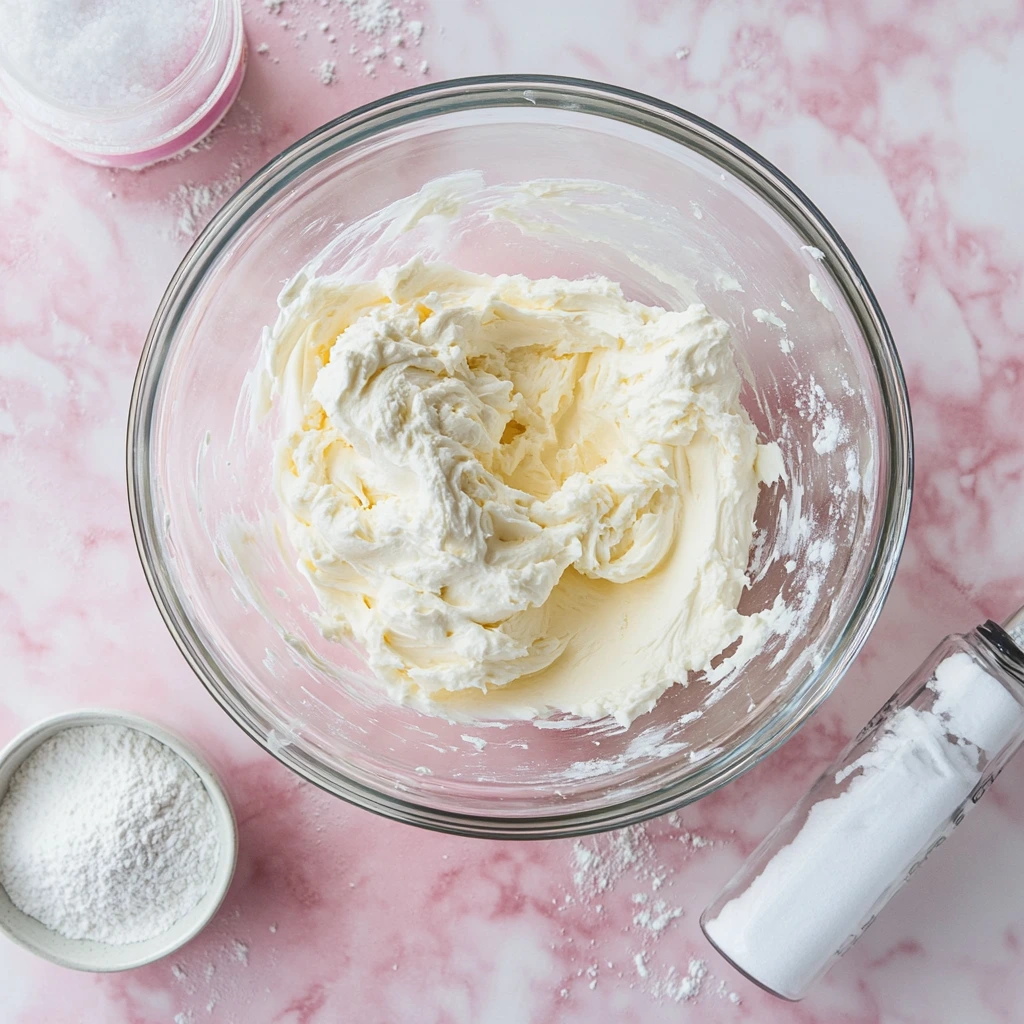
Start by beating the softened butter in a large bowl until it’s nice and creamy. Gradually add in the powdered sugar, one cup at a time, beating well after each addition. This step can take a few minutes, but it’s worth it to get the smoothest, fluffiest frosting.
Once all the powdered sugar is incorporated, add in the milk, cotton candy extract, and a pinch of salt. Keep beating until the frosting is light, airy, and spreadable. If you want to enhance the color or make the frosting match the cake, you can add a few drops of pink food coloring here as well.
This frosting should be smooth and just the right consistency for spreading over the cake. If it feels too thick, you can add a little more milk to loosen it up. If it’s too runny, add a little more powdered sugar.
Assembling and Decorating the Cotton Candy Cake
Now that you’ve got your beautifully baked cake layers and dreamy cotton candy frosting ready, it’s time to bring it all together. The best part about this cake is that it’s not just about the taste—it’s a total showstopper when it comes to presentation. Let’s dive into the steps of assembling your cotton candy cake and adding those finishing touches that will make it the star of your celebration!
Step 3: Assemble the Cake
Once your cakes have completely cooled, it’s time to start layering them together. Place the first layer of cake on a serving plate or cake stand. This will be the base layer, so make sure it’s centered and flat. If your cake layers have domed in the center as they baked, you can use a serrated knife to trim the tops so they are perfectly flat. This step isn’t necessary, but it will help your frosting layer go on more smoothly and give your cake a more professional look.
Next, take a generous amount of your cotton candy frosting and spread it evenly over the top of the first cake layer. You don’t have to worry too much about precision here; just make sure it covers the entire surface of the layer, leaving a little space around the edges for the frosting to settle as you add the next layer.
Place the second cake layer on top of the frosting, gently pressing it down so that it sticks to the frosting without squishing it. Take your time with this step to ensure that both layers are aligned properly, and there’s no tipping or sliding.
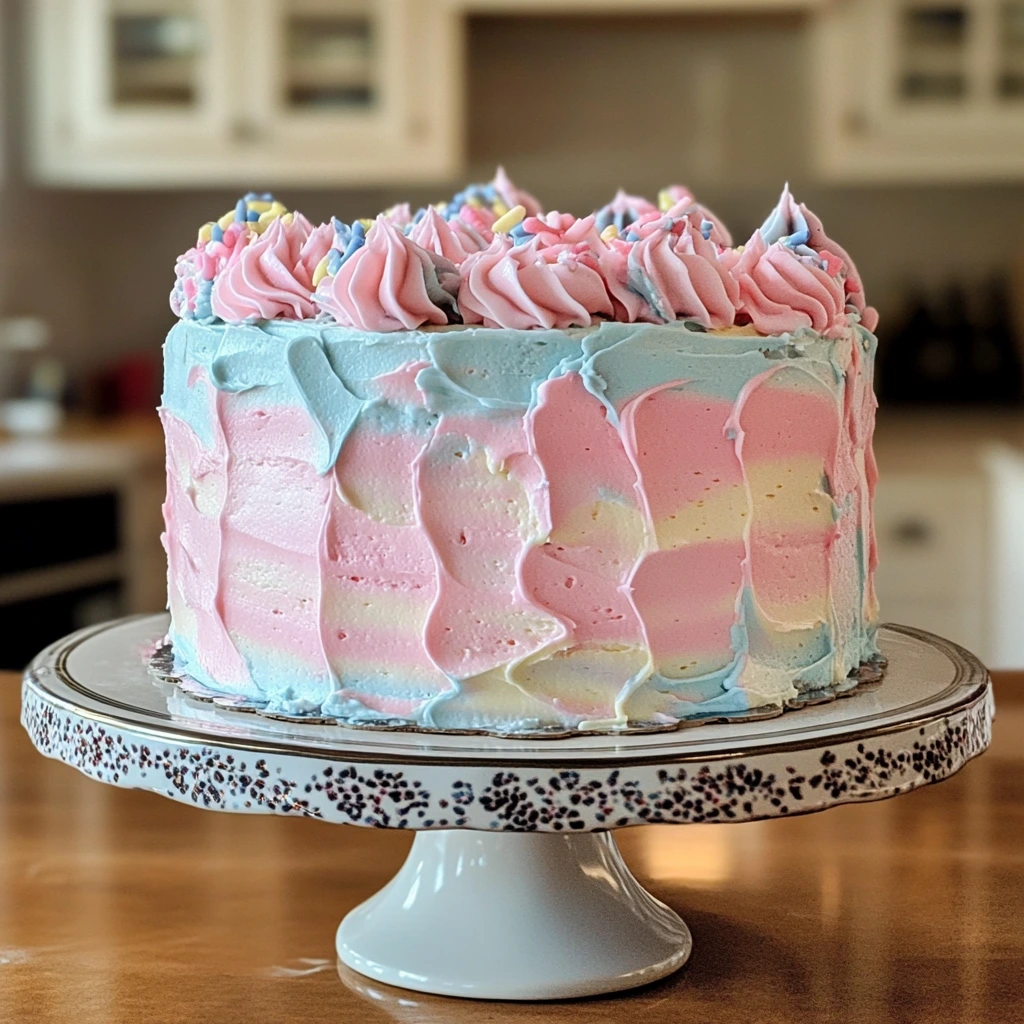
Now, it’s time to cover the entire cake in frosting. Use a spatula or butter knife to spread the remaining frosting over the top and sides of the cake. Be generous with your frosting—it’s the main feature of this cake, after all! Smooth the frosting on the sides and top to create a nice, even coat. If you want a more textured or rustic look, you can leave some swirls and peaks in the frosting, or if you prefer a sleek finish, use a bench scraper or offset spatula to smooth everything out.
Step 4: Garnish and Serve
You’re almost there! Now, for the final touch that will take this cotton candy cake from great to absolutely magical. You can garnish the cake with real cotton candy for that whimsical, carnival-inspired look. Just a few small pieces of fluffy cotton candy on top of the cake will make it look like a showstopper. Keep in mind that cotton candy can melt quickly, so add it just before serving to keep it from losing its shape.
If cotton candy isn’t available or you want to make it even more festive, try adding colorful sprinkles or edible glitter to really make the cake pop. The sprinkles will add a fun crunch to each bite, while the glitter adds that extra sparkle to make this cake feel even more like a celebration.
Once your cake is beautifully decorated, place it in the fridge for about 30 minutes. This allows the frosting to set a bit, making it easier to slice and ensuring that the frosting holds up when you cut into it.
After chilling, your cake is ready to serve! Each slice will reveal a pastel pink interior that’s just as eye-catching as the frosting, and with every bite, your taste buds will be treated to the sweet and fluffy flavor of cotton candy.
FAQ and Conclusion – Everything You Need to Know About Cotton Candy Cake
By now, you’ve got your cotton candy cake looking absolutely stunning and ready to be served, but I’m sure you might have a few lingering questions. Maybe you’re wondering how to adjust the recipe or looking for tips on making sure everything goes smoothly. Don’t worry—I’ve got you covered! Below are some frequently asked questions to help you make the best cotton candy cake ever.

FAQ: Common Questions About Cotton Candy Cake
1. Can I use a different flavor for the frosting instead of cotton candy?
Absolutely! While cotton candy extract is what gives this cake its signature flavor, you can easily switch things up if you’re not able to find it. You can substitute it with other flavored extracts like vanilla, strawberry, or even bubblegum for a different take on the flavor. Just make sure to use a liquid flavoring so it doesn’t affect the frosting’s consistency.
2. Can I make this cake in advance?
Yes, you can make this cake in advance! To prep ahead, bake the cake layers and let them cool completely. Once cooled, wrap each cake layer tightly in plastic wrap and store them in the fridge for up to 2 days before frosting and assembling. You can also make the frosting in advance and store it in an airtight container in the fridge for up to a week. Just remember to let both the cakes and frosting come to room temperature before you assemble and decorate.
3. What if I can’t find cotton candy extract?
If you can’t find cotton candy extract, don’t worry! There are a few options for a similar flavor. You can use cotton candy syrup (often found in specialty stores or online) or even melt cotton candy and incorporate it into your frosting. Just melt the cotton candy over low heat and stir it into the frosting for that signature sugary sweetness. If neither of these are available, you can use flavored candy melts or flavored syrups as a substitute.
4. Can I freeze the cotton candy cake?
Yes, you can freeze the cake! To freeze, wrap the cake layers tightly in plastic wrap and then place them in a freezer-safe bag or container. The cake will stay fresh in the freezer for up to 3 months. When you’re ready to serve, let the cake thaw in the fridge overnight before assembling and frosting it.
5. How do I make sure my cake layers don’t sink in the middle?
If you’re noticing that your cake layers tend to sink in the middle while baking, there are a couple of things you can try. First, make sure your oven is preheated properly and that the temperature is accurate—sometimes ovens can run hot or cool, which can affect your cake’s rise. You can also check your baking powder to make sure it’s still active. Lastly, avoid overmixing the batter, as this can cause the cake to lose its rise. Just mix until everything is combined and no more!
6. Can I use a different type of food coloring?
Yes, you can definitely use different food coloring to customize your cotton candy cake! Gel food coloring is a great option because it’s more concentrated, so you don’t need to use as much. You can also experiment with pastel shades, or even use a combination of colors to create a fun, rainbow effect inside the cake or frosting. The key is to add the food coloring little by little until you get the desired shade.
7. How can I make the frosting extra fluffy?
To make your frosting extra fluffy, make sure your butter is fully softened before starting. This ensures that it blends well with the powdered sugar and creates a smooth texture. Beating the frosting for a few minutes on high speed also helps incorporate air, which gives it that light, fluffy texture. If you want even more fluff, you can add a tiny bit of heavy cream instead of milk, as the fat content in cream will create a lighter texture.
Conclusion: Time to Create Your Cotton Candy Cake!
Now that you’ve got all the information you need, there’s nothing standing in your way from creating this beautiful, whimsical Cotton Candy Cake. Whether you’re making it for a special celebration or just to indulge in a sweet treat, this cake is sure to be a hit. The light, fluffy texture, combined with the sweet cotton candy flavor, makes it a memorable dessert that will transport everyone to a world of fun and nostalgia.
As you prepare this cake, don’t be afraid to get creative. The colors, flavors, and garnishes are all ways to make this cake your own. Add colorful sprinkles for extra flair or get adventurous with different frosting textures and flavors. The best part is that no matter what, the result will be a deliciously fun cake that’s perfect for any occasion.
I’d love to hear how your cotton candy cake turns out! Share your baking adventures in the comments below or tag me on social media with your cake creations. Whether you’re making this for a birthday party, a holiday gathering, or just as a fun treat for yourself, this cake is bound to make any moment feel just a little bit more magical. Happy baking, and enjoy your sweet, fluffy creation!
PrintCotton Candy Cake
This whimsical and colorful Cotton Candy Cake is a fun and delicious treat that brings the sweet, fluffy flavors of cotton candy into cake form. Perfect for birthdays, celebrations, or any event where you want to add a touch of nostalgia and sweetness, this cake is sure to delight both kids and adults alike with its light texture and sugary sweetness. The combination of cotton candy flavor in both the cake and the frosting creates a dreamy dessert that is as delightful to the taste buds as it is to the eyes.
- Author: Mark's Recipe
Ingredients
For the Cake: 2 1/2 cups all-purpose flour
2 1/2 tsp baking powder
1/2 tsp salt
1 cup unsalted butter, softened
1 1/2 cups granulated sugar
4 large eggs
1 tbsp vanilla extract
1/2 tsp cotton candy extract (or cotton candy flavoring)
1 cup whole milk
Pink food coloring (optional)
For the Cotton Candy Frosting: 1 cup unsalted butter, softened
4 cups powdered sugar
2 tbsp whole milk
1 tbsp cotton candy extract (or cotton candy flavoring)
1/4 tsp salt
Pink food coloring (optional)
Cotton candy for garnish (optional)
Instructions
Step 1: Prepare the Cake
Preheat your oven to 350°F (175°C). Grease and flour two 9-inch round cake pans, or line them with parchment paper for easy removal.
In a medium bowl, whisk together the flour, baking powder, and salt. Set aside.
In a large bowl, cream the softened butter and granulated sugar together until light and fluffy. Add the eggs, one at a time, beating well after each addition. Stir in the vanilla extract and cotton candy extract.
Alternately add the dry ingredients and milk to the butter mixture, beginning and ending with the dry ingredients. Mix until just combined.
If desired, add a few drops of pink food coloring to achieve a pastel pink color in the cake batter.
Divide the batter evenly between the prepared cake pans and smooth the tops.
Bake for 25–30 minutes, or until a toothpick inserted into the center of the cakes comes out clean. Let the cakes cool in the pans for 10 minutes, then remove them from the pans and allow them to cool completely on a wire rack.
Step 2: Make the Cotton Candy Frosting
In a large bowl, beat the softened butter until creamy. Gradually add the powdered sugar, one cup at a time, mixing well after each addition.
Add the milk, cotton candy extract, and salt, and continue to beat until the frosting is light and fluffy.
If desired, add a few drops of pink food coloring to match the color of the cake or to enhance the cotton candy look.
Step 3: Assemble the Cake
Once the cakes are completely cooled, place one layer of cake on a serving plate. Spread a generous amount of frosting over the top of the first cake layer.
Place the second cake layer on top, pressing it gently into place. Frost the top and sides of the entire cake with the cotton candy frosting.
Step 4: Garnish and Serve
For an extra touch of fun, top the cake with small pieces of actual cotton candy right before serving. You can also add colorful sprinkles or edible glitter to enhance the festive look.
Chill the cake for 30 minutes before serving to allow the frosting to set.
Notes
Cotton candy extract can be found online or in specialty stores. If you can’t find it, you can use cotton candy-flavored syrup or candy, melted and incorporated into the frosting for a similar effect.
This cake is ideal for special occasions and can be customized with different colored frosting or sprinkles to match your party theme.