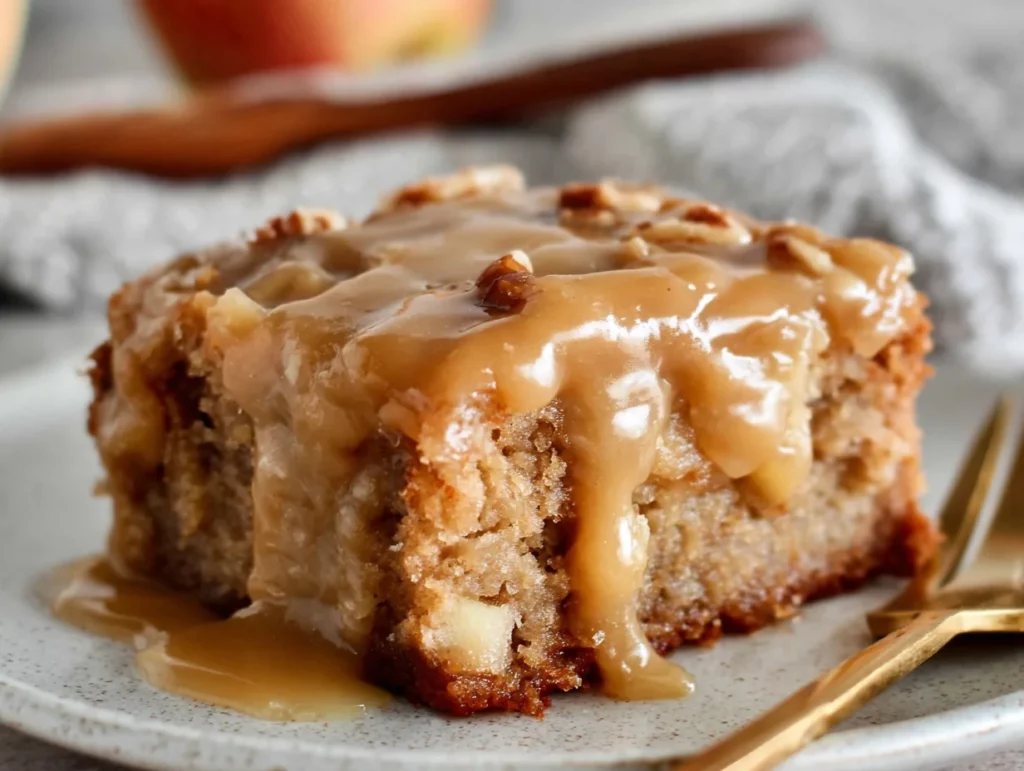
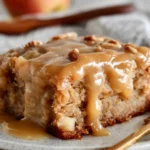
If there’s one cake that instantly takes me back to crisp fall afternoons and cozy family gatherings, it’s Apple Dapple Cake. Just the name alone sounds like something straight out of a vintage church cookbook or a handwritten recipe card passed down from grandma — and that’s exactly what makes it so special. It’s rustic, rich, packed with juicy apples and warm cinnamon, and finished with a buttery brown sugar glaze that soaks right into every tender crumb.
The best part? It’s as easy to make as it is comforting. No fancy layers or fussy decorations here — just simple, good old-fashioned baking at its best.
This is one of those recipes that gets even better the next day, making it perfect for making ahead of time. Whether you’re baking for a potluck, holiday dinner, or just craving something nostalgic and sweet, this cake delivers every time.
Let’s dive into how to make it, step by step.
Getting Started with Apple Dapple Cake
Before we jump into mixing and baking, here’s a quick note on what makes this cake shine — the apples.
You’ll want to use firm, flavorful apples that hold their shape while baking. Granny Smith adds a nice tart bite, while Honeycrisp brings in natural sweetness. Feel free to use a mix for a balanced flavor!
Alright, let’s bake.
Ingredients You’ll Need
For the Cake:
-
3 cups peeled and chopped apples (Granny Smith, Honeycrisp, or a mix)
-
2 cups granulated sugar
-
1 cup vegetable oil
-
3 large eggs
-
3 cups all-purpose flour
-
1 teaspoon baking soda
-
1 teaspoon salt
-
1 teaspoon ground cinnamon
-
1 teaspoon vanilla extract
-
1 cup chopped pecans or walnuts (optional, but highly recommended for texture)
For the Glaze:
-
1 cup brown sugar
-
1/2 cup unsalted butter
-
1/4 cup milk or heavy cream
-
Pinch of salt
Step-by-Step Instructions
Step 1: Preheat and Prep Your Pan
Start by preheating your oven to 350°F. Grease and flour a bundt or tube pan really well. This cake is moist and dense, so a well-prepped pan is key to a clean release after baking.
Step 2: Mix the Wet Ingredients
In a large mixing bowl, combine 2 cups of sugar, 1 cup of vegetable oil, and 3 eggs. Beat this mixture until it’s smooth and well blended. Stir in 1 teaspoon of vanilla extract.
It’s going to look glossy and a little thick — that’s exactly what you want.
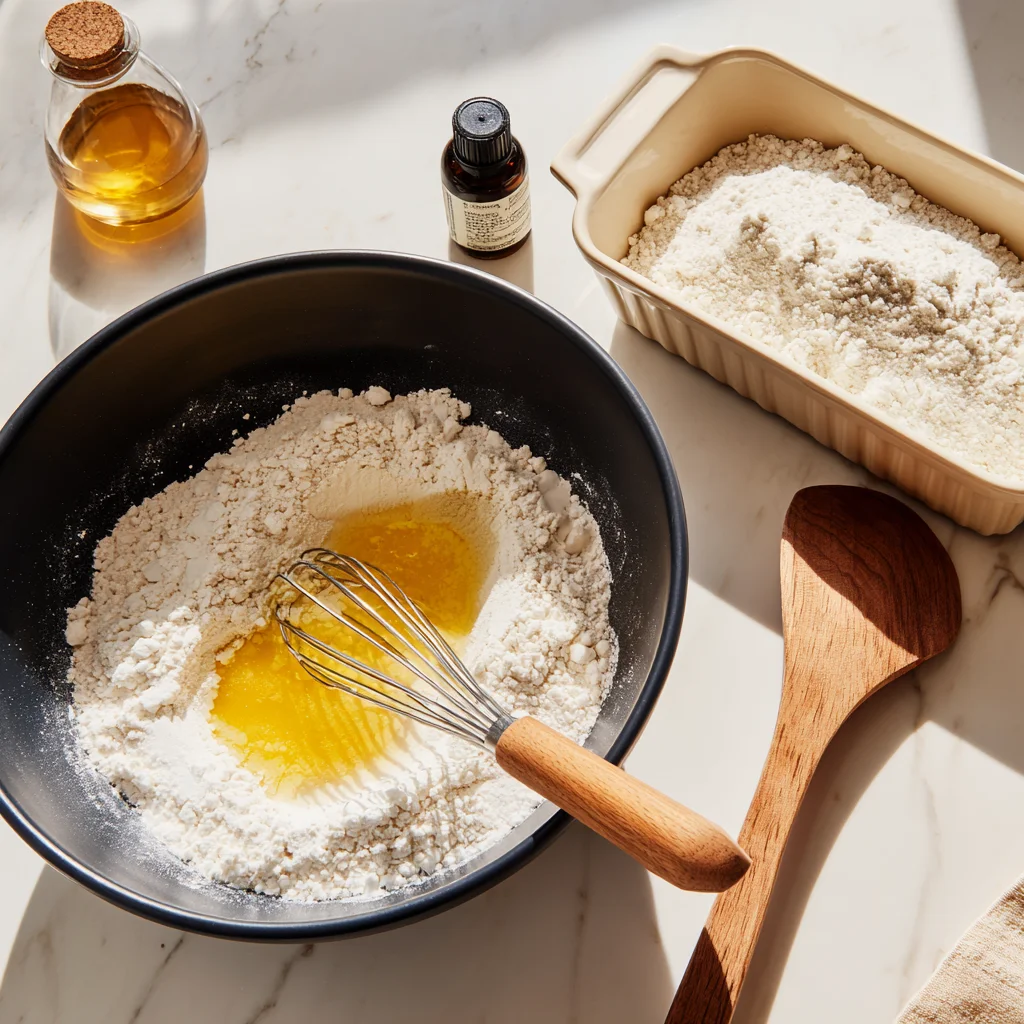
Step 3: Combine Dry Ingredients
In a separate bowl, whisk together the 3 cups of flour, 1 teaspoon of baking soda, 1 teaspoon of salt, and 1 teaspoon of cinnamon. This step ensures that the baking soda and spices are evenly distributed throughout the cake.
Step 4: Bring It All Together
Gradually add your dry mixture into the wet ingredients. I like to do this in 2 or 3 additions, stirring until everything is just combined. The batter is going to be thick — don’t worry, that’s normal.
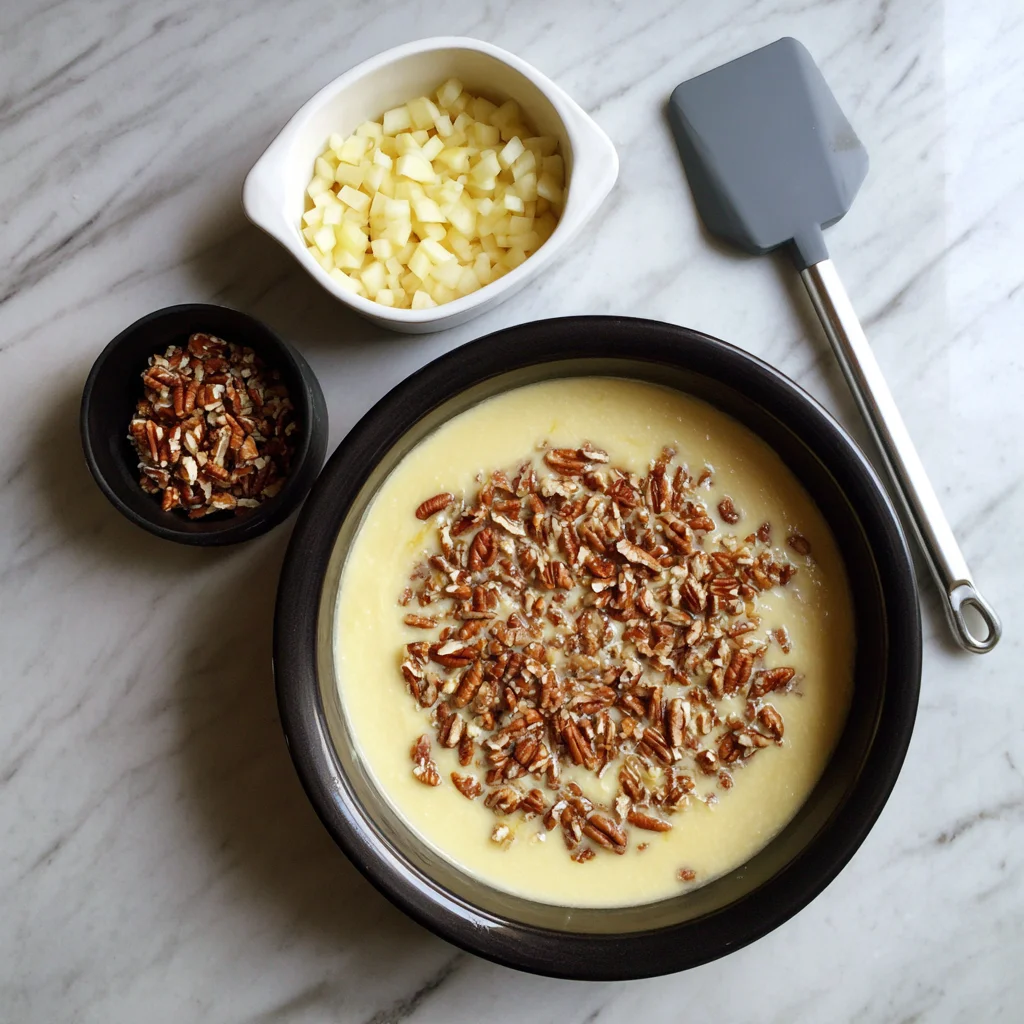
Now fold in your 3 cups of chopped apples and nuts, if using. At this point, it’ll feel more like apple chunks held together with batter than a traditional cake batter, but trust the process — the apples will bake down and create that incredibly moist texture we love in this cake.
Step 5: Into the Pan
Spoon the thick batter evenly into your prepared bundt or tube pan. Use a spatula to smooth out the top just a bit.
Pop it in the oven and bake for 60 to 70 minutes, or until a toothpick inserted into the center comes out clean. Every oven is a little different, so I usually start checking at the 60-minute mark.
Glazing, Finishing Touches & Helpful Baking Tips
So, your kitchen probably smells incredible right now — cinnamon, apples, and a hint of something sweet and nutty in the air. That’s how you know your Apple Dapple Cake is doing exactly what it’s supposed to do in the oven.
Once the cake is done baking, the next step takes it from really good to absolutely unforgettable. I’m talking about that warm brown sugar glaze. It’s buttery, rich, and soaks right into the warm cake, giving it that signature caramel-like flavor and extra moist texture.
Let’s get into the final baking steps and then talk through some helpful tips to make this cake a no-fail favorite in your recipe box.
Finishing the Cake
Step 6: Cool Before Flipping
Once your cake is fully baked (use a toothpick to test for doneness), pull it from the oven and let it rest in the pan for 10 to 15 minutes. This short wait time helps the cake set and pull away slightly from the edges of the pan, which makes flipping it out a whole lot easier.
After that, carefully invert the cake onto a wire rack or serving plate. If you greased and floured your pan well, it should release cleanly.
Time for the Glaze
This glaze comes together quickly, so you’ll want to make it while the cake is still warm. That way, it can soak into every nook and cranny.
Step 7: Make the Glaze
In a small saucepan over medium heat, combine:
-
1 cup brown sugar
-
1/2 cup unsalted butter
-
1/4 cup milk or heavy cream
-
A pinch of salt
Stir constantly until the mixture starts to gently boil. Let it simmer for about 2 minutes, then remove it from the heat.
This is not a glaze that thickens a ton — it’s more of a pourable sauce that’s meant to seep into the cake and create that dreamy, moist texture.
Step 8: Glaze the Cake While Warm
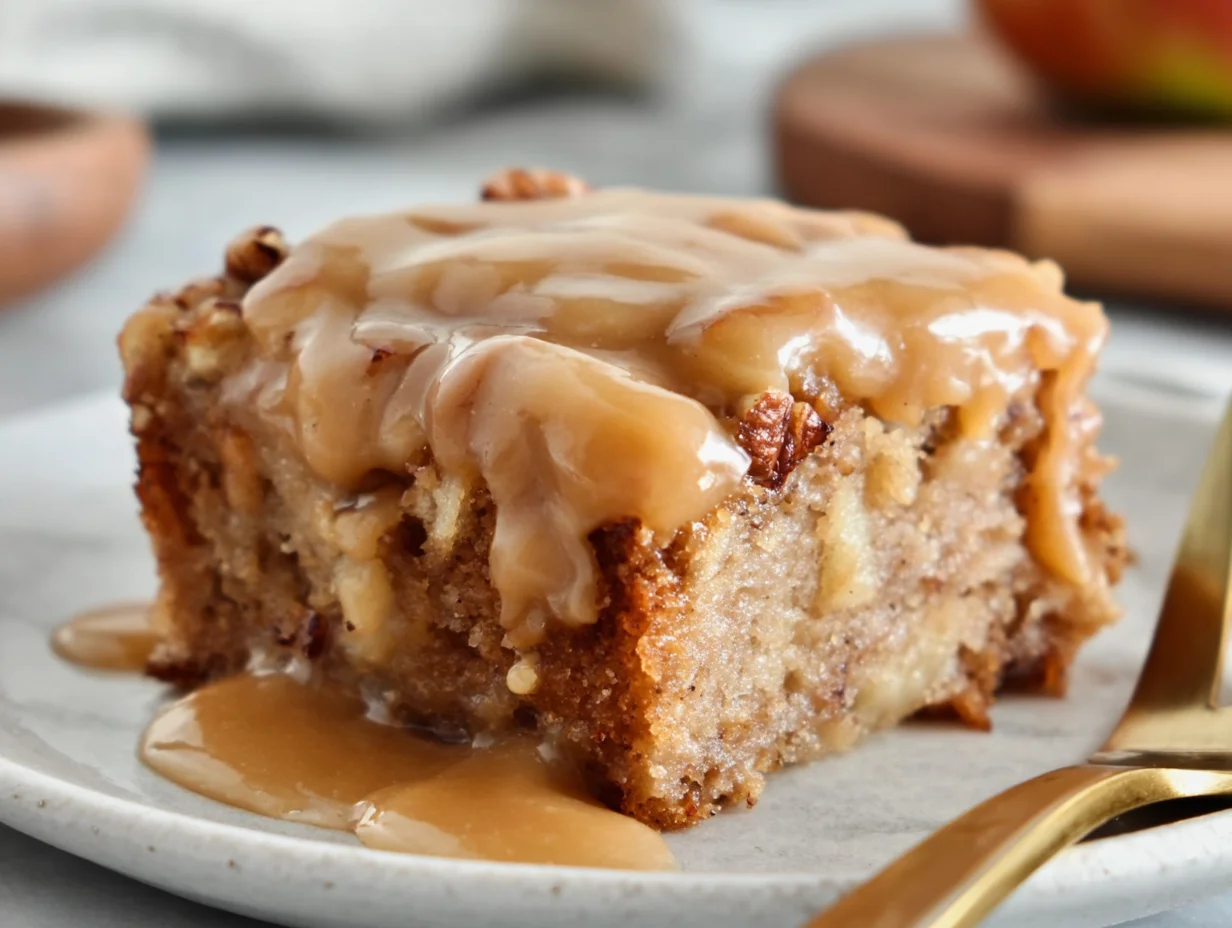
Using a spoon, slowly pour the warm glaze over your warm cake, allowing it to drip down the sides and soak in. You can go slowly and let it absorb, then go back over a second time if needed. Some of it will puddle at the bottom — and that’s totally fine.
Let the cake cool completely before slicing. This helps it set up and gives the glaze time to fully absorb into the crumb. If you can wait until the next day, it tastes even better!
Helpful Tips & Simple Variations
-
Choose the Right Apples: Granny Smith is a classic for a reason — tart, firm, and bakes beautifully. But I love mixing in Honeycrisp or Fuji for a little natural sweetness. The blend adds complexity to the flavor.
-
Don’t Overmix the Batter: Once you add the flour, mix just until everything comes together. Overmixing can make the cake dense in a not-so-good way.
-
Glaze Timing Matters: Pour the glaze while both the cake and glaze are still warm. That’s the secret to getting it to soak in deeply.
-
Make It Ahead: This is a perfect make-ahead cake because it actually improves overnight. The flavors develop and the texture gets even more tender.
-
Serving Suggestions: A slice of this cake with a scoop of vanilla ice cream? Pure fall heaven. Or keep it simple with a dusting of powdered sugar and a dollop of whipped cream.
-
Add a Little Extra Spice: Want more warmth? Try adding a pinch of nutmeg or allspice to the dry ingredients for a deeper fall flavor.
Apple Dapple Cake FAQs & Final Thoughts
You’ve made it to the final stretch, and by now your kitchen probably has that cozy, comforting smell that only comes from baking apples and cinnamon. Whether you’re planning to serve this Apple Dapple Cake at a fall get-together or simply enjoy it with your morning coffee, you’re in for a real treat.
Before we wrap things up, let’s take a moment to answer some of the most common questions people have about making this classic cake. These tips will help you get the best results every time, even if it’s your first try.
Frequently Asked Questions
1. Can I use a different type of pan instead of a bundt or tube pan?
Yes, but with some adjustments. A 9×13-inch baking dish will work, though the bake time may be slightly shorter — around 45–55 minutes. Keep an eye on it and use a toothpick to test for doneness. The texture might be a little different, but the flavor will still shine.
2. Do I have to peel the apples?
Yes, for best results. Leaving the peels on can make the texture a bit chewy or tough. Peeling the apples allows them to break down and soften into the batter, giving you that moist, melt-in-your-mouth bite.
3. How should I store the cake?
You can store the cake covered at room temperature for up to 3 days. If you want to keep it longer, refrigerate it — it will stay fresh for up to a week. Just be sure to cover it well so it doesn’t dry out.
4. Can this cake be frozen?
Absolutely. Let the cake cool completely, then wrap it tightly in plastic wrap and aluminum foil. It can be frozen for up to 2–3 months. Thaw it in the fridge overnight, then let it come to room temperature before serving.
5. Can I leave out the nuts?
Yes! The nuts are totally optional. If you’re baking for someone with allergies or simply prefer a smoother texture, feel free to leave them out. The cake will still be delicious and moist.
6. What’s the best way to serve this cake?
Warm, room temperature, or even chilled — you can’t go wrong. It pairs beautifully with vanilla ice cream, a dollop of fresh whipped cream, or even a drizzle of extra glaze if you saved a little on the side.
7. Can I make this cake in advance?
Yes, and I highly recommend it! This cake actually tastes better the next day. The glaze soaks in and the flavors deepen overnight. Just store it covered at room temp or in the fridge.
Final Thoughts: A Cake Worth Coming Back To
Apple Dapple Cake is one of those time-tested recipes that never goes out of style. It’s simple, humble, and incredibly satisfying — the kind of dessert that reminds you of family dinners, autumn afternoons, and the joy of baking something from scratch.
What I love most about this cake is that it’s low-effort but high-impact. You don’t need any fancy equipment or techniques — just fresh apples, a handful of pantry staples, and a little time in the oven. The end result is a rich, moist cake with so much flavor and just the right amount of sweetness.
Whether you’re baking it for a holiday table or just because apples are in season, I promise this recipe will earn a spot in your regular rotation.
PrintApple Dapple Cake
Apple Dapple Cake is a nostalgic, old-fashioned dessert packed with fresh apples, warm spices, and a rich, buttery brown sugar glaze that soaks into the cake for an ultra-moist finish. With a tender crumb and a caramel-like flavor throughout, this cake is perfect for fall baking or any time you want a cozy, crowd-pleasing treat. It’s often made in a bundt or tube pan and gets better with time, making it ideal for sharing or preparing in advance.
- Author: Mark's Recipe
Ingredients
For the cake
3 cups peeled and chopped apples (such as Granny Smith or Honeycrisp)
2 cups granulated sugar
1 cup vegetable oil
3 large eggs
3 cups all-purpose flour
1 teaspoon baking soda
1 teaspoon salt
1 teaspoon cinnamon
1 teaspoon vanilla extract
1 cup chopped pecans or walnuts (optional)
For the glaze
1 cup brown sugar
1/2 cup unsalted butter
1/4 cup milk or heavy cream
Pinch of salt
Instructions
Preheat oven to 350°F and grease and flour a bundt or tube pan. In a large mixing bowl, combine sugar, oil, and eggs. Beat until well blended, then stir in the vanilla.
In another bowl, whisk together the flour, baking soda, salt, and cinnamon. Gradually add the dry ingredients to the wet mixture, stirring until just combined.
Fold in the chopped apples and nuts if using. The batter will be thick. Spoon the mixture evenly into the prepared pan and smooth the top.
Bake for 60 to 70 minutes, or until a toothpick inserted in the center comes out clean. Let the cake cool in the pan for 10 to 15 minutes before turning it out onto a wire rack.
While the cake is cooling, prepare the glaze by combining brown sugar, butter, milk, and a pinch of salt in a saucepan over medium heat. Stir constantly until the mixture begins to boil. Let it simmer for about 2 minutes, then remove from heat.
While the cake is still warm, slowly spoon or pour the glaze over the top, allowing it to soak in and drip down the sides.
Let the cake cool completely before slicing.
Notes
Apple Dapple Cake tastes even better the next day as the glaze soaks into the crumb.
Store covered at room temperature for up to three days or refrigerate for longer shelf life.
You can use a variety of apples for a mix of tart and sweet flavors.
Serve with a scoop of vanilla ice cream or a dollop of whipped cream for an extra indulgent touch.

")
