There’s just something magical about the combination of chocolate and peanut butter, isn’t there? It’s one of those classic duos that never goes out of style. If you’re anything like me, you probably grew up sneaking spoonfuls of peanut butter and chocolate chips when no one was looking. Now, I’ve taken that same love for the sweet and salty combo and turned it into one of the easiest, most crave-worthy no-bake desserts you’ll ever make: Chocolate Peanut Butter Dessert Cups.
These little cups of layered goodness are a game-changer when you need a quick dessert for a party, potluck, or just a Tuesday night treat. They’ve got a crunchy cookie crust, a creamy peanut butter layer that tastes like a dream, and a silky smooth chocolate pudding topping. And the best part? No oven required.
I love making these in clear plastic cups or mini mason jars so you can see all the layers—because let’s be honest, food that looks this good deserves to be shown off. Whether you’re hosting friends or just need something sweet to end the day, these dessert cups are easy to whip up and impossible to resist.
Let’s dive right in!
Ingredients You’ll Need
For the crust:
-
1 1/2 cups crushed chocolate sandwich cookies (like Oreos)
-
3 tablespoons melted butter
For the peanut butter layer:
-
1 cup creamy peanut butter
-
4 oz cream cheese, softened
-
1/2 cup powdered sugar
-
1 cup whipped topping (like Cool Whip)
For the chocolate layer:
-
1 box (3.9 oz) instant chocolate pudding mix
-
2 cups cold milk
For the topping:
-
1 cup whipped topping
-
Chocolate shavings or mini chocolate chips (optional, but highly recommended)
STEP 1: Make the Cookie Crust
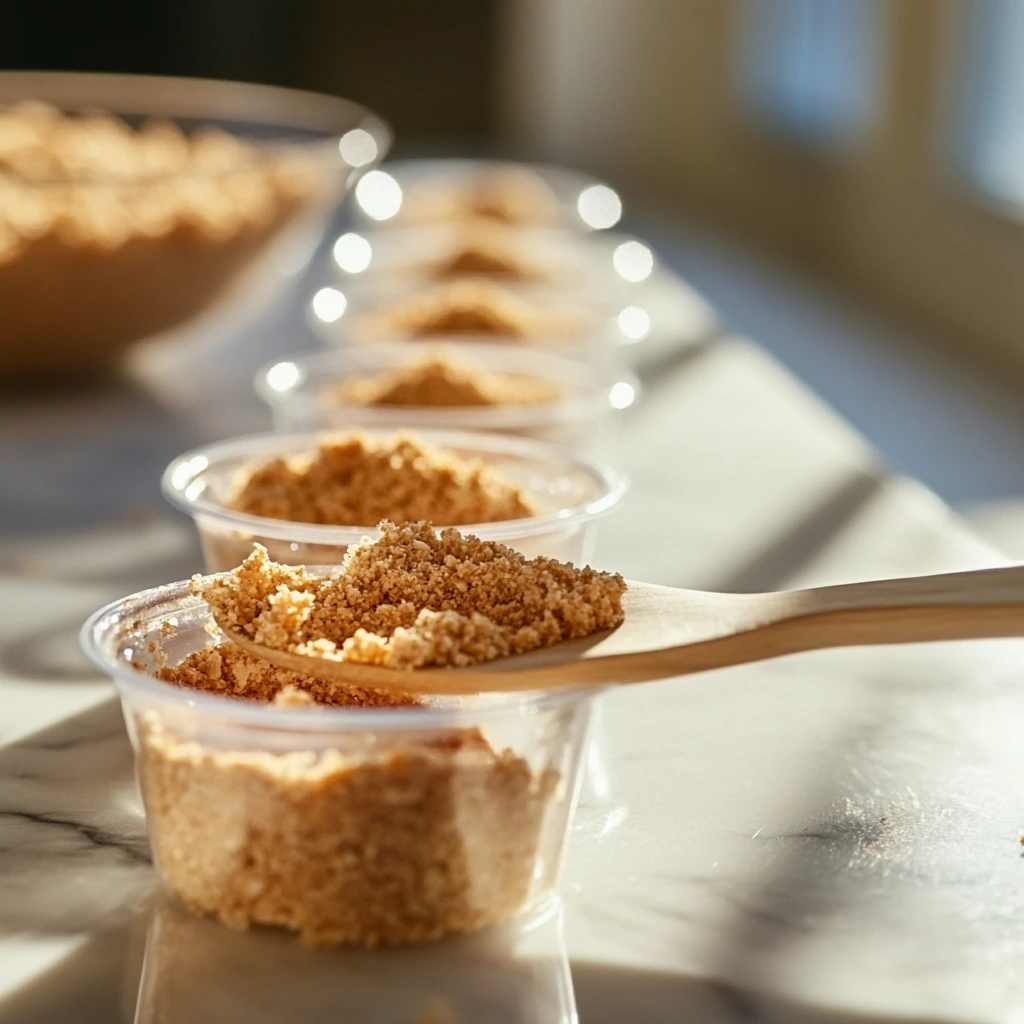
Start by crushing your chocolate sandwich cookies. You can use a food processor if you want super-fine crumbs, but a zip-top bag and a rolling pin will do just fine. Once they’re crushed, stir in the melted butter until the mixture looks like wet sand.
Now, grab your serving cups. Spoon about 2-3 tablespoons of the cookie mixture into the bottom of each one. Press it down gently to create a nice, firm base. This is going to be the crunchy layer that holds up all that creamy goodness coming next
Tip: If you want your crust extra crunchy, pop the cups into the fridge while you prep the next layers so it firms up a bit.
STEP 2: Whip Up the Peanut Butter Layer
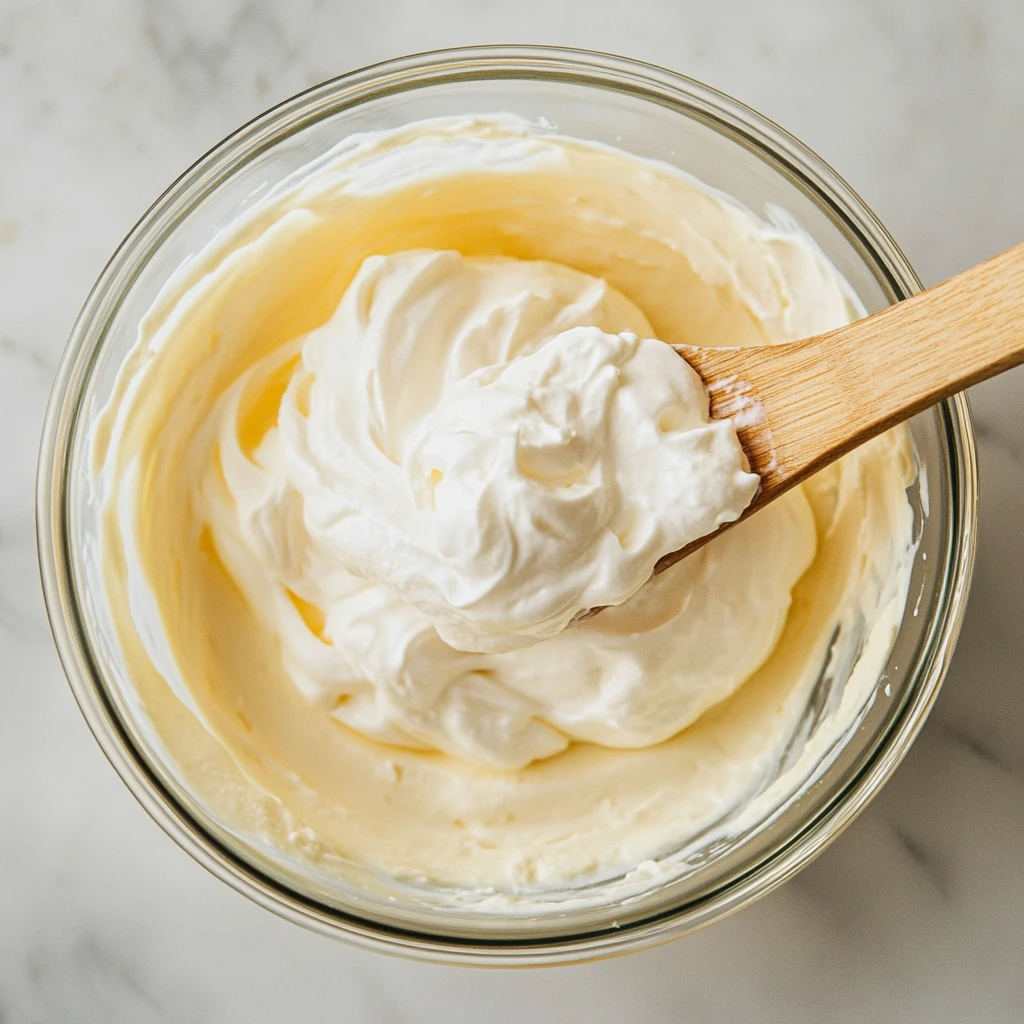
This is my favorite part—because who can resist a fluffy, peanut-buttery mousse? In a mixing bowl, blend the peanut butter, softened cream cheese, and powdered sugar until it’s smooth and creamy. Don’t rush this part; you want everything well combined.
Once that’s done, gently fold in the whipped topping. This makes the mixture light and airy, like a peanut butter cloud. Spoon or pipe this mixture evenly over the cookie crust in each cup. You can get fancy with a piping bag if you want that swirled look, or just spoon it in and smooth the tops.
Tip: Make sure your cream cheese is fully softened so it blends smoothly. No one wants lumps in their dessert cups.
STEP 3: Mix the Chocolate Pudding Layer
In a separate bowl, whisk together the instant chocolate pudding mix and cold milk for about 2 minutes. It should thicken up pretty quickly. This layer adds a rich, creamy finish to your cups and really ties everything together.
Spoon or pipe the pudding on top of the peanut butter layer in each cup. You’ll start to see those beautiful layers forming, and trust me—they’re just as tasty as they look.
Finishing Touches & Tips
Okay, by now you’ve got two heavenly layers in your dessert cups: the crunchy chocolate cookie crust and that rich, fluffy peanut butter mousse. And we’ve just added the velvety chocolate pudding on top. Are you drooling yet? Because I definitely am.
Now it’s time to bring these Chocolate Peanut Butter Dessert Cups across the finish line with the final touches that really make them shine. We’ll top them off with a sweet whipped layer and a few fun garnishes, then I’ll share a few of my favorite tips and easy ways to switch things up depending on what you have in your pantry.
These dessert cups are as simple as they are stunning—and with a little chill time in the fridge, they’re ready to serve with almost no fuss.
STEP 4: Add the Whipped Topping and Garnish
Now that your pudding layer is nice and settled, it’s time for that final dollop of whipped topping. This not only adds a light, creamy finish but also gives your dessert cups a polished, party-ready look.
You can simply spoon a bit of whipped topping over each cup, or if you’re feeling a little extra (and I often am when it comes to dessert), use a piping bag to swirl it on top. It gives them a bakery-style look with hardly any effort.
Now, for the fun part—garnishing. A sprinkle of chocolate shavings or a handful of mini chocolate chips makes these cups look amazing and adds a little extra chocolatey crunch. If you really want to go big, crumble up some peanut butter cups and sprinkle them on top, too.
Tip: If you’re serving guests, keep the toppings varied—some with chocolate chips, some with shavings, and others with peanut butter candy. It makes the whole dessert table look more interesting.
STEP 5: Chill Before Serving
This is the hardest part: waiting.
Pop the dessert cups into the refrigerator and let them chill for at least 1 hour. This gives the layers time to set and the flavors to meld together. Trust me, it’s worth the wait. You can even make these the night before, which makes them a great make-ahead option for parties, holidays, or just when you want to treat yourself without a last-minute rush.
Once they’re chilled, they’re ready to enjoy! Each bite is a perfect combo of smooth, creamy, crunchy, and rich. It’s like a peanut butter cup and a pudding pie had a baby—and it’s glorious.
Tips and Tricks for Perfect Dessert Cups
If you’ve made no-bake layered desserts before, you know they’re pretty forgiving. Still, a few little tricks can help you get the best results every time:
-
Use full-fat cream cheese and peanut butter. The texture and flavor really shine when you stick with the classic stuff. Avoid natural peanut butter for this recipe—it tends to separate and makes the mixture too runny.
-
Crush your cookies finely. The finer the crumbs, the better they press together for that solid crust base. A food processor works great here, but a rolling pin and some elbow grease will do the job too.
-
Let each layer settle. Don’t rush when adding each layer. If you spoon the pudding on too fast, it might mix into the peanut butter layer. Use a piping bag or spoon gently to keep those layers clean and defined.
-
Presentation matters. Using clear cups or mini mason jars makes these look impressive with minimal effort. You’ll see all the pretty layers through the side, and your guests will be wowed before they even take a bite.
-
Customize with extras. Try folding some chopped peanuts or crushed candy into the peanut butter layer for added texture. Or drizzle a little chocolate syrup between layers for an extra decadent touch.
FAQ & Final Thoughts
We’ve layered, chilled, and garnished our way through this ultra-delicious recipe, and by now, you’ve hopefully got a tray full of stunning dessert cups just waiting to be enjoyed. Whether you’re serving these at a birthday party, potluck, or just keeping a few in the fridge for when the sweet cravings hit, these no-bake treats are an easy win every single time.
Before we wrap up, I want to quickly answer some of the most common questions I get about these Chocolate Peanut Butter Dessert Cups. Whether you’re wondering about substitutions, make-ahead options, or how to switch things up, I’ve got you covered.
Frequently Asked Questions
1. Can I make these dessert cups ahead of time?
Absolutely! In fact, they’re even better after chilling for a few hours. You can make them up to 24 hours in advance. Just keep them covered in the fridge until you’re ready to serve.
2. What kind of cups should I use for layering?
Clear plastic cups, mini mason jars, or even small glass tumblers work great. Aim for something around 6–8 oz so you have room for all the layers without it being too much.
3. Can I use homemade whipped cream instead of whipped topping?
Yes, you can substitute freshly whipped cream (just sweeten it a little) if you prefer to avoid store-bought whipped topping. Just keep in mind that homemade whipped cream is a bit less stable, so serve within a day for best results.
4. What’s the best way to crush the cookies for the crust?
A food processor will give you a nice, even crumb. But if you don’t have one, put the cookies in a zip-top bag and crush them with a rolling pin or heavy can until they resemble coarse sand.
5. Can I make this gluten-free?
Definitely. Just swap the chocolate sandwich cookies for a gluten-free version. There are several good brands out there that work just as well.
6. What if I don’t have cream cheese?
You can skip it and use a bit more whipped topping in the peanut butter layer, but the texture will be lighter and not quite as rich. The cream cheese adds that cheesecake-like creaminess that balances everything out.
7. How long will leftovers last in the fridge?
They’ll stay fresh for about 2–3 days when stored covered in the fridge. After that, the layers can start to get a little soft, but they’re still safe to eat.
Final Thoughts
These Yummy Chocolate Peanut Butter Dessert Cups are proof that you don’t need an oven—or a ton of time—to make something totally indulgent and party-worthy. They’re creamy, crunchy, chocolaty, and peanut buttery all in one bite. Honestly, it’s hard to stop at just one.
I love how customizable they are, too. Add some chopped nuts for crunch, swirl in some caramel or fudge, or even switch out the pudding flavor if you’re feeling adventurous. (Yes, I’ve tried vanilla and it’s also delicious!)
PrintYummy Chocolate Peanut Butter Dessert Cups
Yummy Chocolate Peanut Butter Dessert Cups are the ultimate no-bake treat that combines rich chocolate, creamy peanut butter, and a crunchy cookie base. These layered dessert cups are perfect for parties or as an easy indulgence to satisfy your sweet tooth, with each bite offering a delicious contrast of textures and flavors.
- Author: Mark's Recipe
Ingredients
For the crust:
1 1/2 cups crushed chocolate sandwich cookies (like Oreos)
3 tablespoons melted butter
For the peanut butter layer:
1 cup creamy peanut butter
4 oz cream cheese, softened
1/2 cup powdered sugar
1 cup whipped topping
For the chocolate layer:
1 box (3.9 oz) instant chocolate pudding mix
2 cups cold milk
For the topping:
1 cup whipped topping
Chocolate shavings or mini chocolate chips (optional)
Instructions
In a bowl, combine crushed cookies and melted butter until the mixture resembles wet sand. Spoon a few tablespoons into the bottom of each serving cup and press down to form a crust.
In another bowl, mix the peanut butter, softened cream cheese, and powdered sugar until smooth. Fold in the whipped topping until light and fluffy. Spoon or pipe this mixture over the cookie crust in each cup.
In a separate bowl, whisk together the instant chocolate pudding mix and cold milk for 2 minutes until thickened. Layer the pudding over the peanut butter mixture in each cup.
Top each dessert cup with a dollop of whipped topping and garnish with chocolate shavings or mini chocolate chips if desired.
Chill in the refrigerator for at least 1 hour before serving to allow the layers to set.
Notes
You can use mini mason jars or clear plastic cups for a fun and portable presentation. For added texture, try layering in chopped peanuts or peanut butter cups. These dessert cups can be made a day in advance and stored covered in the fridge, making them perfect for easy entertaining.
