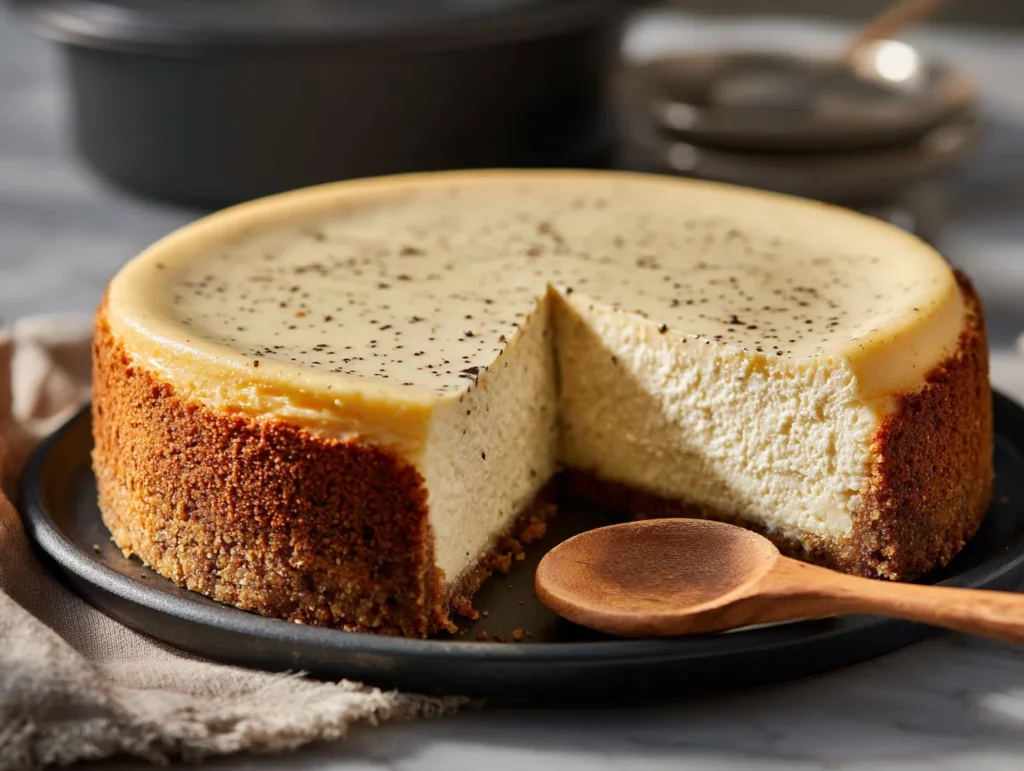
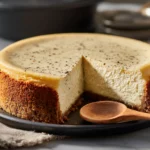
There are desserts you make when you’re craving something sweet, and then there are desserts you make when you want to wow. This Vanilla Bean Brown Butter Cheesecake falls squarely into the second category. It’s rich, creamy, subtly nutty from that golden browned butter, and infused with the warm, floral aroma of real vanilla bean. Whether you’re prepping for a holiday gathering or just treating yourself to something extra special, this cheesecake is here to impress.
I remember the first time I tried this recipe — it was a cool autumn weekend, and I wanted to bake something that felt like a hug. I had just discovered the magic of browned butter, and adding it to a classic cheesecake felt like the perfect twist. The result? A cheesecake so smooth and decadent, I knew it had to become a permanent part of my dessert rotation.
If you’ve never made cheesecake before, don’t worry — I’ve got you. I’ll walk you through each step, share some helpful tips along the way, and by the end, you’ll have a dessert that looks (and tastes) like it came from a fancy bakery.
Let’s get started!
Ingredients You’ll Need
For the crust:
-
1½ cups graham cracker crumbs
-
¼ cup granulated sugar
-
½ cup unsalted butter, browned
For the filling:
-
3 packages (8 oz each) cream cheese, softened
-
1 cup granulated sugar
-
1 vanilla bean, split and seeds scraped (or 1 tablespoon vanilla bean paste)
-
3 large eggs
-
¾ cup sour cream
-
¼ cup heavy cream
-
¼ cup unsalted butter, browned and slightly cooled
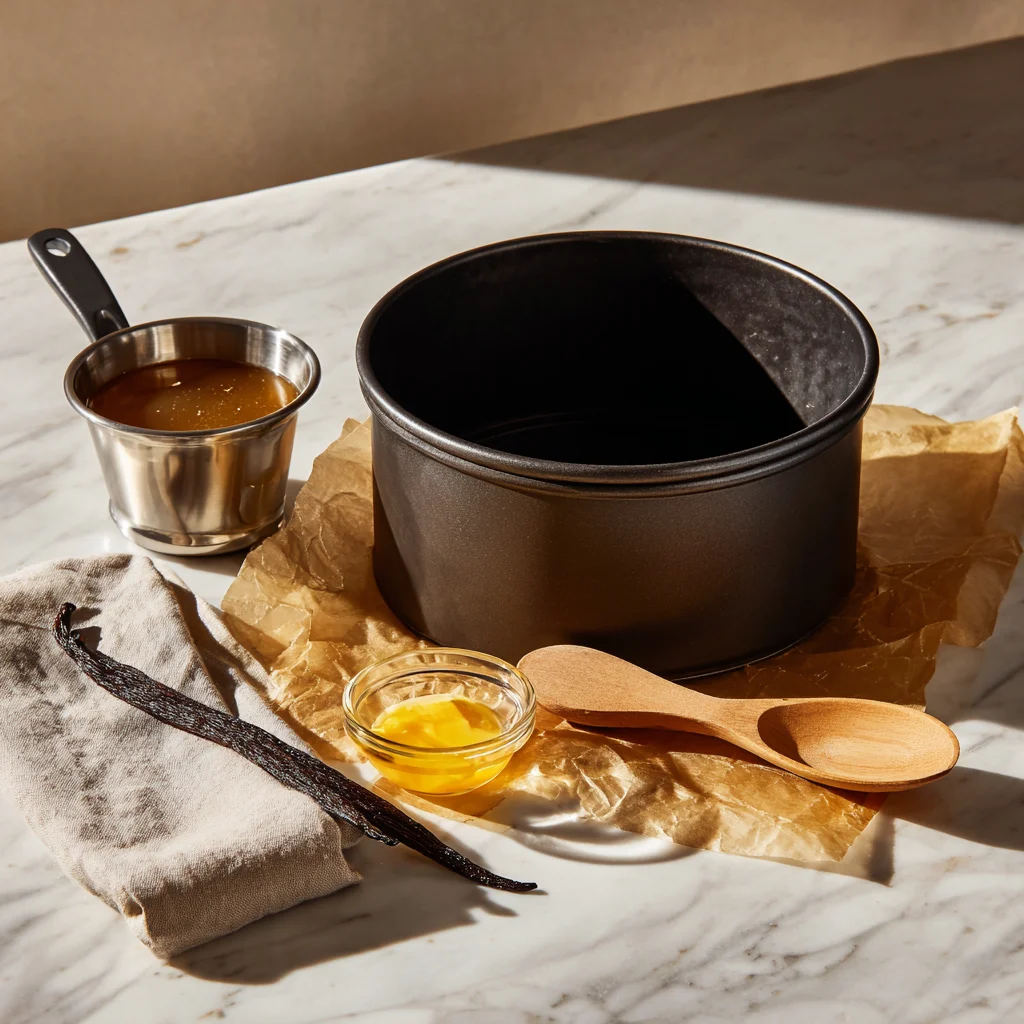
STEP 1: PREP YOUR PAN AND OVEN
Before we even touch the crust, go ahead and preheat your oven to 325°F. You’ll also want to grab a 9-inch springform pan and grease it lightly. Since we’ll be baking this cheesecake in a water bath (to keep it silky smooth and crack-free), it’s important to wrap the outside bottom of the pan with foil. This helps prevent any water from seeping in during the bake. I recommend using two layers of heavy-duty foil for extra security.
STEP 2: MAKE THAT TOASTY GRAHAM CRACKER CRUST
This crust is not your basic graham cracker crust. The secret? Browned butter. It adds a nutty richness that pairs so beautifully with the vanilla bean filling.
Here’s how to make it:
-
In a medium bowl, mix together 1½ cups graham cracker crumbs and ¼ cup granulated sugar.
-
Brown ½ cup unsalted butter by melting it in a pan over medium heat until it turns golden brown and smells toasty. Watch it closely so it doesn’t burn.
-
Pour the browned butter into the crumb mixture and stir until it resembles wet sand.
-
Press the mixture firmly into the bottom of your prepared pan. Use the bottom of a measuring cup or glass to get it nice and even.
-
Bake the crust for 10 minutes, then set it aside to cool while you prep the filling.
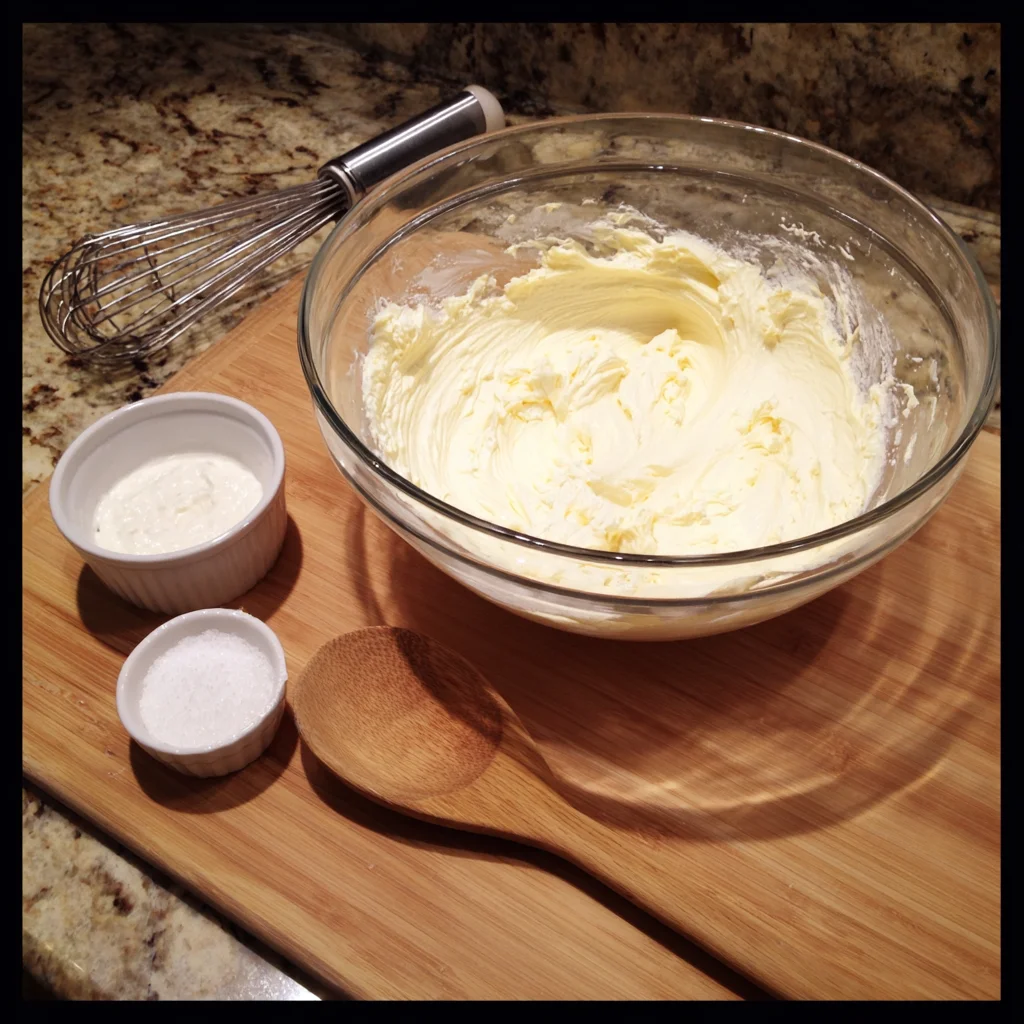
STEP 3: WHIP UP THE FILLING
The filling is where the real magic happens. We’re talking ultra-creamy texture, the bold flavor of vanilla bean, and just the right amount of tang from the sour cream.
-
In a large bowl, beat the cream cheese (3 packages) and 1 cup of granulated sugar until it’s smooth, fluffy, and lump-free. This step is crucial — don’t rush it.
-
Add the vanilla bean seeds (or paste) and mix until well incorporated. If you’re using a real vanilla bean, just split it lengthwise and scrape out the seeds with the back of a knife.
-
One at a time, add the eggs, mixing just until blended after each addition. Avoid over-mixing here — it can add too much air to the batter, which we don’t want.
STEP 4: ADD THE CREAMY GOODNESS
Now comes the extra-rich part. Stir in the ¾ cup sour cream and ¼ cup heavy cream, followed by the ¼ cup of browned butter (make sure it’s cooled slightly so it doesn’t melt the cream cheese). Mix gently until everything is fully combined and smooth.
This filling is seriously dreamy — thick, creamy, and speckled with those tiny flecks of vanilla bean. It’s exactly what you want in a show-stopping cheesecake.
![]()
STEP 5: POUR AND PREPARE FOR THE WATER BATH
Pour the filling into your cooled crust and tap the pan gently on the counter to release any air bubbles. Trust me, this little step makes a difference in the final texture.
Then, place your springform pan into a larger roasting pan. Pour hot water into the roasting pan so it comes about halfway up the sides of the springform pan. This water bath helps the cheesecake bake gently and evenly, and prevents cracks from forming on top.
Vanilla Bean Brown Butter Cheesecake: The Ultimate Holiday Showstopper
Welcome back! Now that we’ve prepped our crust and whipped up that dreamy vanilla bean filling, it’s time to bring it all together in the oven. This next part is all about baking, cooling, and finishing the cheesecake so it turns out rich, creamy, and absolutely stunning every time.
Don’t be intimidated by the water bath — it might sound fancy, but it’s a tried-and-true method for getting that smooth, crack-free top we all want in a cheesecake. And once it’s baked and chilled, you can customize it with toppings or serve it plain. Either way, this cheesecake speaks for itself.
Let’s keep going and finish this beauty.
STEP 6: BAKE LOW AND SLOW
Slide your roasting pan (with the cheesecake nestled inside and surrounded by hot water) into the preheated 325°F oven.
Bake for 55 to 65 minutes, or until the edges are set but the center still has a slight jiggle when you gently shake the pan. This is the sweet spot — the center will continue to set as it cools.
Quick tip: If you notice the top starting to brown too quickly near the end, you can loosely tent a piece of foil over the pan.
STEP 7: COOL GRADUALLY
This part is often overlooked, but it makes a big difference in your final result. Once the baking time is up:
-
Turn off the oven and crack the oven door slightly.
-
Let the cheesecake cool inside the oven for 1 hour.
This gentle cooling step helps prevent cracking and gives your cheesecake time to settle evenly. Don’t skip it!
STEP 8: CHILL TO SET
After that initial cooling hour in the oven, remove the cheesecake from the water bath and carefully take off the foil from around the pan.
Transfer the cheesecake to the refrigerator and chill for at least 4 hours, but preferably overnight. This resting time helps the texture fully set, and the flavors deepen beautifully.
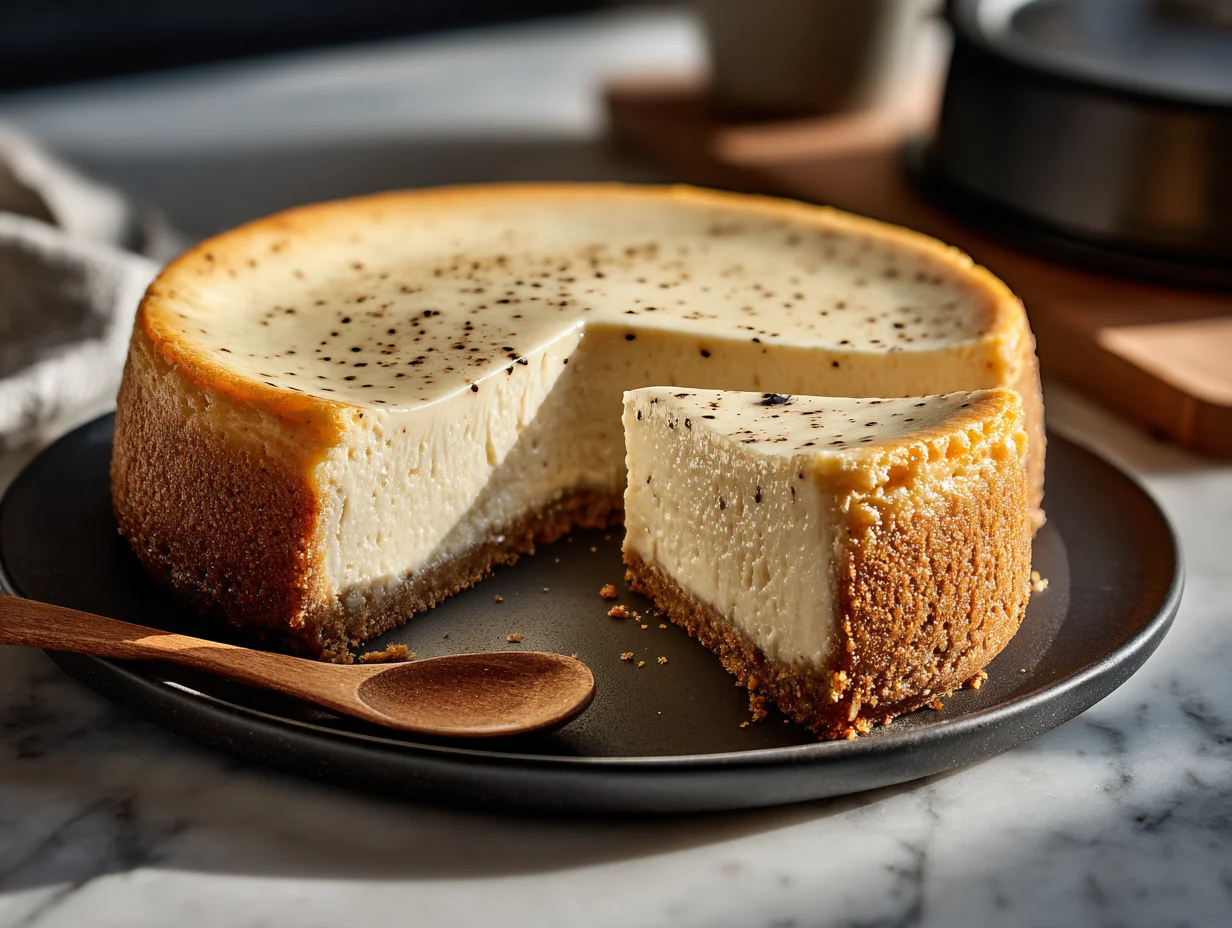
Once fully chilled, it’s ready to serve!
TIPS FOR THE BEST VANILLA BEAN BROWN BUTTER CHEESECAKE
Now that we’ve walked through the full process, here are a few extra tips to help make this cheesecake the best it can be:
-
Use real vanilla bean if you can – There’s something so luxurious about seeing those tiny black specks throughout the filling. If you don’t have a vanilla bean, vanilla bean paste is a great alternative.
-
Brown your butter carefully – You want a golden, nutty aroma — not burnt butter. As soon as it starts to foam and smell toasty, remove it from the heat.
-
Cool the brown butter before adding it to the filling – This keeps the texture of the cheesecake nice and creamy and prevents any unwanted curdling.
-
Don’t over-mix the batter – Especially once the eggs are added. Over-mixing can lead to cracks because of the extra air whipped in.
-
Use a hot, clean knife to slice – For picture-perfect slices, dip your knife in hot water and wipe it clean between each cut.
OPTIONAL TOPPINGS TO ELEVATE YOUR CHEESECAKE
While this cheesecake is gorgeous on its own, here are a few simple toppings that pair beautifully with its flavor:
-
Fresh berries – Strawberries, raspberries, or blueberries add a nice contrast to the rich filling.
-
Lightly sweetened whipped cream – A classic touch that softens every bite.
-
Salted caramel drizzle – Adds an extra layer of decadence and complements the nutty notes from the brown butter.
-
Toasted nuts – A handful of chopped pecans or almonds can add some nice texture.
This cheesecake is versatile enough to go minimalist or totally over the top — either way, it shines.
Vanilla Bean Brown Butter Cheesecake: The Ultimate Holiday Showstopper
We’ve made it to the final stretch! By now, your cheesecake should be fully baked, chilled, and ready to serve — and hopefully, you’ve already had a taste of that smooth, nutty, vanilla-laced filling. Whether you’re serving this at a holiday dinner, bringing it to a potluck, or enjoying a slice with a quiet cup of coffee, it’s one of those desserts that always gets people talking.
Before we wrap things up, let’s cover some of the most common questions that come up when making cheesecake at home. These tips will help you avoid common pitfalls and troubleshoot if anything goes off track.
Frequently Asked Questions
1. Can I use vanilla extract instead of a vanilla bean?
Yes! While the flavor won’t be quite as complex, 1 tablespoon of high-quality vanilla extract or vanilla bean paste will still give you a delicious result. Vanilla bean paste is especially great if you still want those signature flecks throughout the filling.
2. Why did my cheesecake crack on top?
There are a few common reasons for cracking:
-
Over-mixing the batter, especially after adding the eggs.
-
Not using a water bath — it helps regulate the temperature during baking.
-
Rapid cooling — always let the cheesecake cool slowly in the oven with the door cracked.
The good news? A cracked top doesn’t affect taste, and a little whipped cream or fruit can easily cover it.
3. How do I know when the cheesecake is done baking?
Look for set edges and a slightly jiggly center. The middle should still have a wobble — it will continue to firm up as it cools. Overbaking can dry out the texture, so resist the urge to bake until it’s completely solid.
4. Can I make this cheesecake ahead of time?
Absolutely. This cheesecake is perfect for making 1-2 days in advance. Just keep it covered in the refrigerator until you’re ready to serve. In fact, the flavor deepens after a day, making it even better the next day.
5. Can I freeze leftover cheesecake?
Yes! Cheesecake freezes surprisingly well. Wrap individual slices tightly in plastic wrap and then foil, or store in an airtight container. Freeze for up to 2 months. Thaw in the fridge overnight before serving.
6. How do I get clean slices when serving?
Use a sharp knife dipped in hot water, and wipe it clean between each cut. This helps you get neat, professional-looking slices without dragging through the filling.
7. Can I skip the water bath?
Technically, yes — but I highly recommend using it. The water bath helps the cheesecake bake more evenly and gently, which minimizes the risk of cracking and gives you that silky texture. If you skip it, expect a slightly drier texture and a higher chance of surface cracks.
Final Thoughts
This Vanilla Bean Brown Butter Cheesecake is truly a dessert worth slowing down for. It takes a little patience, but the end result is something that tastes far more impressive than the effort it takes to make. The browned butter adds a cozy, nutty flavor that takes this cheesecake beyond the usual, and the vanilla bean adds just the right touch of elegance.
Whether you’re serving it as-is or dressing it up with berries, caramel, or whipped cream, it’s a dessert that fits just about any occasion — from the most casual dinner to the most formal celebration.
If you give this recipe a try, I’d love to hear how it turned out! Leave a comment, let me know if you made any fun twists, or share your favorite topping ideas. Recipes like this are meant to be shared — and once your friends and family get a taste, they’ll definitely be asking for the recipe.
PrintVanilla Bean Brown Butter Cheesecake
This vanilla bean brown butter cheesecake is an elevated twist on a classic dessert. The nutty richness of browned butter paired with the warm, floral notes of real vanilla bean creates a deeply flavorful, smooth, and creamy filling. Set on a buttery graham cracker crust and baked to perfection, this cheesecake is both elegant and comforting, making it ideal for holidays, celebrations, or any time you want to impress.
- Author: Mark's Recipe
Ingredients
For the crust:
1½ cups graham cracker crumbs
¼ cup granulated sugar
½ cup unsalted butter, browned
For the filling:
3 packages (8 oz each) cream cheese, softened
1 cup granulated sugar
1 vanilla bean, split and seeds scraped (or 1 tablespoon vanilla bean paste)
3 large eggs
¾ cup sour cream
¼ cup heavy cream
¼ cup unsalted butter, browned and slightly cooled
Instructions
Preheat the oven to 325°F. Grease a 9-inch springform pan and wrap the bottom in foil to prevent leaks.
To make the crust, combine the graham cracker crumbs and sugar in a bowl. Stir in the browned butter until the mixture resembles wet sand. Press firmly into the bottom of the prepared pan. Bake for 10 minutes, then let cool.
For the filling, beat the cream cheese and sugar in a large bowl until smooth and fluffy. Add the vanilla bean seeds and mix until incorporated.
Add the eggs one at a time, mixing just until blended after each addition. Stir in the sour cream and heavy cream, followed by the cooled browned butter.
Pour the batter over the cooled crust. Tap the pan gently on the counter to remove air bubbles.
Place the pan in a larger roasting pan and pour hot water around it to create a water bath. Bake for 55 to 65 minutes, or until the edges are set and the center is slightly jiggly.
Turn off the oven, crack the door, and let the cheesecake cool inside for 1 hour. Remove and chill in the refrigerator for at least 4 hours or overnight before serving.
Notes
Brown butter adds a nutty depth to both the crust and filling, enhancing the overall flavor. Make sure to cool it slightly before mixing into the batter to avoid curdling the cream cheese. If you don’t have a vanilla bean, high-quality vanilla extract or paste can be substituted. Serve plain or topped with whipped cream or fresh berries for an added touch. Cheesecake slices best when fully chilled and cut with a hot, clean knife.
")
