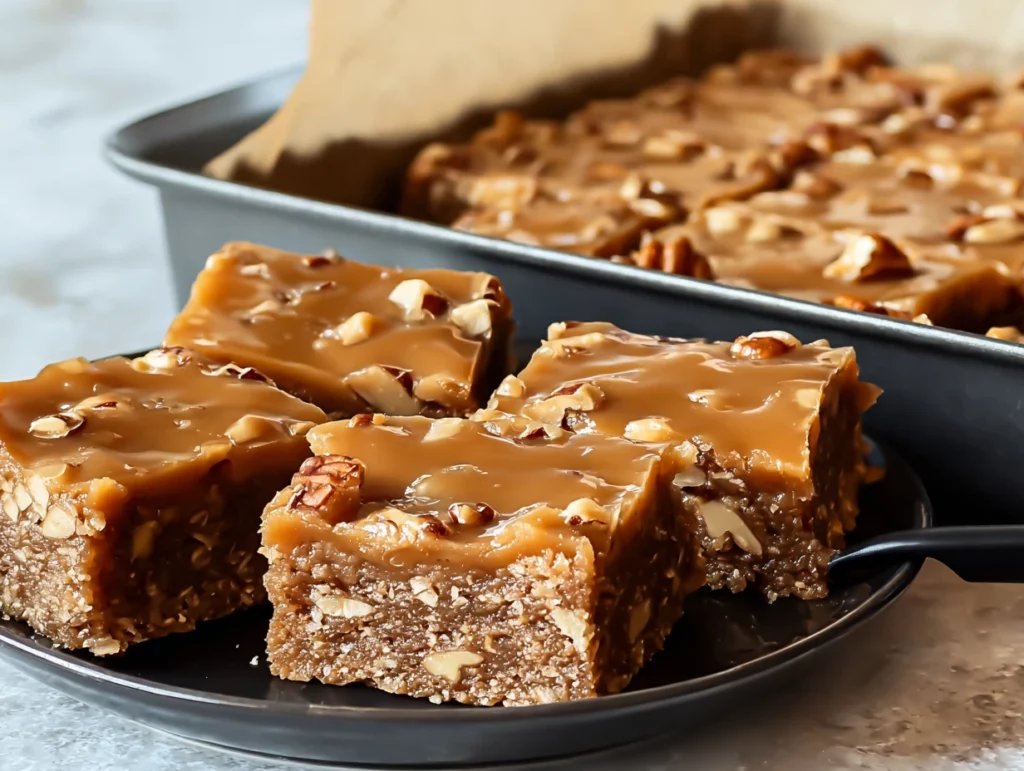
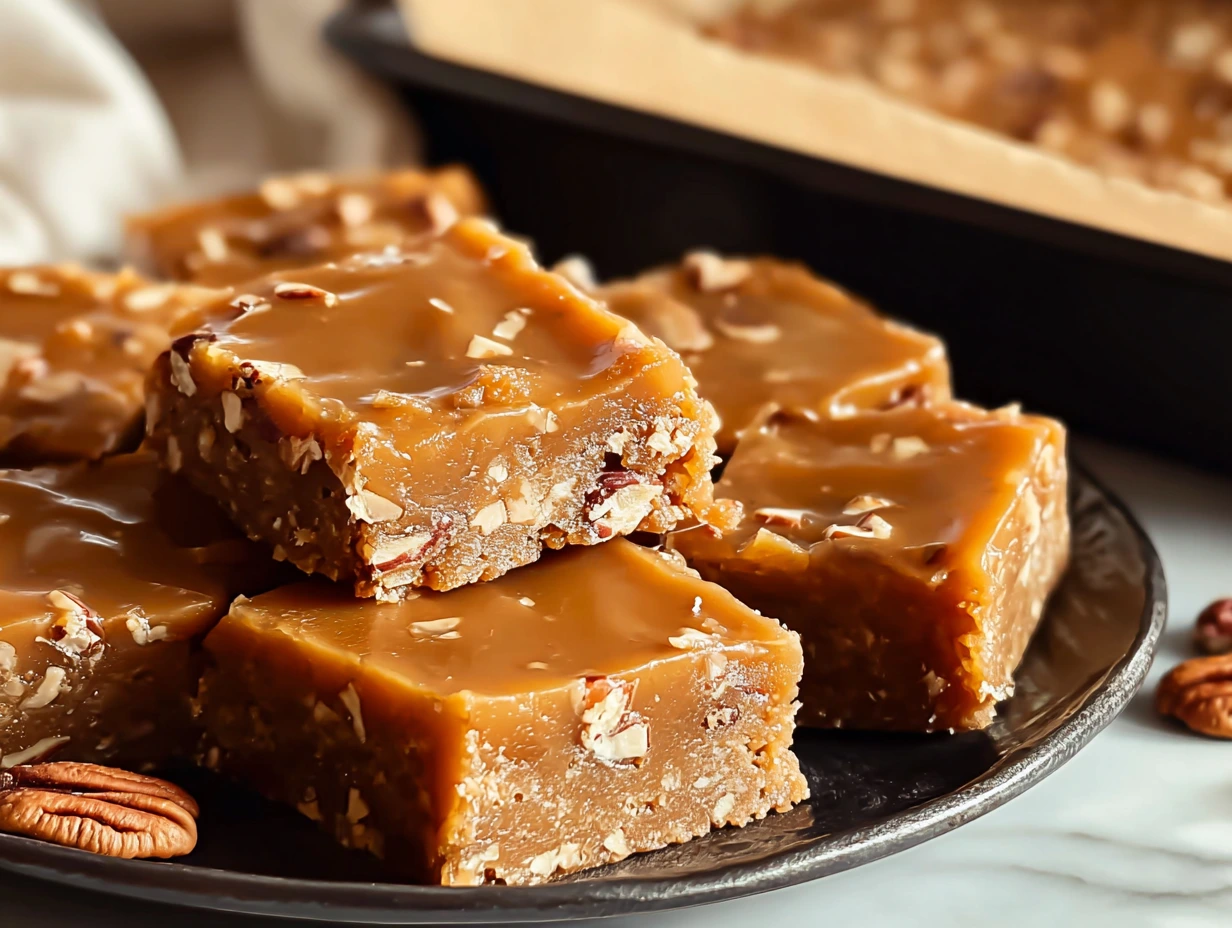
If you’ve ever wanted a dessert that’s just the right mix of chewy, sweet, and utterly satisfying, these butterscotch bars are going to be your new go-to. Inspired by Trisha Yearwood’s beloved recipe, they bring that nostalgic, old-fashioned flavor that feels like it came straight out of a grandmother’s kitchen—only without the three-hour prep time.
I first made these on a chilly afternoon when I was craving something rich but didn’t want to commit to making a whole cake or batch of cookies. By the time the bars came out of the oven, my entire kitchen smelled like a caramel shop, and I knew this recipe was a keeper. They’re quick to whip up, use pantry-friendly ingredients, and the texture is pure magic—soft and slightly dense, with that telltale butterscotch melt-in-your-mouth sweetness.
Whether you’re packing them up for a bake sale, bringing them to a potluck, or just sneaking a square (or three) with your afternoon coffee, these bars always deliver. Plus, they’re incredibly adaptable—you can add pecans for a nutty crunch, throw in butterscotch chips for an extra punch of flavor, or keep them simple and classic.
Why You’ll Love These Butterscotch Bars
-
Easy to make – No fancy equipment or complicated steps required.
-
Perfectly chewy – The trick is in not overbaking them.
-
Pantry-friendly ingredients – You probably already have everything you need.
-
Customizable – Nuts, chips, or even a swirl of chocolate… the options are endless.
-
Crowd-pleasing – These bars disappear fast at any gathering.
Ingredients You’ll Need
Here’s what you’ll be working with:
-
1 cup unsalted butter, melted
-
2 cups packed light brown sugar
-
2 large eggs, beaten
-
2 teaspoons vanilla extract
-
2 cups all-purpose flour
-
2 teaspoons baking powder
-
1/2 teaspoon salt
-
1 cup chopped pecans (optional)
Tip: If you want extra butterscotch flavor, toss in 1/2 cup of butterscotch chips before baking.
Getting Started with the Recipe
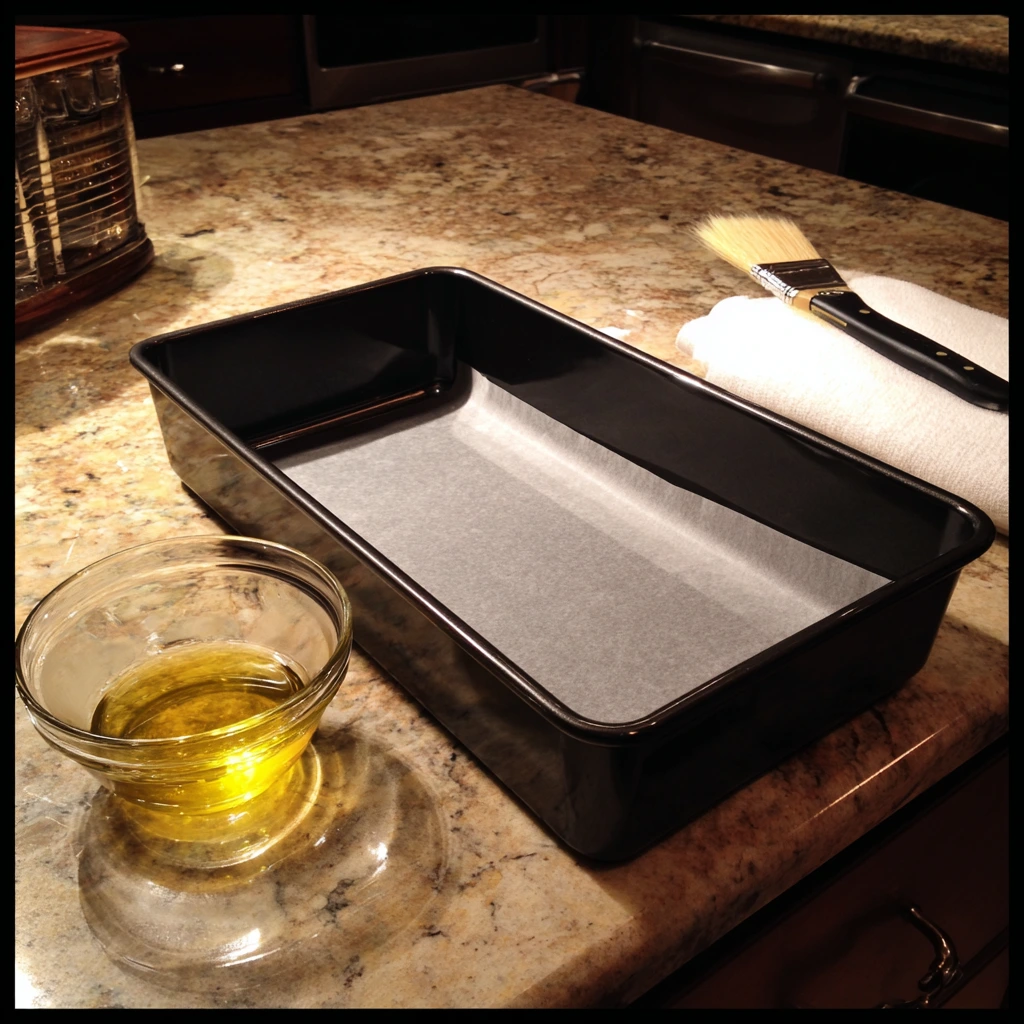
Step 1 – Prep Your Pan and Oven
Preheat your oven to 350°F and grease a 9×13-inch baking pan. You can use a little butter or nonstick spray here—just make sure the pan is coated well so your bars come out in one perfect piece.
Step 2 – Mix the Wet Ingredients
In a large mixing bowl, stir together the melted butter and light brown sugar until the mixture is smooth and slightly glossy. This is where the magic begins—melting the butter instead of creaming it gives the bars their chewy texture.
Step 3 – Add the Eggs and Vanilla
Beat the eggs in a separate small bowl, then mix them into the butter-sugar blend along with the vanilla extract. Stir until everything is fully combined. The batter will be thick and rich at this stage, which is exactly what we want.
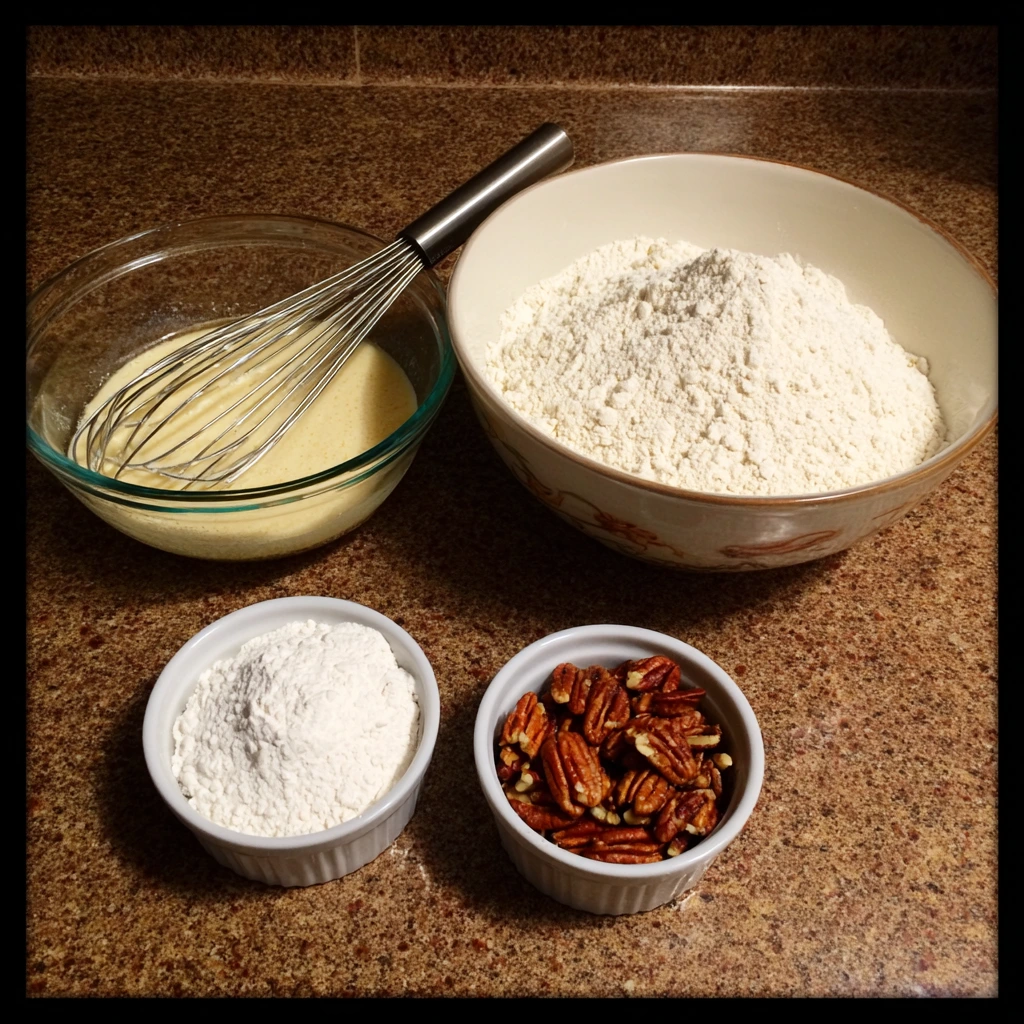
Step 4 – Whisk Together the Dry Ingredients
In another bowl, whisk together the flour, baking powder, and salt. This ensures even distribution of the leavening and seasoning so every bite is perfectly balanced.
Finishing the Recipe and Baking Your Butterscotch Bars
Now that we’ve got our wet and dry ingredients ready, it’s time to bring everything together. This is the part where the kitchen starts smelling like pure butterscotch heaven. One of the best things about this recipe is how forgiving it is—you don’t need to be a professional baker to get bakery-worthy results. Just follow these steps, and you’ll be pulling golden, chewy bars out of the oven in no time.
Step 5 – Combine Wet and Dry Ingredients
Gradually add the flour mixture to the wet mixture, stirring gently until just combined. You don’t want to overmix—doing so can make the bars tough instead of tender. The batter will be thick, but that’s exactly what you want for dense, chewy bars.
Step 6 – Add Pecans (Optional)
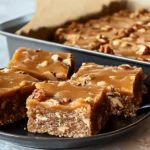
If you’re going for a little extra texture and flavor, fold in the chopped pecans. They add a lovely nutty contrast to the sweetness of the butterscotch. If you’re a purist, you can skip them and keep things smooth and simple.
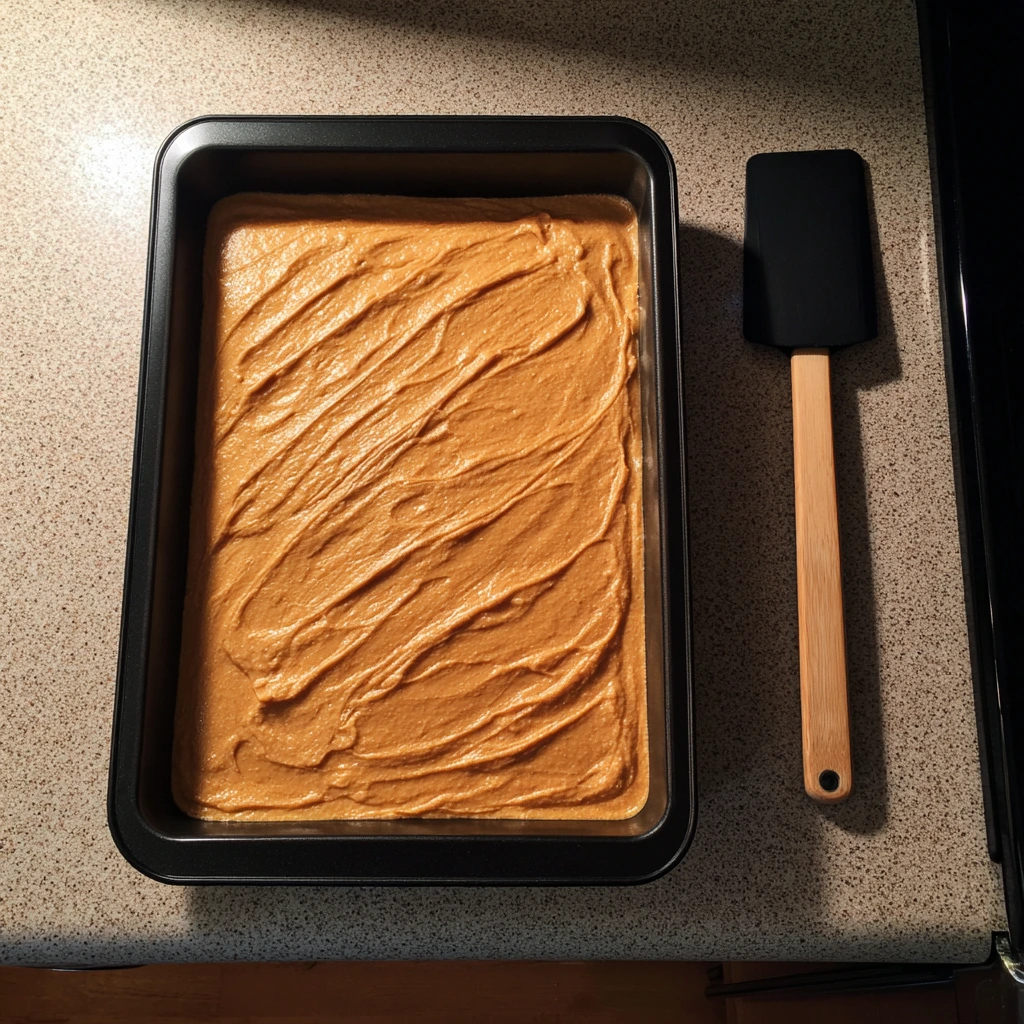
Step 7 – Spread the Batter
Spoon the batter into your prepared baking pan, spreading it evenly with a spatula so it bakes uniformly. The batter is on the thicker side, so take your time making sure it reaches all the corners of the pan.
Step 8 – Bake to Perfection
Place the pan in the oven and bake for 25–30 minutes. You’re looking for a light golden color on top and edges that are just starting to pull away from the pan. A toothpick inserted in the center should come out mostly clean, with just a few moist crumbs. Remember, slightly underbaking is the key to that signature chewiness.
Step 9 – Cool Before Cutting
Once baked, let the bars cool in the pan. This helps them set and makes slicing much easier. Use a sharp knife to cut into squares or rectangles once fully cooled.
Tips for Perfect Butterscotch Bars
-
Don’t skip the cooling step – Cutting too soon can cause the bars to crumble.
-
Use fresh brown sugar – Hard or clumpy sugar can affect the texture.
-
Play with mix-ins – Try adding butterscotch chips, white chocolate chips, or even a sprinkle of sea salt on top before baking.
-
Line your pan with parchment paper – This makes removing the bars a breeze and helps with cleanup.
-
Double the recipe for a crowd – These disappear quickly at parties, so you might want to make an extra batch.
Flavor Variations to Try
-
Butterscotch Chip Overload – Fold in 1/2 to 3/4 cup butterscotch chips for an extra punch of flavor.
-
Salted Butterscotch – Sprinkle flaky sea salt on top before baking for a sweet-salty treat.
-
Chocolate Drizzle – Melt a little chocolate and drizzle it over the cooled bars for a mocha-inspired twist.
-
Nut-Free Option – Skip the pecans entirely if you want a smooth, nut-free bar.
-
Spiced Butterscotch – Add 1/2 teaspoon cinnamon or pumpkin pie spice to the dry ingredients for a warm, seasonal version.
FAQ: Everything You Need to Know About Butterscotch Bars
Before you dive in and make your first (or next) batch, here are some common questions that come up when baking these chewy, caramel-scented beauties.
Q1: Can I use dark brown sugar instead of light brown sugar?
Yes! Dark brown sugar will give the bars a deeper, richer flavor because of the higher molasses content. The texture will remain chewy, but the flavor will be slightly more intense.
Q2: How do I store butterscotch bars?
Store them in an airtight container at room temperature for up to 4 days. For longer storage, freeze them for up to 2 months. Just wrap each bar individually in plastic wrap and place them in a freezer-safe bag.
Q3: Can I make these bars without nuts?
Absolutely. Simply leave out the pecans for a nut-free version. The bars will still be soft, chewy, and delicious.
Q4: How can I make the bars extra chewy?
The trick is to slightly underbake them—pull them out of the oven when they’re just set and the center still looks a little soft. They’ll firm up as they cool.
Q5: Can I double the recipe?
Yes, but you’ll need a larger baking dish or two 9×13-inch pans. Keep an eye on the bake time—it might need a few extra minutes, but don’t overbake.
Q6: What’s the best way to cut clean squares?
Wait until the bars are completely cooled, then use a sharp knife. For extra neat edges, wipe the knife clean between cuts.
Q7: Can I add other mix-ins?
Definitely! White chocolate chips, dark chocolate chunks, or even dried cranberries can add an interesting twist.
Conclusion: A Classic Worth Keeping
There’s something wonderfully timeless about these butterscotch bars. They don’t need elaborate decoration or fancy plating—just a golden-brown top, that rich caramelized aroma, and the promise of a soft, chewy bite.
I’ve made them for family gatherings, potlucks, and just quiet weekends at home, and they’ve never failed to impress. They’re the kind of treat that gets people asking for the recipe before they’ve even finished their first piece.
So the next time you’re craving something sweet but don’t want to spend hours in the kitchen, pull out this recipe. With simple ingredients, minimal prep, and an end result that tastes like it came straight from a bakery, these butterscotch bars might just become your new signature bake.
PrintTrisha Yearwood’s Butterscotch Bars
These classic butterscotch bars, inspired by Trisha Yearwood’s recipe, are chewy, sweet, and packed with rich butterscotch flavor. With a soft, dense texture and a caramel-like taste, they’re an easy-to-make treat that’s perfect for potlucks, after-school snacks, or pairing with a cup of coffee or tea.
- Author: Mark's Recipe
Ingredients
1 cup unsalted butter, melted
2 cups packed light brown sugar
2 large eggs, beaten
2 teaspoons vanilla extract
2 cups all-purpose flour
2 teaspoons baking powder
1/2 teaspoon salt
1 cup chopped pecans (optional)
Instructions
Preheat your oven to 350°F. Grease a 9×13-inch baking pan.
In a large mixing bowl, stir together the melted butter and brown sugar until smooth.
Add the eggs and vanilla, mixing until fully incorporated.
In a separate bowl, whisk together the flour, baking powder, and salt. Gradually add the dry ingredients to the wet mixture, stirring until just combined.
Fold in the pecans if using.
Spread the batter evenly into the prepared pan.
Bake for 25–30 minutes, or until the bars are set and lightly golden on top.
Cool in the pan before cutting into squares or rectangles.
Notes
For extra butterscotch flavor, you can fold in 1/2 cup of butterscotch chips before baking.
Do not overbake—these bars are best when slightly chewy in the center.
They store well in an airtight container at room temperature for up to 4 days, or you can freeze them for longer storage.
")
