There’s something magical about peanut butter cookies. Whether it’s the comforting aroma that fills the house as they bake or that first warm, gooey bite, these cookies have a way of making everything feel just a little bit better. And when you combine that iconic peanut butter flavor with a thick, chewy texture, you’ve got the kind of cookie that you can’t stop reaching for.
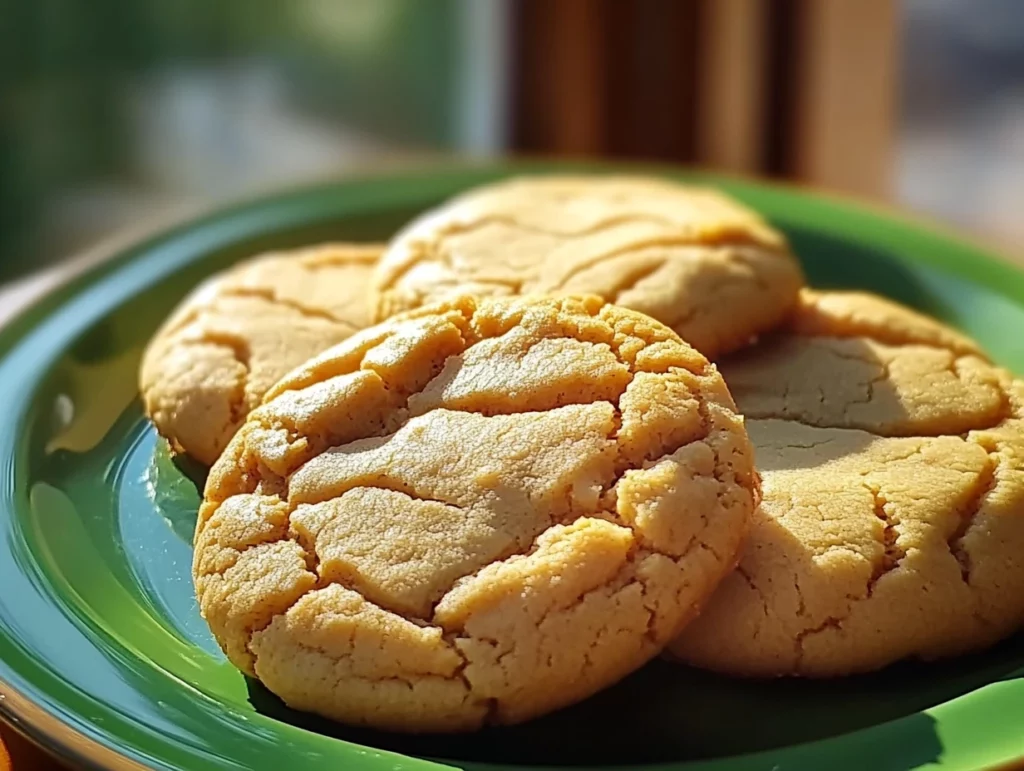
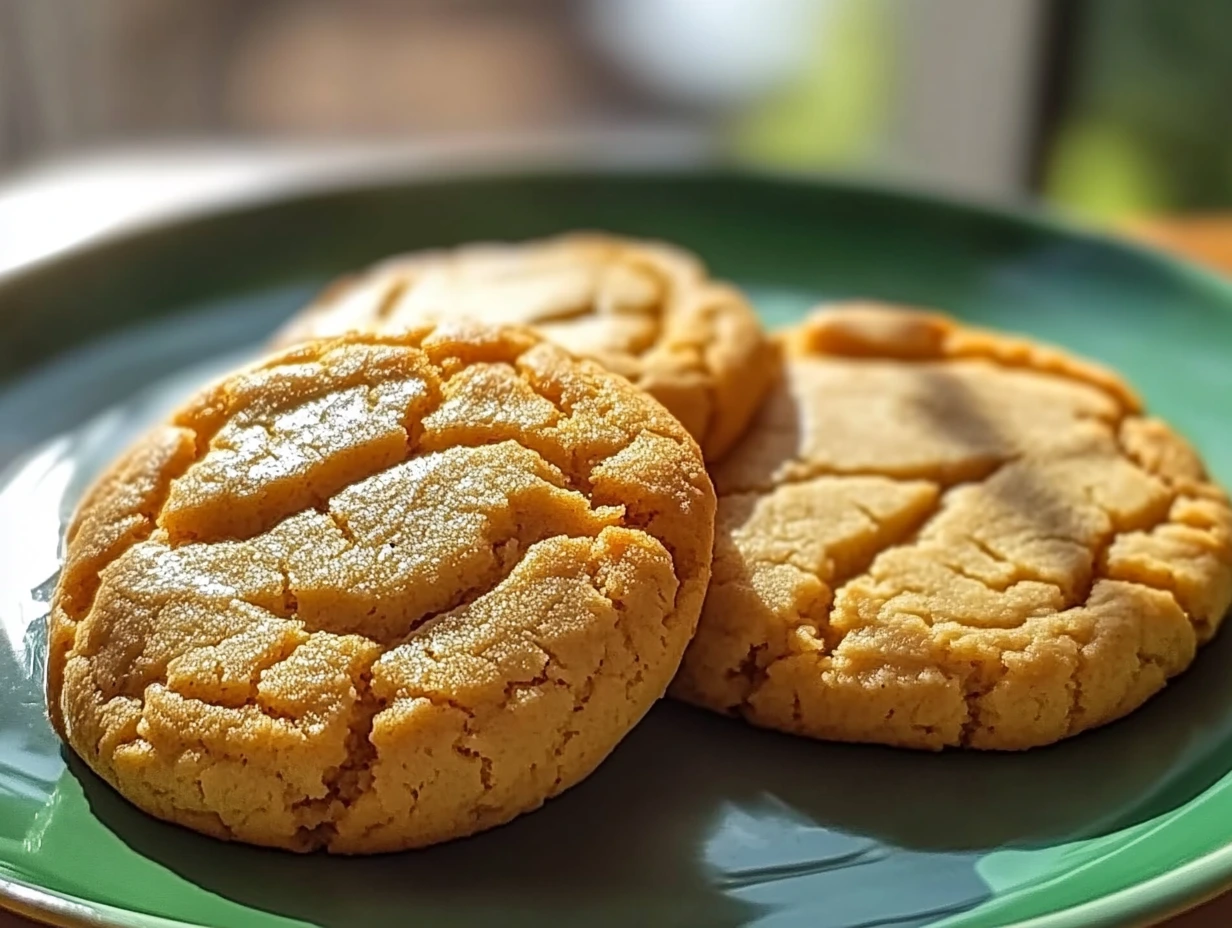
These thick and chewy peanut butter cookies are exactly what you want: a crisp edge with a soft, melt-in-your-mouth center. They’ve got that perfect balance of sweetness and saltiness, making them absolutely irresistible. The best part? They’re easy to make and always come out just right. Whether you’re baking for a special occasion or just want something sweet to snack on, these cookies are a crowd-pleaser every time.
I first made these cookies on a rainy afternoon when I was craving something warm and comforting. I didn’t have any fancy ingredients, but I did have peanut butter, butter, and sugar – all the essentials for a great cookie. After a few tweaks here and there, I landed on this simple recipe that’s become a go-to whenever I need something quick and delicious.
Ingredients You’ll Need for These Peanut Butter Cookies
Before you start baking, gather these simple ingredients. You probably already have most of them in your pantry, and trust me, they all come together to make these cookies a standout:
-
1 cup creamy peanut butter (you can use either natural or regular)
-
1/2 cup unsalted butter, softened
-
1 cup brown sugar, packed
-
1/2 cup granulated sugar
-
2 large eggs
-
1 teaspoon vanilla extract
-
2 1/4 cups all-purpose flour
-
1 teaspoon baking soda
-
1/2 teaspoon baking powder
-
1/4 teaspoon salt
Now that you’ve got everything ready, let’s dive into the steps.
Steps to Make These Thick and Chewy Peanut Butter Cookies
Step 1: Preheat the Oven
Start by preheating your oven to 350°F (175°C). You want your oven nice and hot by the time you’re ready to bake these cookies. While the oven heats up, line your baking sheets with parchment paper or silicone baking mats. This will not only make cleanup a breeze but also prevent your cookies from sticking to the sheet. No one wants to risk a cookie disaster!

Step 2: Prepare the Dough
In a large mixing bowl, combine the creamy peanut butter, softened butter, brown sugar, and granulated sugar. Use a hand mixer or stand mixer to beat everything together until the mixture is smooth and creamy. This step usually takes about 2-3 minutes of mixing. You want to ensure that all the ingredients are fully incorporated, and the texture should be light and fluffy.
Once the butter and sugar are all mixed up, it’s time to add the eggs. Add them one at a time, making sure each egg is completely incorporated before adding the next. After the eggs, pour in the vanilla extract and mix until everything is nice and smooth.
While you’ve got your wet ingredients all mixed up, take a separate bowl and whisk together your dry ingredients: flour, baking soda, baking powder, and salt. This is a crucial step! Mixing the dry ingredients separately ensures that the leavening agents are evenly distributed throughout the dough. Once that’s done, gradually add the dry ingredients to the wet mixture. Mix until everything just comes together. You don’t want to overwork the dough here – just enough until it forms a thick, slightly sticky dough.

Step 3: Shape the Cookies
Now comes the fun part – shaping your cookies! Roll the dough into 1 1/2-inch balls and place them on your prepared baking sheets. Make sure to space them about 2 inches apart, as these cookies will spread slightly while baking.
For that classic peanut butter cookie look, take a fork and gently press down on each dough ball. Pressing in a crisscross pattern not only looks great, but it helps the cookies bake evenly. Plus, it’s just a signature move for peanut butter cookies!
Step 4: Bake the Cookies
Pop the baking sheets into your preheated oven and bake the cookies for 10-12 minutes. Keep an eye on them, but don’t worry if the centers still look a little underdone. The cookies will firm up as they cool. When the edges are lightly golden, that’s your cue to take them out of the oven. Let them sit on the baking sheets for about 5 minutes before transferring them to a wire rack to cool completely.
I know it’s tempting, but try to resist the urge to eat them right away! They’ll be soft, warm, and just perfect once they cool down a bit. But trust me, it’ll be worth the wait.
These peanut butter cookies are an absolute treat, and I hope you enjoy making them as much as I do. The combination of peanut butter and sugar creates the ultimate chewy texture, and the fork pattern just adds that extra charm. Whether you’re a peanut butter lover or not, these cookies are sure to hit the spot.
Baking Tips and Variations to Make These Cookies Your Own
In Part 1, we went through the basic steps for making these thick and chewy peanut butter cookies. Now that you’ve got a batch baking in the oven, let’s dive into a few tips, tricks, and variations to elevate these cookies and make them even more delightful. After all, there’s always room for a little creativity in the kitchen!
Tips for Perfecting Your Peanut Butter Cookies
While the recipe is already simple and foolproof, there are a few things you can do to ensure your cookies turn out just right every single time.
Tip 1: Use Softened Butter for Creaminess
When mixing the butter with the peanut butter and sugars, it’s essential that the butter is softened, not melted. Softened butter creates the right consistency for creaming the ingredients together, which is key to that thick, chewy texture. If the butter is too hard, it won’t mix properly, and if it’s too melted, your cookies may spread too thin during baking.
Tip 2: Don’t Overmix the Dough
Once you add the dry ingredients to the wet ingredients, be sure not to overmix the dough. Overmixing can cause the cookies to become tough, which we definitely don’t want. Mix until the flour is just incorporated, and then stop! The dough should be thick but easy to work with.
Tip 3: Bake in a Preheated Oven
This might sound like a no-brainer, but it’s always important to make sure your oven is fully preheated to 350°F (175°C) before baking your cookies. A hot oven ensures that the cookies bake evenly and maintain that chewy center with a slight crisp on the edges. An unpreheated oven could result in uneven baking, and that’s a bummer for any cookie lover.
Tip 4: Don’t Overbake
It can be tempting to leave your cookies in the oven for a few extra minutes, especially if they don’t look quite done, but resist the urge! Peanut butter cookies will continue to cook on the baking sheet even after you take them out of the oven. To get that perfect chewy texture, remove the cookies once the edges are golden and the centers still look slightly soft. Give them 5 minutes to cool on the sheet, and they’ll firm up beautifully.
Fun Variations to Try with Your Peanut Butter Cookies
One of the best parts about baking is the endless room for variations. While these thick and chewy peanut butter cookies are perfect as-is, there are plenty of ways to mix things up if you’re in the mood for something a little different. Here are a few fun ideas to try next time you bake these cookies!
Variation 1: Add Chocolate Chips
Let’s be honest: peanut butter and chocolate are a match made in heaven. If you’re a fan of this combo (who isn’t?), try adding a cup of chocolate chips to the dough before shaping the cookies. Semi-sweet chocolate chips work wonderfully, but you could also try milk chocolate or dark chocolate chips for a slightly different flavor profile. The gooey chocolate pairs perfectly with the rich peanut butter, making each bite even more irresistible.
Variation 2: Chopped Peanuts for Extra Crunch
For those who love a little crunch in their cookies, add some chopped peanuts to the dough. About 1/2 cup of coarsely chopped peanuts will give your cookies an extra textural contrast. The crunchy peanuts complement the chewy interior of the cookie, making for a satisfying bite every time. If you’re a peanut butter lover through and through, this is a variation you’ll definitely want to try!
Variation 3: Peanut Butter Swirl with Nutella
If you’re feeling extra adventurous, how about a peanut butter and Nutella combination? Swirl a tablespoon or two of Nutella into the dough just before baking. You don’t want to mix it completely, but just enough so that you get ribbons of Nutella throughout the dough. This adds a delicious hazelnut-chocolate twist to the classic peanut butter cookie and will have everyone asking for the recipe!
Variation 4: Use Natural Peanut Butter for a Richer Flavor
If you want to go a little healthier (or just prefer a more natural peanut flavor), try using natural peanut butter instead of regular peanut butter. Natural peanut butter has a richer, more complex flavor, and using it will give your cookies a deeper, earthier taste. Keep in mind, natural peanut butter sometimes has a bit more oil, so make sure to stir it well before using it in the dough.
Chilling the Dough for a Firmer Cookie
If you prefer a firmer, slightly more structured cookie, you can chill the dough before baking. This step is completely optional, but refrigerating the dough for about 30 minutes can help the cookies hold their shape a bit better during baking. The dough will be less sticky, and the cookies will spread less as they bake, giving them a thicker consistency. This is especially helpful if you’re adding extra ingredients, like chocolate chips or chopped nuts, and want to ensure they don’t melt into the dough too much.
How to Store and Freeze Peanut Butter Cookies
Now that you’ve got a batch of delicious cookies, you’re probably wondering how to store them. These peanut butter cookies are great for keeping on hand as a sweet snack or treat throughout the week!
Storing the Cookies
Once your cookies are completely cool, store them in an airtight container at room temperature. They should stay fresh for up to a week, although I’m pretty sure they won’t last that long! The chewy texture will remain intact, and they’ll still taste as fresh as the day you baked them.
Freezing the Cookies
If you want to save some for later or just need to make a big batch ahead of time, these cookies freeze wonderfully. Once the cookies have cooled completely, layer them in an airtight container with parchment paper between each layer to prevent them from sticking together. They can be stored in the freezer for up to 3 months. When you’re ready to enjoy them, just let them thaw for a few minutes at room temperature, and they’ll taste just as good as the day you baked them.
Now that you know all the tips and variations, you’re ready to experiment with your own personal twist on these peanut butter cookies. Whether you stick to the classic recipe or get creative with add-ins and substitutions, these cookies are sure to be a hit!
FAQ and Conclusion: Everything You Need to Know About Peanut Butter Cookies
You’ve made the dough, baked your cookies, and hopefully enjoyed the process along the way. But I know that sometimes questions pop up during baking, or you just want a bit more reassurance before diving in. No worries! In this final part, I’ll answer some of the most frequently asked questions about these thick and chewy peanut butter cookies and wrap up with a quick conclusion to send you on your way.
Frequently Asked Questions
1. Can I use crunchy peanut butter instead of creamy?
Absolutely! You can swap out creamy peanut butter for crunchy peanut butter if you want a bit more texture in your cookies. The result will be slightly different, but still delicious. Crunchy peanut butter will add little peanut bits throughout the dough, which adds a nice crunch to the chewy cookie. Just keep in mind that the texture of your cookie may be a little less smooth, but it will still be amazing!
2. How do I know when the cookies are done baking?
The key to knowing when your peanut butter cookies are done is to look at the edges. When they’re lightly golden and the centers still look a little soft (but not raw), it’s time to take them out of the oven. Remember, the cookies will continue to cook on the baking sheet after you take them out, so don’t overbake them. You want to maintain that chewy center, and they’ll firm up as they cool.
3. Can I refrigerate the dough before baking?
Yes, you can refrigerate the dough before baking, and it can actually help the cookies hold their shape better. Chilling the dough for about 30 minutes helps firm it up, preventing the cookies from spreading too much while baking. If you want thicker cookies or just prefer a firmer texture, this is a great option. It’s also a great make-ahead method if you’re preparing in advance for a future baking session.
4. What should I do if my dough is too sticky?
If you find that your dough is too sticky to handle, try chilling it for about 20-30 minutes. Chilled dough is much easier to work with and will be less likely to stick to your hands when you’re shaping the cookies. If you’re still having trouble, you can lightly flour your hands before rolling the dough into balls, but I’d recommend chilling it first for best results.
5. Can I freeze these peanut butter cookies?
Yes, you can freeze these cookies! In fact, they freeze beautifully. Once they’ve cooled completely, place them in an airtight container with parchment paper between layers to prevent sticking. Store them in the freezer for up to 3 months. When you’re ready to eat them, simply let them thaw at room temperature for a few minutes. They’ll taste just as fresh as the day you baked them!
6. Can I add other mix-ins like chocolate chips or nuts?
Definitely! Adding mix-ins like chocolate chips, chopped peanuts, or even M&Ms is a fantastic way to customize these peanut butter cookies to your liking. For chocolate lovers, adding chocolate chips creates that irresistible peanut butter-chocolate combination. If you want an extra crunch, chopped peanuts are a great option, and you could even toss in a handful of toffee bits for a sweet, buttery twist.
7. Why are my cookies spreading too much?
If your cookies are spreading too much in the oven, it could be due to a couple of things. First, make sure your butter isn’t too soft or melted before mixing – it should just be softened to room temperature. Secondly, you can try chilling your dough for 20-30 minutes to help prevent spreading. Lastly, make sure your oven is fully preheated, as baking in a not-hot-enough oven can cause the cookies to spread too much before they have a chance to set.
Conclusion: Time to Enjoy Your Perfect Peanut Butter Cookies!
And there you have it! These thick and chewy peanut butter cookies are sure to be a new favorite in your household. Whether you follow the classic recipe or experiment with some of the variations I’ve shared, the end result is always going to be delicious. With their perfect balance of crispy edges and soft centers, they’re the ultimate comfort treat.
So, go ahead and bake a batch (or two!) of these cookies. Enjoy them with a glass of milk, share them with family and friends, or sneak a few for yourself. No matter what you do, you’re in for a real treat.
If you try this recipe, I’d love to hear how it turned out! Feel free to leave a comment and let me know what mix-ins you added, or share any tips and tricks you’ve discovered along the way. Happy baking, and enjoy those warm, gooey peanut butter cookies!
PrintThick and Chewy Peanut Butter Cookies
These thick and chewy peanut butter cookies offer the perfect balance of a slightly crisp edge and a soft, gooey center. The peanut butter flavor is rich and bold, and the dough results in cookies that hold their shape while remaining delightfully soft on the inside. The fork crisscross pattern is not only classic but also gives each cookie a touch of charm.
- Author: Mark's Recipe
Ingredients
1 cup creamy peanut butter (natural or regular)
1/2 cup unsalted butter, softened
1 cup brown sugar, packed
1/2 cup granulated sugar
2 large eggs
1 teaspoon vanilla extract
2 1/4 cups all-purpose flour
1 teaspoon baking soda
1/2 teaspoon baking powder
1/4 teaspoon salt
Instructions
Preheat the Oven
Start by preheating your oven to 350°F (175°C). Line your baking sheets with parchment paper or silicone baking mats for easy cleanup and to prevent sticking.
Prepare the Dough
In a large mixing bowl, beat the creamy peanut butter, softened butter, brown sugar, and granulated sugar together until the mixture is smooth and creamy. This will take about 2-3 minutes of mixing. Once combined, add the eggs one at a time, ensuring each one is fully incorporated before adding the next. Add in the vanilla extract and mix until smooth. In a separate bowl, whisk together the flour, baking soda, baking powder, and salt. Gradually add this dry mixture to the wet ingredients, mixing just until everything is combined.
Shape the Cookies
Roll the dough into 1 1/2-inch balls and place them on your prepared baking sheets, spacing them about 2 inches apart. For the classic peanut butter cookie look, gently press down on each ball with a fork to form a crisscross pattern on top.
Bake
Bake the cookies in your preheated oven for 10-12 minutes, or until the edges are lightly golden. The centers may appear slightly underdone, but they will firm up as the cookies cool on the baking sheets. Allow the cookies to cool on the baking sheets for about 5 minutes before transferring them to a wire rack to cool completely.
Notes
For an extra rich taste, use natural peanut butter, though regular peanut butter works just as well. If you prefer a slightly firmer cookie, you can refrigerate the dough for about 30 minutes before baking. For a variation, try adding chocolate chips or chopped peanuts to the dough for added texture and flavor.

")
