If you’ve ever wished for a biscuit recipe that’s as simple as it is delicious, you’re in for a real treat. These Butter Swim Biscuits are about to become your new go-to, whether you’re whipping up a cozy weekend breakfast or need a comforting side dish for dinner.
I remember the first time I made these biscuits — it was one of those busy mornings where I needed something quick but still homemade. The moment I pulled them out of the oven and saw that gorgeous golden top and those buttery edges, I knew I had struck gold. And when my family bit into them? Let’s just say there were no leftovers.
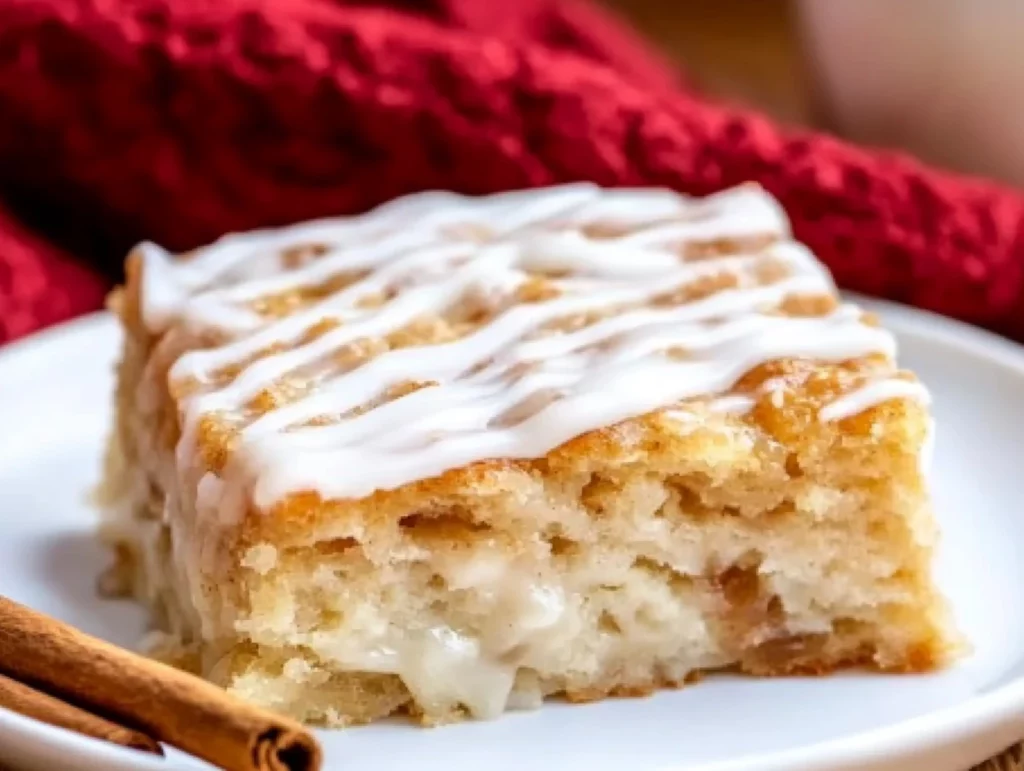
What makes Butter Swim Biscuits so special? It’s all in the name. The biscuit dough literally “swims” in a pool of melted butter as it bakes. The result? A perfectly tender, fluffy interior with rich, buttery, golden edges that are simply irresistible. Even better, you don’t need to roll or cut the dough. Just mix, pour, bake, and enjoy.
And the best part? You probably have all the ingredients you need sitting right in your pantry. So, let’s dive right in!
INGREDIENTS YOU’LL NEED
Before we get started, here’s everything you’ll need for this recipe:
-
2 ½ cups all-purpose flour
-
4 teaspoons baking powder
-
1 tablespoon granulated sugar
-
1 teaspoon salt
-
1 ¾ cups buttermilk
-
½ cup (1 stick) unsalted butter, melted
These simple, staple ingredients come together to create the magic that is Butter Swim Biscuits. And don’t worry if you’re out of buttermilk — I’ve got a little tip for that coming up!
LET’S GET STARTED: MIXING UP THE DOUGH
STEP 1: PREHEAT AND PREPARE YOUR PAN
First things first, preheat your oven to 450°F. Trust me, that high heat is the key to getting those beautifully golden tops and buttery edges. While the oven is heating, lightly grease an 8×8-inch or 9×9-inch baking dish and set it aside. You want your biscuits to have plenty of space to bake evenly.
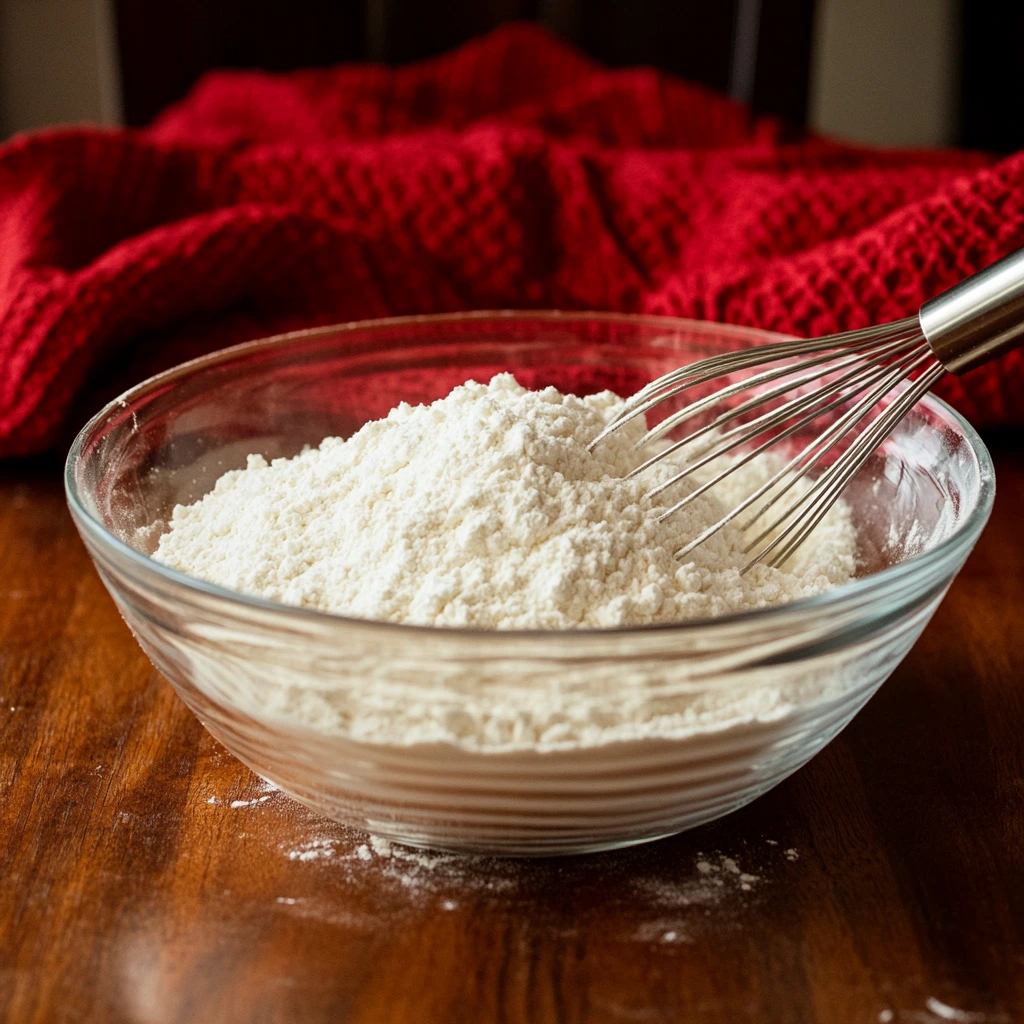
STEP 2: MIX YOUR DRY INGREDIENTS
In a large mixing bowl, combine your flour, baking powder, sugar, and salt. Give it a good whisk to make sure everything is evenly distributed. This step is super important because we want each biscuit bite to have the perfect balance of flavor.
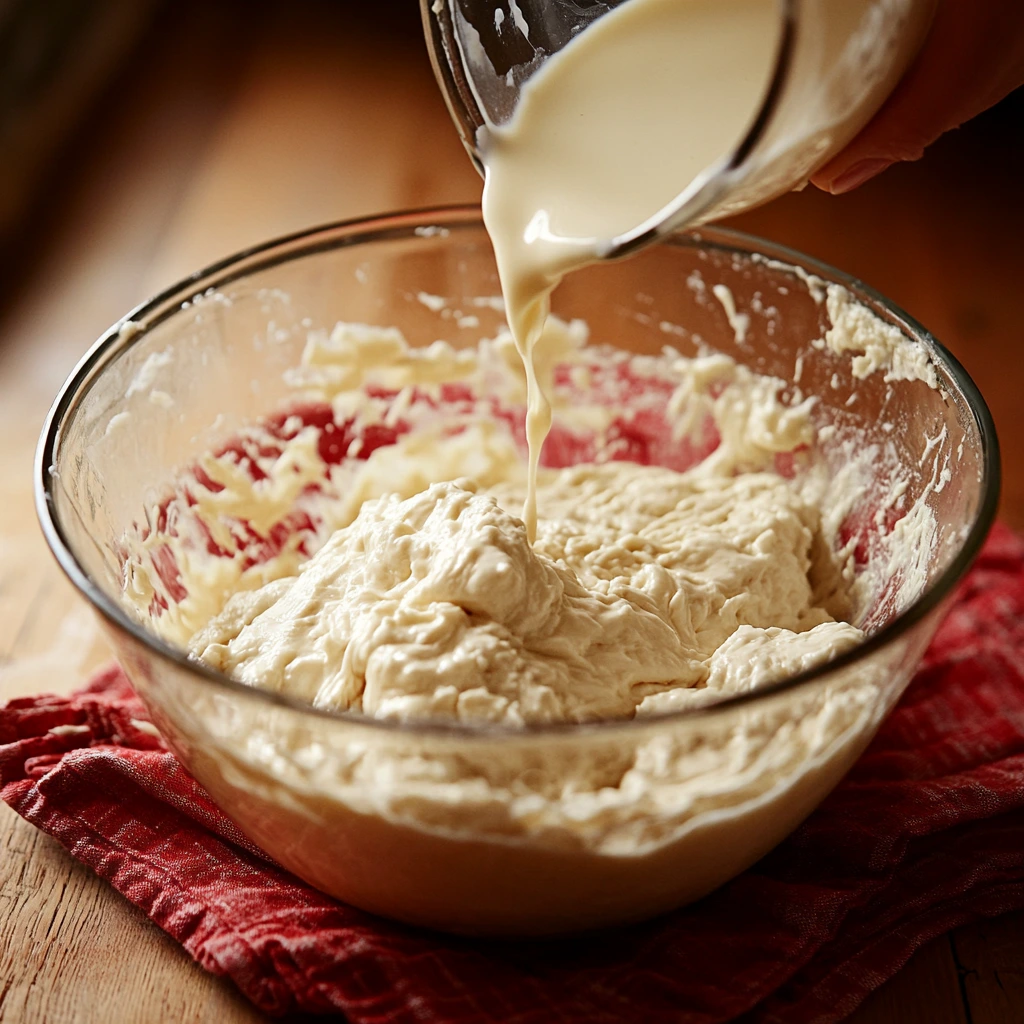
STEP 3: ADD THE BUTTERMILK
Now, pour in your buttermilk and stir everything together until just combined. The dough will be slightly sticky and thick — that’s exactly what you want. Be careful not to overmix here. Overworking the dough can make your biscuits tough instead of tender and fluffy.
Quick tip: If you don’t have buttermilk on hand, you can make a quick substitute by mixing 1 ¾ cups of milk with 1 tablespoon of lemon juice or white vinegar. Let it sit for 5-10 minutes, and voila — instant buttermilk!
THE SECRET STEP: SWIMMING IN BUTTER
STEP 4: POUR IN THE BUTTER
This is where the magic happens. Pour your melted butter directly into the prepared baking dish, making sure the bottom is completely covered. Then, gently spoon or pour your biscuit dough over the butter, spreading it out evenly. You’ll notice the butter will rise up around the edges and even pool a bit on top — don’t worry, that’s exactly what you want! This “butter bath” is what gives these biscuits their signature golden, crispy edges and rich flavor.
STEP 5: SCORE THE DOUGH
Before popping your biscuits into the oven, use a sharp knife or a bench scraper to score the dough into 9 equal squares. This not only helps them bake more evenly but also makes it super easy to cut and serve once they’re done.
READY FOR THE OVEN
Now that your biscuits are prepped and ready, it’s time to get them baking! In Part 2, I’ll walk you through baking these beauties to golden perfection, plus share a few pro tips to make sure your Butter Swim Biscuits turn out absolutely irresistible every single time.
BAKING YOUR BUTTER SWIM BISCUITS TO GOLDEN PERFECTION
Alright, your Butter Swim Biscuits are all prepped and ready to go in the oven. If you’re like me, you’re already imagining how amazing your kitchen is going to smell in just a few minutes. Let’s get these beauties baked and talk about a few tricks to make sure they turn out just right every single time.
INTO THE OVEN THEY GO
STEP 6: BAKE THE BISCUITS
Carefully place your baking dish into the preheated oven and bake at 450°F for 20 to 25 minutes. Keep an eye on them during the last few minutes. You’re looking for a gorgeous golden-brown top and those signature buttery edges.
To make sure they’re fully baked, insert a toothpick into the center of one biscuit. If it comes out clean, you’re good to go. If there’s still some wet dough, give them another couple of minutes.
One thing I love about this recipe is how forgiving it is. Because the biscuits are essentially self-basting in butter while they bake, they stay wonderfully moist and tender, even if you leave them in for an extra minute or two.
STEP 7: COOL SLIGHTLY AND SERVE
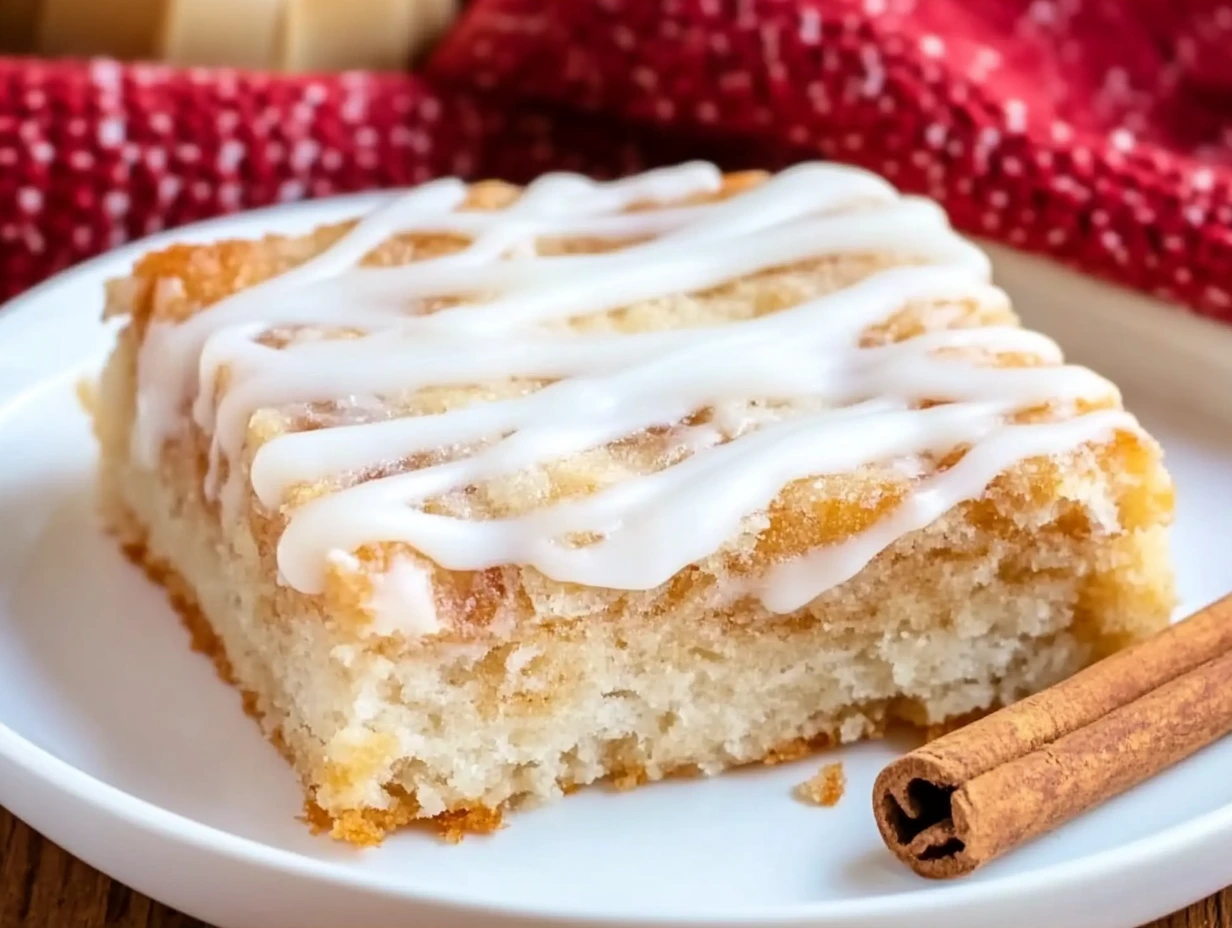
Once your biscuits are beautifully golden and cooked through, take the dish out of the oven and let it cool for just a few minutes. This little bit of resting time allows the butter to settle and makes it easier to cut the biscuits along the scored lines you made earlier.
When you’re ready to serve, gently cut along the scored lines and lift out your warm, buttery biscuits. The edges will be crispy, the centers fluffy, and the whole thing will melt in your mouth. Trust me — one bite and you’ll see why these are always a hit at my house!
TIPS FOR PERFECT BUTTER SWIM BISCUITS
I’ve made these biscuits more times than I can count, and along the way, I’ve picked up a few handy tips to help you get the best results every time:
1. Use real buttermilk if you can.
While the milk and vinegar trick works great in a pinch, real buttermilk gives these biscuits that classic tangy flavor and ultra-tender crumb.
2. Don’t overmix the dough.
Mixing just until the ingredients are combined keeps the biscuits light and fluffy. Overmixing activates the gluten too much and can make them dense.
3. Score the dough before baking.
This helps the biscuits bake evenly and makes them super easy to cut after they’ve cooled slightly.
4. Use an 8×8 or 9×9 dish for the perfect thickness.
A smaller dish means taller biscuits, while a slightly larger dish gives you a thinner, crispier version. Both are delicious—it just depends on what you’re in the mood for!
5. Serve them warm.
These biscuits are at their absolute best when they’re fresh and warm from the oven. If you need to reheat leftovers, a few seconds in the microwave will do the trick.
SERVING SUGGESTIONS
Now, let’s talk about all the ways you can enjoy these biscuits. While they’re fantastic all on their own (and believe me, I’ve snuck more than one straight from the pan), they also pair perfectly with a variety of toppings and meals:
-
Drizzle with honey or maple syrup for a sweet breakfast treat.
-
Spread with your favorite jam or jelly.
-
Top with sausage gravy for a hearty Southern-style breakfast.
-
Serve alongside fried chicken or pot roast for the ultimate comfort dinner.
-
Use them as a base for breakfast sandwiches.
The possibilities are endless, and every variation is just as delicious as the next!
WHY THIS RECIPE WORKS SO WELL
What makes Butter Swim Biscuits so foolproof and delicious is the unique baking method. By pouring the dough directly into the melted butter, you’re essentially frying the bottom and edges while the biscuits bake. This creates a crispy, buttery crust that contrasts perfectly with the soft, tender interior.
Plus, because you don’t have to roll out or cut the dough, it saves time and mess. It’s as simple as mix, pour, bake, and enjoy. That’s my kind of recipe!
BUTTER SWIM BISCUITS FAQ & FINAL THOUGHTS
Now that we’ve walked through every step of making these incredible Butter Swim Biscuits, let’s take a moment to answer some of the most common questions I get about this recipe. Whether you’re making these for the first time or the tenth, these quick tips will help ensure biscuit success every single time.
FREQUENTLY ASKED QUESTIONS
1. Can I use self-rising flour instead of all-purpose flour and baking powder?
Yes! If you have self-rising flour on hand, you can absolutely use it. Just omit the baking powder and salt from the recipe since self-rising flour already contains both. You’ll still get that fluffy, tender texture with a little less measuring.
2. What can I substitute for buttermilk?
If you don’t have buttermilk, no problem. Mix 1 ¾ cups of milk with 1 tablespoon of lemon juice or white vinegar. Let it sit for about 5-10 minutes until it curdles slightly, and you’ll have a quick buttermilk substitute that works perfectly in this recipe.
3. Can I double the recipe for a larger batch?
Absolutely. You can easily double the ingredients and bake the biscuits in a 9×13-inch dish. Just keep an eye on your baking time—it may need a few extra minutes since the larger batch will be a bit thicker.
4. How do I store leftover Butter Swim Biscuits?
Store any leftovers in an airtight container at room temperature for up to 2 days. If you want to keep them longer, refrigerate for up to 5 days. Reheat them in the microwave for about 15-20 seconds to bring back that fresh-from-the-oven taste.
5. Can I freeze these biscuits?
Yes, you can! Allow the biscuits to cool completely, then wrap them individually or as a batch in plastic wrap and foil. Freeze for up to 2 months. Thaw at room temperature or reheat gently in the oven or microwave.
6. Why did my biscuits turn out too dense?
Most often, dense biscuits are the result of overmixing the dough. Remember, stir just until the ingredients are combined. Also, make sure your baking powder is fresh—old leavening agents can lose their potency and affect the rise.
7. Can I add cheese, herbs, or other flavors to the dough?
Definitely! Feel free to stir in shredded cheddar, chopped herbs like chives or rosemary, or even a little garlic powder for a savory twist. Just mix these in with your dry ingredients before adding the buttermilk.
FINAL THOUGHTS
There’s a reason these Butter Swim Biscuits have become a favorite in my kitchen — they’re simple, delicious, and practically foolproof. Whether you’re making them for breakfast, brunch, or as a side for dinner, they deliver that perfect mix of crispy, buttery edges and soft, fluffy centers every single time.
What I love most is how versatile they are. You can serve them plain with a little honey or jam, smother them in gravy, or pair them with your favorite comfort foods. And because they come together so quickly with basic pantry staples, they’re perfect for last-minute baking or those days when you just want a little extra comfort on the table.
PrintThe Best Butter Swim Biscuit Recipe
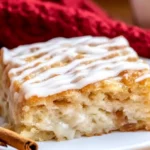
Butter Swim Biscuits get their name because the rich dough literally “swims” in melted butter as they bake. The result is a tender, fluffy interior with golden, buttery edges. This simple recipe uses pantry staples and requires no rolling or cutting, making it perfect for busy mornings or easy dinners.
- Author: Mark's Recipe
Ingredients
2 ½ cups all-purpose flour
4 teaspoons baking powder
1 tablespoon granulated sugar
1 teaspoon salt
1 ¾ cups buttermilk
½ cup (1 stick) unsalted butter, melted
Instructions
Preheat the oven to 450°F. Lightly grease an 8×8-inch or 9×9-inch baking dish and set it aside.
In a large mixing bowl, whisk together the flour, baking powder, sugar, and salt until well combined.
Pour the buttermilk into the dry ingredients and stir until just combined. The dough will be slightly sticky and thick; avoid overmixing to keep the biscuits tender.
Pour the melted butter into the prepared baking dish, making sure the bottom is fully covered.
Gently spoon or pour the biscuit dough directly into the dish, spreading it evenly over the melted butter. The butter will rise up around the edges and may pool on top, which is exactly what you want.
Using a sharp knife or bench scraper, score the dough into 9 equal squares to help with even baking and easy cutting once finished.
Place the dish in the preheated oven and bake for 20-25 minutes, or until the top is golden brown and a toothpick inserted into the center comes out clean.
Remove the biscuits from the oven and allow them to cool slightly before serving.
Notes
Buttermilk is essential for the classic tangy flavor and tender crumb. If you don’t have buttermilk, you can substitute by mixing 1 ¾ cups milk with 1 tablespoon of lemon juice or white vinegar and letting it sit for 5-10 minutes. Scoring the dough before baking helps create easy-to-separate biscuit squares and allows the butter to soak into the edges. These biscuits are best served warm and pair perfectly with honey, jam, gravy, or simply on their own.

")
