If you’ve ever dreamed of baking your own bread that’s soft, tender, and just a little bit sweet with a lovely vanilla aroma, then this Soft Vanilla Milk Bread recipe is exactly what you need. It’s one of those recipes that feels special but isn’t complicated, and the results? Absolutely worth it. This bread is perfect for sandwiches, toast, or just enjoying fresh with a little butter. It’s got this pillowy texture that practically melts in your mouth, thanks to the enriched dough made with milk, butter, and eggs.
I still remember the first time I made this bread. I was a bit nervous—homemade bread can seem intimidating—but once I pulled that golden loaf out of the oven with its shiny, soft crust, I was hooked. There’s something so comforting about the smell of vanilla and fresh bread filling your kitchen. Plus, this bread stays fresh for days, so you can enjoy it all week without worrying about it drying out. Let’s dive into how to make this lovely loaf from scratch!
Ingredients You’ll Need
Before we get started, make sure you have everything on hand. Here’s a quick rundown of the ingredients for this recipe:
Wet Ingredients:
-
1 cup (240ml) warm whole milk (about 110°F/43°C)
-
2 large eggs, room temperature
-
1/4 cup (60g) unsalted butter, melted and cooled
-
1 tablespoon pure vanilla extract or vanilla bean paste
Dry Ingredients:
-
3 1/2 cups (440g) bread flour (all-purpose flour works too)
-
1/4 cup (50g) granulated sugar
-
2 1/4 teaspoons (1 packet) instant yeast
-
1 1/4 teaspoons salt
For the Egg Wash:
-
1 egg yolk
-
1 tablespoon milk
Getting Started: The First Steps
Now, onto the fun part! Making this bread isn’t difficult, but it does take some patience and love. Here’s how you get it started:
-
Mix the Wet Ingredients: In the bowl of your stand mixer, whisk together the warm milk, eggs, melted butter, and vanilla extract. The warmth of the milk is key here—it activates the yeast without killing it, so make sure it’s warm but not hot.
-
Add the Dry Ingredients: Add the flour, sugar, yeast, and salt right on top of the wet mixture. Using a dough hook, start mixing on low speed for about 2 minutes. This helps everything combine without sending flour flying everywhere.
-
Knead the Dough: Increase the mixer speed to medium and knead the dough for about 8 to 10 minutes. You’ll know it’s ready when the dough is smooth, elastic, and pulls away cleanly from the sides of the bowl. If you don’t have a stand mixer, knead by hand for 12-15 minutes—yes, it takes a bit of elbow grease, but it’s worth it!
-
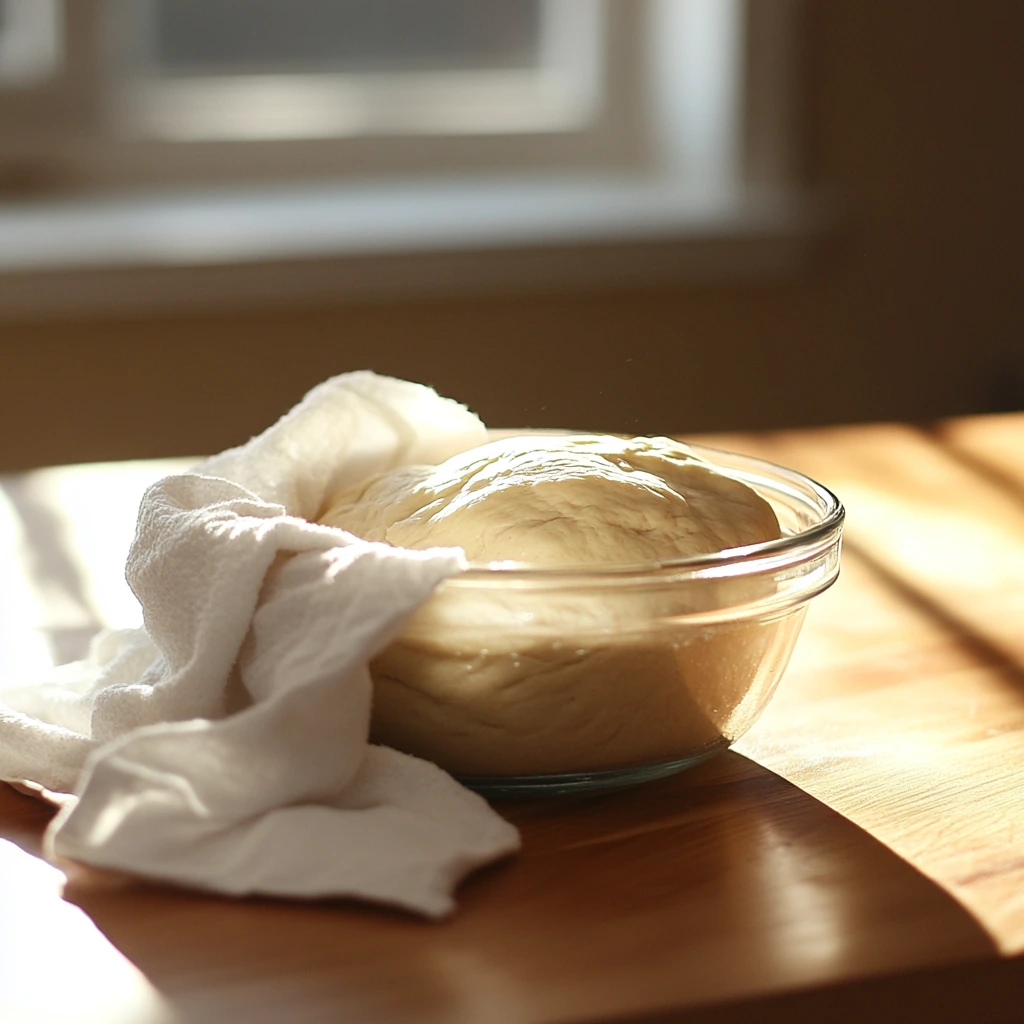
First Rise: Transfer the dough to a greased bowl and cover it with a damp towel. Let it rise in a warm place for 1 to 1.5 hours until it doubles in size. This step is crucial because it lets the yeast work its magic, creating those wonderful air pockets inside the bread.
Soft Vanilla Milk Bread: Shaping and Baking to Perfection
Welcome back! Now that your dough has doubled in size and is full of air bubbles, it’s time to shape it into that beautiful loaf and get it ready for the oven. This part is where the magic really starts to take shape—literally. You’ll see the transformation from a soft, puffy ball of dough into a gorgeous golden bread with a shiny crust and the most tender crumb inside. Don’t worry, it’s easier than it sounds!
Shaping the Dough
Once your dough has risen nicely, punch it down gently to release the built-up gas. This step might seem counterintuitive after all the waiting, but it’s essential for an even crumb and prevents overly large holes in the bread.
-
Divide the Dough: Turn your dough out onto a lightly floured surface. Divide it into three equal portions. This might feel like extra work, but rolling three smaller pieces creates the perfect texture and shape for this loaf.
-
Roll Each Portion: Take one portion and gently shape it into an oval about 8 by 5 inches. This doesn’t have to be exact—just a general oval shape will do.
-
Roll it Up: Starting at the short end, roll the oval tightly into a log. Pinch the seam to seal it and place it seam-side down in a greased 9×5-inch loaf pan. Repeat the process with the other two portions, placing them snugly side by side in the pan.
Second Rise
Cover your loaf pan loosely with a damp towel or plastic wrap, and let the dough rise again in a warm spot. This second rise usually takes about 45 to 60 minutes. You’ll know it’s ready when the dough has puffed up, crowning about 1 inch above the rim of the pan. This extra rise adds lightness and that perfect fluffy texture that makes this bread so irresistible.
Prepping for the Oven
Now it’s time to give your loaf that beautiful, shiny crust:
-
Make the Egg Wash: In a small bowl, whisk together 1 egg yolk and 1 tablespoon of milk. This simple mixture will give your bread that gorgeous golden shine.
-
Brush the Loaf: Using a pastry brush, gently coat the top of your risen dough with the egg wash. Be sure to cover it evenly but don’t soak it—just a light brush will do.
Baking the Bread
Preheat your oven to 350°F (175°C) while your dough is rising or right after you brush it with the egg wash. Then, bake your loaf for 30 to 35 minutes. You’re looking for a deep golden brown crust that smells absolutely heavenly.
To check if it’s done, you can use an instant-read thermometer—the internal temperature should reach about 190°F (88°C). If you don’t have a thermometer, tap the bottom of the loaf once it’s out of the pan; it should sound hollow.
Cooling
After baking, let the bread cool in the pan for about 10 minutes. This brief rest helps the loaf set up so it doesn’t collapse when you remove it. Then, carefully transfer it to a wire rack to cool completely before slicing.
Patience is key here! Cutting into hot bread can make it gummy and mess with the texture you worked so hard to achieve. Once cooled, this bread is perfect for sandwiches, toast, or even just eating plain with a little butter.
Tips and Variations
-
Flour Swap: While bread flour gives the best structure and chewiness, you can substitute all-purpose flour if that’s what you have on hand. Just expect a slightly softer crumb.
-
Kneading by Hand: Don’t have a stand mixer? No worries! Knead the dough by hand for about 12-15 minutes until it’s smooth and elastic.
-
Storage: This bread stays fresh for several days when stored in an airtight container or bread box. You can even freeze slices and toast them later for a quick breakfast treat.
-
Extra Flavor: Feel free to add a tablespoon of honey or swap vanilla extract with almond extract for a different twist.
Soft Vanilla Milk Bread: FAQs and Final Thoughts
You’ve made it to the last part of this Soft Vanilla Milk Bread journey! By now, you should be well on your way to baking a loaf that’s soft, fluffy, and subtly sweet with a gorgeous vanilla aroma. But I know baking bread can bring up a few questions, especially if you’re trying it for the first time. So, before we wrap things up, let’s dive into some of the most common questions I get about this recipe.
![]()
Frequently Asked Questions
1. Can I use all-purpose flour instead of bread flour?
Yes! All-purpose flour works just fine if you don’t have bread flour. The texture will be slightly softer and less chewy, but the bread will still be delicious. Bread flour has more protein, which helps with gluten development, so if you want that classic chewy bite, bread flour is the way to go.
2. How important is the temperature of the milk?
It’s pretty important to use warm milk around 110°F (43°C). Too hot, and you risk killing the yeast; too cold, and the yeast won’t activate properly. Warm milk helps the yeast wake up and start working so your dough rises beautifully.
3. Can I knead this dough by hand?
Absolutely! If you don’t have a stand mixer, knead by hand on a lightly floured surface for about 12 to 15 minutes. The dough should feel smooth and elastic when you’re done. It’s a bit of a workout, but very satisfying.
4. How do I know when the dough has risen enough?
After the first rise, the dough should roughly double in size. You can do a simple “poke test”: gently press your finger into the dough; if the indentation stays and doesn’t spring back immediately, it’s ready for the next step.
5. Why do I need two rises?
Two rises create that perfect soft and airy texture. The first rise builds the dough’s volume, and the second rise after shaping helps develop structure and flavor. Skipping either one can result in denser bread.
6. Can I make this bread dairy-free or vegan?
This recipe relies on milk, butter, and eggs for its signature texture and flavor, so it’s not easily veganized without substitutions. However, you could experiment with plant-based milk, vegan butter, and egg replacers, but results may vary. For best results, try the recipe as is first.
7. How should I store leftover bread?
Store the bread in an airtight container or a bread box at room temperature. It usually stays fresh for 3 to 4 days. For longer storage, slice and freeze it—then toast slices straight from the freezer whenever you want.
Final Thoughts
Baking Soft Vanilla Milk Bread at home might feel a little intimidating at first, but once you get the hang of it, it’s genuinely rewarding. The smell of vanilla and fresh bread warming your kitchen, the soft, tender crumb, and that shiny golden crust—it’s hard to beat. Plus, it’s versatile enough for everyday sandwiches or a special treat with breakfast.
If you’re new to bread baking, remember: every loaf teaches you something new. Don’t worry if your first attempt isn’t perfect. With practice, you’ll get more comfortable with the dough’s feel and the timing for rises and baking. Most importantly, enjoy the process!
I’d love to hear how your bread turns out or any creative twists you try—maybe adding a swirl of cinnamon or mixing in some chocolate chips for a sweet surprise. Feel free to share your experiences and questions in the comments below. Happy baking!
PrintSoft Vanilla Milk Bread
This soft vanilla milk bread is wonderfully fluffy, tender, and subtly sweet with a delicate vanilla aroma. It’s perfect for sandwiches, toast, or simply enjoyed fresh. The enriched dough made with milk, butter, and eggs creates a pillowy texture that stays fresh for days. The shiny golden crust from the egg wash makes it look as good as it tastes.
- Author: Mark's Recipe
Ingredients
Wet Ingredients:
1 cup (240ml) warm whole milk (110°F/43°C)
2 large eggs, room temperature
1/4 cup (60g) unsalted butter, melted and cooled
1 tablespoon pure vanilla extract or vanilla bean paste
Dry Ingredients:
3 1/2 cups (440g) bread flour (all-purpose flour can be used as a substitute)
1/4 cup (50g) granulated sugar
2 1/4 teaspoons (1 packet) instant yeast
1 1/4 teaspoons salt
For the Egg Wash:
1 egg yolk
1 tablespoon milk
Instructions
In a stand mixer bowl, whisk together the warm milk, eggs, melted butter, and vanilla extract.
Add the flour, sugar, yeast, and salt. Mix with the dough hook on low speed for 2 minutes.
Increase to medium speed and knead for 8 to 10 minutes until the dough is smooth, elastic, and pulls away from the sides of the bowl cleanly.
Place the dough in a greased bowl and cover with a damp towel. Let it rise in a warm place for 1 to 1.5 hours until doubled in size.
Punch down the dough and divide it into three equal portions.
Roll each portion into an oval shape about 8 by 5 inches.
Roll each oval tightly from the short end and place seam-side down in a greased 9×5-inch loaf pan. Repeat with all three pieces.
Cover the pan and let the dough rise for 45 to 60 minutes until it crowns about 1 inch above the pan rim.
Preheat the oven to 350°F (175°C).
Brush the risen dough with the egg wash made by whisking egg yolk and milk together to create a shiny crust.
Bake for 30 to 35 minutes until the bread is deep golden brown and reaches an internal temperature of 190°F (88°C).
Cool the bread in the pan for 10 minutes, then transfer to a wire rack to cool completely.
Notes
Using bread flour gives the loaf better structure and chewiness, but all-purpose flour can be used in a pinch for a slightly softer crumb. Kneading is important to develop gluten and achieve that pillowy texture—if you don’t have a stand mixer, knead by hand for about 12-15 minutes. The egg wash not only adds shine but also enhances the golden crust, making the bread visually appealing. Make sure your milk is warm (not hot) to properly activate the yeast without killing it. This bread stays fresh for several days when stored in an airtight container or bread box and can be lightly toasted to revive its softness.


")
