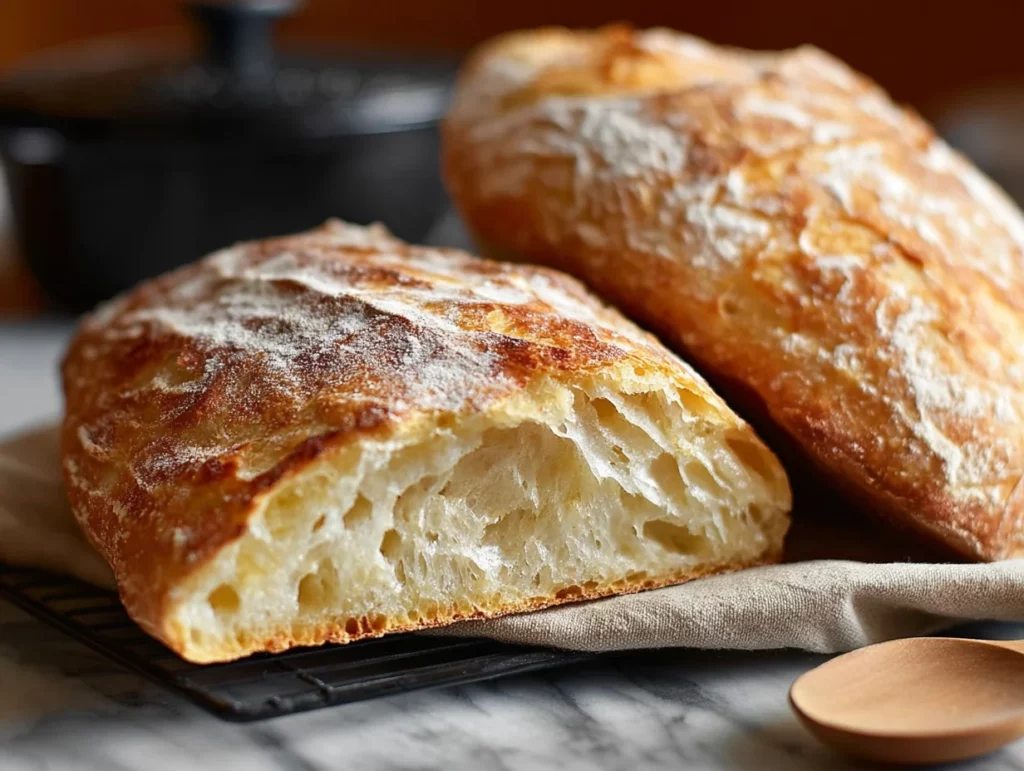
There’s something timeless about the smell of freshly baked bread wafting through the kitchen — it’s cozy, comforting, and downright irresistible. Today, I’m sharing a recipe that captures all of that old-world charm with hardly any effort: Rustic Italian Crusty Bread. It’s a true “set it and forget it” kind of bread that rewards patience with a chewy, tender crumb and a deeply golden, crackly crust.
This bread is one of those recipes that feels like magic every time I make it. The ingredients are shockingly simple — just flour, salt, yeast, and water — but the results? Better than most bakery loaves I’ve tried. It all comes down to the slow fermentation, which gives the bread that amazing depth of flavor and texture without needing any kneading or fancy shaping.
I started making this bread during a cold winter weekend when I was craving something hearty to go with a pot of homemade minestrone soup. It turned into such a hit in our house that now I make it at least once a week. Whether we’re dunking it into warm stews, serving it with cheese and olives, or just tearing off pieces to enjoy with a drizzle of good olive oil and balsamic — this bread has become a staple.
Ready to bake some magic with just four ingredients and a little patience? Let’s dive into the first steps!
Ingredients You’ll Need:
-
3 cups all-purpose flour
-
1½ teaspoons salt
-
½ teaspoon instant yeast
-
1½ cups warm water
That’s it. Seriously. No sugar, no butter, no eggs — just simple pantry staples doing what they do best.
STEP 1: MIX THE DOUGH
In a large mixing bowl, whisk together the flour, salt, and instant yeast. Make sure the dry ingredients are well combined before adding the water.
Next, pour in the warm water. Use a wooden spoon or rubber spatula to stir everything together until a shaggy, sticky dough forms. The dough is going to look very loose and wet — and that’s exactly what you want. Don’t worry about trying to knead it or make it smooth. This dough is all about minimal handling.
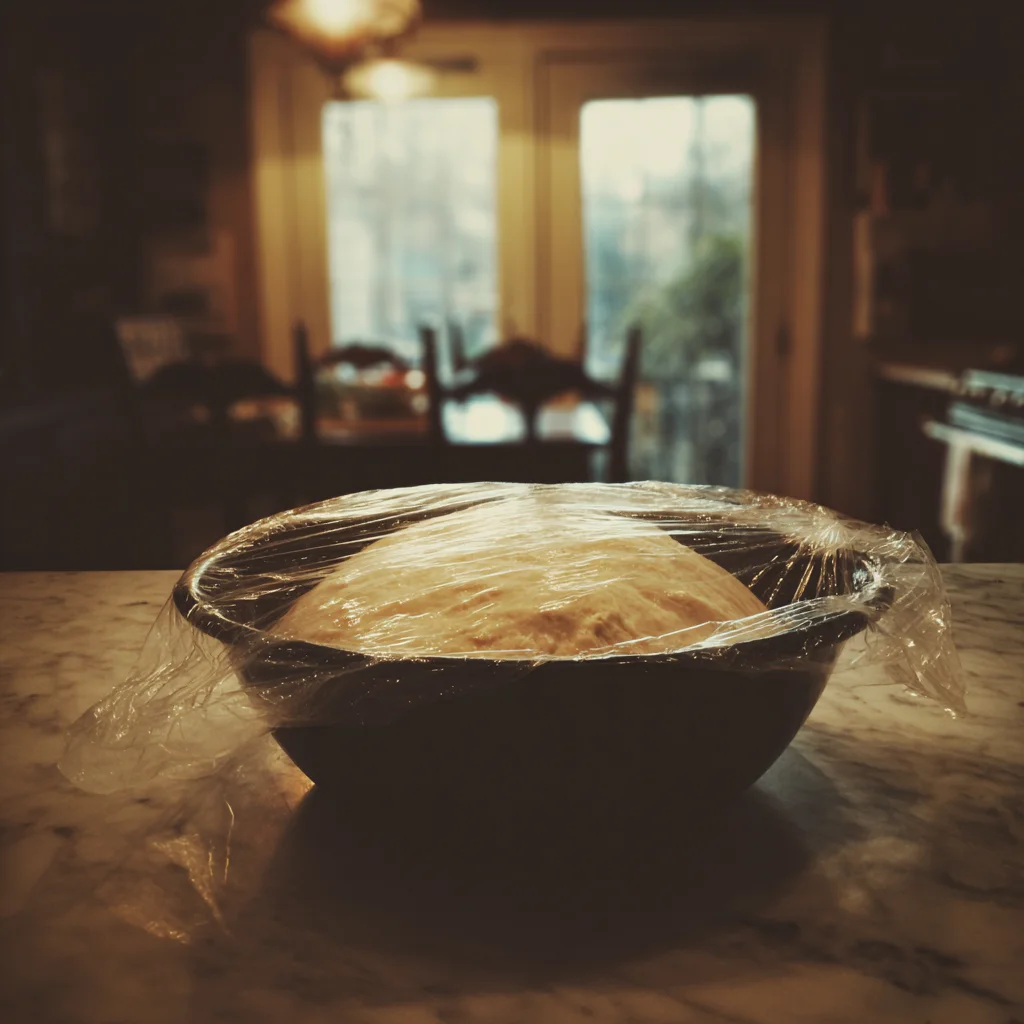
Once the ingredients are fully mixed and you’ve got a sticky, rough dough, just cover the bowl tightly with plastic wrap or a clean kitchen towel. Set it aside at room temperature for a long nap — and by long, I mean 12 to 18 hours. This extended resting period is where all the magic happens. During this time, the dough will slowly rise, develop bubbles, and take on that deep, yeasty aroma that we all love in artisan-style bread.
STEP 2: SHAPE THE DOUGH (Gently!)
Once your dough has had its beauty sleep, it should be doubled in size and covered in bubbles. It might even look a little wobbly or jiggly — don’t worry, that’s a good thing.
Lightly flour your countertop or a clean surface and turn the dough out onto it. This is where things get a bit hands-on, but we’re still keeping it gentle. The goal here is to shape the dough into a ball without deflating all of those lovely air pockets that formed during the rise.
Use lightly floured hands to tuck and shape the dough into a loose round. Try not to overwork it — just gather the sides in toward the center a few times until you have a ball shape.
Now, transfer the dough onto a piece of parchment paper. This makes it super easy to lift and place into your pot later without disturbing the shape. Let the dough rest here for about 30 to 45 minutes, uncovered, while your oven heats up.

STEP 3: PREHEAT YOUR DUTCH OVEN
While the dough is resting again, it’s time to get your oven ready. Preheat your oven to 450°F — and here’s the key: place your Dutch oven (or any heavy pot with a lid) inside while the oven preheats.
This preheating step is crucial because a super-hot pot helps the bread start baking immediately when it hits the surface, which gives us that beautifully crisp crust.
Rustic Italian Crusty Bread: The Easiest Artisan Loaf You’ll Ever Make
Now that your dough is shaped and your Dutch oven is preheating, it’s time for the most satisfying part — baking your beautiful, rustic Italian crusty bread. This is when the magic really happens. You’re just a few steps away from pulling a golden, crackly loaf from the oven that looks (and smells) like it came from a cozy Italian bakery.
Whether you’re a seasoned baker or someone trying bread-making for the first time, you’re about to see just how simple it is to create artisan-style bread at home. Let’s get to it!

STEP 4: BAKE IN A PREHEATED DUTCH OVEN
Once your oven has reached 450°F and your dough has rested for about 30 to 45 minutes on the parchment paper, it’s go time.
Carefully (and I mean carefully!) remove the hot Dutch oven from the oven. Use oven mitts — that pot is very hot. Gently lift your dough using the edges of the parchment paper and transfer it right into the pot, parchment paper and all. There’s no need to oil the pot; the parchment keeps it from sticking and makes cleanup a breeze.
Now, cover the pot with its lid and place it back in the oven. Bake for 30 minutes with the lid on. This covered baking traps steam inside, which is exactly what creates that glossy, blistered, artisan-style crust.
After 30 minutes, remove the lid and continue baking for another 10 to 15 minutes, or until the crust is deep golden brown and crisp. If you’re unsure, you can tap the loaf — it should sound hollow.

STEP 5: COOL BEFORE SLICING
This part might just be the hardest step of the entire recipe — waiting.
As tempting as it is to slice into the hot loaf right away, try to let the bread cool on a wire rack for at least 30 minutes. This gives the interior time to finish setting and prevents the crumb from getting gummy.
Once it’s cooled, you can dig in! Slice it thick, thin, or just tear off pieces — there’s no wrong way to enjoy this bread.
TIPS FOR ADDING FLAVOR VARIATIONS
One of the best things about this rustic Italian crusty bread is that it’s a blank canvas. The basic recipe is perfect on its own, but you can absolutely jazz it up if you’re in the mood for something a little more flavorful.
Here are a few of my favorite mix-ins:
-
Chopped fresh rosemary and a sprinkle of sea salt: Add this before shaping the dough for a savory herb twist.
-
Roasted garlic: Mash a few cloves of roasted garlic into the dough before shaping for a rich, mellow flavor.
-
Kalamata olives: Chop and fold into the dough for a Mediterranean vibe.
-
Grated parmesan or asiago: Mix in about ¼ cup before shaping to give it a cheesy kick.
When adding mix-ins, try to keep the dough handling light. Gently fold your extras in after the first rise and before shaping.
STORAGE TIPS
Let’s be honest — there’s a pretty good chance this loaf won’t last long enough to need storage advice. But in case you do have leftovers:
-
Room Temperature: Wrap the bread in a clean kitchen towel or store it in a paper bag. This helps preserve the crust while keeping the inside from drying out. Avoid plastic bags, which can soften the crust too much.
-
To Refresh the Crust: If your bread starts to go a little stale, just pop it in a 350°F oven for about 10 minutes to revive that crispy texture.
-
Freezing: Slice the loaf and freeze individual slices. You can toast them straight from frozen for easy, crusty bread on demand.
SERVING SUGGESTIONS
This bread is perfect as-is, but here are a few favorite ways to serve it:
-
With olive oil and balsamic vinegar for dipping
-
Alongside soups and stews, like tomato basil or Tuscan white bean
-
As a rustic sandwich base — think prosciutto, mozzarella, and arugula
-
Toasted and topped with avocado or soft cheese
It’s also a beautiful addition to any dinner party or charcuterie board. That crackly crust and golden color make it look way more complicated than it actually is.
Rustic Italian Crusty Bread: The Easiest Artisan Loaf You’ll Ever Make
You’ve made it to the final stretch! If you’ve followed along through the slow rise, the careful shaping, and the steamy Dutch oven bake, then you already know how simple and satisfying this bread recipe truly is. The end result? A rustic Italian crusty bread with a chewy interior, an irresistible golden crust, and that unmistakable homemade charm.
Before we wrap things up, let’s take a few minutes to answer some of the most common questions about this recipe. Whether you’re wondering about ingredient swaps, troubleshooting sticky dough, or storing leftovers — I’ve got you covered.
FAQ: YOUR BREAD BAKING QUESTIONS ANSWERED
1. Can I use bread flour instead of all-purpose flour?
Yes, you can absolutely use bread flour. It has a higher protein content, which can give the bread an even chewier texture. If you have it on hand, go for it. The recipe works beautifully with either type.
2. My dough seems too sticky to handle. Is that normal?
Yes — the dough should be very wet and sticky after mixing. It’s part of what creates the open crumb and light texture. Just lightly flour your hands and work surface when shaping. Try not to add too much extra flour or it can make the bread dense.
3. I don’t have a Dutch oven. Can I still make this bread?
While a Dutch oven gives the best results because it traps steam, you can use a heavy oven-safe pot with a lid. If that’s not available, bake the bread on a baking sheet with an oven-safe dish of hot water placed on the rack below — it won’t be quite the same, but it’ll still turn out tasty.
4. Can I speed up the rising time?
This bread relies on a long, slow rise to develop flavor and texture. If you’re short on time, you can try a warm proof (placing the dough in a slightly warm oven), but the final flavor may not be as complex. If possible, stick to the 12–18 hour rise.
5. Can I add ingredients like herbs or cheese to the dough?
Definitely. Just fold in your add-ins (rosemary, garlic, olives, grated cheese, etc.) after the first rise, when you’re shaping the dough. Be gentle to preserve the air bubbles.
6. How do I know when the bread is fully baked?
The crust should be a deep golden brown and sound hollow when tapped. You can also check the internal temperature — it should be around 200°F in the center of the loaf.
7. How long does this bread stay fresh?
It’s best the day it’s baked, but it will stay fresh for 1–2 days at room temperature if stored properly. For longer storage, freeze slices and toast them when ready to eat.
FINAL THOUGHTS: YOU DON’T NEED TO BE A PRO TO BAKE LIKE ONE
There’s something incredibly rewarding about baking your own bread — especially one that looks and tastes like it came from an artisan bakery. What I love most about this rustic Italian crusty bread is how forgiving it is. There’s no kneading, no mixer required, and no special skills needed. Just flour, salt, yeast, water, and a bit of time.
This bread has become one of those go-to recipes in our house. It’s the one I pull out when I want to impress dinner guests without spending hours in the kitchen. It’s the loaf that makes a simple bowl of soup feel like a complete meal. And it’s the bread I always crave when the weather turns chilly and cozy comfort food is calling.
If you give this recipe a try, I’d love to hear how it turns out for you! Leave a comment, share your photos, or let me know what delicious add-ins you’ve experimented with. Homemade bread is meant to be shared — and once you’ve tasted that warm, crusty first slice, I think you’ll agree: this one’s a keeper.
PrintRustic Italian Crusty Bread

This rustic Italian crusty bread is simple, hearty, and full of old-world character. With a chewy interior and a crisp, golden crust, it’s the kind of bread that pairs beautifully with soups, stews, or a drizzle of olive oil and balsamic vinegar. Made with just a few ingredients, this no-fuss recipe relies on a slow rise to develop deep flavor and texture without any complicated techniques.
- Author: Mark's Recipe
Ingredients
3 cups all-purpose flour
1½ teaspoons salt
½ teaspoon instant yeast
1½ cups warm water
Instructions
In a large mixing bowl, whisk together the flour, salt, and yeast. Add the warm water and stir until a sticky, shaggy dough forms. The dough will be very wet, which is normal.
Cover the bowl with plastic wrap or a clean towel and let it sit at room temperature for 12 to 18 hours. The dough should double in size and appear bubbly on the surface.
Once the dough has risen, lightly flour a surface and turn the dough out onto it. Gently shape it into a ball, handling it as little as possible to preserve the air bubbles.
Place the dough on a piece of parchment paper and let it rest for 30 to 45 minutes while the oven preheats.
Preheat the oven to 450°F with a Dutch oven or heavy covered pot inside. Once preheated, carefully remove the pot, lift the dough with the parchment paper, and place both into the hot pot.
Cover and bake for 30 minutes. Remove the lid and bake for another 10 to 15 minutes until the crust is deep golden brown.
Remove the bread from the pot and cool on a wire rack for at least 30 minutes before slicing.
Notes
Do not skip the long resting time, as it allows the dough to develop flavor and a chewy texture without kneading. Using a Dutch oven traps steam, which helps form that signature crispy crust. You can add herbs, olives, or roasted garlic to the dough before shaping for extra flavor. This bread is best enjoyed the day it’s made but can be revived in the oven if it starts to go stale.


")
