
If you’re anything like me, dessert dips are one of the greatest inventions to ever happen to the world of sweet treats. And when you combine peanut butter, cream cheese, and bits of Reese’s Peanut Butter Cups into a creamy, sweet cheese ball? You’ve basically created dessert magic.
I made this Reese’s Cheese Ball for a game night a while back, and I’m not exaggerating when I say it was the first thing gone from the snack table. There’s just something about that mix of smooth peanut butter and cream cheese, studded with mini chocolate chips and Reese’s, that’s totally irresistible. Add some graham crackers or pretzels for dipping, and you’ve got the perfect combination of creamy, sweet, salty, and crunchy.
What I love most is that this recipe is super easy to whip up with ingredients you probably already have in your pantry. Plus, it can be made ahead of time, which makes it an ideal choice for holiday parties, birthdays, potlucks—or honestly, just because.
Let’s get started on making this no-bake dessert that’s guaranteed to steal the spotlight at your next gathering.
Ingredients You’ll Need
-
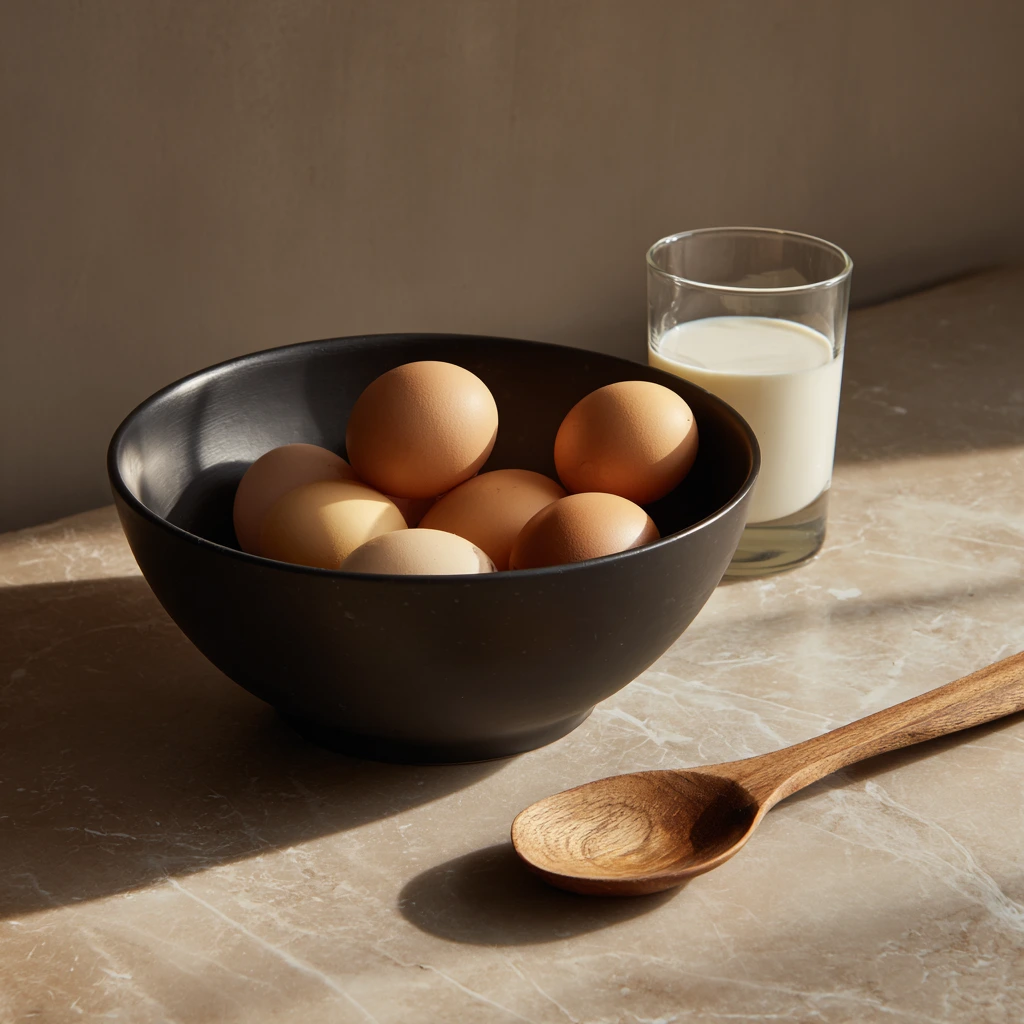
8 oz cream cheese, softened
-
½ cup unsalted butter, softened
-
¾ cup creamy peanut butter
-
1 cup powdered sugar
-
½ tsp vanilla extract
-
1 cup mini chocolate chips
-
1 cup chopped Reese’s Peanut Butter Cups
-
½ cup chopped peanuts (optional)
STEP 1: Beat the Cream Cheese, Butter, and Peanut Butter
Start by grabbing a large mixing bowl. Add in the softened cream cheese, unsalted butter, and creamy peanut butter. You’ll want everything to be nice and soft so it blends smoothly.
Use a hand mixer (or stand mixer if you prefer) and beat the mixture until it’s smooth and fluffy. This step is key to getting that creamy base that makes this cheese ball so scoopable.
Pro tip: Scrape down the sides of the bowl once or twice while mixing to make sure everything is evenly incorporated.
STEP 2: Add Powdered Sugar and Vanilla
Next up, mix in the powdered sugar and vanilla extract. This is where the magic starts to happen. The powdered sugar sweetens the base without making it gritty, while the vanilla adds that cozy dessert flavor we all love.
Once you’ve added those, beat everything together until it’s smooth and creamy. At this point, try not to eat the entire bowl with a spoon—it’s tempting, trust me.
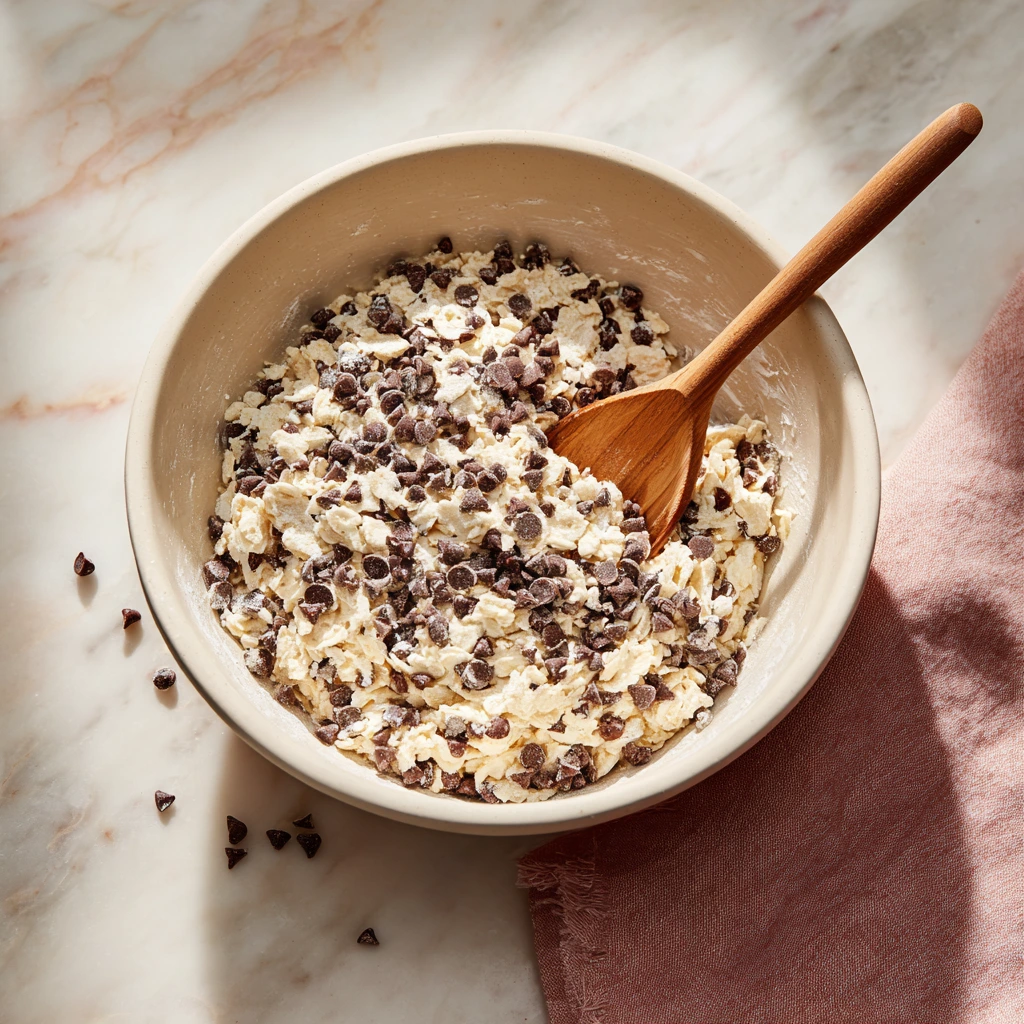
STEP 3: Stir in Chocolate Chips and Chopped Reese’s
Now for the fun part—folding in the goodies. Add in ½ cup of the mini chocolate chips and ½ cup of the chopped Reese’s Peanut Butter Cups. Gently stir them in using a spatula or wooden spoon.
You’ll want to save the other half of both for later to coat the outside of the cheese ball, so don’t toss it all in at once.
What you get now is a dreamy, chunky, peanut buttery dessert base that’s already tasting like something out of a bakery case.
STEP 4: Shape the Mixture into a Ball
Once everything is mixed, it’s time to shape it. Lay out a large piece of plastic wrap on your counter and scoop the mixture into the center.
Pull up the edges of the plastic wrap around the mixture and gently start forming it into a ball. It doesn’t have to be perfect—just get it into a rounded shape.
Wrap it tightly and pop it into the fridge for at least 1 to 2 hours, or until it feels nice and firm to the touch.
Finishing the Reese’s Cheese Ball and Sweet Serving Ideas
Alright, so your cheese ball has been chilling in the fridge and is now firm and ready to be dressed up. This is when things start to get really fun. Think of this part like decorating a cake—but easier, quicker, and honestly, just as impressive.
The best part about this dessert (aside from how downright delicious it is) is that it’s totally customizable. Whether you’re a chocolate fanatic or prefer a little salty crunch, there are a ton of ways to make this cheese ball your own. But before we dive into the extras, let’s finish up the recipe with the final steps.
STEP 5: Roll in the Toppings
Once the cheese ball is chilled and firm, take it out of the fridge and carefully unwrap it. It should hold its shape well, but don’t worry if it’s not a perfect sphere—it’ll still taste amazing.
On a large plate or shallow dish, combine the remaining ½ cup of mini chocolate chips, ½ cup of chopped Reese’s Peanut Butter Cups, and ½ cup of chopped peanuts (if using). Gently roll the cheese ball in the mixture, pressing lightly so that all the goodness sticks to the outside.
Tip: If you’re not into peanuts or need to keep things nut-free beyond the peanut butter, just leave them out. You can substitute with crushed graham crackers or crushed pretzels for a similar texture.
Once the cheese ball is fully coated, transfer it to a serving platter. You’re almost there!
STEP 6: Serve with Dippers
Now that your cheese ball looks absolutely irresistible, it’s time to pick your dippers. This part is more important than you might think—what you choose to serve alongside this dessert can really take it to the next level.
Here are some of my favorite options:
-
Graham crackers – Classic, lightly sweet, and sturdy enough to scoop.
-
Chocolate wafers – For serious chocolate lovers.
-
Pretzels – A salty contrast that works surprisingly well.
-
Apple slices – A fresh, crisp bite that balances out the sweetness.
You can also mix and match to create a little dipping platter. Trust me, your guests will appreciate the variety.
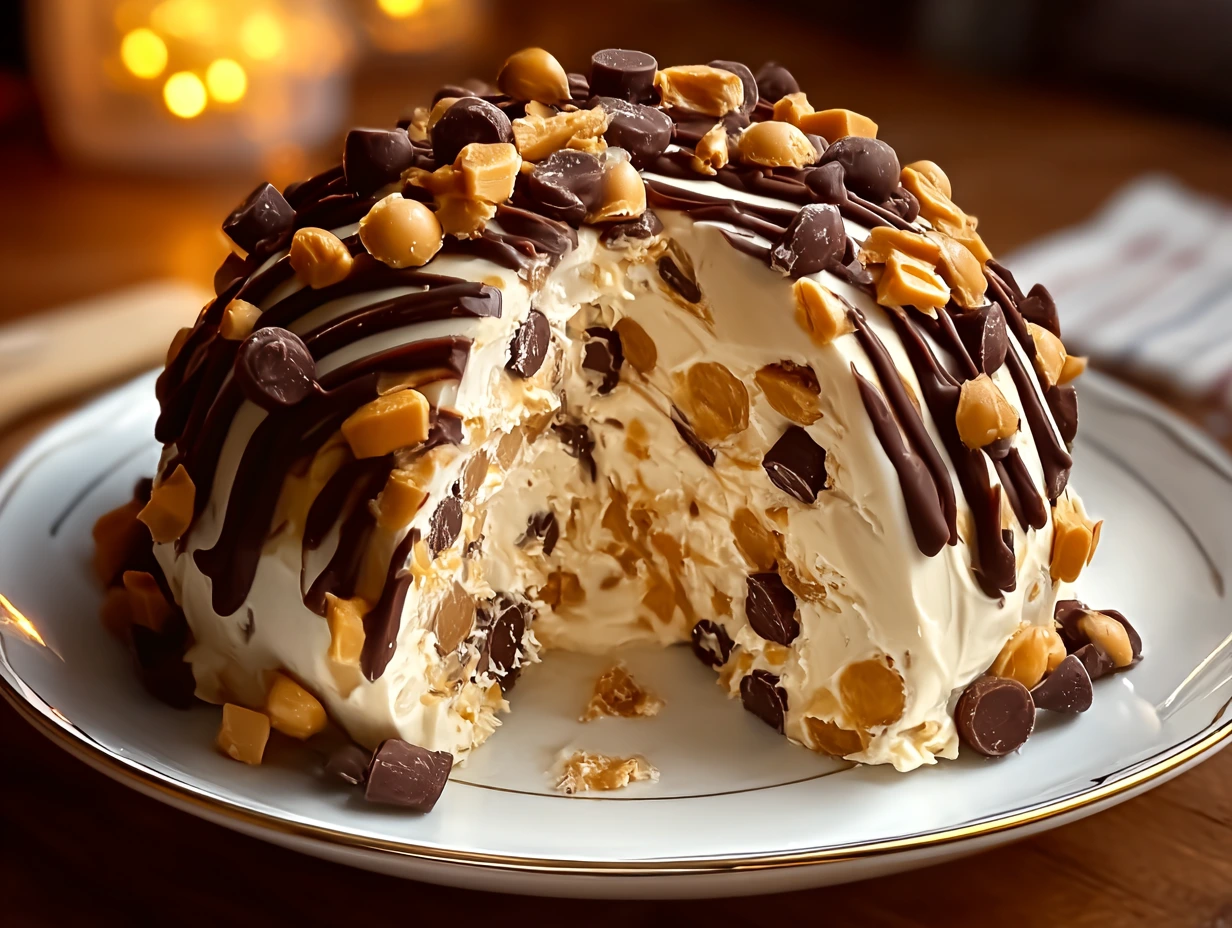
Optional: Add a Chocolate Drizzle
If you’re really in the mood to impress (or just want to up the chocolate factor), go ahead and drizzle some melted chocolate over the top right before serving. It’s optional, but highly recommended for that extra “wow” moment.
Melt a few tablespoons of chocolate chips in the microwave in 20-second intervals, stirring in between, until smooth. Drizzle it over the cheese ball using a spoon or a zip-top bag with the corner snipped off.
Make-Ahead Tips and Storage
One of the best things about this Reese’s Cheese Ball is that it’s a total make-ahead superstar. You can prep the entire thing the day before your party or gathering and just pull it out of the fridge when it’s time to serve.
If you want a firmer texture, especially on a hot day, you can freeze the cheese ball for 20 to 30 minutes before serving. Just make sure it’s wrapped tightly so it doesn’t dry out in the freezer.
Leftovers? (If there are any!) Just wrap the cheese ball tightly in plastic wrap and store it in the fridge for up to 3–4 days. It makes for an awesome late-night snack with pretzels.
Variations to Try
Once you’ve made this once, you’ll start dreaming up all kinds of new ways to play with it. Here are a few variations you might want to try next time:
-
White Chocolate Twist: Swap half of the mini chocolate chips for white chocolate chips for a sweeter flavor.
-
Nut-Free Option: Skip the chopped peanuts and use crushed cookies or toffee bits for the coating.
-
Crunchy Peanut Butter: If you love a bit of texture, use crunchy peanut butter instead of creamy.
-
Holiday Style: Add red and green M&Ms for a festive holiday version or use pastel candies for Easter.
Reese’s Cheese Ball FAQ and Final Thoughts
Now that we’ve walked through each step of this dreamy peanut butter dessert, let’s tackle a few common questions you might have. Whether it’s your first time making a dessert cheese ball or you’re just looking for ways to switch it up, these tips should help make the process even easier.
Frequently Asked Questions
1. Can I make this cheese ball ahead of time?
Yes! You can make it up to 24 hours in advance. Just keep it wrapped tightly in plastic wrap in the refrigerator until you’re ready to serve. If you’re adding the outer coating, it’s best to roll it in the toppings right before serving to keep everything fresh.
2. How long does the cheese ball last in the fridge?
Stored properly in an airtight container or tightly wrapped, the cheese ball will last about 3 to 4 days in the refrigerator. The texture may change slightly after a couple of days, but it will still be delicious.
3. Can I freeze the cheese ball?
You can! Wrap it well in plastic wrap and place it in a freezer-safe bag or container. It can be frozen for up to a month. Thaw it in the fridge overnight before serving. Just note that the texture may be a bit softer once thawed, so you may want to firm it up in the fridge for an hour or two before serving.
4. What’s the best way to keep it firm while serving at a party?
If your event is on the longer side or you’re serving in a warmer setting, pop the cheese ball in the freezer for 20–30 minutes before serving. That little chill time helps it stay firm longer on the table.
5. What can I use if I don’t have Reese’s Peanut Butter Cups?
You can use chopped mini peanut butter cups from other brands, or even try chopped chocolate bars or peanut butter M&Ms. The goal is to have something chocolatey and peanut buttery with a little texture.
6. Can I make this nut-free?
Yes, with a few tweaks. Use sunflower seed butter or cookie butter instead of peanut butter, skip the chopped peanuts, and choose nut-free chocolate candies. Be sure to check labels for any nut allergy concerns.
7. Can I make mini cheese balls for individual servings?
Absolutely! Instead of forming one large ball, shape the mixture into mini balls (about 2 tablespoons each) and roll them individually in the toppings. Serve with toothpicks or mini pretzel sticks for a fun grab-and-go dessert.
Final Thoughts: Your New Go-To Dessert Dip
There’s just something extra special about this Reese’s Cheese Ball. It’s a little nostalgic, a little over-the-top, and a whole lot of fun. Whether you’re bringing it to a potluck, serving it at a birthday party, or just surprising the family on a Friday night, it’s always a hit.
I’ve made this recipe more times than I can count, and every single time, someone asks me for the recipe. It’s rich without being too heavy, sweet without going overboard, and the texture is smooth and creamy with just the right amount of crunch.
And don’t forget—you can totally make this your own. Play with different candies, swap in your favorite cookie crumbs, or even shape it into a festive design for the holidays. However you serve it, one thing’s for sure: people will keep coming back for more.
PrintReese’s Cheese Ball: Peanut Butter Bliss Dessert
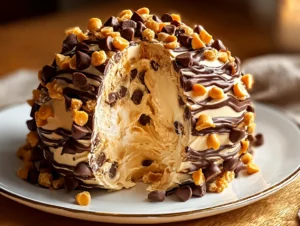
Reese’s Cheese Ball is the ultimate peanut butter and chocolate lover’s dream. This creamy, sweet dessert cheese ball combines peanut butter, cream cheese, and bits of Reese’s candy into a decadent dip perfect for parties, holidays, or whenever you need a fun, crowd-pleasing treat. Serve it with graham crackers, pretzels, or apple slices for a show-stopping dessert centerpiece.
- Author: Mark's Recipe
Ingredients
8 oz cream cheese, softened
½ cup unsalted butter, softened
¾ cup creamy peanut butter
1 cup powdered sugar
½ tsp vanilla extract
1 cup mini chocolate chips
1 cup chopped Reese’s Peanut Butter Cups
½ cup chopped peanuts (optional)
Instructions
In a large bowl, beat the cream cheese, butter, and peanut butter together until smooth and fluffy.
Add the powdered sugar and vanilla extract and mix until fully combined and creamy.
Stir in half of the mini chocolate chips and half of the chopped Reese’s.
Transfer the mixture onto a large piece of plastic wrap and shape it into a ball. Wrap tightly and refrigerate for at least 1 to 2 hours, or until firm.
Once chilled and firm, unwrap the cheese ball and roll it in the remaining mini chocolate chips, chopped Reese’s, and chopped peanuts (if using) to fully coat the outside.
Place on a serving platter and serve with graham crackers, chocolate wafers, pretzels, or sliced apples.
Notes
You can make this cheese ball a day in advance and store it in the refrigerator until ready to serve. For a firmer texture, freeze it for 20 to 30 minutes before serving. If you want to amp up the chocolate factor, drizzle with melted chocolate right before serving.


")
