When fall rolls around, there are two kinds of people: those who live for pumpkin spice everything, and those who pretend they don’t but still sneak a pumpkin muffin when no one’s looking. Whichever camp you’re in, this homemade pumpkin ice cream is going to win you over. It’s like pumpkin pie’s cooler cousin (literally), wrapped up in all the cozy flavors of autumn but with the refreshing chill of ice cream.
The best part? You don’t need to wait for Thanksgiving or a crisp October day to enjoy it. This recipe is the perfect dessert for cozy movie nights, autumn gatherings, or even those hot late-September afternoons when fall hasn’t quite gotten the memo yet. And if you’re the type who stockpiles pumpkin puree in your pantry, you can make it year-round just to get that warm, spiced feeling whenever you like.
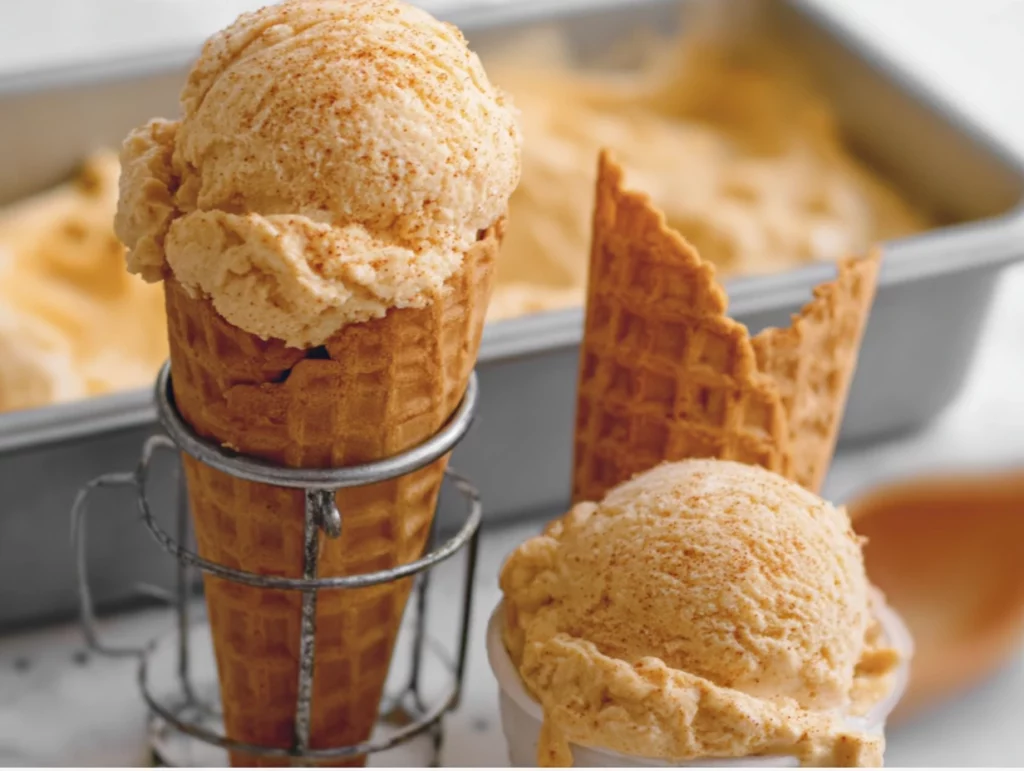
Now, I know what you might be thinking—ice cream in the fall? Trust me on this. The rich pumpkin puree, the hint of brown sugar, and the blend of cinnamon, nutmeg, ginger, and cloves give this ice cream the soul of pumpkin pie, while the creamy frozen texture makes it impossible to stop at one scoop. Bonus points if you top it with a drizzle of caramel or a scattering of gingersnap crumbs.
Before we dive into the steps, let’s talk about ingredients. This recipe uses real pumpkin puree (not pumpkin pie filling—there’s a big difference!), which makes all the difference in the depth of flavor. The combination of heavy cream and whole milk ensures it’s creamy without being overly heavy. And the brown sugar? That’s the secret weapon—it adds a caramel-like warmth that pairs perfectly with pumpkin’s earthiness.
Alright, enough about why I love it—let’s start making it.
Ingredients You’ll Need
-
1 1/2 cups heavy cream
-
1 1/2 cups whole milk
-
1 cup pumpkin puree (not pumpkin pie filling)
-
3/4 cup granulated sugar
-
1/2 cup brown sugar, packed
-
1 teaspoon vanilla extract
-
1 teaspoon ground cinnamon
-
1/2 teaspoon ground ginger
-
1/4 teaspoon ground nutmeg
-
1/4 teaspoon ground cloves
-
Pinch of salt
STEP 1: Create Your Pumpkin Ice Cream Base
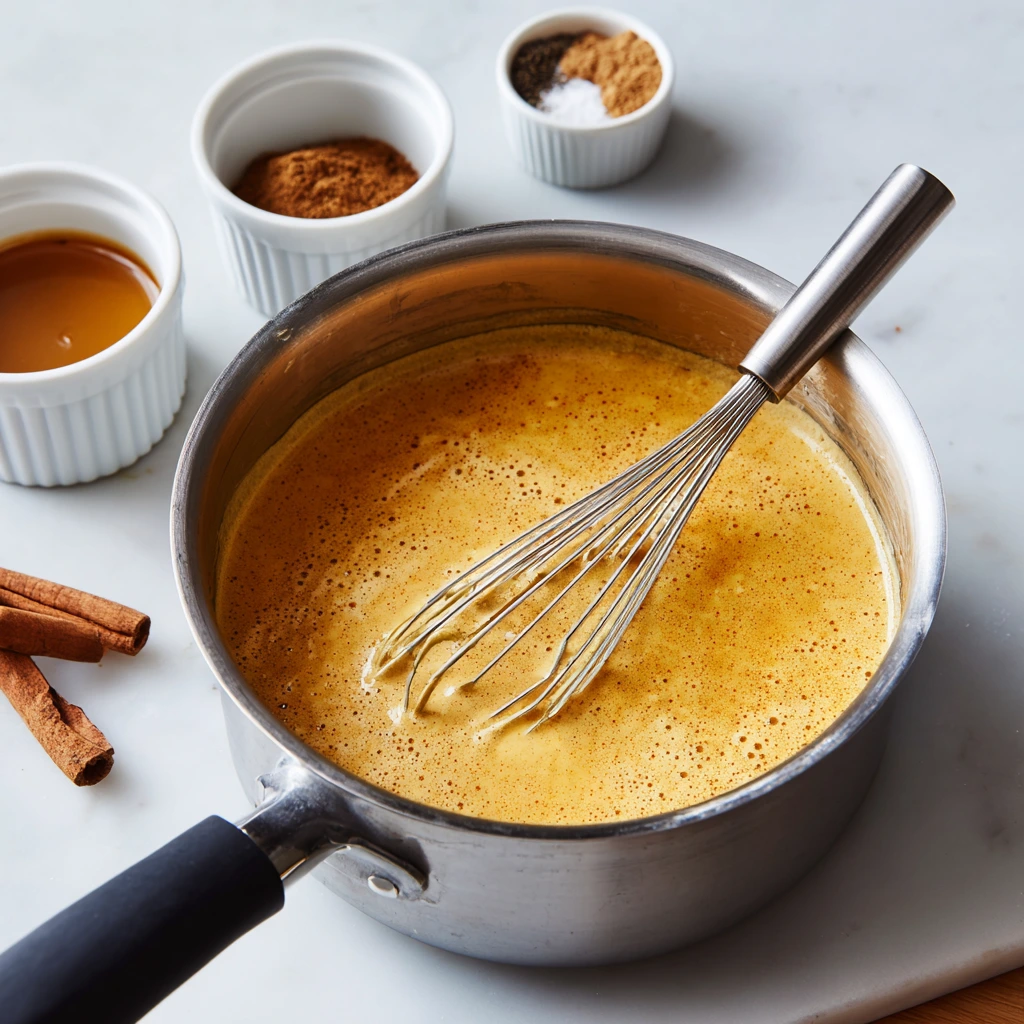
In a medium saucepan over medium heat, whisk together the heavy cream, whole milk, pumpkin puree, granulated sugar, brown sugar, cinnamon, ginger, nutmeg, cloves, and that pinch of salt. Keep whisking as it warms—your kitchen will smell like fall just moved in.
You’re looking for the mixture to get nice and steamy, but not boiling. If it boils, you risk curdling the milk, and that’s not the smooth, dreamy base we’re aiming for.
STEP 2: Add the Vanilla and Cool Down
Once it’s steaming, remove the pan from the heat and stir in the vanilla extract. This not only adds flavor but helps round out all the spices so nothing feels overpowering.
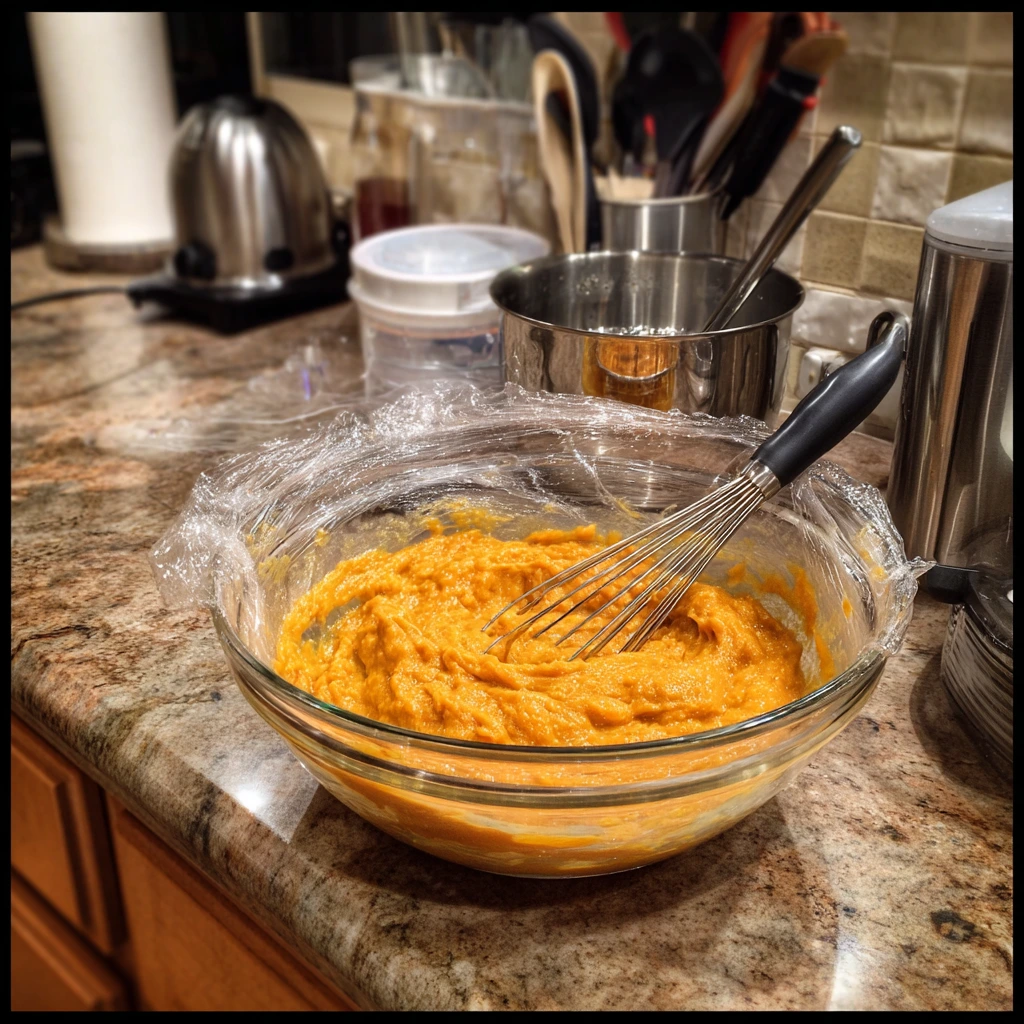
Now comes the hard part—waiting. Let the mixture cool down to room temperature. Patience here pays off because putting it in the fridge too warm will mess with the chilling process.
STEP 3: Chill Completely
Transfer the cooled mixture to the refrigerator and let it chill for at least 4 hours, though overnight is even better if you have the time. This gives the flavors time to mingle and deepens the pumpkin spice magic.
How to Finish Your Pumpkin Ice Cream Like a Pro
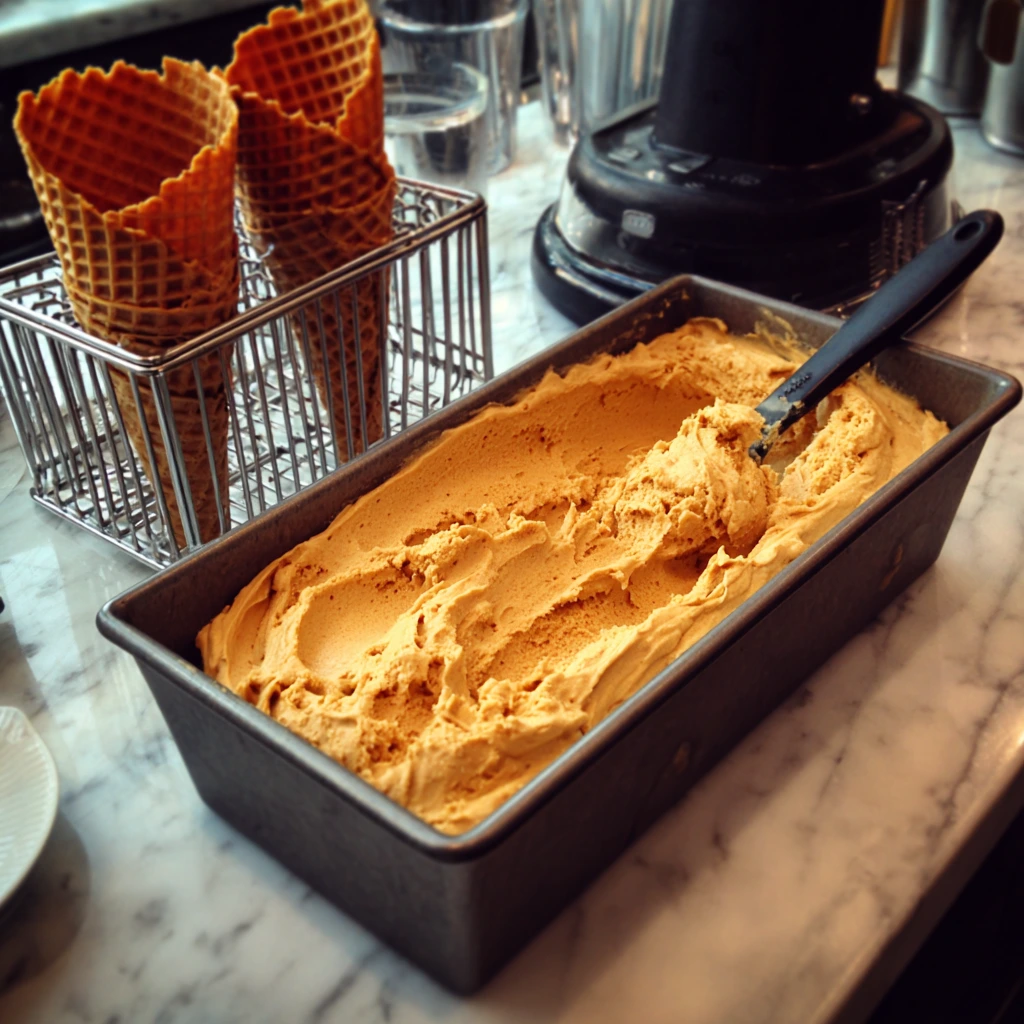
So, your pumpkin ice cream base is chilling away in the fridge, soaking up all that spicy-sweet goodness. Now it’s time to turn that velvety mixture into scoopable, creamy heaven. This is where the magic really happens.
If you’ve ever made homemade ice cream before, you know that the churning process is what gives it that perfect texture. Without it, you’d end up with a frozen pumpkin brick—not exactly what we’re going for. But don’t worry, even if you don’t own an ice cream maker, I’ve got you covered with a no-churn method that still delivers delicious results.
STEP 4: Churn the Ice Cream
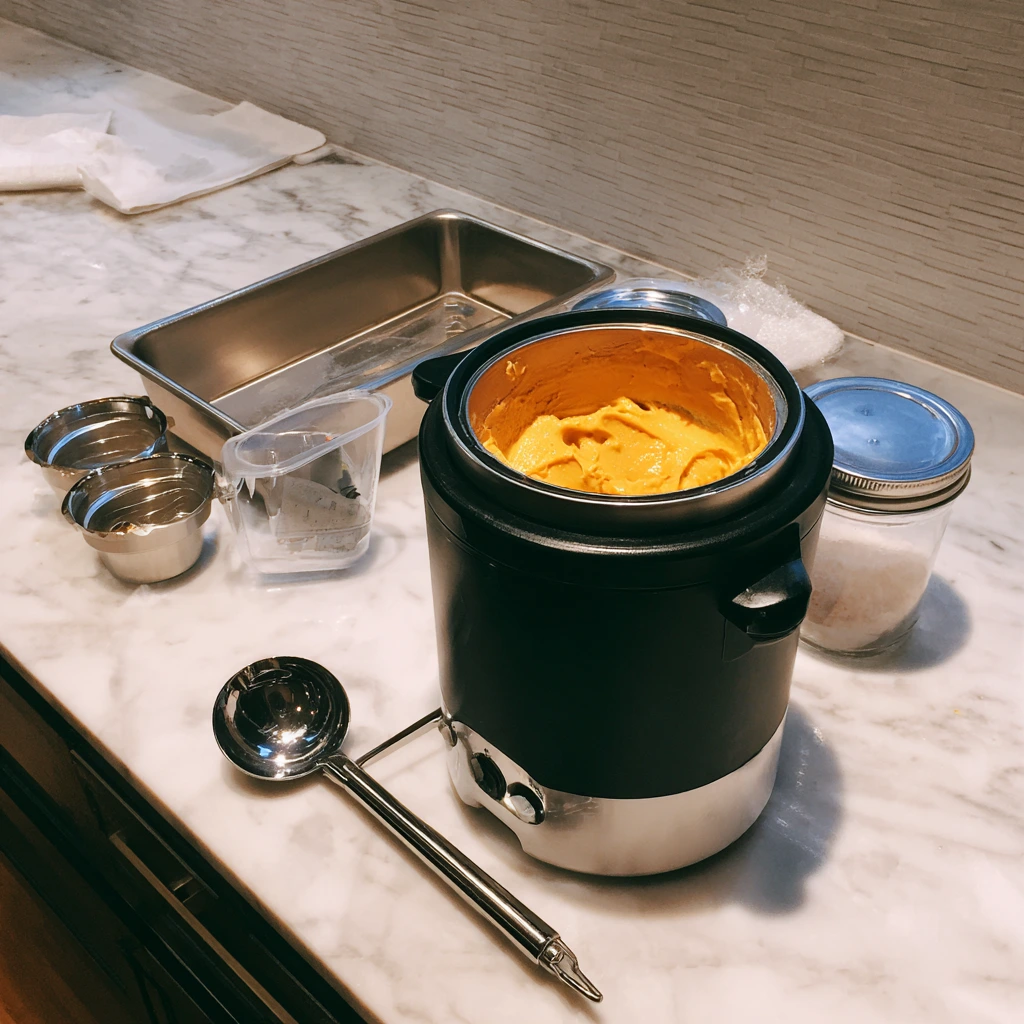
Pour your fully chilled pumpkin mixture into your ice cream maker and churn according to the manufacturer’s instructions. Usually, this takes anywhere from 20 to 25 minutes, but keep an eye on it. You’re looking for the texture of soft-serve—thick, creamy, and holding its shape.
Tip: Resist the urge to over-churn. Once the mixture hits that soft-serve stage, you’re done. Overworking it can create ice crystals and make it less smooth.
STEP 5: Freeze Until Firm
Transfer your churned ice cream into an airtight container. A shallow, freezer-safe dish will speed up the firming process, but any good ice cream container will work. Cover the surface with a piece of parchment paper before sealing the lid—this keeps ice crystals from forming on top.
Freeze for at least 4 hours before serving. I know, more waiting! But trust me, this step is what transforms it from soft-serve into the rich, sliceable ice cream we all love.
No Ice Cream Maker? No Problem
If you don’t have an ice cream maker, you can still whip this up at home:
-
Pour the cooled mixture into a shallow baking dish.
-
Place it in the freezer.
-
Every 30–45 minutes, take it out and stir vigorously with a fork or whisk. This breaks up the ice crystals and helps mimic that churned texture.
-
Repeat this process until it reaches a creamy consistency (usually about 3–4 hours total).
Flavor Boosting Tips and Variations
One of the best things about pumpkin ice cream is how well it pairs with other flavors. You can get creative here:
-
Add cookie bits – Fold in crushed gingersnaps or graham crackers during the last few minutes of churning for extra crunch.
-
Go caramel – Swirl in salted caramel sauce before freezing for a decadent twist.
-
Make it boozy – Add a tablespoon of bourbon or dark rum to the base before churning. This not only adds flavor but also keeps the ice cream a touch softer in the freezer.
-
Top it up – When serving, garnish with whipped cream and a sprinkle of cinnamon sugar for that pie-like finish.
Pumpkin Ice Cream FAQ
Before you grab your spoon and dig in, let’s go over some common questions people have about making pumpkin ice cream at home. Whether you’re a first-time ice cream maker or a seasoned pro, these tips can help make sure your batch turns out perfect every time.
Q: Can I use pumpkin pie filling instead of pumpkin puree?
A: No. Pumpkin pie filling already contains sugar and spices, so it will throw off the balance of this recipe. Stick with pure pumpkin puree for the best results.
Q: How long does homemade pumpkin ice cream last in the freezer?
A: Stored in an airtight container, it will stay fresh for about 2–3 weeks. After that, ice crystals can start to form and the flavor may fade.
Q: Can I make this dairy-free?
A: Yes! Substitute the heavy cream and whole milk with full-fat coconut milk. It will give you a slightly different flavor, but still deliciously creamy.
Q: Why is my ice cream icy instead of creamy?
A: This usually happens if the base wasn’t chilled long enough or if the ice cream maker bowl wasn’t fully frozen before churning. Make sure everything is properly cold before starting.
Q: Do I have to churn it right after chilling?
A: Ideally, yes. Once your mixture is chilled, churn it right away for the smoothest texture. If you leave it too long, it may thicken in the fridge and be harder to work with.
Q: Can I double this recipe?
A: Absolutely, but you may need to churn it in two batches depending on the size of your ice cream maker.
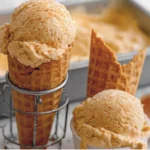
Q: What’s the best way to serve it for guests?
A: Scoop into small bowls or dessert glasses, top with whipped cream, a sprinkle of cinnamon, and maybe a gingersnap cookie on the side.
Why You’ll Love Making This Pumpkin Ice Cream
There’s something so satisfying about making your own ice cream from scratch—especially when it tastes like fall in a bowl. This recipe is the perfect mix of creamy and spiced, with the richness of pumpkin puree and the comforting aroma of cinnamon, nutmeg, ginger, and cloves. It’s festive without being fussy, and once you make it, you’ll wonder why you haven’t been enjoying pumpkin ice cream all year long.
Plus, you can make it ahead of time, which makes it a fantastic dessert for holiday gatherings. Imagine pulling a container of homemade pumpkin ice cream out of the freezer after a big Thanksgiving dinner—it’s unexpected, impressive, and the perfect cool-down after all that warm pie and stuffing.
So whether you’re a die-hard pumpkin spice fan or just someone looking to try a new fall dessert, give this recipe a go. You’ll have a batch of smooth, flavorful pumpkin ice cream ready to scoop and share—or keep all to yourself.
PrintPumpkin Ice Cream
This creamy homemade pumpkin ice cream captures the warm flavors of fall in a frozen treat. With real pumpkin puree, cozy spices, and a velvety texture, it’s like pumpkin pie in ice cream form. Perfect for autumn gatherings, Thanksgiving dessert, or simply enjoying year-round when you want a taste of fall.
- Author: Mark's Recipe
Ingredients
1 1/2 cups heavy cream
1 1/2 cups whole milk
1 cup pumpkin puree (not pumpkin pie filling)
3/4 cup granulated sugar
1/2 cup brown sugar, packed
1 teaspoon vanilla extract
1 teaspoon ground cinnamon
1/2 teaspoon ground ginger
1/4 teaspoon ground nutmeg
1/4 teaspoon ground cloves
Pinch of salt
Instructions
In a medium saucepan over medium heat, whisk together cream, milk, pumpkin puree, sugars, cinnamon, ginger, nutmeg, cloves, and salt. Heat until the mixture is steaming but not boiling, stirring frequently.
Remove from heat and stir in vanilla extract.
Let the mixture cool to room temperature, then refrigerate for at least 4 hours or until completely chilled.
Pour the chilled mixture into your ice cream maker and churn according to the manufacturer’s instructions.
Transfer the ice cream to an airtight container and freeze for at least 4 hours or until firm.
Notes
For a richer flavor, make the base a day ahead and let it chill overnight before churning.
Serve with crumbled gingersnaps, caramel drizzle, or a dollop of whipped cream for a festive touch.
If you don’t have an ice cream maker, you can freeze the mixture in a shallow pan and stir every 30–45 minutes until it reaches a creamy consistency.
")
