
If you love a recipe that tastes like it came straight from a cozy bakery but uses just a handful of ingredients, you’re in for a treat. Portuguese Coconut Cakes—aka Bolinhos de Coco—are the kind of sweet you pull together when you’re craving something special but don’t have time for fussy steps. They’re soft, sweet, delightfully chewy in the center, and lightly golden on the edges. I first fell for them after a friend brought a plateful to coffee one morning—within minutes, there were only crumbs and coconut flakes left. Ever since, I’ve been making these on repeat for lazy weekends, after-school treats, and those “I need dessert now” moments.
What makes these little coconut mounds so irresistible? That texture. The outside bakes up just barely crisp while the inside stays tender and moist—like a coconut macaroon’s unfussy cousin. And the flavor is rich and toasty, with vanilla peeking through. They’re also incredibly forgiving and flexible: you can toast the coconut for deeper flavor, make them big or bite-sized, and bake them just until pale for an extra-soft center or a touch longer for a firmer bite. No mixer needed, no chilling, no complicated techniques—just stir, scoop, and bake.
These are also perfect with coffee or tea (espresso lovers, this one’s for you) and make a lovely little gift from your kitchen. With only six everyday ingredients, you can have a batch ready in about 25 minutes. Let’s get you baking!

Why You’ll Love Bolinhos de Coco
-
Simple ingredients: Coconut, sugar, eggs, vanilla, a spoonful of flour, and a pinch of salt—done.
-
Quick to make: From mixing bowl to cooling rack in under 30 minutes.
-
Perfect texture: Chewy center, lightly golden tops—so satisfying.
-
Small or big batch friendly: Scoop them tiny for bite-sized treats or a little larger for bakery-style domes.
-
Make-ahead approved: They keep well in an airtight container for up to 5 days.
Ingredients You’ll Need
-
2 cups sweetened shredded coconut
-
1 cup granulated sugar
-
3 large eggs
-
1 teaspoon vanilla extract
-
1 tablespoon all-purpose flour
-
Pinch of salt
Optional flavor boost: Lightly toast the coconut before mixing to bring out a deeper, nuttier flavor. It’s a small step that makes a big difference if you love that toasty coconut notes.
Before You Start
Go ahead and line a baking sheet with parchment paper so your cakes release cleanly and bake evenly. If you decide to toast your coconut, spread it on a baking sheet and toast in a 325°F (165°C) oven for 4–6 minutes, stirring once, just until lightly golden—watch closely, as coconut can brown fast.
Steps: Mix, Scoop & Prep
-
Preheat the oven to 350°F (175°C) and prep your pan.
Line a baking sheet with parchment paper. This keeps the cakes from sticking and helps them brown nicely on the bottom without overbaking. -
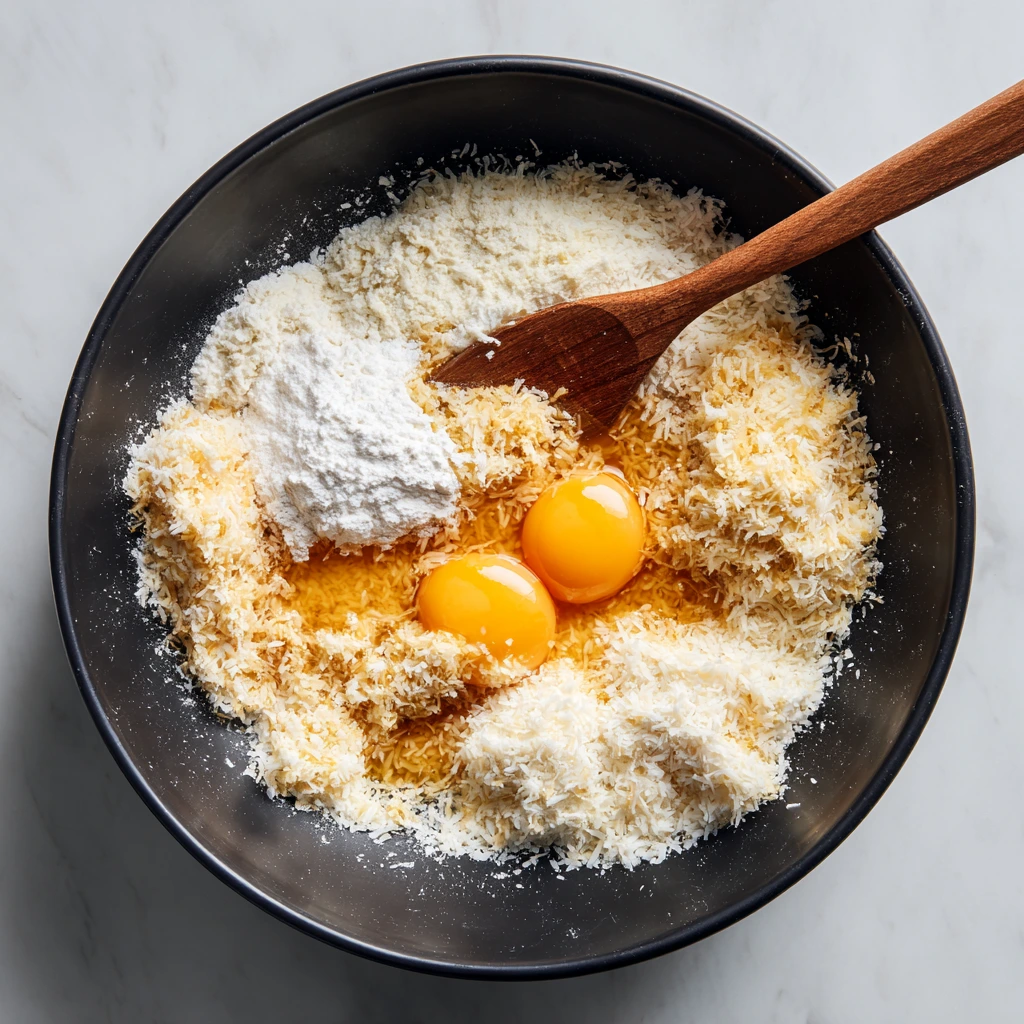
Mix the batter by hand—no mixer required.
In a large mixing bowl, combine 2 cups sweetened shredded coconut, 1 cup granulated sugar, 3 large eggs, 1 teaspoon vanilla extract, 1 tablespoon all-purpose flour, and a pinch of salt. Stir with a sturdy spatula or wooden spoon until the mixture is evenly combined and slightly sticky.
Texture cue: You’re looking for a thick, cohesive mixture that holds together when pressed. If it seems dry, give it another 20–30 seconds of mixing; the coconut will hydrate as it absorbs the egg. -
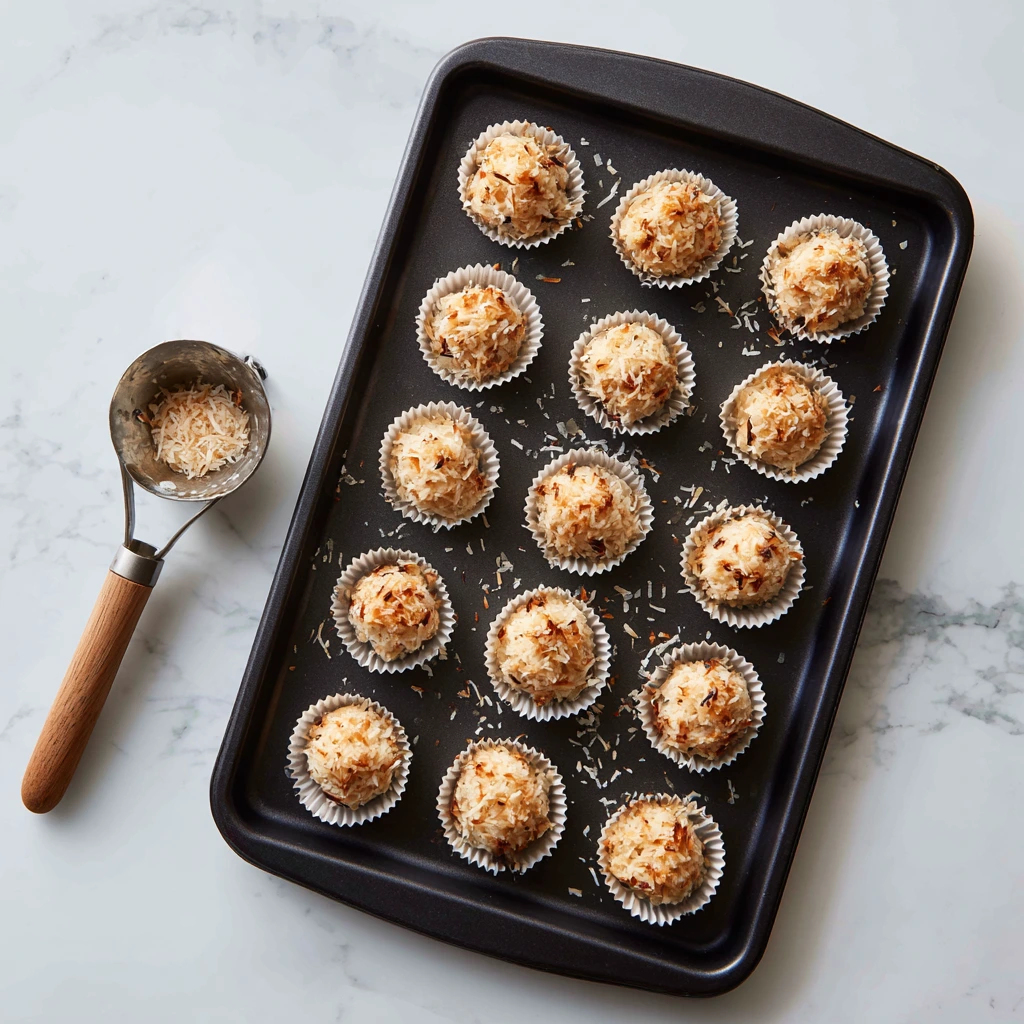
Scoop and shape into small mounds.
Use a heaping tablespoon (or a small cookie scoop) to portion the mixture. Press lightly to form rounded mounds or roll gently into balls, then place them about 2 inches apart on the prepared baking sheet.
Size tip: Smaller mounds bake faster and stay extra chewy; larger mounds will need a minute or two more in the oven and will have a slightly cakier center. -
(Optional) Give them a glow-up.
For picture-perfect tops, press a few extra coconut shreds onto the mounds. If you toasted your coconut, sprinkle a tiny pinch of the darker flakes over a few for a pretty, speckled look.
Bake & Cool to Perfection
Steps: Bake & Cool
-
Bake until lightly golden (12 to 15 minutes).
Slide the baking sheet into a 350°F (175°C) oven and bake for 12 to 15 minutes. You’re aiming for lightly golden tops and a few toasty coconut edges. The centers should still look tender, not dry.
Baking tip: Ovens vary! Start checking at 11 minutes. If your cakes are browning too quickly, move the pan to a higher rack or tent loosely with foil for the last couple of minutes. -
Let them settle on the pan.
Remove from the oven and let the cakes cool on the baking sheet for 3 to 5 minutes. This little rest helps them set up so they won’t break when you move them. -
Transfer to a rack to finish cooling.
Use a thin spatula to gently lift each cake onto a wire rack. They’ll continue to firm up as they cool. You can serve them slightly warm (heavenly!) or at room temperature. -
Serve now or store for later.
Enjoy right away, or once cooled completely, place them in an airtight container at room temperature for up to 5 days. They’re fantastic on day one and still lovely a few days later—perfect with coffee or tea.
Pro Tips for Perfect Bolinhos de Coco
-
Watch the color, not just the clock.
Light golden is the sweet spot. If the tops are deep brown, the centers may turn dry. Pale gold with slightly toasted edges = chewy perfection. -
Rotate for even baking.
If your oven has hot spots, rotate the pan halfway through. This keeps all the cakes the same color and texture. -
Size matters.
Smaller mounds bake a touch faster and stay extra chewy; larger mounds need another 1–2 minutes and will be a bit cakier in the center. Keep them uniform so they bake evenly. -
Get clean, round mounds.
A small cookie scoop works best. If shaping by hand, lightly dampen your fingertips so the mixture doesn’t stick, and press to compact each mound just a bit before baking. -
Prevent over-browning.
If the bottoms are getting dark too fast, double up your baking sheet or add a second, empty sheet underneath as insulation. -
Optional flavor boost: toast the coconut.
Lightly toasting the coconut before mixing adds a deeper, nutty flavor. Keep it pale gold—coconut goes from perfect to too dark quickly. -
Soft vs. firmer texture.
For a softer, chewier center, lean toward the shorter bake time and pull them when they’re just turning golden. For a firmer bite, add 1–2 minutes.
Make-Ahead, Storage & Serving Ideas
-
Short-term storage:
Once cooled, keep in an airtight container at room temperature for up to 5 days. Separate layers with parchment if stacking. -
Freezing:
These freeze nicely. Place cooled cakes on a tray to freeze solid, then transfer to a freezer bag for up to 2 months. Thaw at room temperature and, if you like, refresh on a baking sheet at 300°F (150°C) for 3–4 minutes. -
Day-two refresh:
If they’ve softened, a quick warm in a low oven crisps the edges right back up. -
Serving pairings:
Espresso, strong black tea, or a creamy latte are perfect matches. A few fresh berries on the side make them feel extra special.
Simple Variations to Try
-
Citrus-kissed:
Add a little lemon or orange zest to the mixture along with the vanilla for a sunny twist. -
Almond touch:
Swap in ¼ teaspoon almond extract for part of the vanilla to give a subtle marzipan vibe. -
Chocolate moment (optional):
Once cooled, you can drizzle a light zigzag of melted chocolate over the tops or dip just the bottoms. Let set before storing. -
Mini muffin pan method:
For super tidy domes, lightly grease a mini muffin pan and mound the mixture in each cup. Bake time may vary by a minute—check early and look for that same pale-gold color.

Portuguese Coconut Cakes FAQ (Bolinhos de Coco)
Can I use unsweetened coconut instead of sweetened shredded?
Yes—just tweak the mix so it still turns out chewy and not dry. If you’re using unsweetened shredded or desiccated coconut, add 2–3 tablespoons extra sugar. Check the texture: it should be sticky and hold together when pressed. If it feels too dry or crumbly, mix in 1 extra egg white (lightly beaten) a teaspoon at a time until the mixture clumps easily.
Why did my cakes spread or flatten?
These little cakes don’t typically spread much, so flattening usually means the mixture was too wet or not compacted. Try letting the mixture rest for 5 minutes so the coconut can absorb the egg, then scoop firmly and pack each mound. If it still feels loose, add 1 tablespoon more coconut or 1 teaspoon flour and stir again. Also, bake on parchment paper (not a silicone mat) and keep the oven at a true 350°F (175°C).
How do I keep them chewy in the center?
Three simple cues:
-
Bake just until pale golden on top (usually 12–15 minutes).
-
Let them cool on the pan for 3–5 minutes before moving to a rack.
-
Store airtight once cooled to lock in moisture. If your kitchen is very dry, tuck a small piece of sandwich bread in the container (not touching the cakes) to help maintain that soft center.
Can I make Portuguese Coconut Cakes gluten-free?
Absolutely. Swap the 1 tablespoon all-purpose flour with a 1:1 gluten-free baking blend. You can also skip the flour entirely; the texture will be slightly looser but still delicious. If omitting, compact the mounds a bit more before baking, or add 1 teaspoon cornstarch for a little extra structure.
What flavor add-ins work well?
Keep it simple and let the coconut shine, or add:
-
Almond extract: ¼ teaspoon (replacing part of the vanilla).
-
Citrus zest: 1–2 teaspoons lemon or orange zest mixed in with the sugar.
-
Chocolate: Drizzle melted chocolate over cooled cakes or dip the bottoms; let set before storing.
-
Toasted coconut: Toast lightly for deeper flavor (see next question).
Do I need to toast the coconut first?
You don’t have to, but it’s a lovely upgrade. Spread the coconut on a sheet pan and toast at 325°F (165°C) for 4–6 minutes, stirring once, until just golden. Let it cool slightly before mixing with the eggs so you don’t scramble them. Toasted coconut gives a gentle, nutty depth without changing the recipe.
How should I store and can I freeze them?
Once completely cooled, keep the cakes in an airtight container at room temperature for up to 5 days. For longer storage, freeze up to 2 months: place cooled cakes on a tray to freeze solid, then move to a freezer bag. Thaw at room temperature. If you want the edges crisp again, warm on a baking sheet at 300°F (150°C) for 3–4 minutes.
Conclusion: Small Cakes, Big Coconut Joy
If you’re craving something sweet, simple, and a little special, these Portuguese Coconut Cakes are the answer. They come together with pantry staples, they bake in minutes, and they hit that perfect sweet spot: lightly golden outside, soft and chewy inside. Whether you keep them classic with vanilla or dress them up with a little almond extract or lemon zest, they feel like a treat without a lot of effort.
I love serving them with coffee after dinner or tucking a few into lunchboxes for a mid-day pick-me-up. And since they keep well, you can make a batch on the weekend and enjoy them all week long. If you try them, I’d love to hear how they turned out for you—did you toast the coconut, go mini, or add a chocolate drizzle? Share your tips and any fun twists in the comments. Happy baking, and enjoy every chewy bite of your Bolinhos de Coco!
PrintPortuguese Coconut Cakes

Portuguese Coconut Cakes, known as Bolinhos de Coco, are soft, sweet, and delightfully chewy treats made with coconut, sugar, and eggs. Popular in Portuguese bakeries and homes, these simple cakes are perfect with coffee or tea and require just a few ingredients. Their golden exterior and tender, moist center make them irresistible for coconut lovers.
- Author: Mark's Recipe
Ingredients
2 cups sweetened shredded coconut
1 cup granulated sugar
3 large eggs
1 teaspoon vanilla extract
1 tablespoon all-purpose flour
Pinch of salt
Instructions
Preheat the oven to 350°F (175°C) and line a baking sheet with parchment paper.
In a large bowl, combine shredded coconut, sugar, eggs, vanilla extract, flour, and salt. Mix until well combined and slightly sticky.
Scoop heaping tablespoons of the mixture and shape into small mounds or balls, placing them on the prepared baking sheet about 2 inches apart.
Bake for 12 to 15 minutes, or until the tops are lightly golden.
Allow the cakes to cool for a few minutes on the baking sheet before transferring them to a wire rack.
Notes
For a richer flavor, toast the coconut lightly before mixing it into the batter.
These cakes can be stored in an airtight container at room temperature for up to 5 days.
If you prefer a softer texture, reduce baking time slightly and keep an eye on the color.


")
