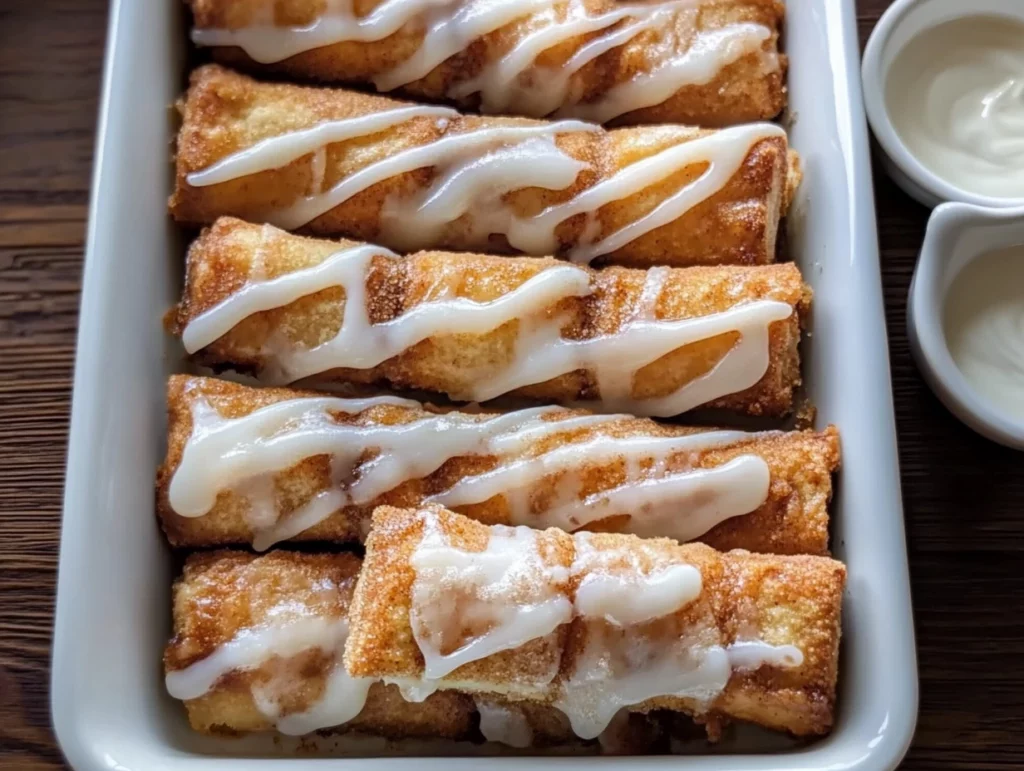
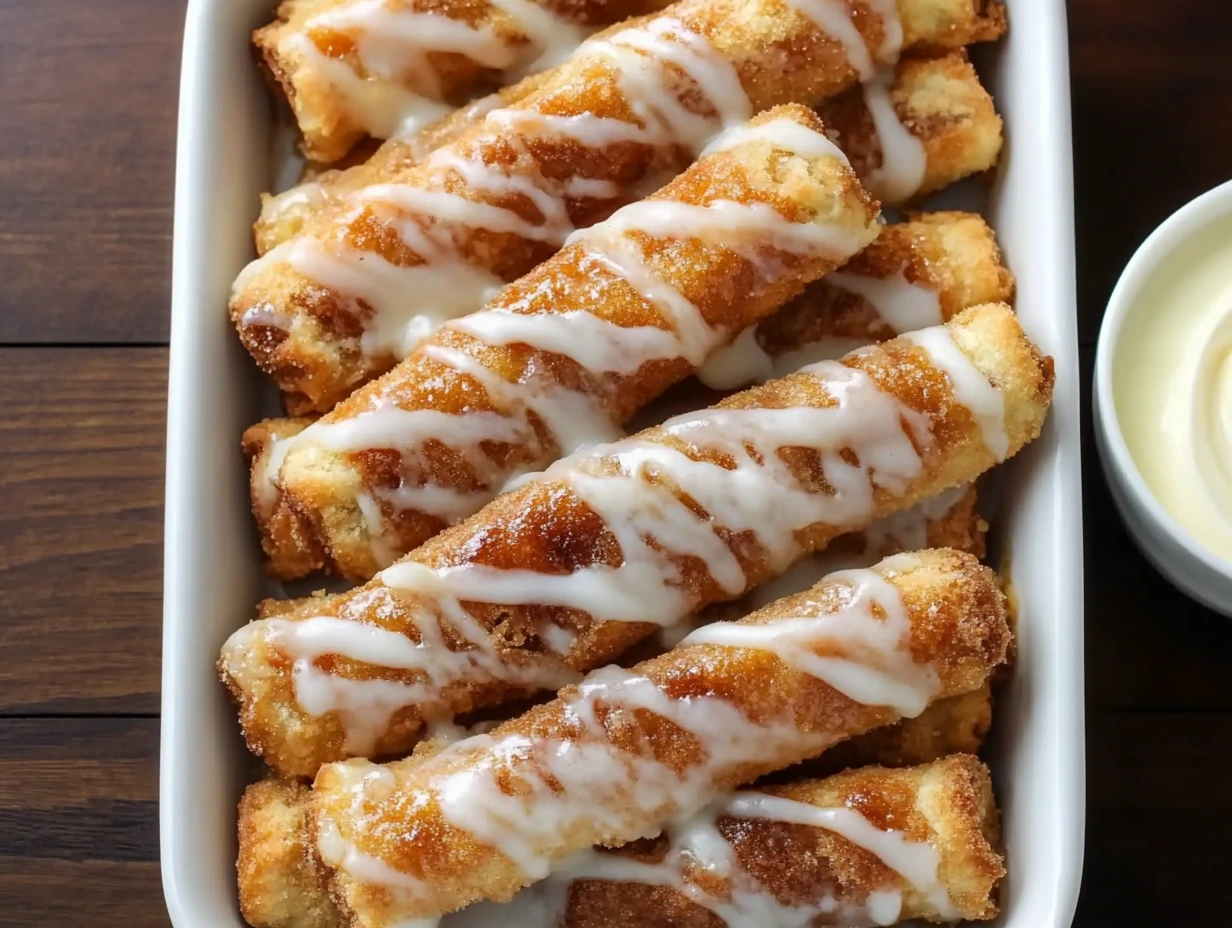
There’s something incredibly comforting about soft, golden cinnamon sticks fresh out of the oven—especially when they’re slathered in butter, sugar, and drizzled with icing. If you ever found yourself hoarding the cinnamon sticks after a Pizza Hut delivery night, then friend, this recipe is for you. These copycat Pizza Hut cinnamon sticks bring all the bakery-style goodness straight to your kitchen, and the best part? They’re shockingly easy to make.
This treat brings back all the nostalgia of Friday nights growing up, eating too much pizza, and saving just enough room for dessert. I can still remember the smell of cinnamon sugar wafting from the box and how the warm, buttery sticks paired perfectly with that creamy icing dip. Whether you’re whipping these up for a casual weekend brunch, a sleepover snack, or just because your sweet tooth is demanding attention, these homemade cinnamon sticks hit the spot every time.
Let’s dive right into how to make them. Trust me, your kitchen is about to smell like heaven.
Ingredients You’ll Need
Here’s everything you need to recreate this classic sweet treat:
-
2 (13.8-ounce) tubes pizza crust dough
-
4 tablespoons unsalted butter, melted
-
¼ cup white granulated sugar
-
2 teaspoons ground cinnamon
-
¼ cup packed light brown sugar, divided
-
1½ cups powdered sugar
-
1 teaspoon clear vanilla extract
-
2–3 tablespoons milk (adjust for icing consistency)
STEP-BY-STEP INSTRUCTIONS
Step 1: Prep Your Dough
Start by preheating your oven to 400°F. You’ll want it nice and hot to get that perfectly golden-brown crust. Remove both tubes of pizza dough from their packaging and combine the dough into one big ball. Let it rest at room temperature for a few minutes. This makes it much easier to roll out without it snapping back or tearing.
Step 2: Butter the Baking Dish
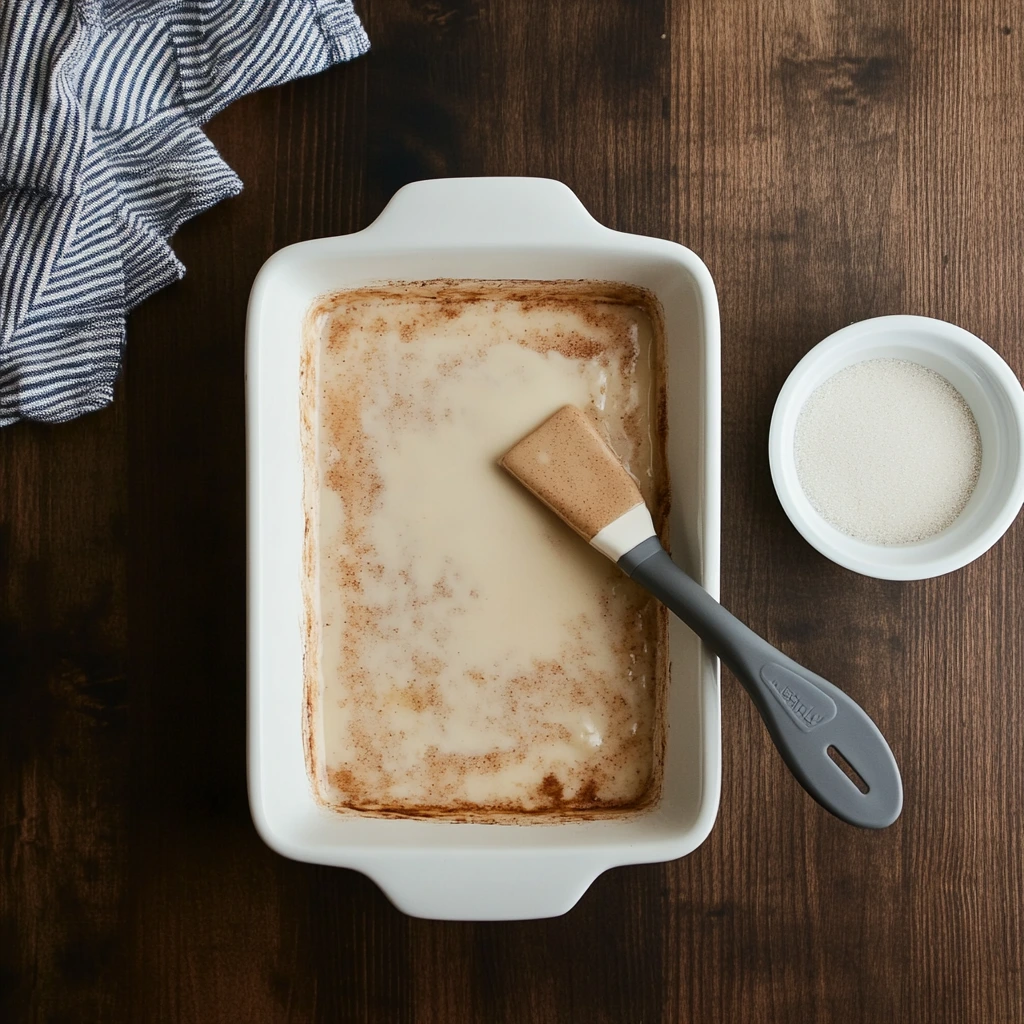
Grab a 9×13-inch baking dish and use a brush or the back of a spoon to coat the bottom and halfway up the sides with about half of your melted butter. This not only prevents sticking but adds that rich, buttery flavor to the base.
In a small bowl, stir together your granulated sugar and ground cinnamon. Sprinkle 2 teaspoons of that cinnamon-sugar blend evenly over the buttered dish, then go ahead and sprinkle 1 tablespoon of the brown sugar over that. This forms the base layer of sweet flavor that’ll caramelize slightly as it bakes.
Step 3: Shape and Slice the Dough
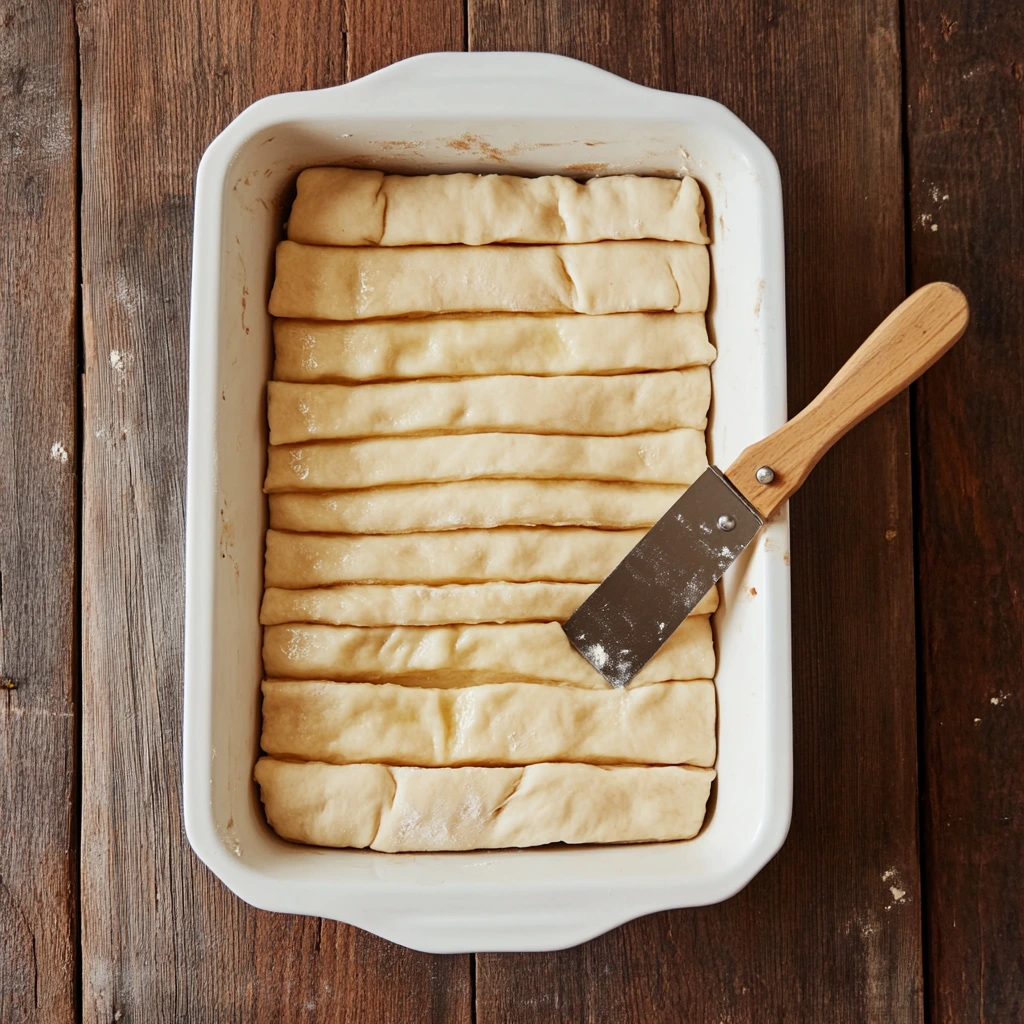
Now, take your softened dough and roll or stretch it out to fit your baking dish. Press it gently into place so it reaches the corners and edges—this helps everything cook evenly.
Using a pizza cutter, slice the dough once lengthwise down the center, then make horizontal cuts across to create about 16 cinnamon sticks. Don’t worry if the pieces shift a little—just gently press them back where they belong.
Step 4: Butter and Sugar, Round Two
Brush the top of the dough with the rest of your melted butter. Sprinkle the remaining cinnamon-sugar mixture evenly across the top, and finish with the rest of your light brown sugar. At this point, your dish should look like a tray of fluffy dough smothered in sweet magic—and it’s ready to hit the oven.
How to Bake and Ice Your Copycat Pizza Hut Cinnamon Sticks (Plus Tips!)
Now that we’ve layered our dough with all that buttery cinnamon-sugar goodness, it’s time to bring these cinnamon sticks to life in the oven. This next part is where everything comes together—the dough gets golden, the sugar starts to caramelize just slightly, and the whole kitchen fills with that warm, sweet bakery smell. It’s pure magic.
Plus, we’ll be making the iconic vanilla icing that makes these cinnamon sticks so addictive. Whether you like yours lightly drizzled or with a full-on dunk, this icing is the perfect finishing touch.
Let’s get back into it.
Step 5: Bake the Cinnamon Sticks
Slide your prepared baking dish into the oven and bake at 400°F for 15 to 17 minutes. You’re looking for the dough to puff up and turn a light golden brown across the top. Every oven runs a little differently, so start checking around the 15-minute mark.
To check for doneness, gently lift a corner of one of the sticks with a fork. It should feel firm and fully cooked underneath—no soft, raw dough hiding in the middle. Once they’re done, remove the dish from the oven and let it cool slightly. That short rest helps the texture settle and keeps the icing from completely melting when you drizzle it on.
Step 6: Make the Vanilla Icing
While the cinnamon sticks are cooling just a bit, it’s time to whip up that smooth, sweet vanilla icing. In a small bowl, combine:
-
1½ cups powdered sugar
-
1 teaspoon clear vanilla extract
-
2–3 tablespoons milk
Start by adding 2 tablespoons of milk, then stir until smooth. If the icing is too thick for your liking, add a little more milk, one teaspoon at a time, until it reaches your ideal consistency. Some people like it thick for dipping, others prefer it thin enough to drizzle easily.
And don’t worry if you only have regular vanilla extract—while it may slightly tint your icing off-white, the flavor is still spot-on.
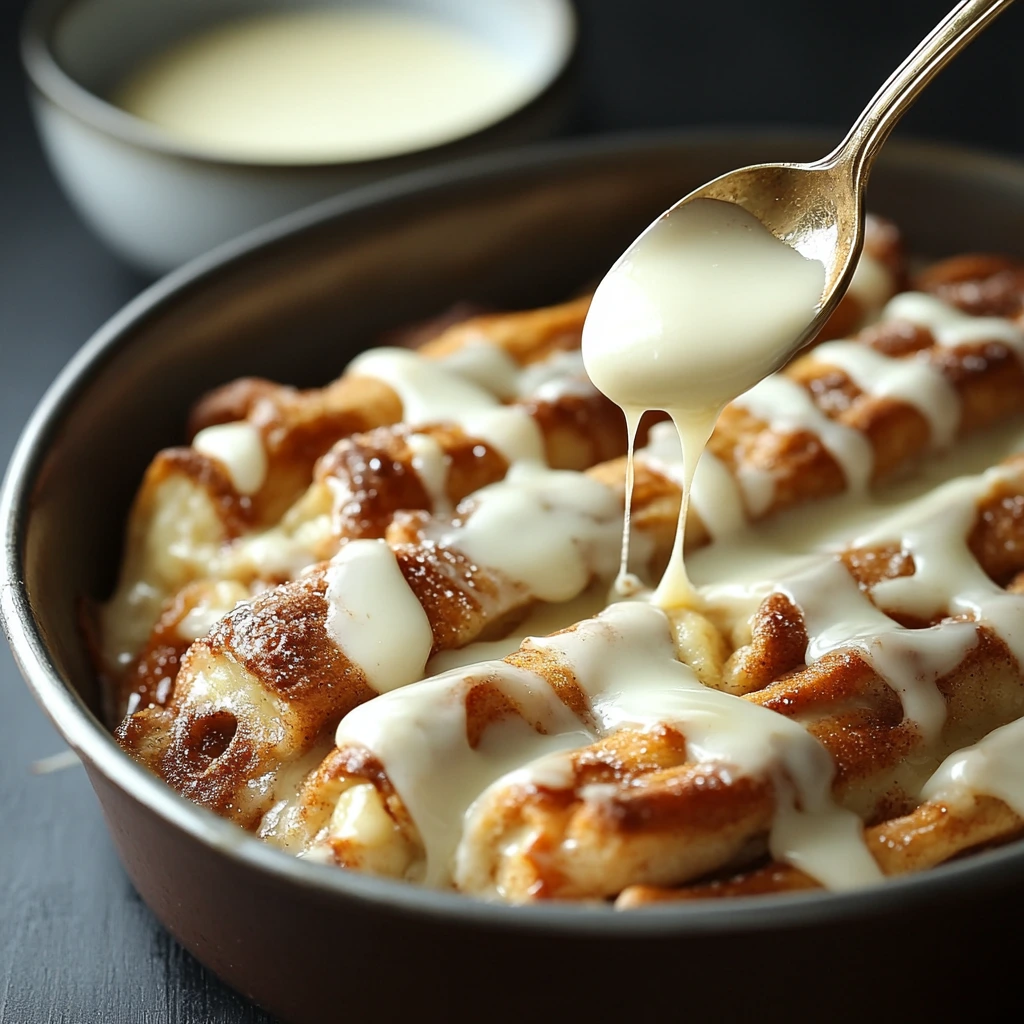
Step 7: Drizzle and Serve
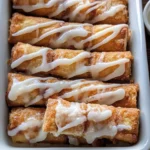
Once your cinnamon sticks have cooled for about 5–10 minutes, drizzle a generous amount of icing right over the top. I like to reserve a good portion of the icing in a small bowl for dipping, too. There’s something so satisfying about that warm cinnamon stick meeting that cool, creamy icing.
Helpful Tips for the Best Cinnamon Sticks
1. Use store-bought or homemade dough:
This recipe calls for refrigerated pizza dough tubes because they’re quick and easy, but if you prefer homemade pizza dough (or even store-bought from the deli section), go for it! Just be sure it’s rolled out to a similar thickness.
2. Don’t skip the buttering step:
That initial layer of butter in the baking dish helps the sugar mixture form a sweet, slightly caramelized crust underneath. It also prevents sticking, which is key for getting those sticks out cleanly.
3. Let the dough rest before rolling:
Cold dough can be stubborn and stretchy. Letting it sit at room temp for 10–15 minutes makes it much easier to roll and shape without tearing.
4. Customize your icing:
Want a little extra flair? Try adding a pinch of cinnamon or nutmeg to the icing for added spice, or a splash of maple extract for a fall-inspired twist.
5. Make ahead and reheat:
While these are best fresh from the oven, leftovers store well in an airtight container. Just pop them in the microwave for 10–15 seconds to bring back that soft, warm texture.
FAQ and Final Thoughts on These Copycat Pizza Hut Cinnamon Sticks
Before you grab your apron and dive into this cinnamon-sugar masterpiece, let’s wrap things up with some of the most common questions I get about these cinnamon sticks. Whether it’s about making them ahead of time, substituting ingredients, or storing leftovers, I’ve got you covered. After that, we’ll finish up with a few final thoughts to inspire you to try these out for yourself.
FREQUENTLY ASKED QUESTIONS
1. Can I use homemade pizza dough instead of store-bought?
Absolutely! If you have a favorite homemade pizza dough recipe, it works great here. Just make sure to roll it out to fit your 9×13 baking dish and aim for a similar thickness to keep the baking time consistent.
2. What’s the best way to reheat leftovers?
The easiest way is to pop a few sticks in the microwave for 10–15 seconds. If you want to crisp them up a bit, use a toaster oven or standard oven at 300°F for about 5 minutes. Always store leftovers in an airtight container at room temperature or in the fridge if you’ve already added the icing.
3. Can I make these cinnamon sticks ahead of time?
You can prep the dough, add the toppings, and refrigerate the dish (unbaked) for a few hours ahead of time. When you’re ready, bring it to room temp for about 10–15 minutes and then bake as directed. The icing can also be made ahead and stored in the fridge—just give it a stir before using.
4. Can I make them dairy-free?
Yes! Swap the butter for a plant-based version and use your favorite non-dairy milk (like almond or oat) in the icing. They’ll still be sweet, buttery, and completely delicious.
5. Why use clear vanilla extract in the icing?
Clear vanilla keeps the icing bright white, which looks more like the original Pizza Hut version. But if you only have regular vanilla extract, go ahead and use it—the flavor will be just as tasty.
6. Can I freeze the cinnamon sticks?
Yes, you can freeze them (preferably without icing). Once baked and cooled, place them in a freezer-safe bag or container. Reheat in the oven until warmed through and drizzle with fresh icing.
7. How do I keep the sticks from sticking together when cutting the dough?
Make sure you press the dough evenly into the dish, and don’t worry if the slices close up a little during baking—that’s normal. Use a pizza cutter or sharp knife to separate them after baking if needed.
FINAL THOUGHTS: BRINGING THE CINNABON VIBES HOME
There’s something so satisfying about making a dessert that feels like it came from a favorite restaurant, especially when it’s this easy. These copycat Pizza Hut cinnamon sticks deliver all the soft, sweet, cinnamon-laced joy you remember—and honestly, they might be even better homemade.
This recipe is a favorite in our house because it’s quick to put together, crowd-pleasing, and seriously comforting. Whether you’re serving it up for a weekend breakfast treat, sharing it with friends at game night, or sneaking a piece after dinner, it’s bound to be a hit.
PrintPizza Hut Cinnamon Sticks
Chicken cobbler is a cozy, crowd-pleasing casserole that layers tender rotisserie chicken and vegetables under a rich biscuit topping and a creamy, savory sauce. The combination of Red Lobster’s Cheddar Bay biscuit mix and a seasoned cream of chicken soup base creates a comfort dish that’s hearty, flavorful, and surprisingly easy to prepare.
- Author: Mark's Recipe
Ingredients
½ cup unsalted butter, melted
3½ to 4 cups shredded rotisserie chicken (white and dark meat)
20 ounces frozen mixed vegetables (corn, peas, and carrots)
11.36 ounces Red Lobster Cheddar Bay Biscuit mix (plus enclosed seasoning packet)
2 cups whole milk
2 cups chicken stock
10.5 ounces cream of chicken soup
½ teaspoon seasoned salt (such as Lawry’s)
½ teaspoon garlic powder
¼ teaspoon black pepper
Instructions
Preheat your oven to 350°F. Pour the melted butter into a 9×13-inch baking dish and tilt the dish to ensure the butter evenly coats the bottom. This step helps prevent sticking and adds rich flavor to the base of the cobbler.
Evenly layer the shredded rotisserie chicken over the butter in the prepared baking dish. Spread the frozen mixed vegetables in an even layer over the chicken, distributing them so every bite gets a mix of textures and flavors.
In a large bowl, whisk together the Cheddar Bay Biscuit mix, the seasoning packet from the box, and whole milk just until combined. Be careful not to overmix the batter, as that can result in a tough or dry biscuit topping.
Gently pour the biscuit batter over the vegetables in the baking dish. Spread it out evenly without stirring the layers. This ensures the topping bakes up tender and golden.
Using the same bowl, whisk together the chicken stock, cream of chicken soup, seasoned salt, garlic powder, and black pepper until smooth and fully combined. Carefully pour this mixture over the biscuit batter in the dish. Do not stir. The layering allows the biscuit mix to rise during baking while the soup mixture forms a savory gravy beneath.
Place the dish in the preheated oven and bake for 55 to 60 minutes. The cobbler is done when the biscuit topping is lightly golden and cooked through, and the edges are bubbling.
Allow the chicken cobbler to rest at room temperature for 10 to 15 minutes after baking. This resting period helps the sauce thicken slightly and makes serving easier.
Notes
Make sure the melted butter touches every corner of the dish to ensure easy serving and boost the cobbler’s overall flavor. For best results, resist the urge to stir the layers together—this technique gives the cobbler its distinct layered structure. Leftovers reheat well and can be stored in an airtight container in the refrigerator for up to 3 days.

")
