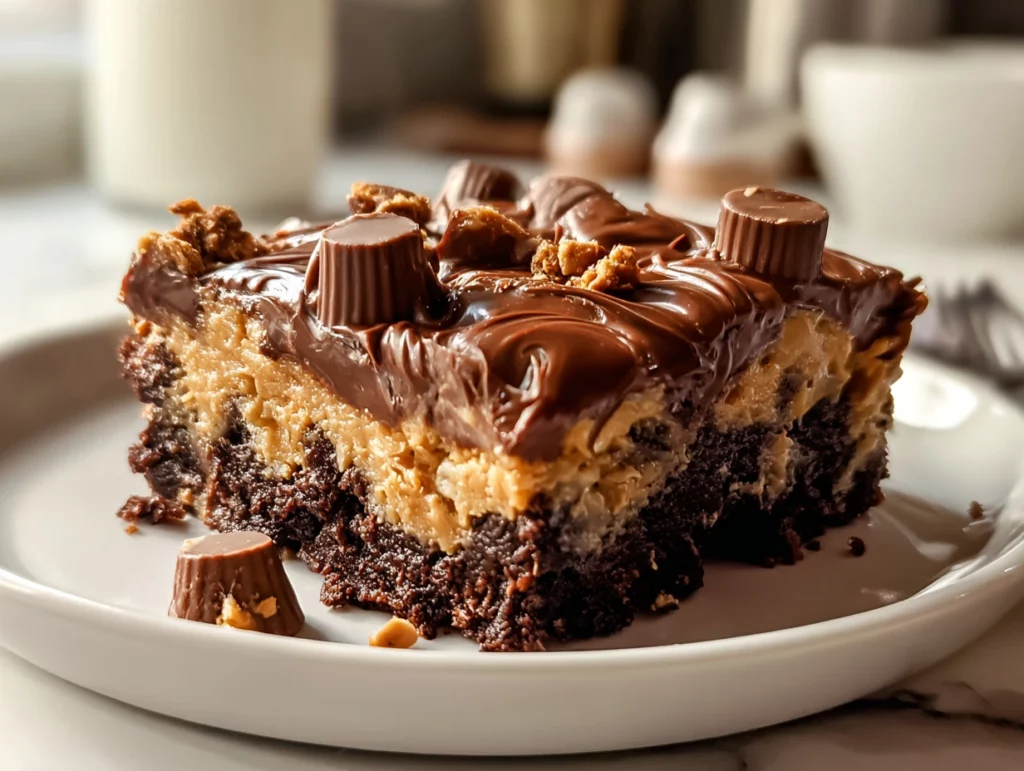
I’ll be honest: sometimes I fall head over heels for recipes that require minimal effort but deliver maximum flavor. That’s exactly why this Peanut Butter Cup Dump Cake has become a go-to in my kitchen. It’s a dessert that feels like a cheat code—no mixing bowls, no electric mixer, and zero fuss. You literally “dump” layers into your baking dish, pop it in the oven, and voilà: a gooey, chocolate-peanut butter masterpiece emerges.
I first stumbled upon the idea of a dump cake when I was juggling work deadlines and a craving for something sweet. The pantry was sparse, but I had a box of chocolate cake mix and a bag of mini peanut butter cups on hand. It felt a bit like a kitchen experiment, but the result was so heavenly that it’s practically become legendary in my friend circle. Every time I serve this to guests, they half-expect me to have spent hours on it—but little do they know, it took me five minutes to assemble.
What’s great about this recipe is its versatility. You can swap out peanut butter cups for chopped Reese’s or fold in chocolate chips if you’re feeling extra indulgent. I’ve even tried stirring in a handful of crushed pretzels for a sweet-and-salty kick, which was a surprising hit. But honestly, the classic combo of rich chocolate cake mix, creamy peanut butter, and those melty candy cups is pure magic.
By the end of this three-part series, you’ll have everything you need—from clear, step-by-step instructions to pro tips and a handy FAQ—to bake this dump cake with total confidence. In Part 1, we’ll cover the essentials: ingredients, prepping your pan, and layering the first few elements so you get that perfect molten center and crusty top.
Before we begin, gather the ingredients below. Having everything measured and within reach will make the “dump” process go smoothly—because trust me, once you start, you won’t want to pause.
-
1 box chocolate cake mix
-
1 box (3.9 oz) instant chocolate pudding mix (dry)
-
2 cups milk
-
1 bag (about 12 oz) mini peanut butter cups, unwrapped
-
½ cup creamy peanut butter, melted
-
1 stick (½ cup) unsalted butter, sliced
Once you’ve double-checked that pantry raid, preheat your oven and prep your baking dish. Ready? Let’s dive into the first steps.
Steps
-
Preheat and Prep the Dish
Set your oven to 350°F (175°C). While it warms up, grab a 9×13-inch baking dish and give it a quick spritz with nonstick cooking spray or a light rub of butter. This little step ensures your dump cake slides out effortlessly once it’s baked and cooled just enough for serving. -
Layer the Pudding Base
Sprinkle the entire contents of the dry chocolate pudding mix evenly across the bottom of your prepared dish. Pour the 2 cups of milk over the pudding powder, then whisk gently right in the dish until the mixture is smooth and free of lumps. This custardy layer will soak into the cake mix later, giving you that irresistible gooey middle. -
Scatter the Peanut Butter Cups
Open the bag of mini peanut butter cups and distribute them evenly over the pudding layer. As they bake, these cups will melt into rivers of nutty sweetness—so don’t be shy about coverage. If you notice any clustered spots, just use your fingers to spread them out for balanced gooeyness in every bite.
Decadent Peanut Butter Cup Dump Cake: Finishing Touches & Baking
Steps
-
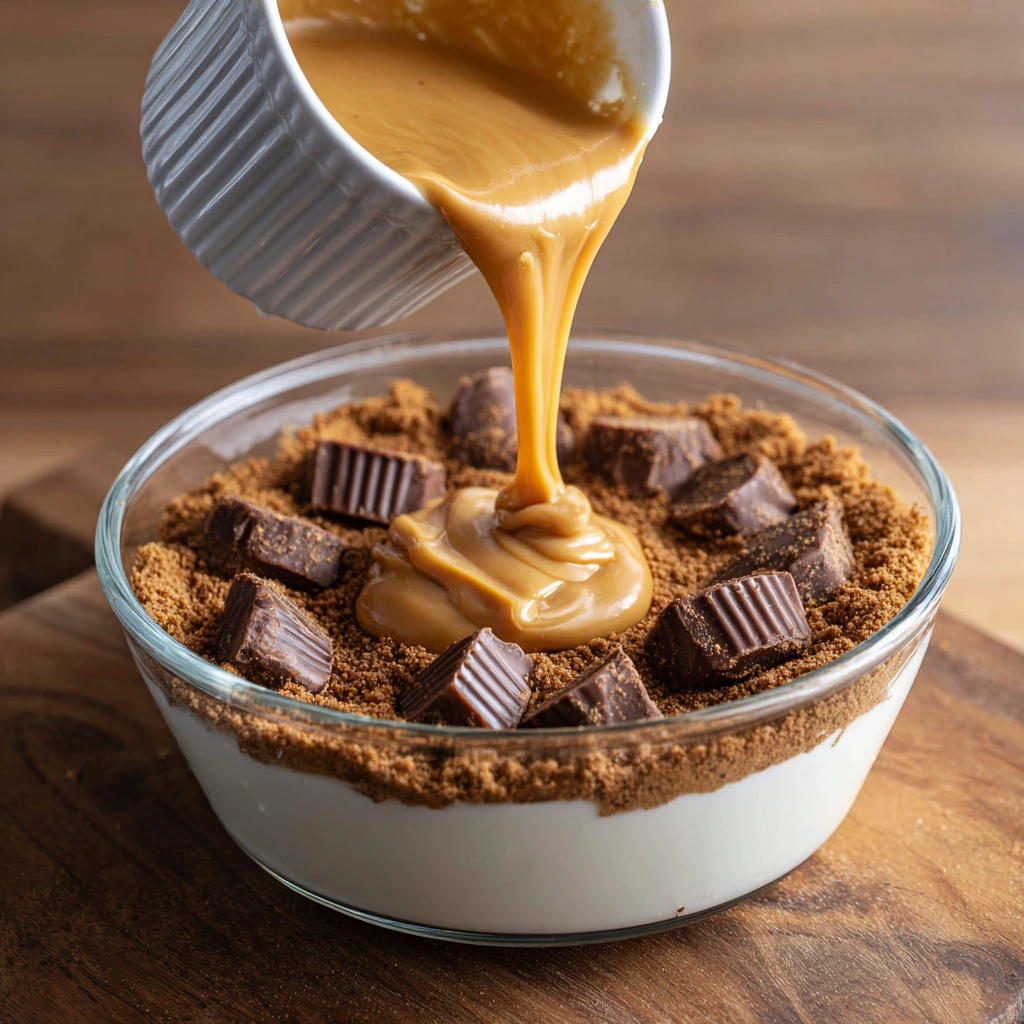
Drizzle the Peanut Butter
Take your melted ½ cup of creamy peanut butter and spoon it in generous drizzles over the peanut butter cups. Try to cover most of the surface without worrying about perfection—those swirls will bake into rich, nutty pockets throughout the cake. -
Sprinkle the Cake Mix
Open the 1 box of dry chocolate cake mix and shake it evenly over the top of the dish. Resist the urge to stir—this is what makes it a true “dump cake.” The cake mix will form a dry layer on top that, once baked, turns into a crackly, golden crust. -
Top with Butter Slices
Divide the ½-cup (1 stick) of unsalted butter into thin slices and lay them evenly over the cake mix. These little pats of butter melt during baking, helping the cake mix hydrate and creating that signature crispy, buttery topping. -
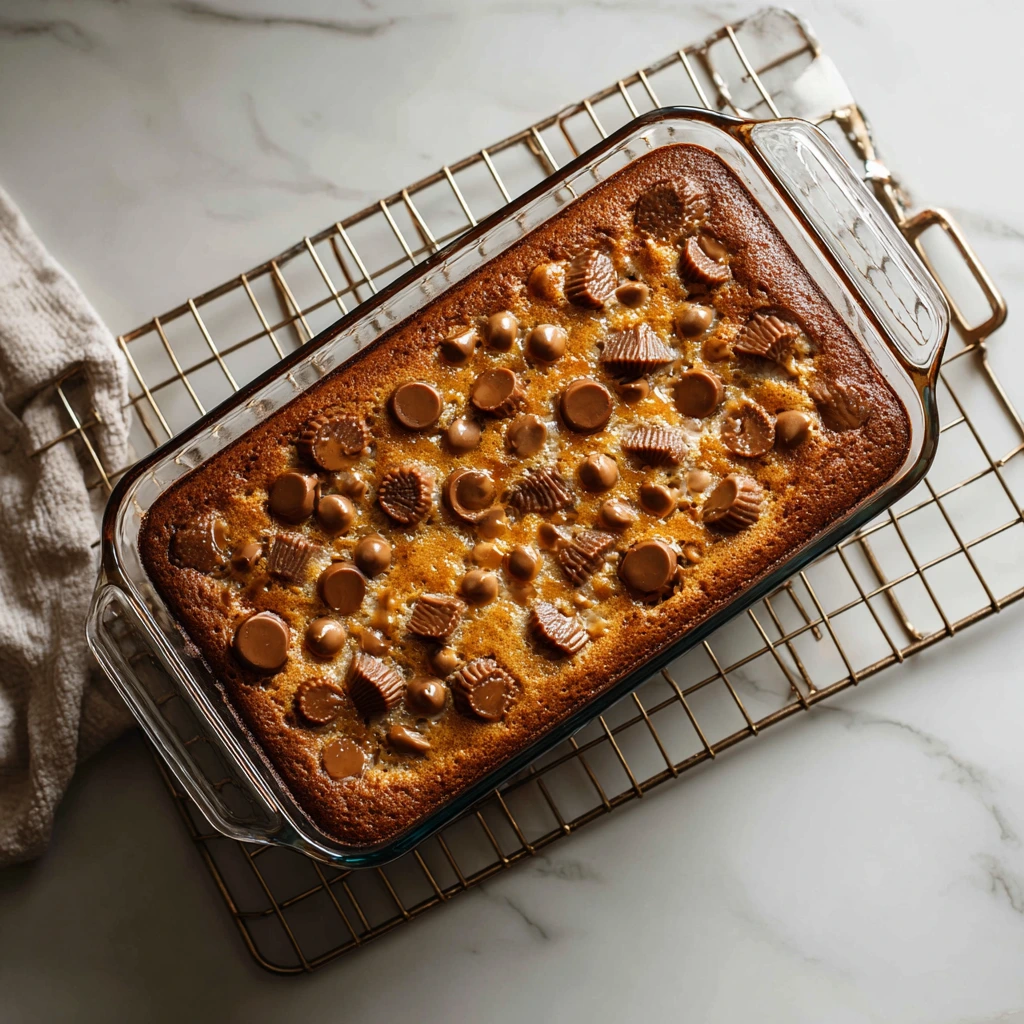
Bake to Perfection
Slide the dish into your preheated 350°F (175°C) oven and bake, uncovered, for 40–45 minutes. You’ll know it’s ready when the top is set and you see bubbling along the edges. A toothpick inserted into the center will come out with moist crumbs but not raw batter. -
Rest Before Serving
Remove from the oven and let the dump cake rest for 10–15 minutes. This brief cooldown lets the pudding and peanut butter layers settle slightly, so every scoop holds together while still delivering those molten chocolate and peanut butter ribbons.
Helpful Tips & Variations
-
Serve Warm with Ice Cream
The contrast of hot cake and cold vanilla ice cream is unbeatable. Scoop a generous portion, top with your favorite ice cream, and watch the magic happen. -
Chocolate Chips or Chopped Nuts
For even more texture and chocolate intensity, sprinkle a handful of semisweet or dark chocolate chips on top before baking. You can also toss on chopped peanuts or salted pretzels for a sweet-and-salty twist. -
Full-Size Peanut Butter Cups
If mini cups aren’t available, roughly chop standard peanut butter cups. You might get larger pockets of peanut butter, which some folks swear by for extra gooeyness. -
Make-Ahead Option
Assemble the dump cake up to the butter-slicing step, cover tightly with foil, and refrigerate overnight. When you’re ready, let it sit at room temperature for 20 minutes and bake as directed, adding an extra 5–10 minutes if it’s cold from the fridge. -
Check Doneness Early
Ovens can vary. Begin checking at 35 minutes if yours tends to run hot, or leave it for the full 45 if you prefer a firmer top. Look for that telltale golden crust and bubbling edges. -
Avoid Soggy Bottoms
If you notice the pudding layer isn’t absorbing well, gently tilt the dish after about 20 minutes of baking to redistribute melted butter and moisture. This keeps the top crisp and the center gooey. -
Flavor Twists
-
Swap chocolate pudding mix for peanut butter-flavored instant pudding.
-
Add a teaspoon of espresso powder to the milk for a mocha undertone.
-
Stir a teaspoon of cinnamon into the cake mix for a subtle warmth.
-
Frequently Asked Questions
Q1: Can I use a different size baking dish?
A1: Yes. This recipe is designed for a 9×13-inch pan because it balances depth and bake time. If you use a smaller dish (for example, 8×8 inches), expect the cake to be thicker and you’ll need to increase baking time by 10–15 minutes, checking for bubbling edges and a set top. For a larger dish, reduce bake time slightly to avoid over-browning.
Q2: My top browned too quickly—how can I prevent that?
A2: If you notice the crust getting too dark in the last 10 minutes, tent the dish loosely with aluminum foil. The foil shields the top from direct heat but still lets the pudding layer finish bubbling. Remove the foil for the final 5 minutes so the crust firms up nicely.
Q3: The center was too runny—what did I do wrong?
A3: A gooey center is part of this dump cake’s charm, but if it’s underbaked, it can feel soupy. Make sure your oven is properly preheated to 350°F (175°C). Bake for the full 40–45 minutes, and test doneness with a toothpick: you want moist crumbs, not raw batter. If necessary, bake an extra 5 minutes, especially if you refrigerated the assembled dish before baking.
Q4: Can I make this gluten-free?
A4: Absolutely. Swap the chocolate cake mix for a gluten-free variety and use a certified gluten-free instant pudding. Ensure your peanut butter cups are labeled gluten-free (some candy brands add wheat starch). The bake time and method remain the same.
Q5: How should I store leftovers?
A5: Cover the cooled dish tightly with plastic wrap or transfer portions to an airtight container. Store in the refrigerator for up to 4 days. To reheat, microwave individual servings for 20–30 seconds or warm the whole dish at 300°F (150°C) for 10–15 minutes until heated through.
Q6: Can I freeze the dump cake?
A6: Yes—this dessert freezes beautifully. Once completely cooled, wrap the dish in two layers of foil or scoop portions into freezer-safe containers. Freeze for up to 2 months. Thaw overnight in the refrigerator and reheat as above.
Q7: My peanut butter drizzles sank—how do I keep them on top?
A7: For a more pronounced swirl, let the melted peanut butter cool for 2–3 minutes so it thickens slightly before drizzling. A slightly thicker consistency clings to the cake mix longer and bakes into decorative ribbons rather than sinking straight through.
Conclusion
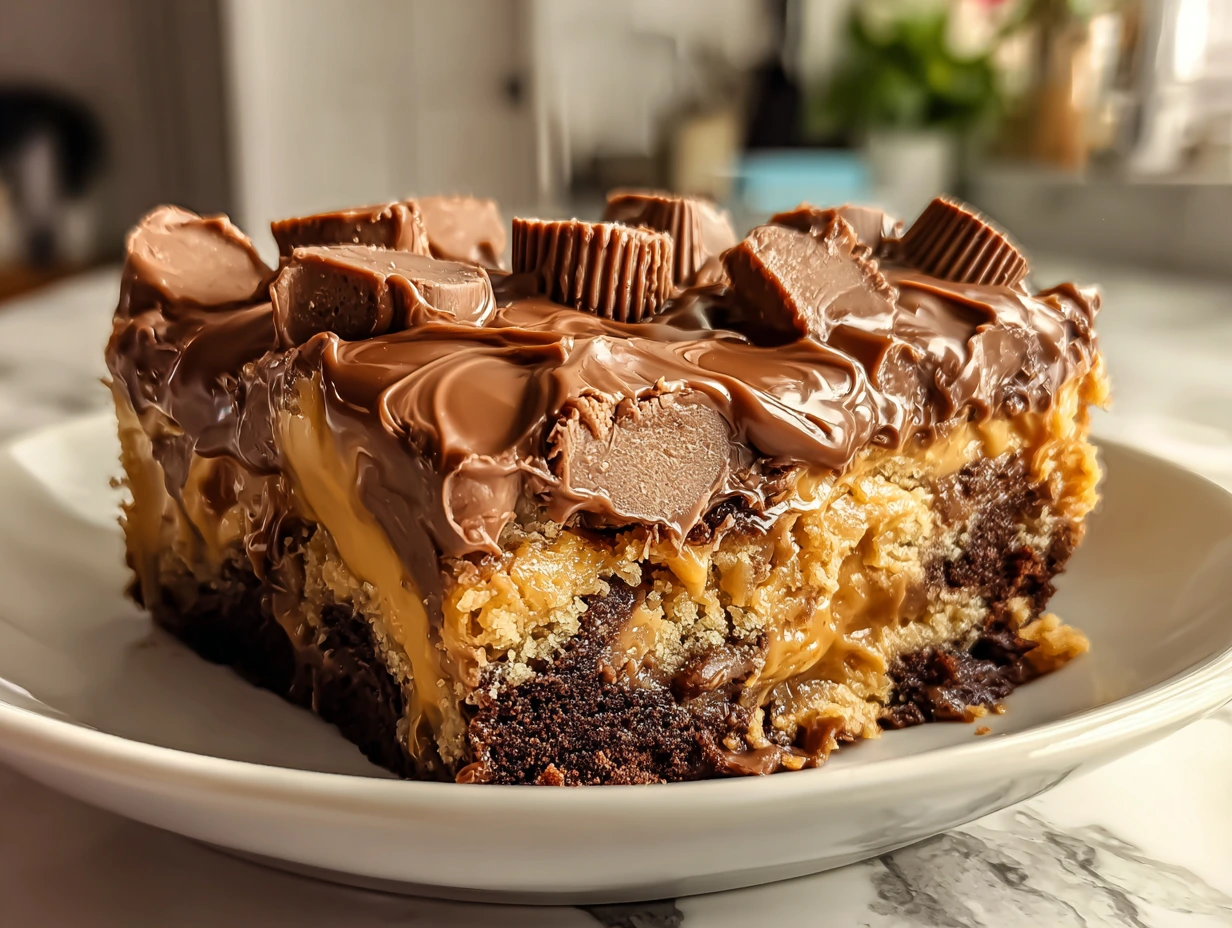
And there you have it: your foolproof guide to the most indulgent Peanut Butter Cup Dump Cake you’ll ever bake. From the moment you whisk pudding mix directly in the pan to those final buttery slices browning into a crackly top, this recipe proves that simple can be sensational. Whether you’re feeding a hungry crowd or sneaking a slice after dinner, the combination of melty chocolate and creamy peanut butter never disappoints.
Give it a try this weekend—warm from the oven with a scoop of vanilla ice cream is my absolute favorite way to enjoy it. If you experiment with any of the variations (mocha powder, salted pretzels, or gluten-free swaps), I’d love to hear how they turn out. Drop a comment below and share your tips, tricks, or any mouthwatering photos. Happy baking!
PrintPeanut Butter Cup Dump Cake
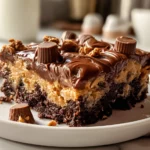
Peanut Butter Cup Dump Cake is a decadent, no-fuss dessert that’s packed with rich chocolate and gooey peanut butter goodness. With layers of chocolate cake mix, peanut butter cups, and a buttery finish, it’s baked to perfection without any mixing required. Perfect for potlucks, parties, or a quick sweet fix.
- Author: Mark's Recipe
Ingredients
1 box chocolate cake mix
1 box (3.9 oz) instant chocolate pudding mix (dry)
2 cups milk
1 bag (about 12 oz) mini peanut butter cups, unwrapped
½ cup creamy peanut butter, melted
1 stick (½ cup) unsalted butter, sliced
Optional: chocolate chips or chopped peanuts for topping
Instructions
1️⃣ Preheat the oven: Set your oven to 350°F (175°C) and lightly grease a 9×13-inch baking dish.
2️⃣ Layer the base: Pour the dry chocolate pudding mix into the baking dish. Add the milk and whisk or stir to combine directly in the dish.
3️⃣ Add peanut butter cups: Scatter the mini peanut butter cups evenly over the pudding layer.
4️⃣ Add peanut butter and cake mix: Drizzle melted peanut butter over the top. Then sprinkle the dry chocolate cake mix evenly across the entire dish—do not mix.
5️⃣ Add butter: Place the butter slices evenly over the top of the cake mix to help it bake evenly and develop a rich, crusty top.
6️⃣ Bake: Bake for 40–45 minutes, or until the top is set and bubbly around the edges. Let it cool slightly before serving.
Notes
This dump cake is best served warm, optionally with a scoop of vanilla ice cream. You can swap mini peanut butter cups for chopped full-size ones or add chocolate chips for extra richness. Refrigerate leftovers and reheat briefly before serving.

")
