If you’re anything like me, you probably have a few recipes tucked away in your mental cookbook for when unexpected guests pop in or you need a last-minute dessert for a gathering. That’s exactly where this No-Bake Cherry Cheesecake Dip comes in—it’s sweet, creamy, and absolutely effortless to throw together. And let me just say, every time I bring this dip to a potluck or party, it disappears fast. Like, shockingly fast.
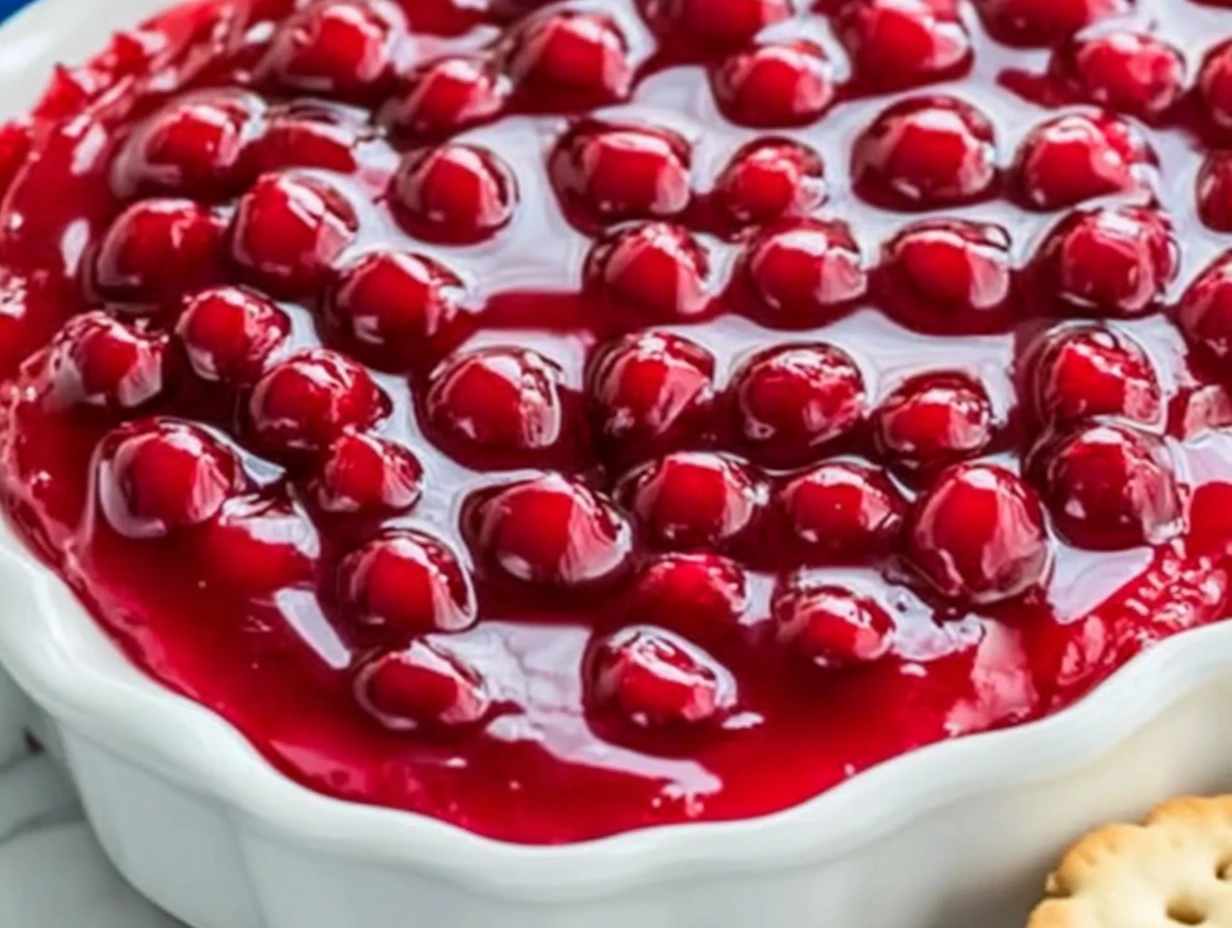
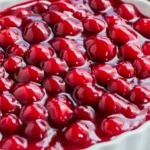
What makes this dessert extra special is that it takes all the creamy, tangy goodness of a traditional cheesecake and turns it into a fun, sharable dip. There’s no baking, no water bath, no fuss. It’s just rich cream cheese whipped into fluffy perfection, topped with glossy cherry pie filling, and served with whatever dippers your heart desires (though graham crackers are a classic for a reason!).
I remember the first time I made this—it was the night before a family BBQ, and I had completely forgotten I promised to bring dessert. With a few simple ingredients I had on hand, I whipped this up in about 10 minutes, popped it in the fridge, and hoped for the best. Let’s just say I barely made it back to the table with the dish before everyone started scooping it up. It’s been a go-to ever since.
So, whether you’re hosting a party, planning a family game night, or just want something sweet without turning on the oven, this is your new best friend. Let’s dive into the easy steps.
Ingredients You’ll Need
-
8 ounces cream cheese, softened
-
1 cup powdered sugar
-
1 teaspoon vanilla extract
-
1 ½ cups whipped topping (such as Cool Whip)
-
1 can (21 ounces) cherry pie filling
-
Graham crackers, vanilla wafers, or fresh fruit for dipping
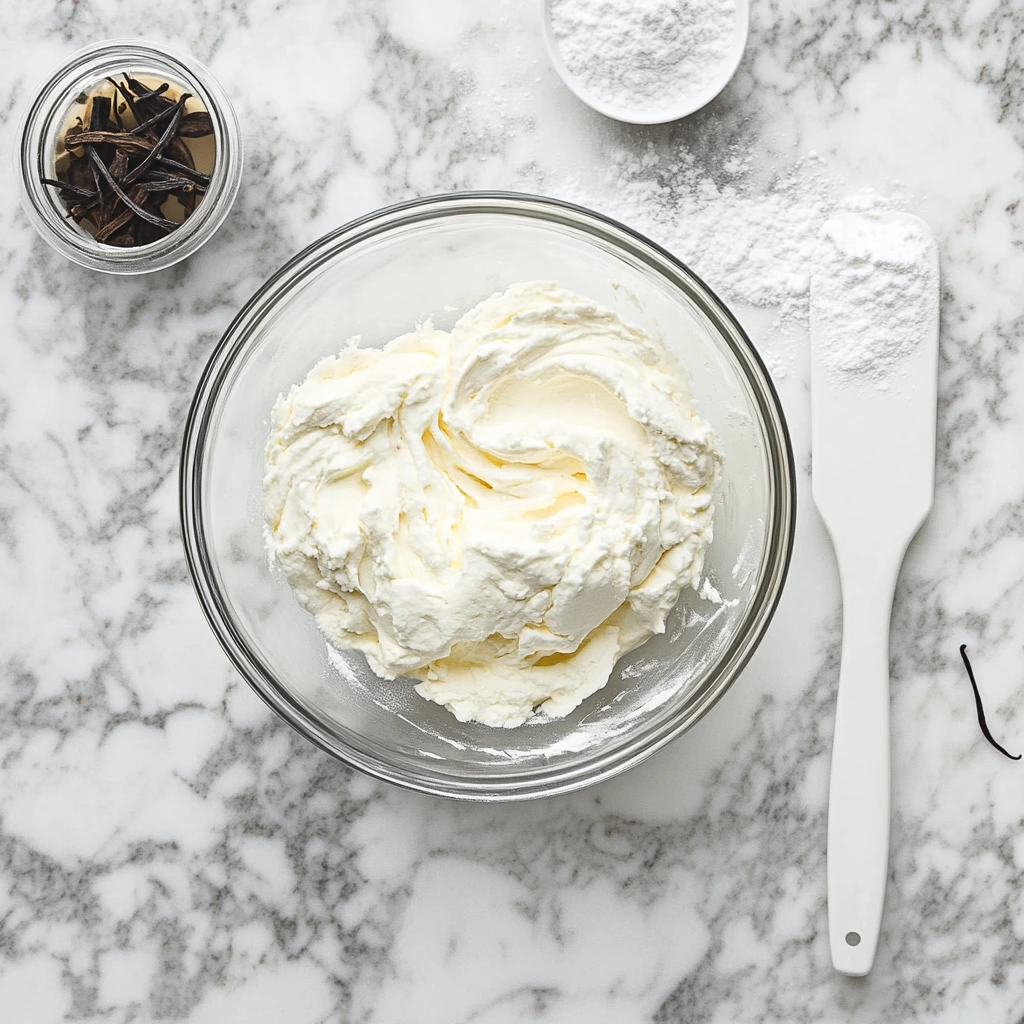
STEP 1: Beat the Cream Cheese
Start by grabbing a medium-sized mixing bowl and adding in the softened cream cheese. Use a hand mixer to beat it until it’s smooth and fluffy. This usually takes about 2 to 3 minutes, and it’s important to make sure there are no lumps—smoothness here sets the tone for the rest of the dip.
Tip: If you forgot to leave your cream cheese out to soften, a quick trick is to microwave it (unwrapped and on a plate) in 10-second intervals until it’s soft to the touch but not melted.
STEP 2: Mix in the Sugar and Vanilla
Once your cream cheese is nice and fluffy, add in the powdered sugar and vanilla extract. Continue mixing until everything is well combined and silky smooth. You should see the mixture lighten in color and texture—that’s when you know it’s just right.
Why powdered sugar? It blends more easily than granulated sugar, giving the dip that dreamy, velvety texture you want in every bite.
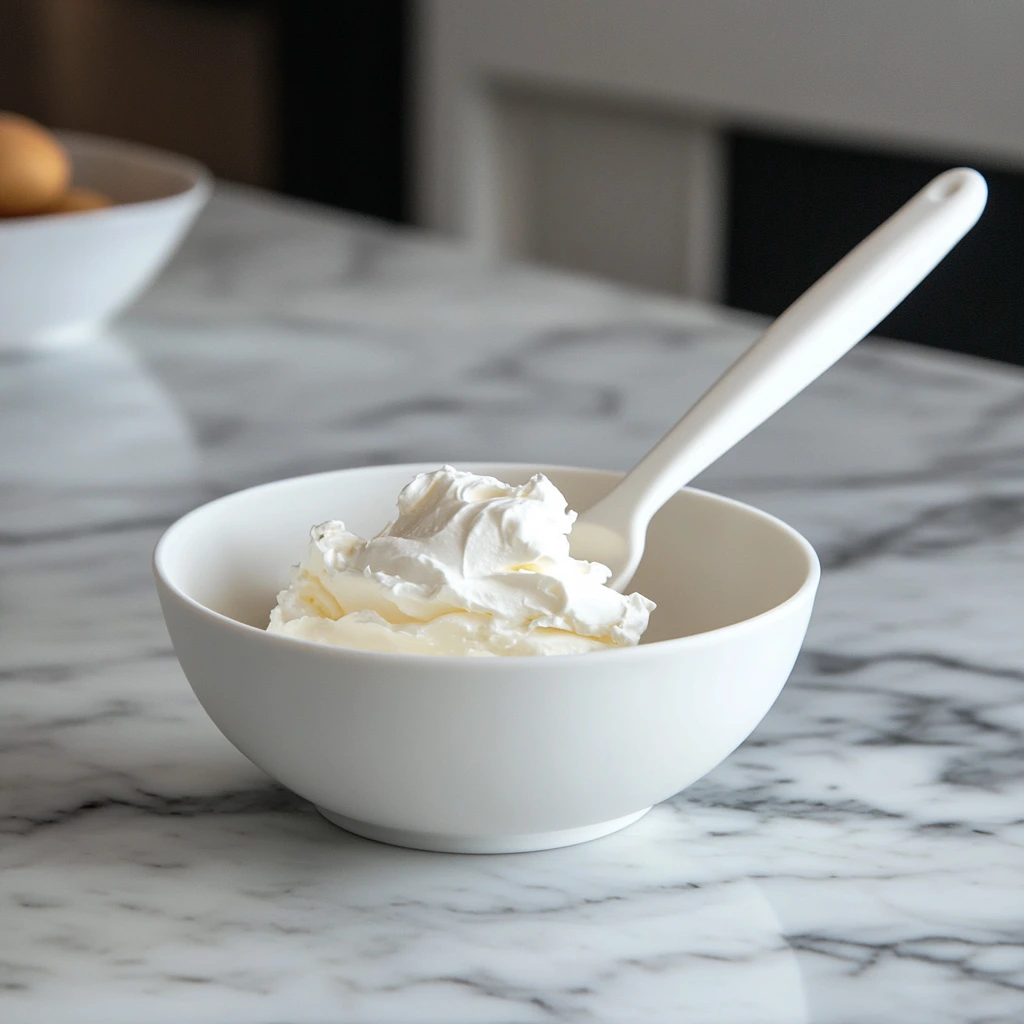
STEP 3: Fold in the Whipped Topping
Next, gently fold in the whipped topping using a spatula. Try not to overmix here—you want to keep all that lovely airiness in the whipped topping to create a light and creamy cheesecake base. It should be smooth, fluffy, and spoon-licking good at this point (yes, I always taste test!).
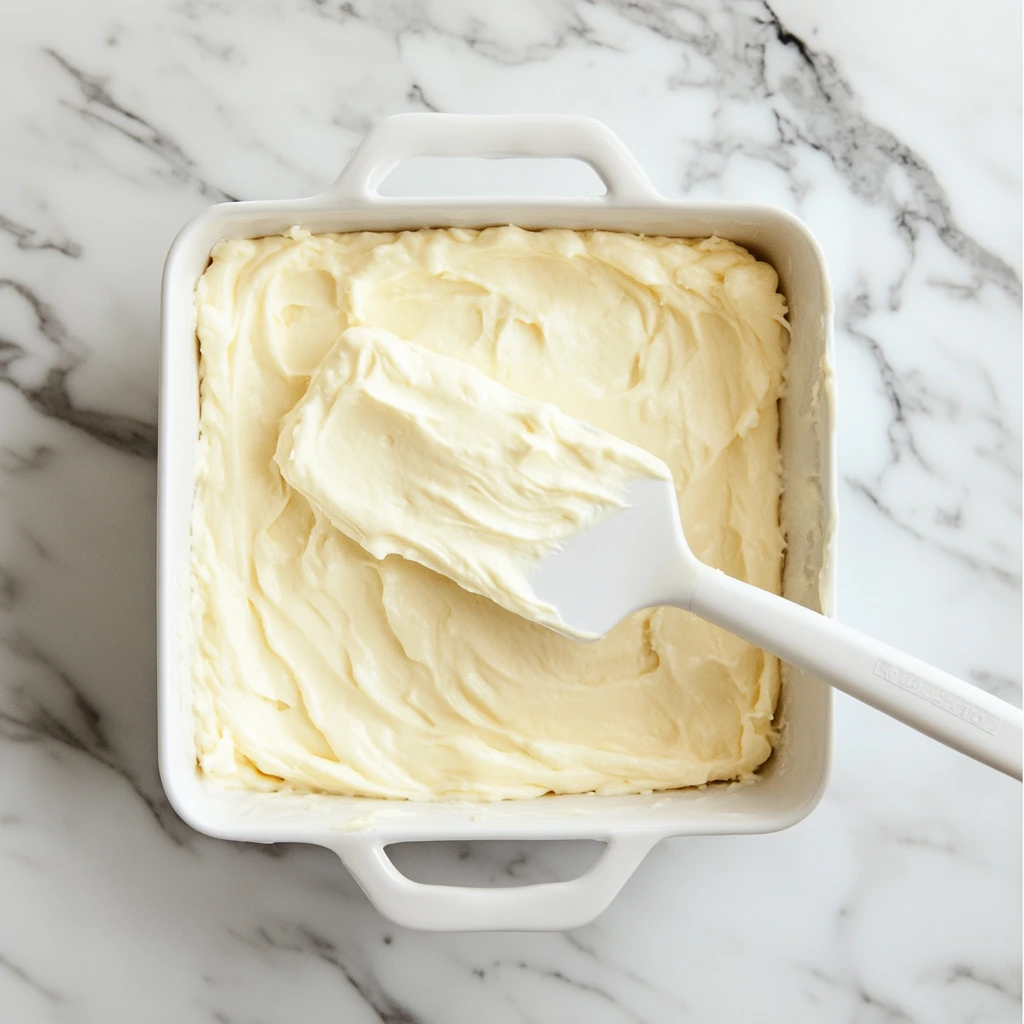
STEP 4: Spread It Out
Now it’s time to transfer the cheesecake mixture into your serving dish. A shallow pie dish, an 8×8 baking dish, or even a cute trifle bowl works great here. Spread the mixture evenly with a spatula to create a smooth layer—it doesn’t have to be perfect, but we’re going for even coverage so every bite gets some love.
Topping, Serving, and Customization Tips
Now that we’ve built the creamy, dreamy cheesecake base in Part 1, it’s time to take this dessert to the next level. This is where things get really exciting—the cherry on top, quite literally. But before we dig in (with graham crackers in hand), let’s finish off the last few steps and talk about some fun ways to switch things up depending on your mood, occasion, or what’s hanging out in your pantry.
Whether you’re making this dip ahead for a big family dinner or assembling it just before guests arrive, it’s designed to be stress-free. And honestly, that’s one of the best things about it—it looks beautiful, tastes decadent, and yet it takes almost no effort. You could be wrangling kids, finishing up dinner, or still in your pajamas and still pull this off like a pro.
So let’s put the final touches on your No-Bake Cherry Cheesecake Dip and dive into some helpful tips and variations you’re definitely going to want to try.

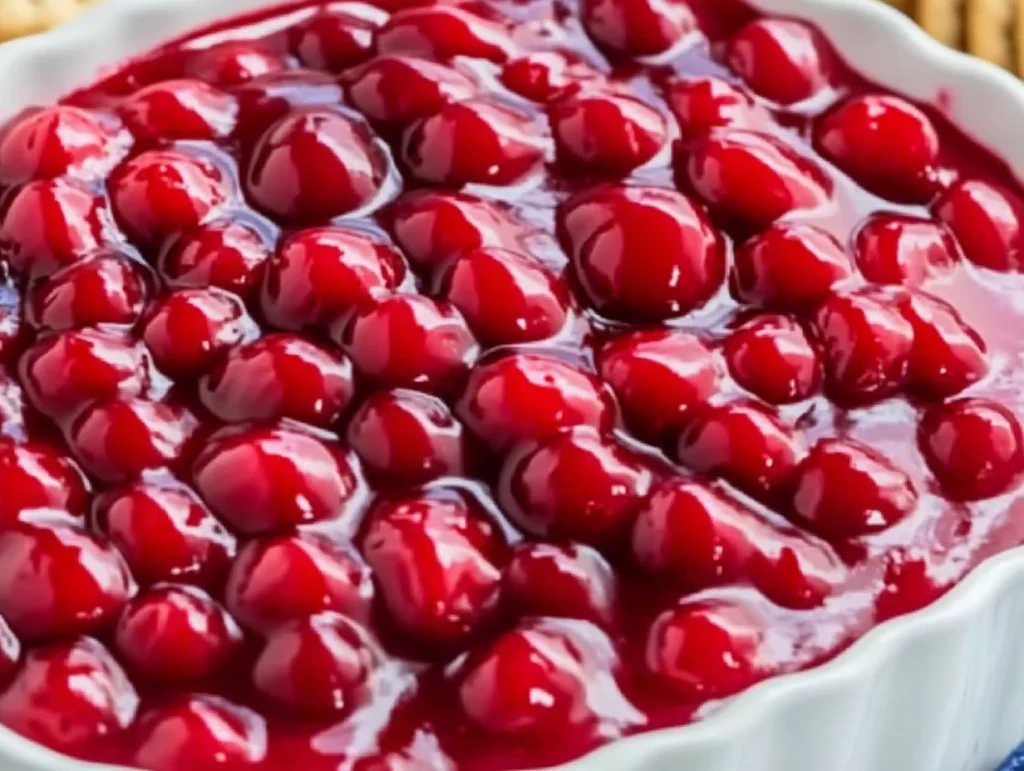
STEP 5: Add the Cherry Pie Filling
Grab your can of cherry pie filling and spoon it over the top of the cheesecake layer you just smoothed out. Use the back of a spoon or a small offset spatula to gently spread it across the surface. Try to cover the entire top evenly, but don’t worry about perfection—it’s meant to look inviting and rustic.
Pro Tip: Want a cleaner finish? Chill the cheesecake layer for about 15 minutes before adding the topping. This helps prevent any mixing between the layers and gives a more defined look when you spoon through it later.
STEP 6: Chill Before Serving
Technically, you could dive in right away—but giving your dip at least 30 minutes in the fridge makes a big difference. The flavors get a chance to meld together, and the texture firms up just a bit for easier dipping. Plus, it gives you time to prep your dippers and set the table.
If you’re planning ahead, this dip can easily be made a day in advance. Just cover it tightly with plastic wrap and refrigerate until you’re ready to serve.
Serving Suggestions
Now for the fun part: choosing your dippers. While graham crackers are the classic go-to (and for good reason—they taste like crust and dessert all at once), there are so many tasty options that pair perfectly with this dip. Here are a few of my favorites:
-
Graham crackers: The classic. Crunchy, sweet, and always dependable.
-
Vanilla wafers: These add a lovely soft bite that contrasts with the creamy dip.
-
Fresh fruit: Think strawberries, apple slices, or even pineapple chunks. The fresh, juicy flavors work beautifully with the richness of the cheesecake.
-
Shortbread cookies: For an indulgent touch. Buttery and delicate, they feel extra fancy.
-
Pretzels: Sweet and salty? Yes, please. The contrast is addictive.
Tasty Variations to Try
While cherry is a classic topping, don’t be afraid to mix things up. This cheesecake dip is incredibly adaptable, and switching up the fruit topping gives it a whole new personality.
-
Blueberry Pie Filling: A rich, jammy option with deep flavor.
-
Strawberry Topping: Bright, sweet, and perfect for spring or summer events.
-
Apple Pie Filling with a dash of cinnamon: Hello, fall dessert dreams!
-
Lemon Curd: Tangy and fresh—this makes for a sophisticated twist.
You can also switch up the base if you’re feeling adventurous. Try adding a little lemon zest to the cream cheese mixture for brightness, or swirl in a touch of melted white chocolate for an extra indulgent treat.
Make It a Little Fancy
If you’re serving this at a gathering and want to elevate the presentation a bit, here are a couple easy tricks:
-
Mini Servings: Spoon the dip into small clear cups or jars for individual portions—great for buffets or parties.
-
Graham Cracker Crust Layer: Add a layer of crushed graham crackers mixed with melted butter (just like a cheesecake crust) at the bottom of your dish before spreading in the cheesecake mixture. It adds crunch and depth of flavor.
-
Whipped Cream Rosettes: A few decorative dollops of whipped cream on top can make this dish look party-ready with minimal effort.
FAQs & Final Thoughts
At this point, you’re probably imagining that first sweet, creamy, cherry-filled bite—and honestly, who could blame you? This No-Bake Cherry Cheesecake Dip is one of those simple recipes that somehow feels a little extra special. It’s rich and velvety, perfectly sweet, and always a crowd-pleaser, no matter the season.
But before you head off to the kitchen to whip up a batch, let’s take a quick moment to answer a few of the most common questions readers have about this recipe. Whether you’re wondering about storage, substitutions, or how to prep ahead for a party, I’ve got you covered.
FAQ: No-Bake Cherry Cheesecake Dip
1. Can I make this dip ahead of time?
Absolutely! This dip actually tastes even better when it’s had some time to chill. You can prepare it up to 24 hours in advance. Just keep it covered in the refrigerator until you’re ready to serve.
2. What can I use instead of Cool Whip?
If you prefer not to use a store-bought whipped topping, you can make your own by whipping 1 cup of heavy cream with 2 tablespoons of powdered sugar until stiff peaks form. Just be sure to gently fold it in so the mixture stays light and fluffy.
3. Can I freeze this cheesecake dip?
Freezing isn’t recommended for this dip. The texture can change quite a bit when thawed, especially because of the whipped topping and cream cheese. It’s best enjoyed fresh or within a day or two of making it.
4. Can I use low-fat cream cheese or whipped topping?
Yes, you can. Just note that the texture might be a bit lighter and slightly less rich, but it’ll still taste great. Make sure your cream cheese is fully softened to avoid lumps.
5. What other toppings can I use besides cherry?
This dip is super versatile. Try blueberry or strawberry pie filling, lemon curd, apple pie filling with a dash of cinnamon, or even a chocolate drizzle with mini chocolate chips.
6. How long can this dip sit out during a party?
Since it contains dairy, try to keep it chilled as much as possible. If it’s going to sit out, it’s safest to keep it out for no longer than 2 hours at room temperature. You can nestle the serving dish in a larger bowl of ice to help keep it cool longer.
7. Can I add a graham cracker crust to the bottom?
Definitely! Mix 1 cup of crushed graham crackers with 2 tablespoons of melted butter, press it into the bottom of your dish, and chill for 10 minutes before adding the cheesecake mixture. It adds a delicious crunch and that classic cheesecake flavor.
Final Thoughts: Why You’ll Keep Coming Back to This Dip
There’s just something about this No-Bake Cherry Cheesecake Dip that keeps people coming back for seconds (and thirds). Maybe it’s the way the creamy base and sweet cherry topping pair so perfectly. Maybe it’s how ridiculously easy it is to throw together with minimal ingredients and almost no prep. Or maybe it’s because it reminds us of a slice of homemade cheesecake—just in dip form.
For me, it’s a recipe that lives in my back pocket for good reason. It’s a lifesaver during the holidays when oven space is tight, a hit at summer BBQs when you need a no-bake dessert, and the perfect make-ahead treat when you’re short on time but still want to impress.
PrintNo-Bake Cherry Cheesecake Dip
This No-Bake Cherry Cheesecake Dip is a creamy, sweet, and tangy dessert that’s incredibly easy to whip up in just minutes. With a smooth cream cheese base and a luscious cherry pie topping, it’s perfect for parties, holidays, or whenever you’re craving a quick, crowd-pleasing treat. Serve it with graham crackers, vanilla wafers, or fresh fruit for dipping.
- Author: Mark's Recipe
Ingredients
8 ounces cream cheese, softened
1 cup powdered sugar
1 teaspoon vanilla extract
1 ½ cups whipped topping (such as Cool Whip)
1 can (21 ounces) cherry pie filling
Graham crackers, vanilla wafers, or fruit for serving
Instructions
In a medium bowl, beat the cream cheese until smooth and fluffy using a hand mixer.
Add the powdered sugar and vanilla extract, and continue mixing until fully combined and smooth.
Gently fold in the whipped topping until the mixture is light and creamy.
Spread the cheesecake mixture evenly into a serving dish.
Spoon the cherry pie filling over the top, spreading it out to cover the entire surface.
Refrigerate for at least 30 minutes before serving to allow the dip to firm up slightly and flavors to meld.
Serve chilled with your favorite dippers.
Notes
This dip can be made a day in advance and stored covered in the refrigerator. Try using other fruit toppings like blueberry or strawberry pie filling for variation. For a more indulgent version, add a layer of crushed graham crackers at the bottom of the dish. This dip is rich, so small servings go a long way—perfect for feeding a crowd.

")
