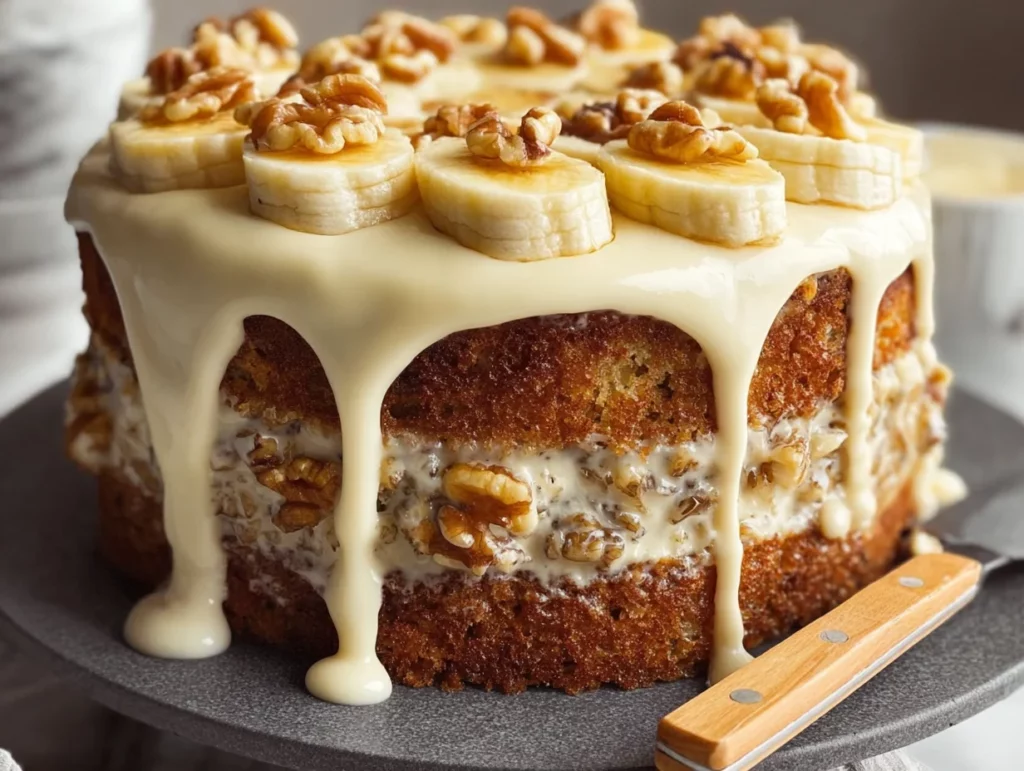
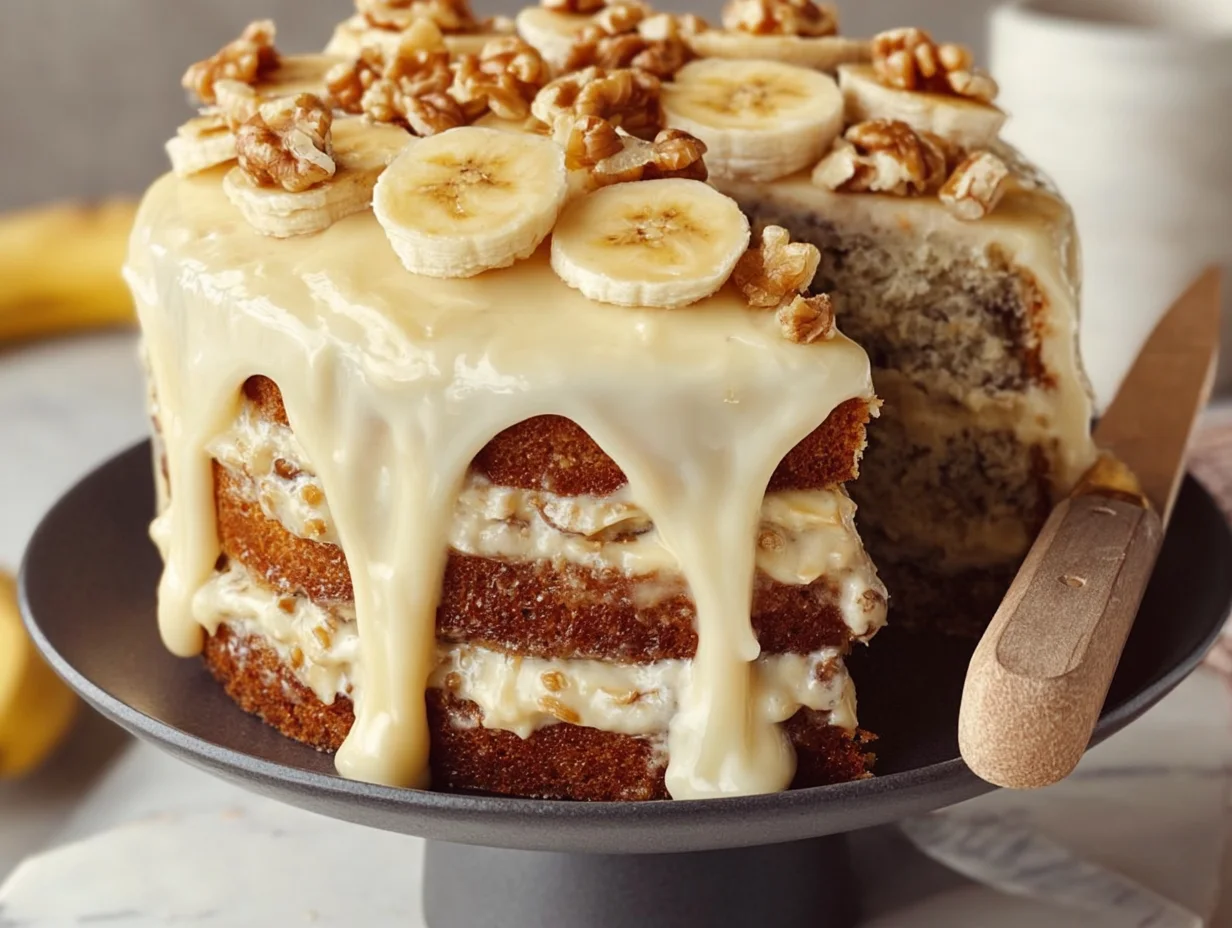
If you’re anything like me, you probably keep a couple of overripe bananas hanging around on your counter, waiting for the perfect baking opportunity. And trust me when I say—this is that opportunity. This Heavenly Banana Walnut Cream Cake is everything its name promises: moist, nutty banana cake layers sandwiched with a light, fluffy whipped cream filling (or cream cheese whipped cream, if you’re into that slight tanginess). It’s the kind of cake that’s simple enough for a cozy weekend bake but special enough to grace the dessert table at birthdays, showers, or holidays.
I first made this on a lazy Saturday afternoon when I realized I had bananas that were one day away from turning into compost. I wasn’t in the mood for the usual banana bread, and I was craving something layered, creamy, and a little indulgent. So I dug through my pantry, pulled out some walnuts, heavy cream, and sour cream—and this cake was born. One bite and I was hooked. It’s sweet without being over-the-top, with just enough texture from the chopped walnuts to keep things interesting. Plus, the cream filling? Pure heaven.
Whether you’re baking for a crowd or just need a dessert that feels a little more special, this banana walnut cake is a must-try. Let’s get into it!
Ingredients You’ll Need
For the Banana Cake:
-
2 ripe bananas, mashed
-
2 cups all-purpose flour
-
1 teaspoon baking soda
-
½ teaspoon baking powder
-
½ teaspoon salt
-
½ teaspoon ground cinnamon
-
½ cup unsalted butter, softened
-
¾ cup granulated sugar
-
2 large eggs
-
1 teaspoon vanilla extract
-
½ cup sour cream
-
½ cup chopped walnuts
For the Cream Filling:
-
1 cup heavy whipping cream
-
2 tablespoons powdered sugar
-
1 teaspoon vanilla extract
-
Optional: ½ cup softened cream cheese (for a tangier, thicker filling)
For Topping and Garnish:
-
¼ cup chopped walnuts
-
Optional: Sliced banana or white chocolate shavings
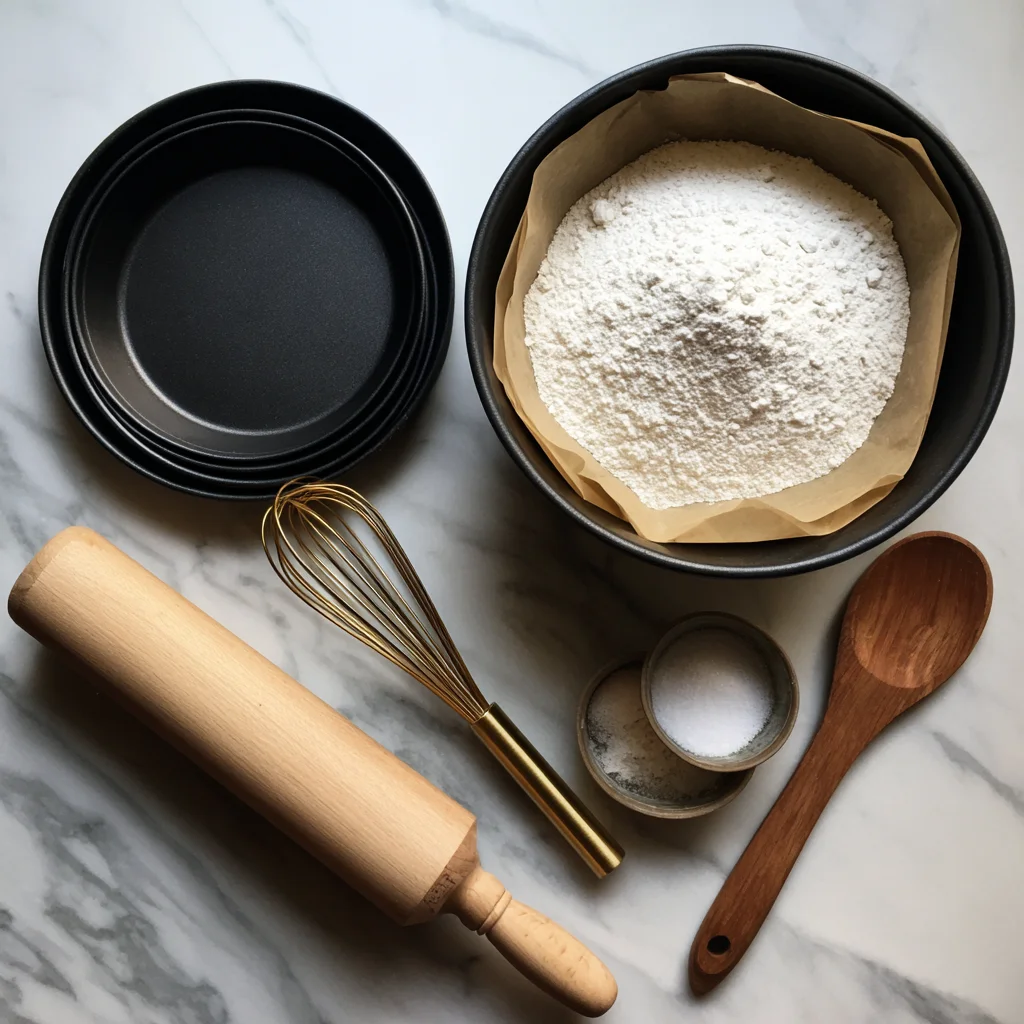
STEP 1: PREP YOUR PANS AND OVEN
First things first—preheat your oven to 350°F. Grease two 8-inch round cake pans, and don’t forget to line the bottoms with parchment paper. This makes removing the cakes so much easier later on, especially since banana cake can be a bit delicate when warm.
STEP 2: MIX DRY INGREDIENTS
In a medium bowl, whisk together the following:
-
2 cups of flour
-
1 teaspoon baking soda
-
½ teaspoon baking powder
-
½ teaspoon salt
-
½ teaspoon ground cinnamon
This blend gives your cake structure and just a whisper of spice that pairs beautifully with the banana.
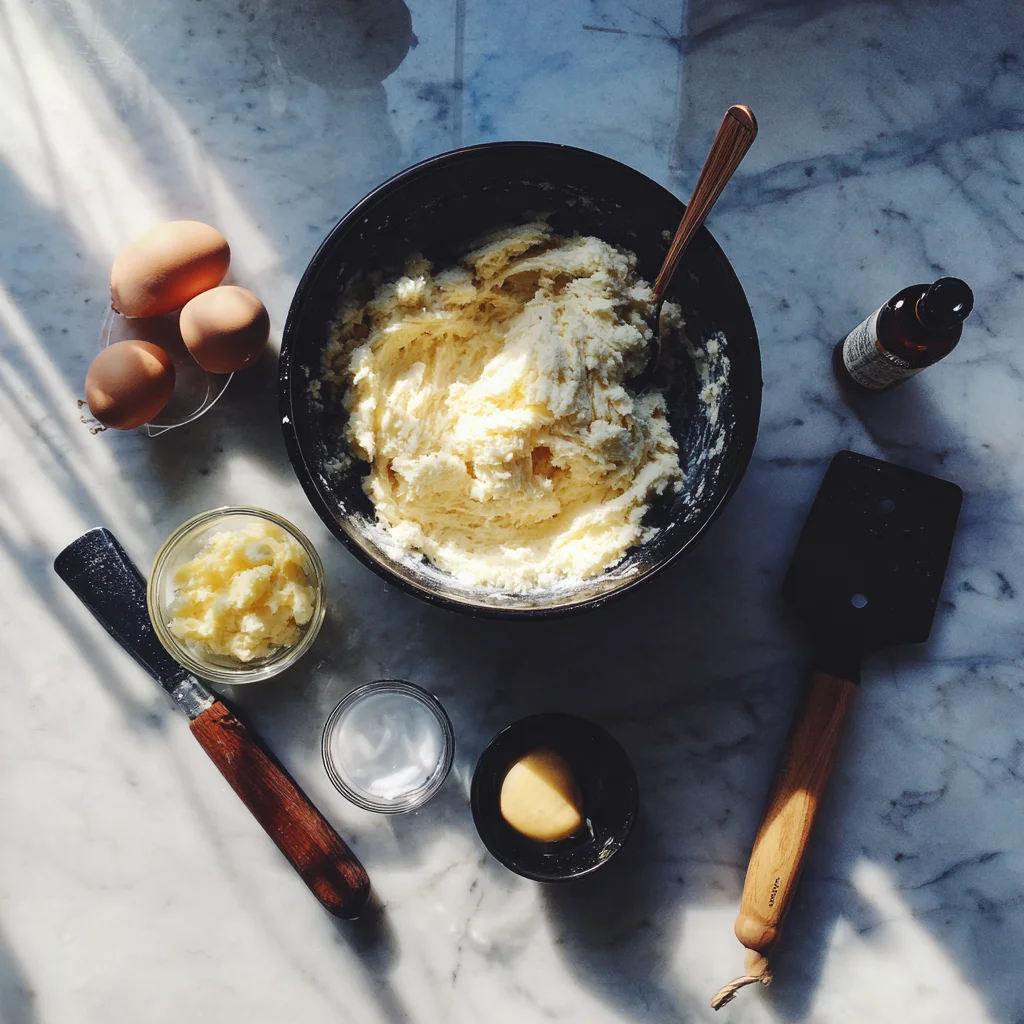
STEP 3: CREAM BUTTER AND SUGAR
In a large mixing bowl, cream ½ cup softened butter and ¾ cup granulated sugar until the mixture is light and fluffy. This step is key to getting that tender, soft crumb we all love.
STEP 4: ADD WET INGREDIENTS
Once your butter and sugar are fully creamed, beat in:
-
2 large eggs, one at a time
-
Mashed bananas
-
1 teaspoon vanilla extract
-
½ cup sour cream
The sour cream adds moisture and just a little tang that really balances the sweetness of the bananas.
STEP 5: COMBINE AND ADD WALNUTS
Slowly add your dry ingredients into the wet mixture and stir until just combined—no overmixing, please! Fold in ½ cup chopped walnuts at the end. I highly recommend toasting them beforehand for extra flavor. It’s a tiny step that makes a big difference.
STEP 6: BAKE THE CAKE
Divide the batter evenly between your prepared pans and bake for 25 to 30 minutes, or until a toothpick inserted in the center comes out clean. Let the cakes cool in the pans for about 10 minutes, then turn them out onto a wire rack to cool completely. Don’t rush this—trying to assemble while warm can melt your cream filling.
Whipped Cream Filling, Assembly & Pro Tips
Welcome back to Part 2 of this banana walnut dream! If you’ve already baked and cooled your cake layers, you’re halfway there—and the best part is yet to come. In this section, we’re diving into that luscious whipped cream (or whipped cream cheese) filling and walking through the assembly process. I’ll also share some of my go-to tips for making sure everything turns out just right.
I’ll be honest—this filling is one of the reasons I keep coming back to this cake. It’s light, fluffy, and not overly sweet, which lets the banana and walnut flavors really shine. Plus, it comes together in minutes. You’ve got options here too: go all-in with pure whipped cream for a soft, airy texture, or mix in some cream cheese if you want something a little richer and more stable (perfect if you’re making this cake ahead).
Ready to take it from “just cake” to showstopper dessert? Let’s get into the details.
STEP 7: WHIP THE CREAM FILLING
In a cold mixing bowl (this helps the cream whip faster and hold better), combine:
-
1 cup heavy whipping cream
-
2 tablespoons powdered sugar
-
1 teaspoon vanilla extract
Use an electric mixer on medium-high speed and whip until stiff peaks form—that means when you lift your beaters, the peaks stand up without collapsing.
Optional Cream Cheese Addition:
If you want a slightly tangier and firmer filling, beat ½ cup softened cream cheese in a separate bowl until smooth. Then gently fold it into your whipped cream mixture. This makes the filling more stable, which is great if you’re planning to frost the outside or serve it after a few hours.
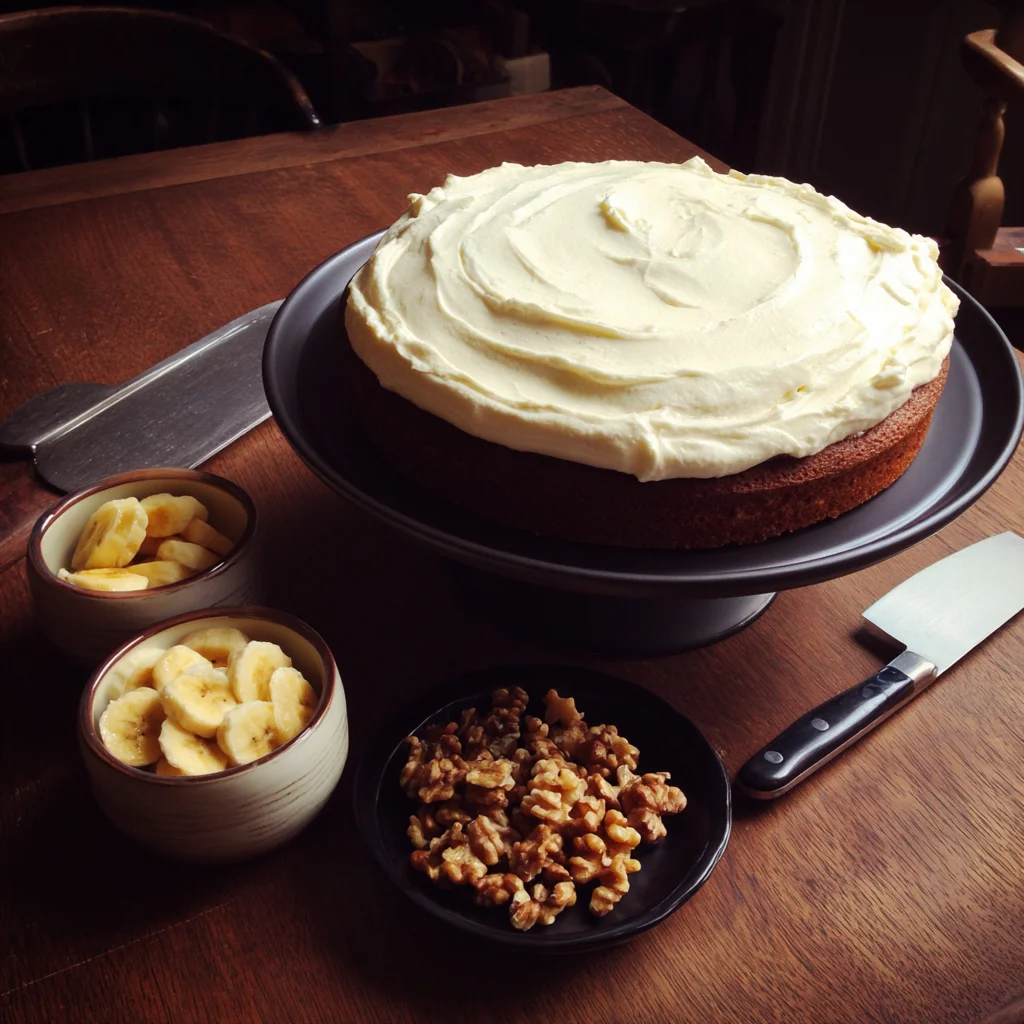
STEP 8: ASSEMBLE THE CAKE
Now comes the fun part—layering!
-
Place one cooled cake layer on your serving plate or cake stand.
-
Spread a generous amount of cream filling over the top, using an offset spatula or butter knife for even coverage.
-
Gently place the second cake layer on top, lining it up as evenly as possible.
-
If you have extra cream (and especially if you added cream cheese), you can spread it over the top and sides for a semi-naked or fully frosted look.
There’s something so satisfying about seeing the layers come together—especially knowing how amazing it’s going to taste once it chills and sets.
STEP 9: ADD YOUR TOPPINGS
This part is totally customizable, but here’s what I like to do:
-
Sprinkle ¼ cup chopped walnuts over the top of the cake for a nice crunch.
-
Add banana slices right before serving (to prevent browning), or shaved white chocolate for a more elegant look.
You don’t need to go overboard—this cake is already beautiful in its simplicity. But if you’re serving guests, a few garnishes can make it feel extra special.
STEP 10: CHILL BEFORE SERVING
Once your cake is assembled, chill it in the fridge for at least one hour. This helps the cream filling firm up slightly and makes slicing cleaner and easier. Plus, it gives all the flavors time to meld together—and trust me, the wait is worth it.
Tips for Success
1. Use very ripe bananas.
Brown and spotty is what you want—these are the sweetest and most flavorful for baking.
2. Don’t skip the parchment paper.
It ensures your layers come out clean, and you’ll avoid the heartbreak of a stuck cake.
3. Toast your walnuts.
Just 5-7 minutes in a dry skillet over medium heat will bring out their flavor. Let them cool before adding to your batter or topping.
4. Go easy on the mixing.
Overmixing the batter can lead to a dense cake. Stir just until everything is combined.
5. Customize the filling.
Want a fruitier twist? Fold in a few spoonfuls of crushed pineapple or finely chopped strawberries into the whipped cream. Just watch the moisture content so the filling doesn’t get too soft.
FAQ and Final Thoughts
If you’ve made it this far, then you’re just about ready to dig into a slice of this light, fluffy, nutty, creamy dream of a cake. Before we wrap things up, let’s go over a few of the most commonly asked questions I get about this recipe. Whether you’re a first-time baker or someone who’s already baked dozens of banana cakes, these tips and answers will help you get the best results every time.
Frequently Asked Questions
1. Can I make this cake ahead of time?
Absolutely! In fact, this cake is even better after a few hours in the fridge. You can bake the cake layers a day in advance, wrap them tightly, and store them at room temperature or in the refrigerator. Assemble and chill the full cake 4–6 hours before serving for best flavor and texture.
2. What’s the best way to store leftovers?
Because of the whipped cream filling, this cake should be kept refrigerated. Store it in an airtight container or cover it with plastic wrap and refrigerate for up to 3 days. Just note that the banana slices used as garnish may brown, so add fresh slices before serving if needed.
3. Can I use a different frosting instead of whipped cream?
Yes! Cream cheese frosting, mascarpone whipped cream, or even a stabilized whipped topping all work beautifully. If you prefer something sweeter or more structured, go with cream cheese frosting—it pairs so well with the banana and walnut flavors.
4. What if I only have one cake pan?
No problem. You can bake the batter in a single taller pan and slice it in half horizontally once cooled. Just extend the bake time and make sure a toothpick inserted in the center comes out clean. Keep an eye on the oven and tent with foil if the top starts browning too quickly.
5. Can I freeze this cake?
Yes, but I recommend freezing the cake layers before filling and assembling. Wrap the cooled layers tightly in plastic wrap and then foil, and freeze for up to 2 months. When ready to use, thaw in the fridge overnight, then make the filling and assemble as usual. Fully assembled cakes with whipped cream don’t freeze as well because the cream can separate once thawed.
6. Can I make this gluten-free?
You can try substituting a 1-to-1 gluten-free baking flour blend. Just be sure to use one that includes xanthan gum for structure. The texture might be slightly different, but it still turns out moist and flavorful.
7. Do I have to use walnuts?
Nope! Pecans are a great alternative, or you can leave the nuts out entirely if you prefer. You’ll still get that wonderful banana flavor, and the whipped cream filling will keep things interesting.
Final Thoughts and Serving Suggestions
There’s something so comforting about banana desserts, isn’t there? This Heavenly Banana Walnut Cream Cake feels like banana bread’s more elegant cousin—it’s just as cozy, but a little more dressed up and celebratory. Whether you’re making it for a family birthday, a holiday get-together, or just because you’ve got bananas begging to be used, it’s the kind of recipe that’s sure to become a keeper.
If you’re serving it to a crowd, consider pairing it with:
-
A hot cup of coffee or espresso
-
A scoop of vanilla bean ice cream on the side
-
A drizzle of caramel sauce over the top for a more decadent finish
And if you try this recipe and love it (or put your own spin on it), I’d love to hear about it! Leave a comment, share your tips, or tell me what variations you came up with. Did you go for the cream cheese filling or keep it light and fluffy? Toasted the walnuts? Added chocolate chips? Your tweaks might just inspire someone else’s next bake.
PrintHeavenly Banana Walnut Cream Cake
Heavenly Banana Walnut Cream Cake is a luscious, layered dessert that combines the comforting flavors of ripe bananas and toasted walnuts with a light, creamy filling. Moist banana cake layers are sandwiched with a rich whipped cream or cream cheese filling, offering a delightful balance of sweetness, texture, and a touch of crunch. It’s the kind of cake that feels indulgent yet familiar, perfect for celebrations or weekend baking.
- Author: Mark's Recipe
Ingredients
For the banana cake
2 ripe bananas, mashed
2 cups all-purpose flour
1 teaspoon baking soda
½ teaspoon baking powder
½ teaspoon salt
½ teaspoon ground cinnamon
½ cup unsalted butter, softened
¾ cup granulated sugar
2 large eggs
1 teaspoon vanilla extract
½ cup sour cream
½ cup chopped walnuts
For the cream filling
1 cup heavy whipping cream
2 tablespoons powdered sugar
1 teaspoon vanilla extract
Optional: ½ cup softened cream cheese for a tangier filling
For topping and garnish
¼ cup chopped walnuts
Sliced banana or shaved white chocolate (optional)
Instructions
Preheat the oven to 350°F and grease two 8-inch round cake pans. Line the bottoms with parchment paper.
In a medium bowl, whisk together the flour, baking soda, baking powder, salt, and cinnamon. Set aside.
In a large bowl, cream the butter and sugar until light and fluffy. Beat in the eggs one at a time, followed by the mashed bananas, vanilla extract, and sour cream.
Gradually add the dry ingredients to the wet mixture and mix until just combined. Fold in the chopped walnuts.
Divide the batter evenly between the prepared pans and bake for 25 to 30 minutes or until a toothpick inserted in the center comes out clean. Let the cakes cool in the pans for 10 minutes, then turn out onto wire racks to cool completely.
For the filling, whip the heavy cream with powdered sugar and vanilla until stiff peaks form. If using cream cheese, beat it separately until smooth, then fold into the whipped cream for added stability and flavor.
Place one cake layer on a serving plate and spread a generous layer of cream filling on top. Add the second layer and spread more cream over the top and sides if desired.
Sprinkle chopped walnuts over the top and garnish with banana slices or white chocolate shavings if using.
Chill the cake for at least one hour before serving for best texture.
Notes
Use very ripe bananas for maximum sweetness and flavor. Toasting the walnuts enhances their nuttiness and adds depth. If layering seems too rich, this cake can also be served as a single layer with cream just on top. The whipped filling keeps the dessert light and airy, making it a great contrast to the denser banana cake. Store leftovers in the refrigerator for up to three days.


")
