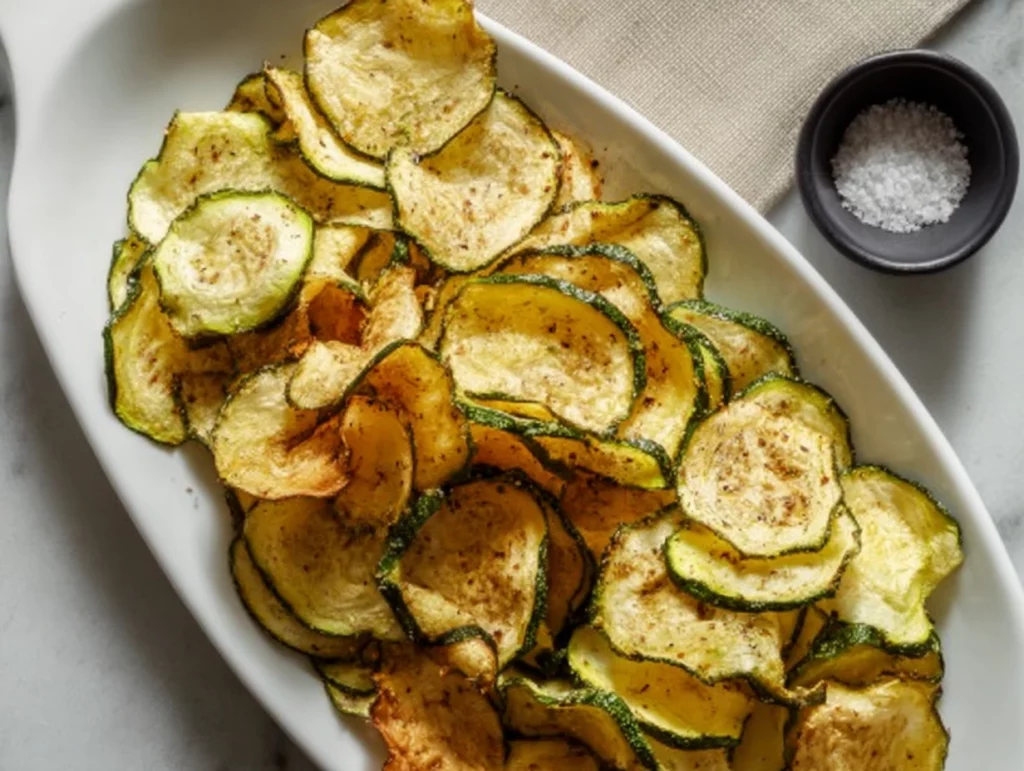
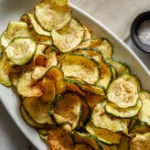
If you’re craving something crunchy and salty but want to keep it light, these Healthy Zucchini Chips are the move. They’re thin, crisp, and oven-baked at a low temperature so you get that chip-like snap without deep frying. With just a handful of pantry staples—olive oil, salt, pepper, and any seasoning you love—you can turn a couple of zucchinis into a wholesome snack or a fun side for burgers and sandwiches. Each serving clocks in around 45 calories, and the batch yields about four servings, so you can snack without second-guessing.
What I love most here (and what I think you’ll appreciate too) is that the recipe is simple but technique-driven. Even slicing + good moisture control = great crunch. We’re going low-and-slow in the oven (225°F / 110°C) for 90 to 120 minutes. Yes, it takes a little patience, but the payoff is real: evenly golden edges, a light, crisp texture, and seasoning that actually sticks.
These are also incredibly customizable. Keep it classic with salt and pepper, or add garlic powder, paprika, or dried herbs for more personality. Want a cheesy finish? A sprinkle of Parmesan during the last 10 minutes of baking adds a savory crust that’s hard to resist. Prefer a little heat? Dust with chili powder or cayenne. Once you nail the base method, you can make them your own.
Ingredients
-
2 to 3 medium zucchini (about 1 pound / 450 g)
-
1 tablespoon olive oil
-
1/4 teaspoon fine salt
-
1/8 teaspoon black pepper
-
Optional seasoning: garlic powder, paprika, or dried herbs to taste
What Makes This Recipe Special
-
Naturally light: About 45 calories per serving.
-
Crispy without frying: The low oven temp dries the slices evenly.
-
Simple technique, big payoff: Uniform slicing and moisture control do the heavy lifting.
-
Endlessly customizable: From herby to spicy to cheesy—your call.
STEPS
-
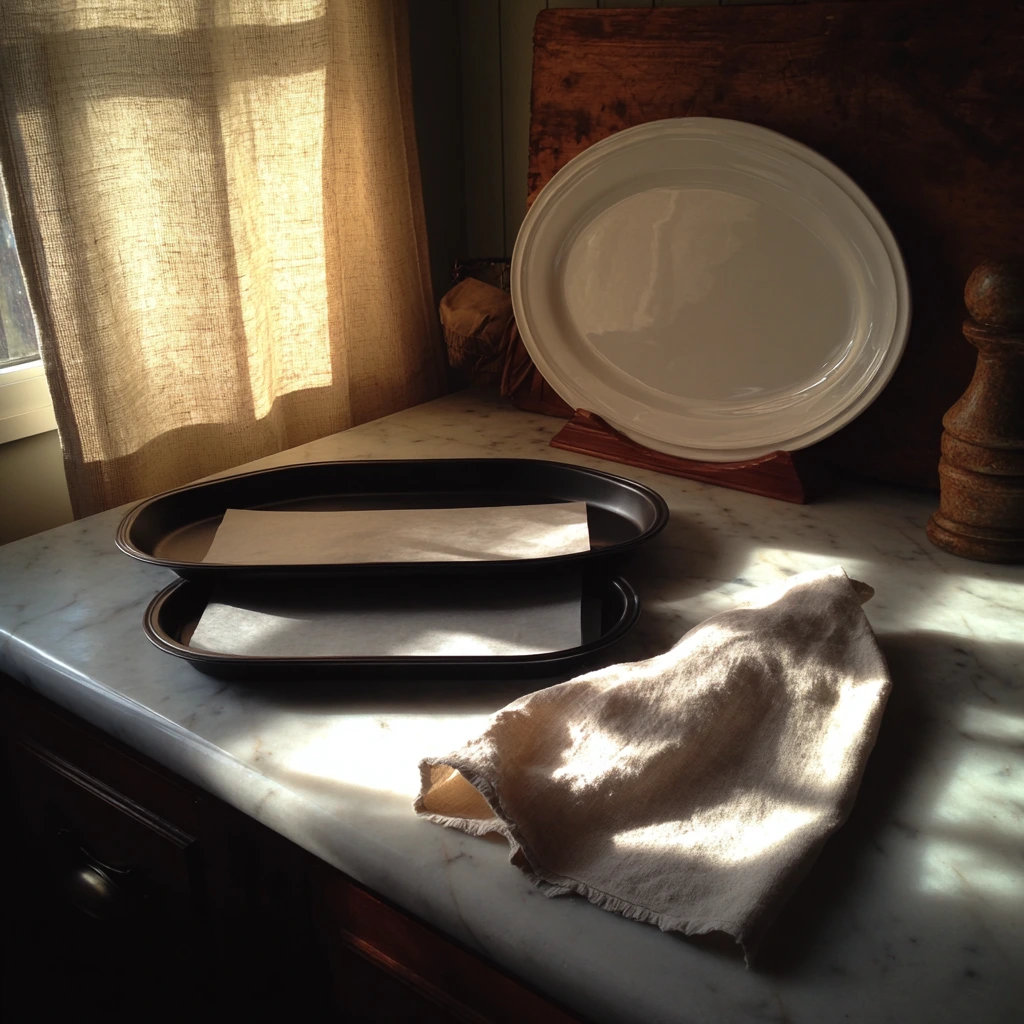
Preheat and prep the pans.
Heat the oven to 225°F (110°C). Line two baking sheets with parchment paper. This prevents sticking and helps the chips crisp instead of steaming. -
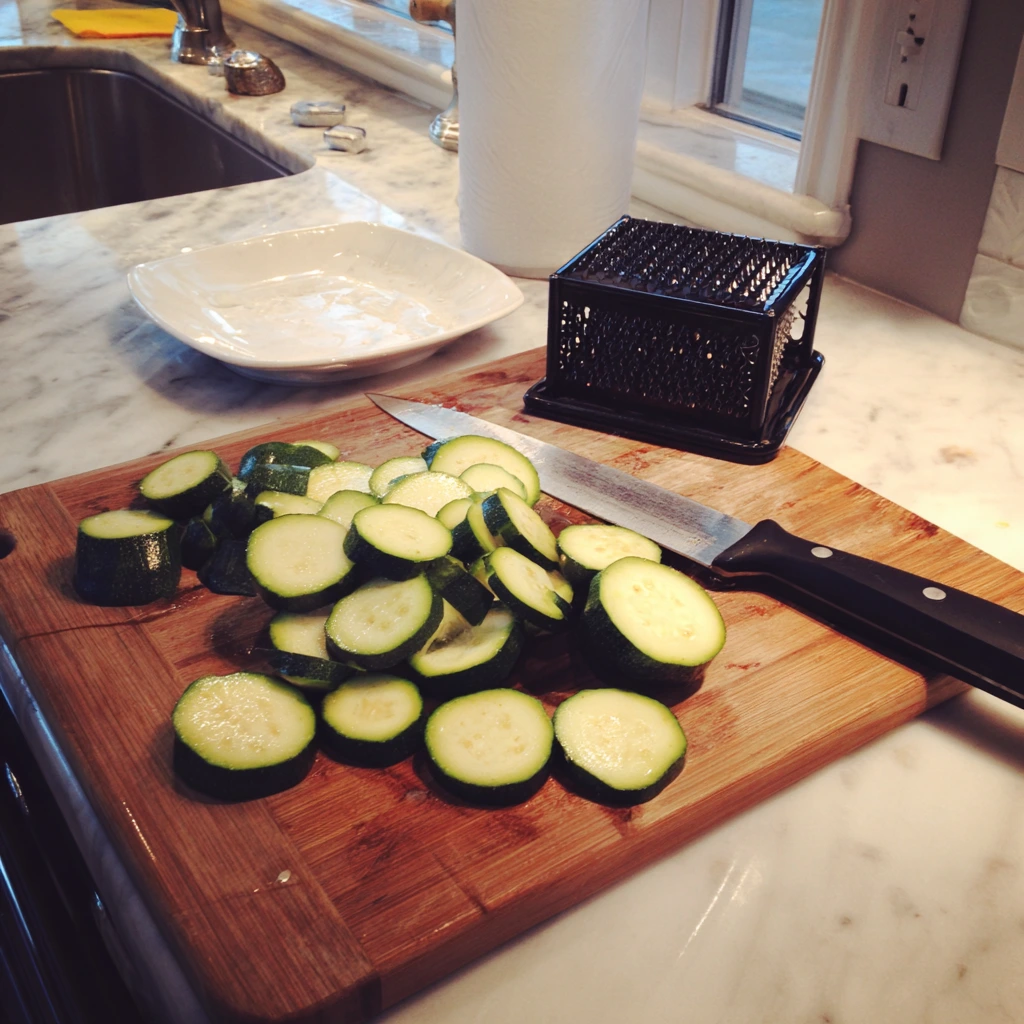
Wash, dry, and slice thin.
Wash and dry the zucchini thoroughly—excess moisture is the enemy of crunch. Slice into very thin rounds, about 1/16 inch thick. A mandoline makes this fast and uniform, but a sharp knife works if you’re careful. Consistent thickness is key so everything cooks at the same rate. -
Arrange and blot.
Lay the slices in a single layer on the prepared baking sheets with a little space between each piece. Pat the tops lightly with paper towels to pull off surface moisture. If you want extra insurance for crispness, you can sprinkle the slices with a tiny pinch of salt, let them sit for 10 minutes, then blot again before seasoning. -
Season lightly.
In a small bowl, mix the olive oil, salt, pepper, and any optional seasonings (garlic powder, paprika, or dried herbs). Lightly brush the mixture over the slices, or toss the zucchini in a bowl and then arrange them back onto the sheets. Go light on the oil—too much moisture will slow down crisping.
-
Bake low and slow, then flip.
Slide the trays into the oven and bake at 225°F (110°C) for 90 to 120 minutes total. Set a timer for 45 to 60 minutes and flip each slice carefully with tongs or a thin spatula. While you’re there, rotate the pans front-to-back and swap the racks so everything cooks evenly. You’re looking for slices that are turning lightly golden with curled, dry edges. If any chips are already crisp when you flip, pull them off the tray and let the rest keep going—zucchini slices can finish at different times. -
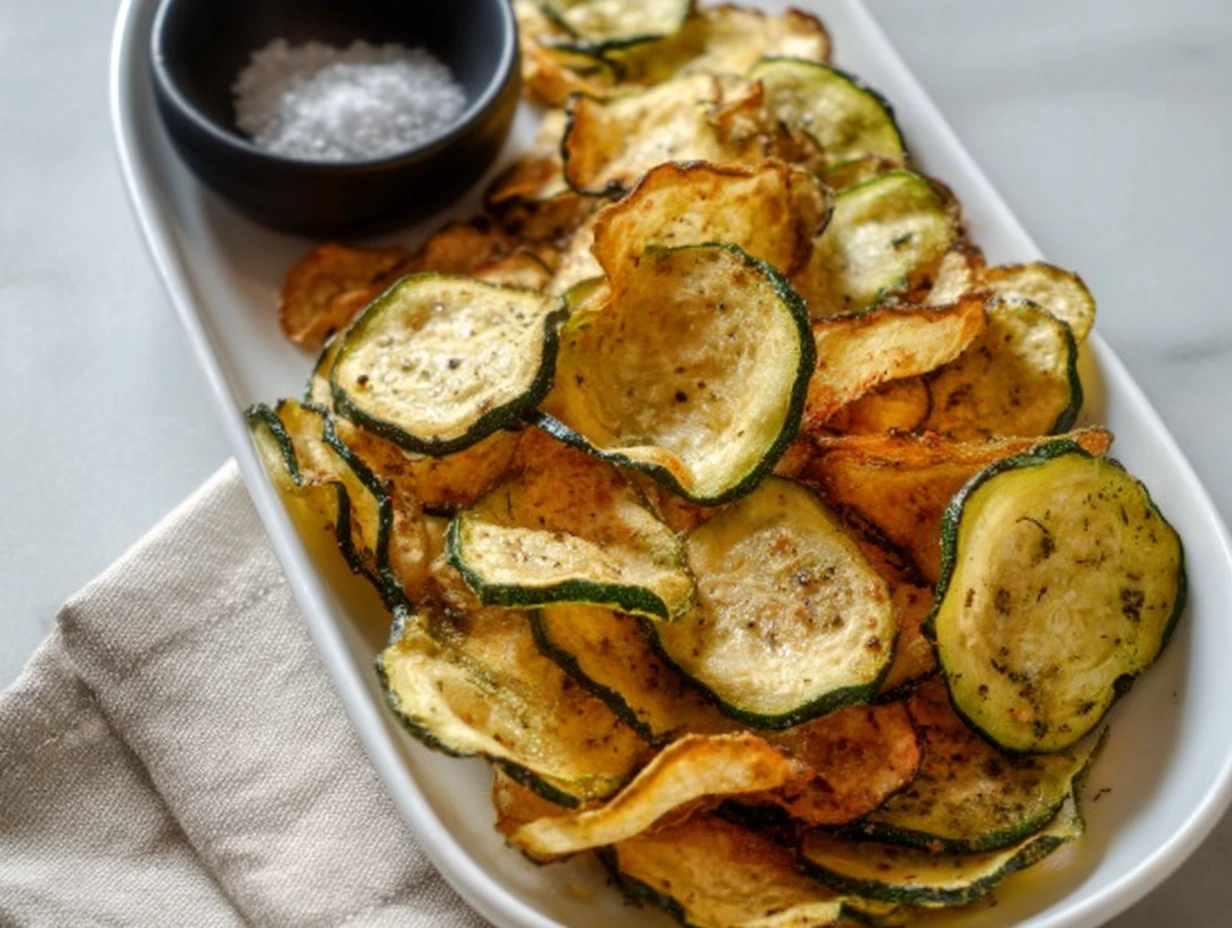
Finish and cool to set the crunch.
Continue baking, checking every 10 to 15 minutes. In the last 15 minutes, keep a close eye—the chips can go from perfectly golden to too dark quickly. When done, the centers should feel dry to the touch and the chips should have a delicate snap. Cool on the baking sheets for 5 minutes; this last bit of carryover heat helps them firm up fully before serving.
Doneness cues: golden color (not brown), edges slightly curled, no visible moisture, and a crisp, papery feel. If they bend rather than snap, give them 5–10 more minutes.
Pro Tips for Success
-
Even thickness is everything. A mandoline set to 1/16 inch (about 1.5 mm) delivers consistent results. Thicker slices will be chewier; thinner slices get crispier but can cook faster—watch the timing.
-
Moisture control wins. Zucchini holds a lot of water. After slicing, you can lightly salt the rounds and let them sit for 10 minutes, then blot dry before oiling and seasoning. This draws out excess moisture and boosts crunch.
-
Use a light hand with oil. Too much oil = limp chips. You need just enough to help seasoning stick and promote even browning—1 tablespoon is plenty for 2–3 zucchinis.
-
Rotate and remove early finishers. Ovens have hot spots. Rotating trays and pulling done chips early ensures nothing burns while the slower slices catch up.
-
Don’t over-salt. Zucchini slices shrink as they bake, which concentrates salt. Season lightly up front; you can always add a tiny pinch after baking if needed.
![]()
Flavor Variations to Try
-
Classic Garlic-Herb: Add 1/4 teaspoon garlic powder and 1/2 teaspoon dried Italian herbs to the oil mixture.
-
Smoky Paprika: Stir 1/2 teaspoon smoked paprika into the oil for a warm, savory finish.
-
Parmesan Crunch: In the last 10 minutes of baking, sprinkle finely grated Parmesan over the slices. They’ll pick up a lightly cheesy crust as they finish.
-
Spicy Chili: Dust with chili powder or a pinch of cayenne before baking for a gentle kick.
Keep the base method the same; simply fold your seasoning of choice into the oil (or sprinkle on lightly after brushing with oil), and watch the chips as they near the finish—spices and cheese can brown faster.
Serving Ideas
-
Snack Board: Pair with hummus, Greek yogurt ranch, or a light herb dip.
-
Side Dish: Serve alongside grilled chicken, fish, or burgers for a crisp, low-calorie side.
-
Crunch Topper: Crumble over salads or grain bowls for texture without the croutons.
Make-Ahead, Storage, and Re-Crisping
-
Best fresh: These chips are at their crispiest right after baking once they’ve cooled on the sheet for 5 minutes.
-
Short-term storage: Store leftovers in an airtight container at room temperature for up to 2 days. To minimize moisture, add a small piece of paper towel to the container.
-
Re-crisp: If they soften, spread on a baking sheet and warm at 250°F (120°C) for about 10 minutes. Let cool on the sheet to set the crunch again.
-
Humidity note: On very humid days, chips may soften faster. Baking an extra 5–10 minutes (without darkening) or letting them sit in the turned-off oven with the door cracked for 5 minutes can help drive off residual moisture.
Troubleshooting Quick Guide
-
Still soft after 2 hours? Your slices may be a touch thick, or your oven runs cool. Continue baking in 5–10 minute intervals until crisp.
-
Browning too quickly? Reduce the oven to 200°F (95°C) and move the tray to a higher rack.
-
Uneven results? Confirm your slices are uniform and avoid overlapping. Rotate pans and flip at the halfway mark.
Healthy Zucchini Chips FAQ
Can I make these in an air fryer?
Yes—work in a single layer (very important). Air fry at 300°F (150°C) for 12–20 minutes, flipping halfway. Start checking at 10 minutes and pull finished chips as they crisp; times vary widely by model. If your air fryer allows lower temps, 250°F (120°C) gives a drier, more even crisp with a few extra minutes.
How do I keep them truly crispy?
Thin, uniform slices (about 1/16 inch), light oil, and moisture control are the big three. After slicing, lightly salt, rest 10 minutes, then blot well before seasoning. Bake low and slow, rotate pans, and cool on the sheet for 5 minutes so they set.
Do I need parchment paper?
Highly recommended. Parchment prevents sticking and encourages better drying. Silicone mats can trap a touch more moisture, which may slow down crisping.
Can I use yellow squash instead of zucchini?
Absolutely. Yellow summer squash behaves almost the same—slice just as thin and keep a close eye near the end; it can brown a bit faster.
Will Parmesan make them soggy?
Not if you add it at the very end. Sprinkle finely grated Parmesan during the last 10 minutes of baking so it melts and sets without releasing extra moisture.
Can I prep these ahead?
They’re best baked and eaten the same day. If you need a head start, you can slice, lightly salt for 10 minutes, blot very well, then refrigerate up to 6 hours layered between paper towels in a covered container. Bring to room temp, then season/oil lightly and bake.
What if some chips are done before others?
Totally normal. Pull the crisp ones off the tray and return the rest to the oven. Zucchini slices dry at different rates depending on thickness and oven hot spots.
Serving + Pairing Ideas
Keep it simple and let the crunch shine, or dress them up:
-
Dips: Greek yogurt ranch, garlicky hummus, or a lemon-herb aioli.
-
Side dish: Add to a grilled chicken plate, burgers, or salmon.
-
Salad topper: Crumble a handful over a chopped salad or grain bowl.
-
Seasoning swaps: Garlic-herb, smoked paprika, chili-lime, or a dusting of everything bagel seasoning after baking.
Nutrition + Dietary Notes
Each serving is about 45 calories, depending on the size of your zucchinis and how lightly you oil. These chips are naturally gluten-free and vegan. If you add Parmesan, they’re no longer dairy-free; use a dairy-free grated alternative if needed.
Storage and Re-Crisping (Quick Recap)
Store fully cooled chips in an airtight container at room temperature for up to 2 days with a small piece of paper towel to absorb humidity. To re-crisp, warm on a baking sheet at 250°F (120°C) for 10 minutes, then cool on the sheet to set.
Conclusion: Serve, Share, and Make It Yours
That’s everything you need to turn a couple of zucchinis into a big, crunchy payoff. The method is simple, but the details matter: thin slices, a light hand with oil, and patient, low-temperature baking. From there, it’s all about your flavor personality—keep it classic with salt and pepper, go herby and garlicky, or finish with a little Parmesan for a savory edge.
PrintHealthy Zucchini Chips
Crisp, savory, and light, these zucchini chips are a wholesome alternative to potato chips. Thinly sliced zucchini is seasoned and baked until golden, creating a satisfying snack or side dish that’s naturally low in calories but big on flavor.
- Author: Mark's Recipe
Ingredients
medium zucchini 2 to 3 (about 1 pound / 450 g)
olive oil 1 tablespoon
fine salt 1/4 teaspoon
black pepper 1/8 teaspoon
optional seasoning garlic powder, paprika, or dried herbs to taste
Instructions
1️⃣ Heat the oven to 225°F (110°C). Line two baking sheets with parchment paper.
2️⃣ Wash and dry the zucchini thoroughly. Slice into very thin rounds, about 1/16 inch thick, using a mandoline or sharp knife for even cooking.
3️⃣ Lay the slices in a single layer on the prepared baking sheets. Pat lightly with paper towels to remove surface moisture.
4️⃣ In a small bowl, mix olive oil with salt, pepper, and any optional seasonings. Lightly brush or toss zucchini slices with the mixture.
5️⃣ Bake for 1½ to 2 hours, flipping halfway through, until the chips are golden and crisp. Watch closely during the last 15 minutes to avoid burning.
6️⃣ Cool on the baking sheets for 5 minutes before serving to let them firm up fully.
Notes
Even thickness
Uniform slicing ensures the chips cook evenly. Thicker slices will be chewier, while thinner slices get crisper.
Moisture control
Zucchini has high water content. For extra-crispy chips, sprinkle slices with salt, let them sit 10 minutes, then blot before seasoning.
Flavor twists
Try sprinkling Parmesan cheese over the zucchini in the last 10 minutes of baking, or dust with chili powder for a spicy version.
Storage
These chips are best eaten fresh but can be stored in an airtight container at room temperature for up to 2 days. If they soften, re-crisp in a 250°F (120°C) oven for 10 minutes.

")
