
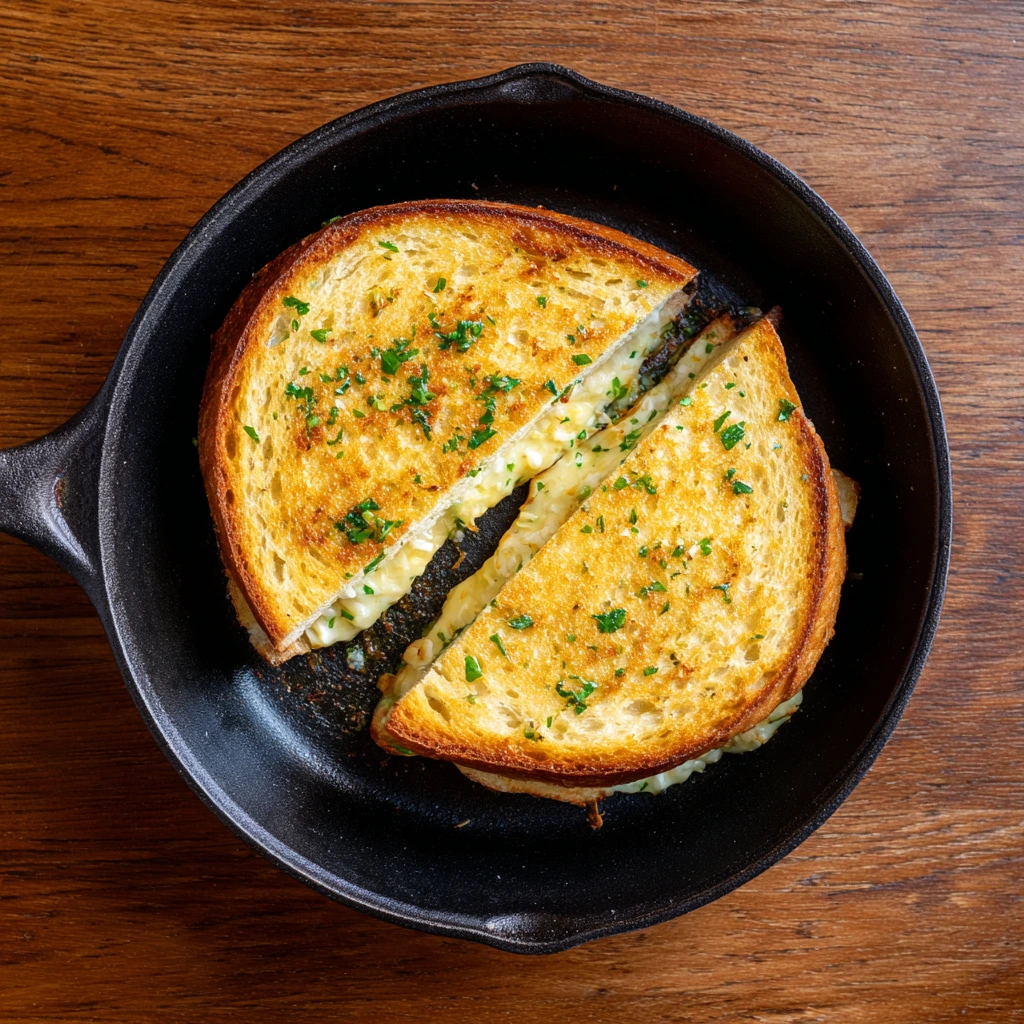
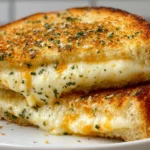
There are few things in life that beat a warm, buttery grilled cheese sandwich—except maybe a slice of perfectly crispy garlic bread. So what happens when you combine the two? You get this glorious Garlic Bread Grilled Cheese: golden, crunchy, cheesy, and garlicky in every single bite. It’s like the comfort food version of a mic drop.
I came up with this one on a whim during a weekend movie night, when I couldn’t decide between making garlic bread or grilled cheese. So, naturally, I thought, “Why not both?” And let me tell you—it was love at first bite. The garlic butter soaks into the bread just enough to make the inside tender while the crust crisps up beautifully in the pan. Pair that with gooey melted cheese, and you’re looking at a sandwich that delivers serious satisfaction.
Whether you’re making this for a quick lunch, a cozy dinner, or a midnight snack (no judgment), it only takes a few basic ingredients you probably already have on hand. Plus, there’s room to customize with add-ins like bacon, tomatoes, or even caramelized onions if you’re feeling fancy.
Let’s get into how to make this incredible sandwich that might just ruin regular grilled cheese for you forever.
Ingredients You’ll Need:
-
4 slices of rustic Italian or sourdough bread
-
2 tablespoons unsalted butter, softened
-
2 cloves garlic, finely minced
-
½ teaspoon dried parsley or Italian seasoning
-
Salt and freshly ground black pepper, to taste
-
4 slices sharp cheddar or mozzarella cheese
-
1 tablespoon mayonnaise (optional, for extra browning)
STEP 1: Make the Garlic Butter
In a small bowl, combine the softened butter, minced garlic, dried parsley (or Italian seasoning), a small pinch of salt, and a few twists of freshly ground black pepper. Stir it all together until it forms a smooth, spreadable mixture. This is the flavor powerhouse of the sandwich, so don’t skimp on the garlic unless you’re on a first date.
Tip: If your butter is still too cold to mix easily, pop it in the microwave for just 10-15 seconds—not enough to melt, just to soften further.
STEP 2: Butter the Bread
Take your four slices of bread and lay them out flat. Spread the garlic butter mixture evenly on one side of each slice. If you’re using the optional mayonnaise (which I highly recommend for that perfect crispy crust), flip two of the slices and spread mayo on the opposite sides. The garlic butter gives you the flavor, and the mayo gives you that golden-brown finish.
Why mayonnaise? It has a higher smoke point than butter and tends to create a more even browning. You don’t taste it—it just does the job better than you might expect.
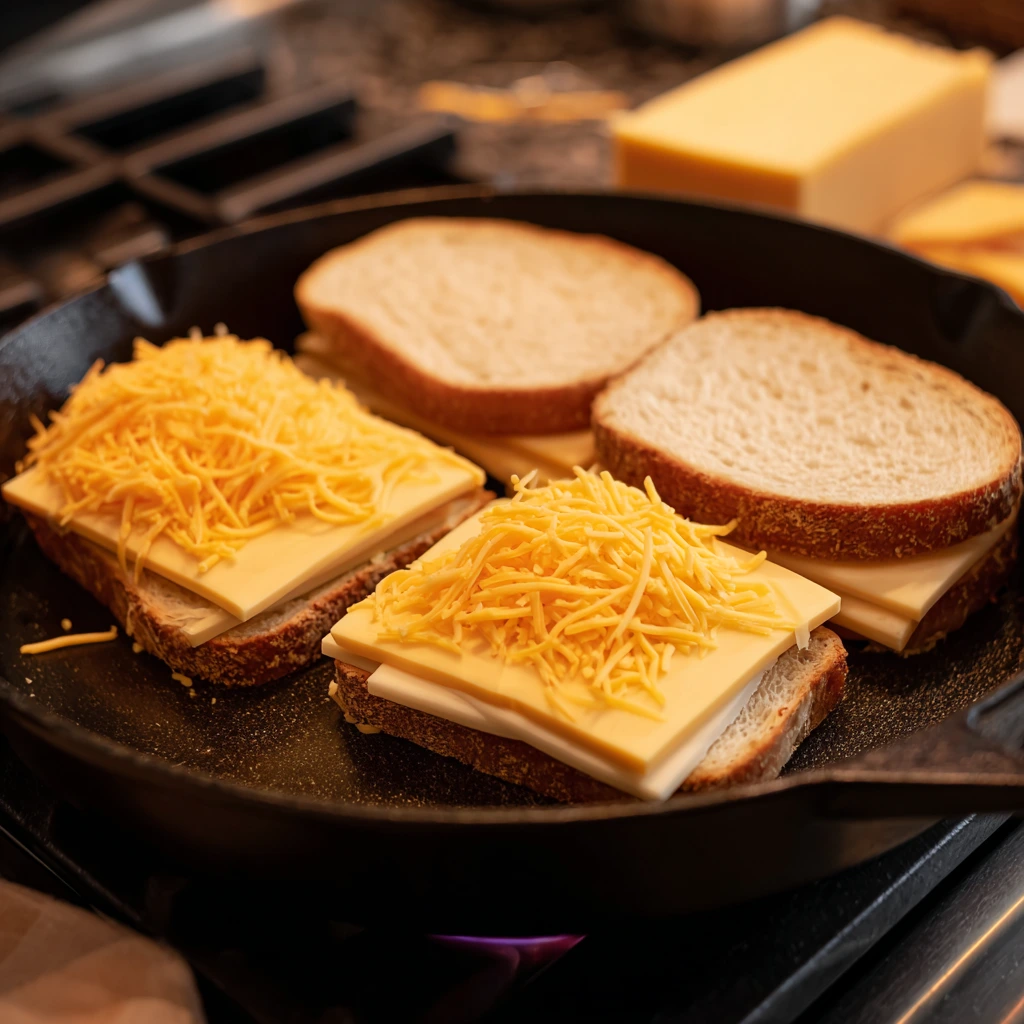
STEP 3: Build the Sandwich
Preheat a skillet or griddle over medium heat. If your pan is a bit dry, add a small pat of butter or a splash of oil just to get things started.
Place two slices of bread, garlic-butter side down, onto the hot pan. Immediately top each with two slices of cheese. Then, place the remaining bread slices on top, mayo side facing out. Press them down gently with a spatula so everything starts to melt together.
You’re not flipping yet—patience is key. Let the first side cook undisturbed until it turns golden brown and the cheese starts to melt, about 3 to 4 minutes.
Why This Works So Well
This method brings together the best of both worlds: crispy, garlicky toast on the outside and melted cheesy goodness on the inside. The use of rustic Italian or sourdough bread adds structure and chew, meaning it holds up to the buttery garlic mixture without going soggy. And the choice between sharp cheddar and mozzarella gives you the freedom to go bold or stretchy—or mix the two for a balance of flavor and meltability.
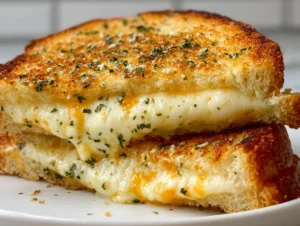
Garlic Bread Grilled Cheese: Crispy, Cheesy, and Garlicky Goodness
Alright, now that we’ve built the perfect garlic butter base and started layering in that dreamy, melty cheese, it’s time to finish off this sandwich the right way. In Part 1, we prepped the bread, built the sandwich, and started cooking it. Now comes the part where things get golden and gooey.
This step-by-step guide will walk you through the final stages of cooking, plus share a few delicious tips and add-ins to make your grilled cheese even better. Trust me—once you get the hang of this method, it’ll become your go-to way to make grilled cheese from now on.
STEP 4: Flip with Care and Finish Cooking
Once the bottom slice is beautifully golden brown (about 3–4 minutes in), it’s time to flip your sandwich. Use a wide spatula and a steady hand—this is where that mayo or extra butter really comes in handy to give you that perfect crust.
Carefully flip the sandwich and let the second side cook for another 2–3 minutes. Press down lightly with your spatula so the cheese melts evenly throughout. You’re looking for a crispy, toasted exterior and fully melted cheese inside.
Tip: If your bread is browning too quickly before the cheese has a chance to melt, lower the heat slightly and cover the pan with a lid for a minute. This traps heat and helps the cheese melt without burning the outside.
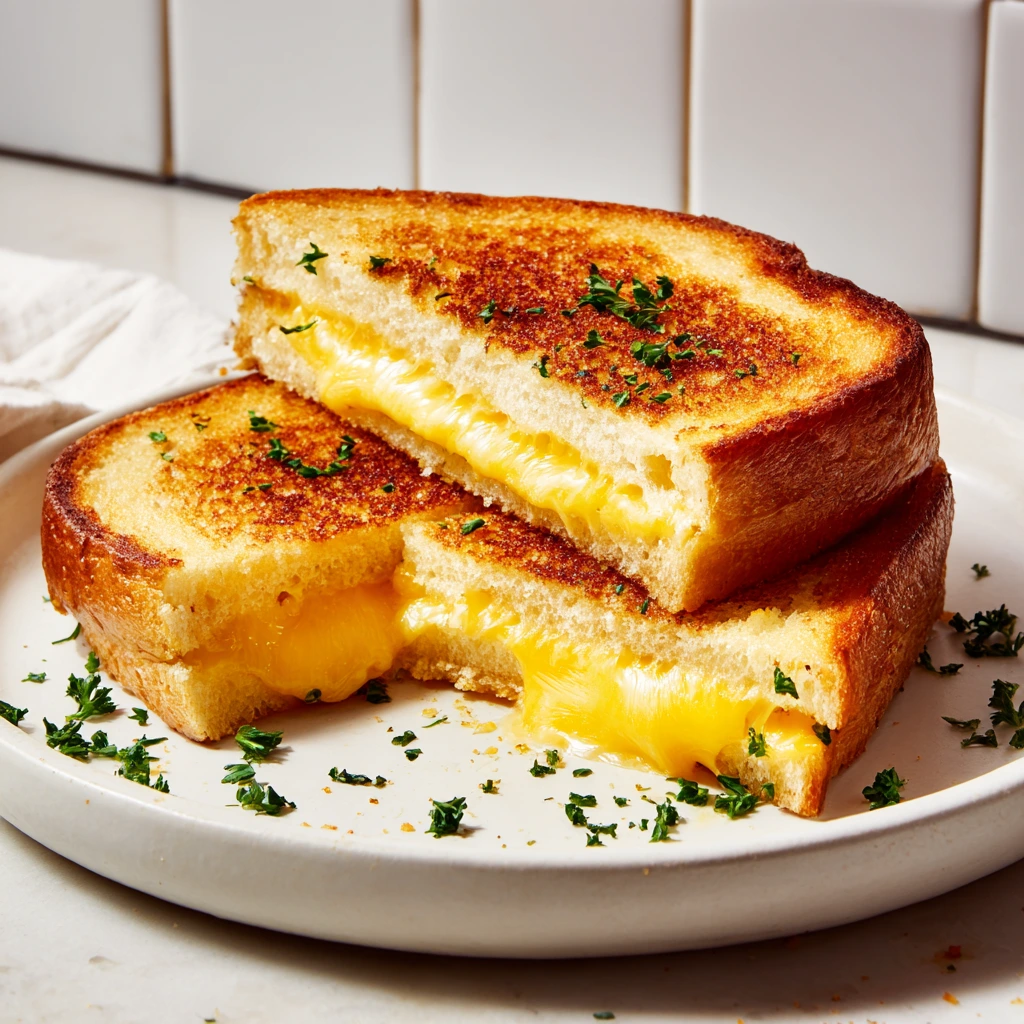
STEP 5: Let It Rest, Then Slice and Serve
Once both sides are crisp and the cheese is oozing ever so slightly from the edges, transfer the sandwiches to a cutting board. Resist the urge to slice them immediately—let them rest for a minute. This little pause allows the cheese to set just enough so it doesn’t completely spill out the second you cut into it.
Slice each sandwich in half, either diagonally (for that classic grilled cheese look) or straight down the middle if you prefer. Serve immediately while they’re warm and gooey.
Tasty Variations to Try
One of the best parts about this Garlic Bread Grilled Cheese is how easy it is to customize. Here are a few of my favorite ways to take it to the next level:
-
Add Bacon: Cooked, crispy bacon tucked between the cheese slices adds a smoky, salty crunch.
-
Tomato Slices: Thin slices of fresh tomato brighten up the richness of the garlic butter and cheese.
-
Caramelized Onions: For a sweet and savory twist, layer in some caramelized onions.
-
Grated Parmesan: Mix a tablespoon of grated Parmesan into your garlic butter for an extra layer of umami goodness.
-
Different Cheeses: Try fontina, gouda, provolone, or a mix of mozzarella and sharp white cheddar for different textures and flavors.
Tips for Perfect Garlic Bread Grilled Cheese Every Time
-
Use Good Bread: Rustic Italian or sourdough bread works best because it’s sturdy and toasts up beautifully. Soft white sandwich bread just won’t hold up the same way.
-
Don’t Overload with Butter: Spread enough garlic butter to cover the surface, but not so much that it becomes greasy in the pan.
-
Keep the Heat Moderate: Medium heat is ideal. Too hot and your bread will burn before the cheese melts; too low and you’ll miss that golden, crisp exterior.
-
Use a Cast-Iron Skillet if You Have One: It retains heat evenly and gives you the best sear.
-
Reheat Like a Pro: If you have leftovers (rare, but it happens), skip the microwave. Reheat the sandwich in a skillet over low heat or pop it in the toaster oven to bring back the crispy edges and melty center.
Garlic Bread Grilled Cheese: All Your Questions Answered + Final Thoughts
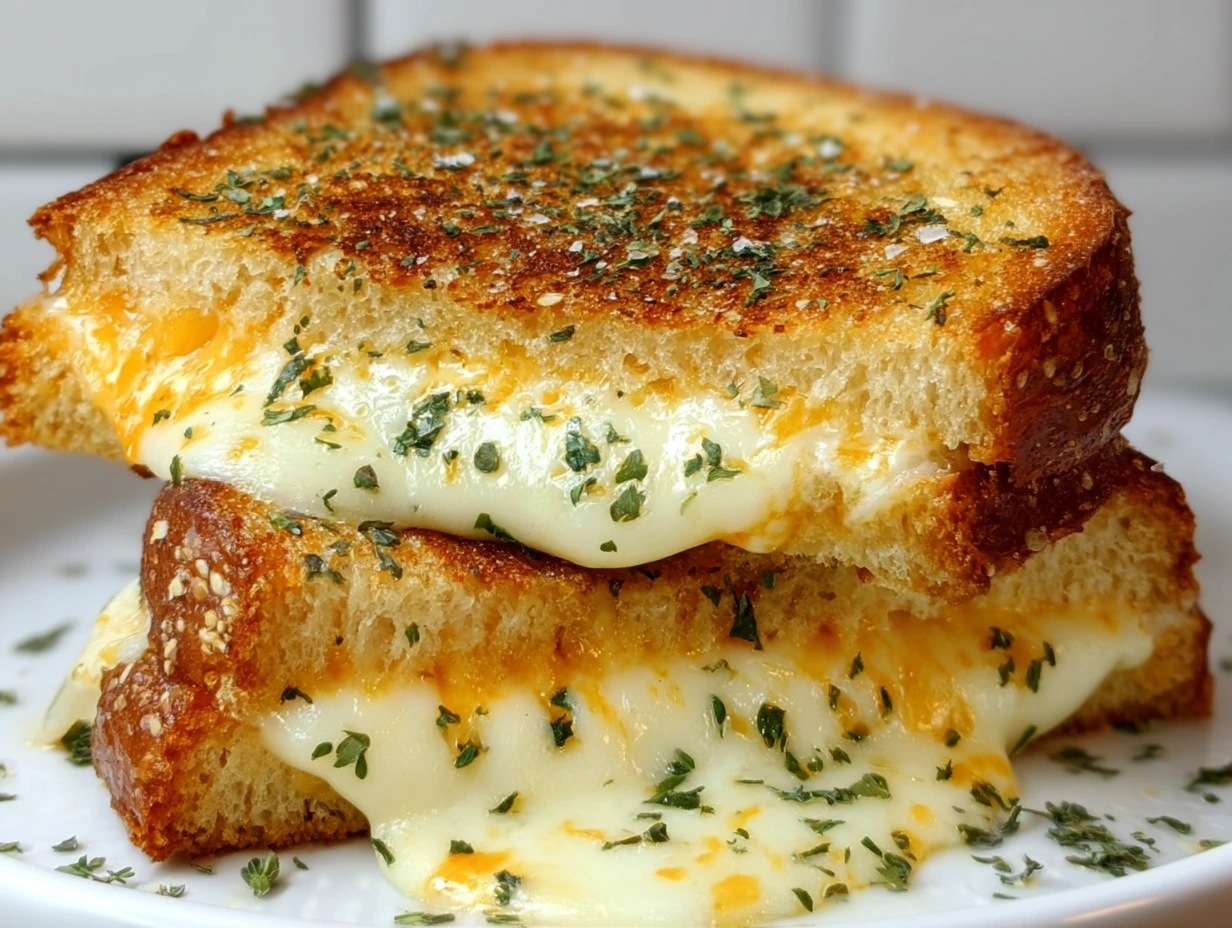
By now, you’ve got the golden, buttery crust. You’ve melted the cheese to that perfect stretch. And your kitchen probably smells like absolute heaven. Whether you’re cooking for yourself, making lunch for the family, or trying to impress guests with something surprisingly indulgent, this Garlic Bread Grilled Cheese is a total win.
Before we wrap things up, let’s dive into a few of the most common questions people ask about making grilled cheese—especially with that garlic bread twist. These quick answers will help you avoid mistakes, save time, and get even more out of your sandwich game.
Frequently Asked Questions
1. Can I use pre-minced garlic from a jar instead of fresh garlic?
Yes, you can—but fresh garlic will always give you the best flavor. If you’re in a pinch, pre-minced garlic works fine. Just be careful not to overdo it, since it can have a slightly sharper taste.
2. What’s the best cheese for melting?
Mozzarella is great for stretch, while sharp cheddar gives bold flavor. If you want the best of both worlds, use one slice of each in your sandwich. Gouda, fontina, and provolone are also excellent choices for melting.
3. Can I make this dairy-free?
Absolutely. Use a plant-based butter and swap the cheese for a dairy-free alternative that melts well. Garlic-infused olive oil can also be used in place of butter for a lighter option.
4. Why do some people use mayonnaise instead of butter?
Mayonnaise has a higher smoke point and browns more evenly, making it a secret weapon for grilled cheese. It won’t taste like mayo—just crispy and golden. Use it on the outside of the bread if you want restaurant-style results.
5. What’s the best way to reheat leftovers?
The microwave will make your sandwich soggy. Instead, reheat in a skillet over low heat or place it in a toaster oven for 5–6 minutes at 350°F to bring back that crispy exterior and gooey center.
6. Can I freeze these sandwiches for later?
Technically, yes—but the texture won’t be the same. If you want to prep ahead, assemble the sandwiches (uncooked), wrap tightly in foil or plastic wrap, and freeze. When ready to eat, cook from frozen in a skillet on low heat until warmed through and crispy.
7. How do I keep the garlic from burning in the pan?
Since the garlic is mixed into the butter and not cooked directly on the heat, it’s protected from burning. Just keep your heat at medium and don’t leave the sandwich unattended.
Final Thoughts: Make It Once, Crave It Forever
Garlic Bread Grilled Cheese is the kind of recipe that sounds indulgent—and it is—but it’s also ridiculously easy to make. It transforms simple ingredients into something totally satisfying, with that nostalgic grilled cheese comfort and a bold garlic bread upgrade.
What I love most about this recipe is how versatile it is. You can keep it simple and classic, or go wild with add-ins and cheese combinations. It’s fast enough for a weeknight dinner, cozy enough for a rainy day, and impressive enough to serve to friends who pop by unexpectedly.
So next time you’ve got a loaf of good bread, a couple slices of cheese, and a craving for something warm and toasty—this is the recipe to reach for.
PrintGarlic Bread Grilled Cheese
A rich, savory sandwich that combines the buttery, garlicky flavors of classic garlic bread with the gooey, melted cheese of a grilled cheese. Crisp edges give way to a soft interior and oozing cheese in every bite.
- Author: Mark's Recipe
Ingredients
4 slices of rustic Italian or sourdough bread
2 tablespoons unsalted butter, softened
2 cloves garlic, finely minced
½ teaspoon dried parsley or Italian seasoning
Salt and freshly ground black pepper, to taste
4 slices sharp cheddar or mozzarella cheese
1 tablespoon mayonnaise (optional, for extra browning)
Instructions
In a small bowl blend the softened butter with the minced garlic, dried parsley, a pinch of salt, and a few grinds of black pepper until smooth.
Spread the garlic butter evenly on one side of each slice of bread. If using mayonnaise, spread it on the opposite side of two slices to help achieve a golden crust.
Heat a skillet or griddle over medium heat and melt a little additional butter or oil if needed. Place two slices of bread, garlic-butter side down, onto the hot surface.
Top each slice with two cheese slices, then press the remaining slices of bread on top, mayonnaise side down if used.
Cook until the bottom slice is golden brown and the cheese begins to melt, about three to four minutes. Flip carefully and cook until the second side is crisp and the cheese is fully melted, another two to three minutes.
Remove from the pan and let rest for a minute before slicing each sandwich in half and serving immediately.
Notes
For best results use a cast-iron skillet or sandwich press to ensure even heat and perfect sear marks.
Swap in garlic-infused olive oil for a dairy-free alternative or stir a tablespoon of grated Parmesan into the butter for an extra savory bite.
Add cooked bacon, sliced tomato, or caramelized onions between the cheese layers for a deluxe variation.
Reheat leftovers in a skillet over low heat or in a toaster oven to restore crisp edges and melted cheese.


")
