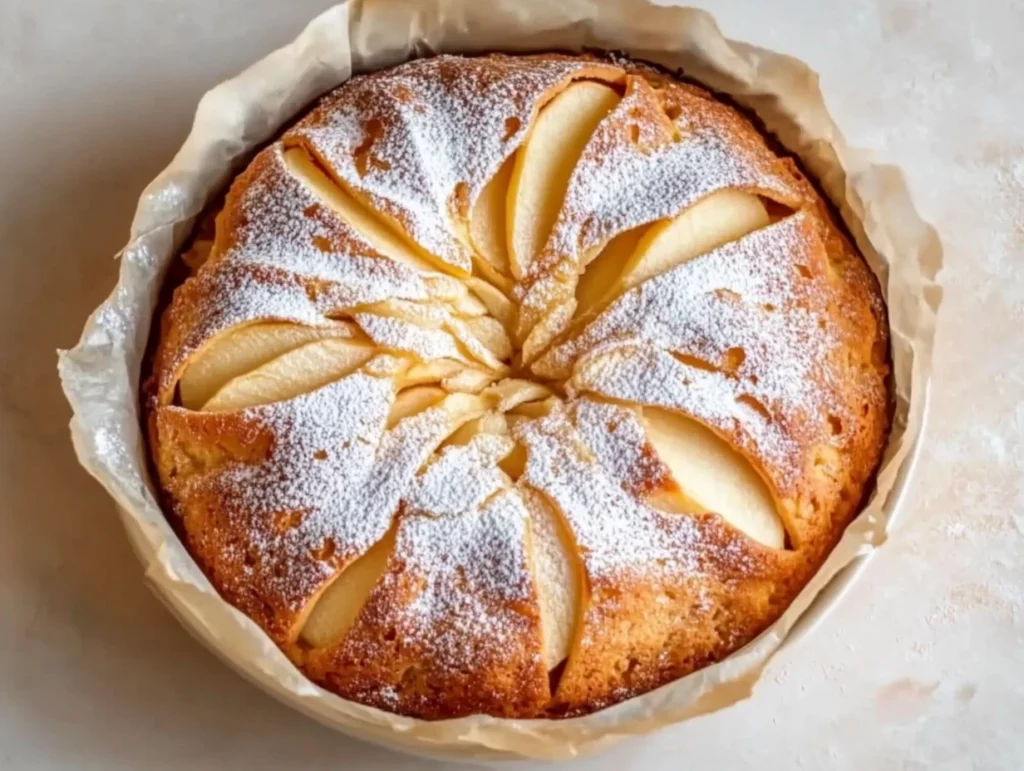
There’s something truly comforting about the smell of apples and cinnamon wafting through the kitchen. This Soft Apple Cake with Crisp Topping is one of those recipes that just feels like home. Whether you’re whipping it up for a fall brunch, a casual Sunday dessert, or simply because you’ve got a couple of apples sitting on the counter begging to be used, this recipe is a no-fuss winner.
What makes it extra special is the contrast in textures—a soft, moist interior filled with fresh apple bits, and a lightly crisp, brown sugar topping that gives just the right crunch with each bite. It’s the kind of cake you don’t need a special occasion for, but it sure makes any day feel a little more special.
This is a recipe that’s close to my heart because it reminds me of the kind of simple, satisfying desserts my grandmother used to make. No fancy layers or frostings—just good old-fashioned flavor and comfort. And best of all? It’s incredibly easy to make with basic ingredients you probably already have in your kitchen.
Let’s get right into how to make it.
Ingredients You’ll Need
For the Cake:
-
1 cup all-purpose flour
-
1 teaspoon baking powder
-
1/2 teaspoon ground cinnamon
-
Pinch of nutmeg (optional)
-
1/4 teaspoon salt
-
3/4 cup granulated sugar
-
1/2 cup unsalted butter, melted and slightly cooled
-
2 large eggs
-
1 teaspoon vanilla extract
-
1 cup grated or finely chopped apples (about 2 medium apples)
For the Crisp Topping:
-
1/2 cup packed brown sugar
-
1/4 cup all-purpose flour
-
1/4 cup unsalted butter, melted
-
Pinch of cinnamon
STEP 1: Preheat and Prep
Start by preheating your oven to 350°F (175°C). This gives you plenty of time to prep the ingredients while the oven warms up. Take out an 8×8-inch baking pan and grease it lightly, or line it with parchment paper if you want to make removal and cleanup even easier.
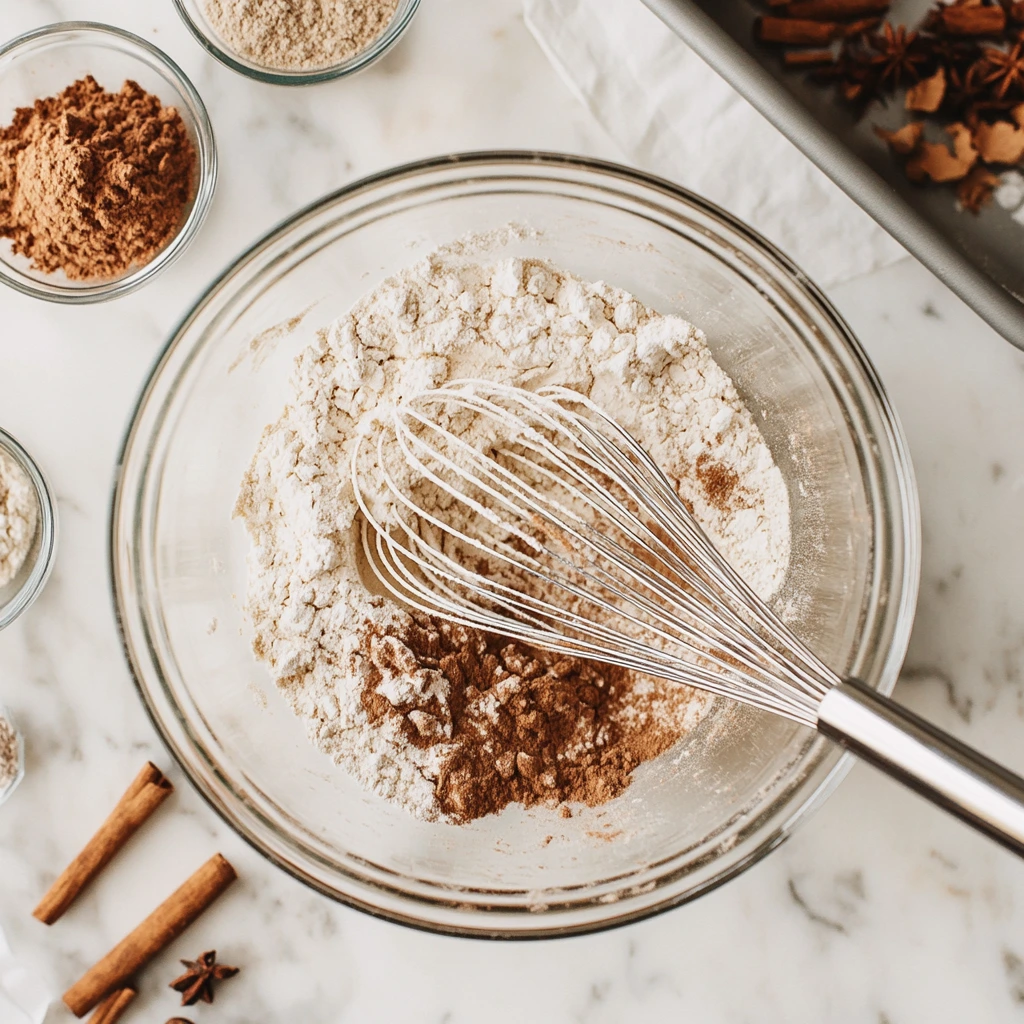
STEP 2: Mix the Dry Ingredients
In a medium bowl, whisk together your flour, baking powder, ground cinnamon, a pinch of nutmeg (if you’re using it), and salt. Mixing the dry ingredients first ensures that all those spices and leavening agents are distributed evenly throughout the batter later on.
STEP 3: Combine the Wet Ingredients
In a separate mixing bowl, combine the granulated sugar and melted butter. Stir until the mixture is smooth. Add the eggs one at a time, mixing well after each addition. This helps the batter come together smoothly. Stir in the vanilla extract, which adds that warm, sweet flavor that pairs perfectly with apples.
![]()
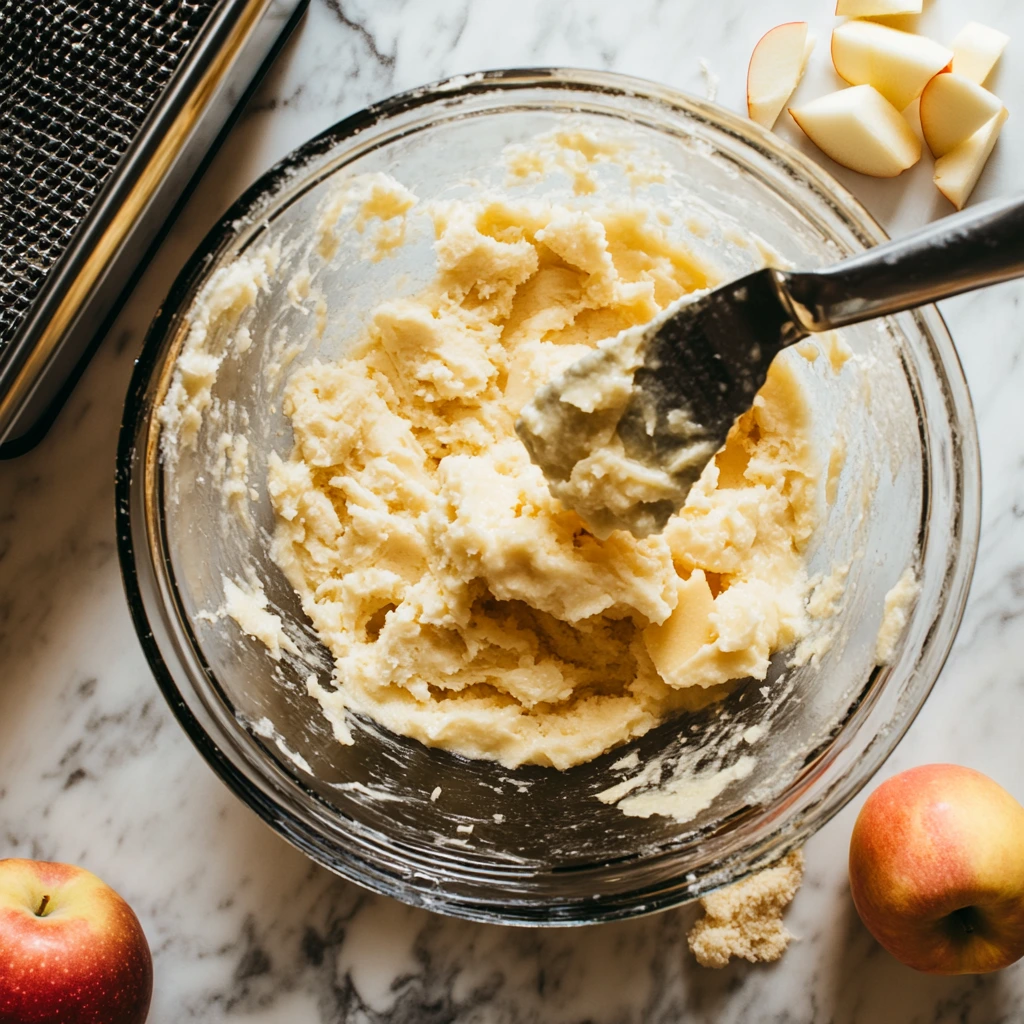
STEP 4: Bring It All Together
Now it’s time to marry the dry and wet ingredients. Gradually fold the dry mixture into the wet, being careful not to overmix. Stir just until no streaks of flour remain. At this point, gently fold in the grated or finely chopped apples. This adds natural sweetness and moisture to the cake, and the small apple pieces make sure you get a taste of fruit in every bite.
How to Make the Perfect Soft Apple Cake – Topping and Baking Tips
Now that the base of our Soft Apple Cake is ready and bursting with fresh apple goodness, it’s time to take things to the next level with a crisp topping that adds just the right amount of sweetness and crunch. This topping is simple but adds that little extra something that makes each slice feel bakery-worthy. And the best part? It takes only minutes to whip up.
I’ll also walk you through some baking tips to ensure the cake comes out perfectly golden and moist every time. So let’s dive right back in and finish what we started.
STEP 5: Prepare the Crisp Topping
This is where the magic happens. In a small bowl, mix together:
-
1/2 cup packed brown sugar
-
1/4 cup all-purpose flour
-
1/4 cup melted unsalted butter
-
A pinch of ground cinnamon
Use a fork or spoon to stir the ingredients until they come together into a crumbly, streusel-like mixture. You don’t want a paste—you’re looking for something that resembles wet sand or crumbles that you can scatter evenly over the top of the batter.
The brown sugar melts into the top of the cake as it bakes, while the flour and butter create that lightly crunchy texture we all love in a good topping. The cinnamon ties it all together with a warm, fragrant touch.
STEP 6: Assemble and Bake
Now for the fun part: assembling the cake for baking.
Spread your cake batter into the prepared 8×8-inch baking pan, using a spatula to smooth the top so it’s even. Don’t worry if it’s a little thick—that’s exactly what you want. The apples keep everything moist as it bakes.
Sprinkle the crisp topping evenly over the batter. Try to cover as much of the surface as possible, and gently press it down with your fingers so it sticks to the top of the cake. You don’t need to press hard—just enough so it doesn’t roll off during baking.
Slide the pan into your preheated 350°F (175°C) oven and bake for 30 to 35 minutes. You’ll know it’s ready when the top is golden and a toothpick inserted into the center comes out clean (a few moist crumbs are fine, but no wet batter).
Your kitchen is going to smell amazing during this part—apple, cinnamon, brown sugar—it’s basically autumn in a pan.
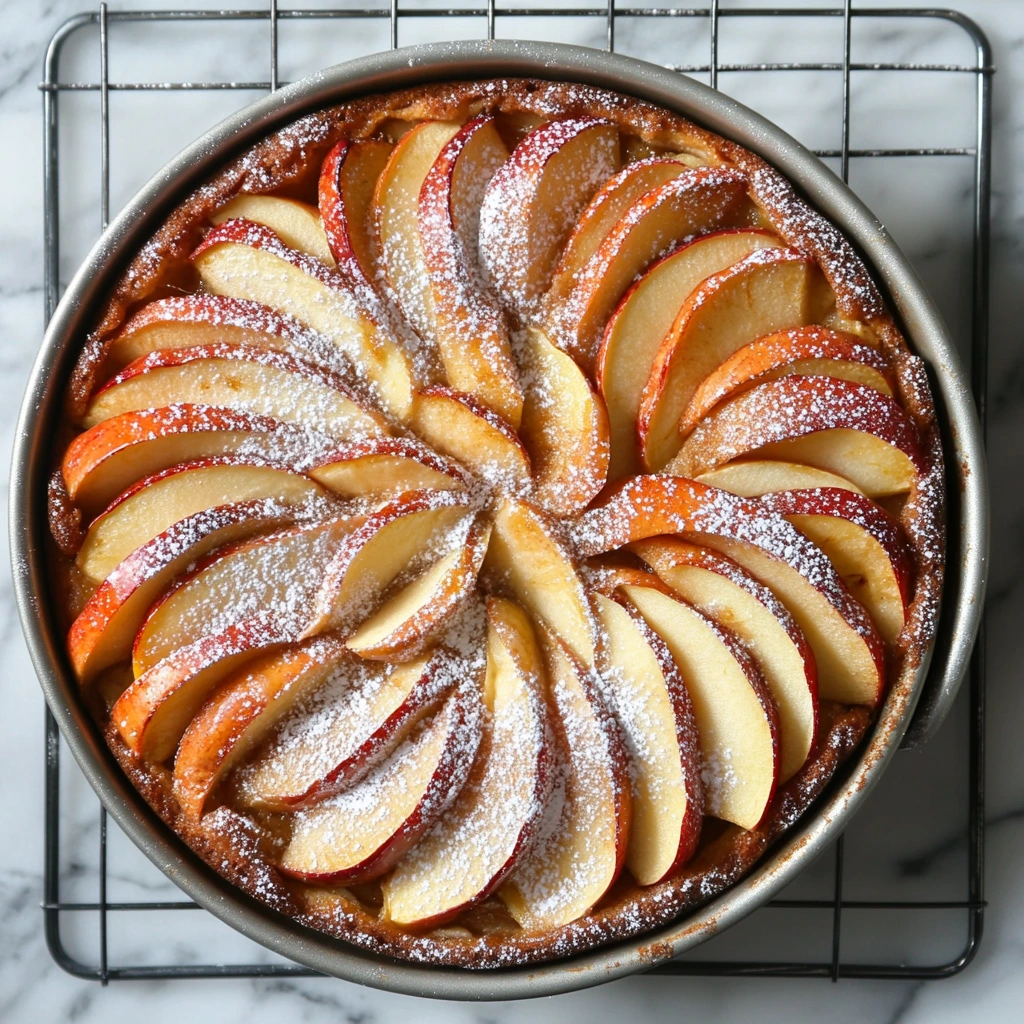
STEP 7: Cool and Serve
Once baked, let the cake cool in the pan for about 10 minutes. This short wait allows everything to set up a bit, making it easier to slice without falling apart. You can serve it warm, at room temperature, or even slightly chilled if that’s your thing.
I love it just as it is, but if you’re in the mood for something a little extra, try serving it with:
-
A dusting of powdered sugar
-
A drizzle of caramel sauce
-
A scoop of vanilla ice cream
Each option brings out the flavors in its own delicious way, and they all pair beautifully with the cozy, spiced apple flavor of the cake.
Tips and Variations
Want to customize this cake to make it your own? Here are a few ideas to try:
-
Apple Choice: You can use any variety you like, but I recommend Granny Smith for a tart contrast or Honeycrisp for extra sweetness. Just make sure they’re grated or finely chopped so they bake evenly into the cake.
-
Nutty Twist: Add 1/3 cup of chopped walnuts or pecans to the batter or topping for added texture and a nutty flavor that complements the apples perfectly.
-
Spice It Up: Feel free to adjust the spices. Add a pinch of ground cloves or allspice for a deeper, spiced flavor. If you really love cinnamon, go ahead and add a little extra.
-
Make It Ahead: This cake stores beautifully. You can make it a day ahead and keep it covered at room temperature. The flavors actually deepen overnight, making the second-day slices just as good—if not better!
Soft Apple Cake FAQ and Final Thoughts
Before we wrap things up, let’s take a moment to answer some of the most common questions about this soft apple cake. Whether you’re wondering about storage, substitutions, or making it ahead for a brunch gathering, I’ve got you covered. These FAQs are based on what readers like you ask the most, so hopefully, they’ll help you feel even more confident when baking this delicious treat.

Frequently Asked Questions
1. Can I use a different type of fruit instead of apples?
Absolutely! While apples are the star here, you can easily swap them for pears or even finely chopped peaches. Just make sure whatever fruit you use is slightly firm and not overly juicy to keep the texture of the cake balanced.
2. Do I need to peel the apples before adding them?
That’s up to you. If you prefer a smoother texture, go ahead and peel them. If you like a bit of extra texture and don’t mind the peel, feel free to leave it on. It softens as the cake bakes and blends right in.
3. Can I double this recipe?
Yes! You can double the recipe and bake it in a 9×13-inch pan. Keep an eye on the baking time—it may need a few extra minutes in the oven. Use the toothpick test to check for doneness.
4. How should I store leftovers?
Store any leftover cake in an airtight container at room temperature for up to 3 days. If your kitchen is especially warm, you might want to store it in the fridge instead. Just bring it to room temperature or warm it slightly before serving for the best texture.
5. Can I freeze this cake?
You sure can. Once the cake has cooled completely, wrap individual slices in plastic wrap and place them in a freezer-safe container or zip-top bag. They’ll keep well for up to 2 months. To serve, just thaw a slice at room temperature or warm it briefly in the microwave.
6. What’s the best apple variety for this cake?
You can’t go wrong with Honeycrisp, Granny Smith, or Fuji. Honeycrisp gives a sweet, juicy bite, Granny Smith adds tartness, and Fuji is a nice balance of both. Just avoid overly soft apples, which can turn mushy as they bake.
7. Can I make this gluten-free?
Yes—just substitute the all-purpose flour with a 1:1 gluten-free baking blend. Make sure the mix includes xanthan gum or a similar binder to help with the structure of the cake.
Final Thoughts and a Little Encouragement
And there you have it—a simple, cozy Soft Apple Cake with a crisp topping that checks all the boxes: easy to make, made with pantry staples, and absolutely satisfying with every bite. Whether you’re baking it for guests, family, or just to treat yourself on a quiet weekend, this cake delivers every single time.
One of my favorite things about this recipe is how customizable it is. You can stick to the classic version or play around with different fruits, spices, or mix-ins like nuts or raisins. And the best part? You don’t need any special equipment or baking skills to get it right. Just a bowl, a spoon, and a love for good homemade cake.
If you try this recipe, I’d love to hear how it turns out. Did you make any tweaks? Add a new topping? Share your version in the comments—I always enjoy seeing how others make these recipes their own. And if you have any other apple-inspired desserts you’d love to see, let me know!
PrintSoft Apple Cake – Short & Crisp

This Soft Apple Cake is a perfect blend of moist, tender cake and a lightly crunchy topping. Packed with fresh apple flavor and warm spices, it’s easy to make and even easier to love. Ideal for cozy gatherings, brunches, or a comforting dessert, this cake is sure to please with every bite.
- Author: Mark's Recipe
Ingredients
For the Cake
1 cup all-purpose flour
1 teaspoon baking powder
1/2 teaspoon ground cinnamon
Pinch of nutmeg (optional)
1/4 teaspoon salt
3/4 cup granulated sugar
1/2 cup unsalted butter, melted and slightly cooled
2 large eggs
1 teaspoon vanilla extract
1 cup grated or finely chopped apples (about 2 medium apples)
For the Crisp Topping
1/2 cup packed brown sugar
1/4 cup all-purpose flour
1/4 cup unsalted butter, melted
Pinch of cinnamon
Instructions
Step 1: Preheat and Prep
Preheat the oven to 350°F (175°C). Grease an 8×8-inch baking pan or line it with parchment paper to make cleanup and removal easier.
Step 2: Mix the Dry Ingredients
In a medium mixing bowl, whisk together the flour, baking powder, cinnamon, nutmeg if using, and salt until evenly combined. Set aside.
Step 3: Combine Wet Ingredients
In another bowl, mix the granulated sugar with the melted butter until smooth. Add the eggs one at a time, stirring well after each addition. Stir in the vanilla extract until incorporated.
Step 4: Combine Everything
Gradually fold the dry ingredients into the wet mixture, stirring just until no streaks of flour remain. Be careful not to overmix. Gently fold in the grated or finely chopped apples.
Step 5: Prepare the Crisp Topping
In a small bowl, mix the brown sugar, flour, melted butter, and a pinch of cinnamon until it forms a crumbly mixture.
Step 6: Assemble and Bake
Spread the cake batter evenly into the prepared pan. Sprinkle the crisp topping over the batter, pressing gently so it adheres. Bake for 30 to 35 minutes, or until a toothpick inserted into the center comes out clean.
Step 7: Cool and Serve
Allow the cake to cool in the pan for about 10 minutes before slicing. Serve warm or at room temperature. It’s especially delightful with a dusting of powdered sugar or a scoop of vanilla ice cream.
Notes
Using fresh apples adds natural moisture and a burst of fruity flavor to the cake. For added texture, mix in chopped nuts like walnuts or pecans. This cake stores well in an airtight container at room temperature for up to three days.


")
