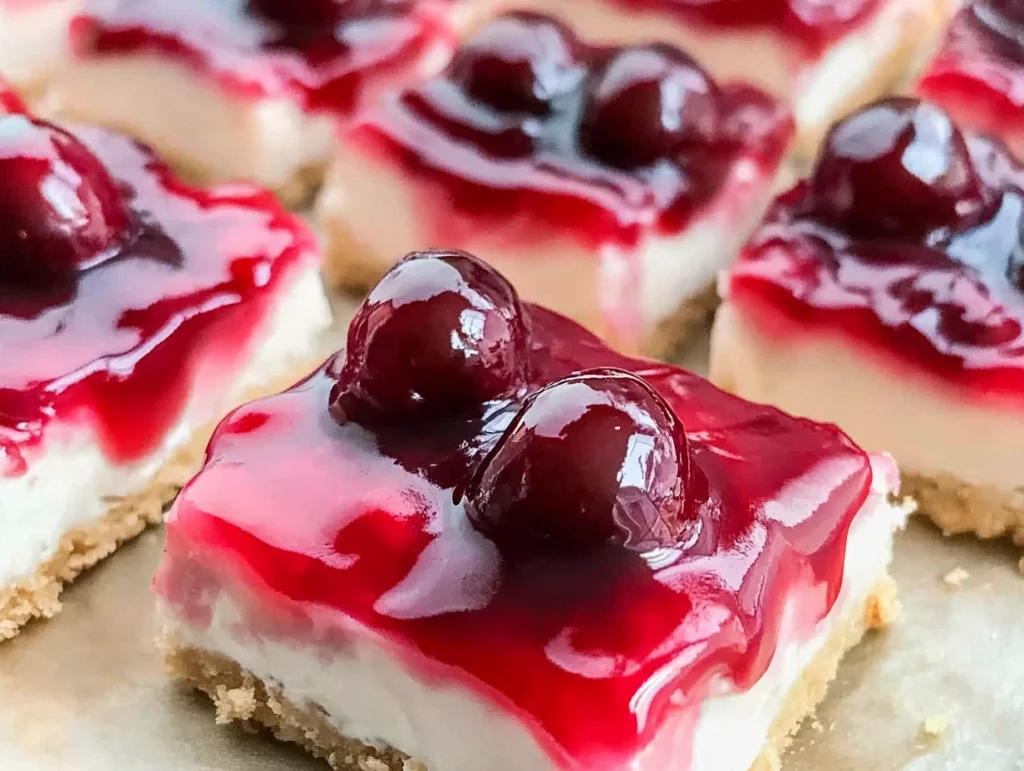
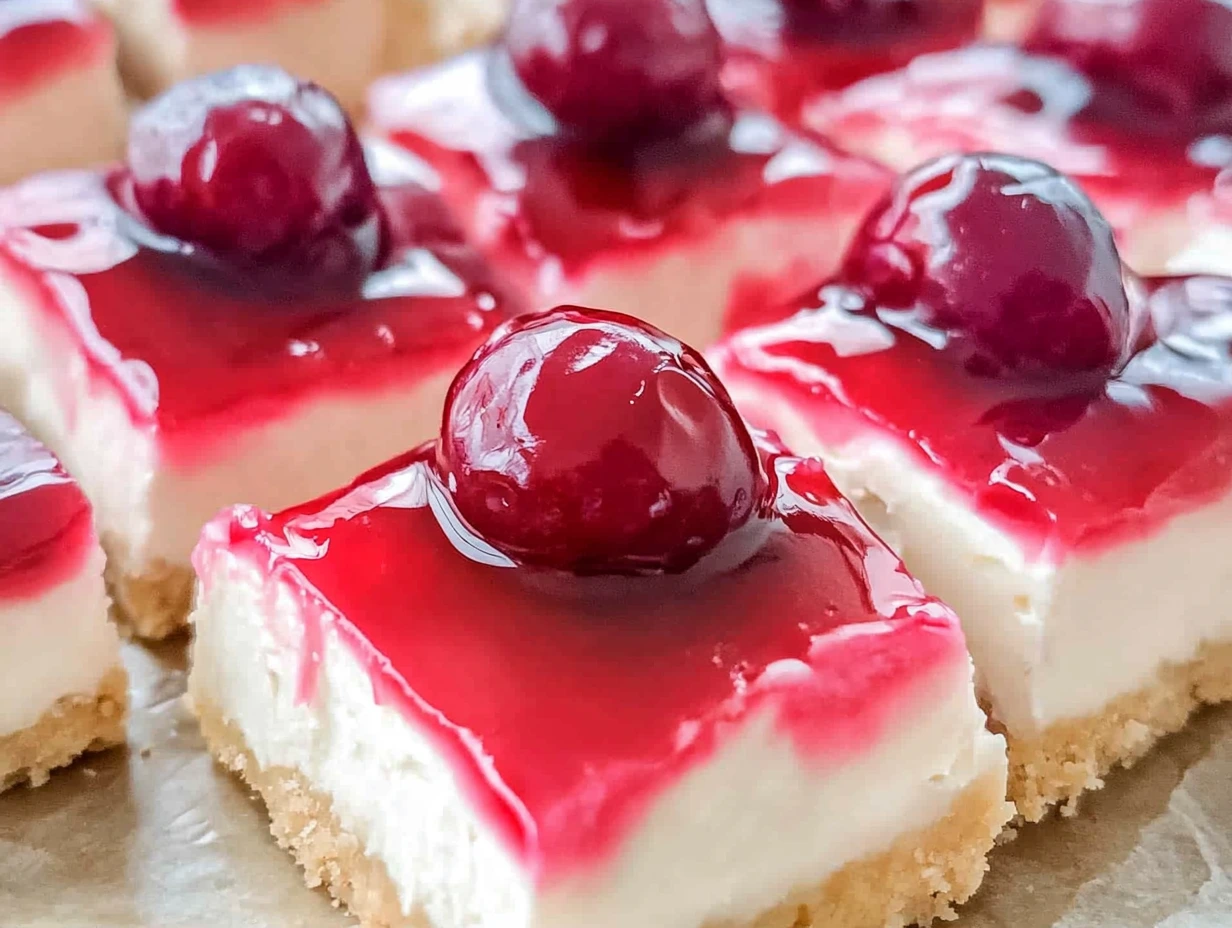
There’s just something magical about a dessert that’s simple, sweet, and doesn’t require a single minute in the oven. That’s exactly what makes this Cherry Delight recipe such a fan favorite in our house. Whether it’s a last-minute treat for a backyard BBQ or a quick fix for a weeknight sweet tooth, this no-bake cheesecake bar delivers every time. It’s creamy, fruity, and completely irresistible.
I first stumbled upon this gem when I was looking for a dessert that didn’t require baking (because summer heat and ovens do not mix well). One bite and I was hooked. The buttery graham cracker crust, the silky cheesecake center, and the glossy cherry topping—it’s pure comfort and so easy to make. I’ve brought it to potlucks, served it during the holidays, and even whipped it up for lazy Sunday afternoons. And every single time, it disappears in minutes.
Let’s jump into how to make it—starting with the classic, crowd-pleasing graham cracker crust.
INGREDIENTS YOU’LL NEED
For the crust:
-
9 graham crackers
-
2 tablespoons granulated sugar
-
½ cup (1 stick) salted butter, melted
For the cheesecake layer:
-
16 ounces (2 blocks) cream cheese, room temperature
-
1 cup powdered sugar
-
1 teaspoon vanilla extract
-
8 ounces (1 tub) Cool Whip
For the topping:
-
21-ounce can of cherry pie filling
STEP 1: PREP YOUR BAKING DISH
Start by prepping your 8×8-inch baking dish. Spray it well with non-stick spray, then line the bottom with parchment paper. Be sure to leave a couple inches of overhang on two sides—that little detail makes it so much easier to lift the bars out cleanly later on.
This step only takes a minute, but it really pays off when you’re ready to slice and serve.
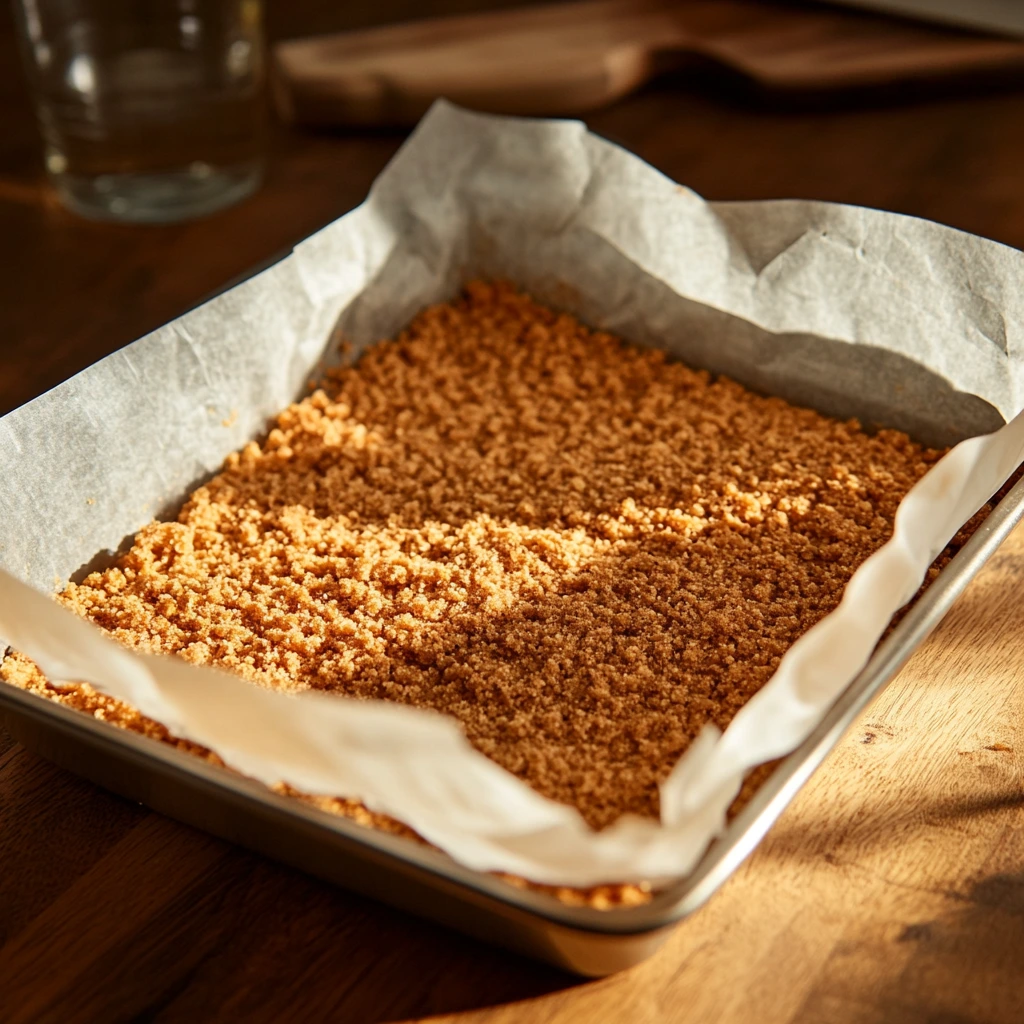
STEP 2: BUILD THE GRAHAM CRACKER CRUST
To make the crust, you’ll need to crush your graham crackers into fine crumbs. A food processor works great for this—just pulse until everything looks like coarse sand. No food processor? No problem! Just toss the crackers into a zip-top bag and crush them with a rolling pin.
Add in the granulated sugar and melted butter, then pulse or stir everything together until it starts to hold when pressed. You want the mixture to be moist enough to pack into the dish and stay put.
Pour the crumb mixture into your prepared pan and press it down into an even layer. I like to use the bottom of a measuring cup to get it nice and firm—this helps create a solid base that won’t fall apart when you slice it.
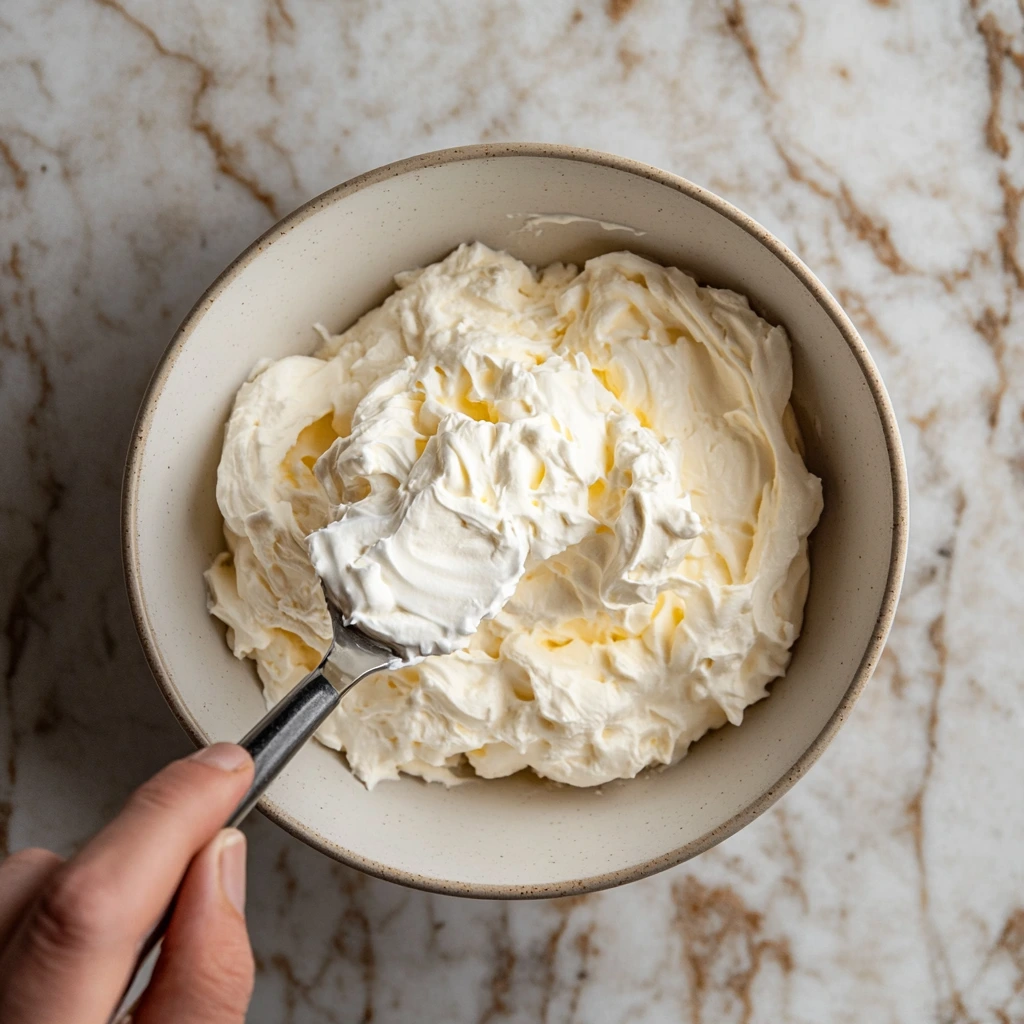
STEP 3: WHIP UP THE CHEESECAKE FILLING
This filling is everything. It’s light, creamy, and super easy to pull together.
First, make sure your cream cheese is fully at room temperature—this is important for getting a smooth texture without lumps. Beat it on medium-high speed for 4 to 5 minutes, until it’s completely smooth.
Next, mix in the powdered sugar and vanilla extract. Don’t overmix—just combine until it’s creamy and evenly blended.
Now it’s time to fold in the Cool Whip. Do this gently with a spatula, using light, upward strokes to keep the mixture fluffy. The goal is to blend it without deflating all that lovely whipped texture.
Once everything is combined, spread the cheesecake layer over your graham cracker crust. Smooth the top with an offset spatula or the back of a spoon, then pop the dish in the fridge to chill. It needs at least 4 hours to firm up—overnight is even better if you’ve got the time.
LAYERING, CHILLING, AND SERVING YOUR CHERRY DELIGHT
Now that your crust is pressed and your creamy cheesecake filling is chilled to perfection, it’s time for the best part—topping this dreamy dessert with that sweet, glossy cherry finish. This is where the whole dessert really comes together and turns into something that looks (and tastes) like a bakery-worthy treat.
The best thing? It’s incredibly easy. No cooking, no mixing, just one final layer and a little fridge time before you’re ready to slice and serve.
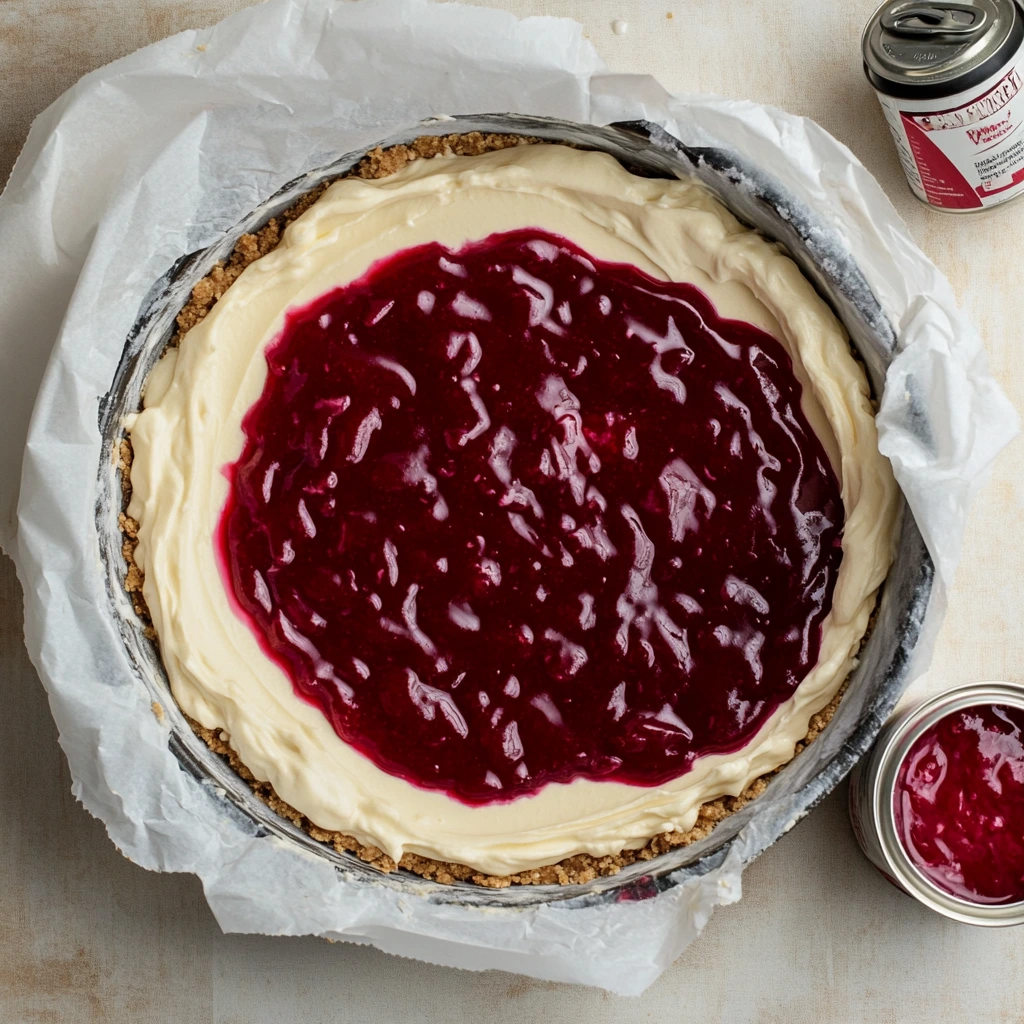
STEP 4: ADD THE CHERRY TOPPING
Once your cheesecake layer is nice and firm—at least four hours in the fridge, though overnight gives the best results—it’s time for the crowning glory: cherry pie filling.
Open your can of cherry pie filling and gently spoon it across the surface of the cheesecake layer. I like to start from the center and work my way outward, spreading it gently with the back of a spoon or a small spatula. Try to distribute the cherries evenly so every square gets a good balance of fruit and filling.
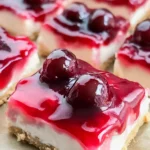
There’s something so satisfying about this step—the deep red cherries add such a pretty pop of color, and the shine makes the whole dessert look extra special with almost zero effort.
STEP 5: SLICE AND SERVE
When you’re ready to serve, grab the parchment paper overhang and carefully lift the entire dessert out of the baking dish. Set it on a cutting board and use a sharp knife to slice it into squares. Nine large bars work great, but you can also cut them smaller for a bite-size version that’s perfect for parties or potlucks.
Here’s a quick tip: wipe your knife clean between cuts. This keeps each slice looking clean and defined, without smudging the layers.
Serve cold for the best texture and flavor—these bars are at their absolute best straight from the fridge.
TIPS FOR THE BEST CHERRY DELIGHT EVERY TIME
While this recipe is pretty much foolproof, a few little tricks can take it from great to amazing:
-
Use room temperature cream cheese. It blends smoothly without lumps, giving you a silky cheesecake base. If you’re short on time, microwave it in 10-second bursts until just soft.
-
Don’t skip the parchment paper. It makes lifting and slicing the bars so much easier. Just a little extra prep makes a huge difference when serving.
-
Fold, don’t mix, the Cool Whip. You want to keep all that fluffy texture intact. Gentle strokes from the bottom of the bowl work best.
-
Chill thoroughly. Four hours is the minimum, but if you can chill it overnight, you’ll get cleaner cuts and a firmer texture that holds up perfectly.
-
Try other toppings. Not a cherry fan? No problem. Blueberry, strawberry, and even lemon pie filling work beautifully as alternatives. You can also make a quick homemade fruit topping if you want to keep things from-scratch.
STORING LEFTOVERS
If you’re lucky enough to have any leftovers, store them in an airtight container in the fridge. The bars will keep their shape and flavor for up to three days.
They actually taste even better the next day once the layers have had more time to meld together. Just be sure not to leave them sitting out too long at room temperature, especially during warmer months—this dessert is best served chilled.
FAQ AND FINAL THOUGHTS ON THIS CLASSIC NO-BAKE DESSERT
By this point, your Cherry Delight should be perfectly chilled and topped with that glossy, vibrant cherry layer. It’s always exciting to pull it out of the fridge and see how cleanly it slices—and let me tell you, it never disappoints. Before we wrap up, I want to cover some of the most common questions I get about this recipe. Whether you’re prepping it for a crowd or trying it for the first time, these tips will help make your Cherry Delight a sweet success.
FREQUENTLY ASKED QUESTIONS
1. Can I use homemade whipped cream instead of Cool Whip?
Yes, you can! Just whip 1 cup of heavy cream with a little powdered sugar and vanilla until it forms stiff peaks. Fold it in gently the same way you would Cool Whip. Just keep in mind that homemade whipped cream is less stable, so the bars may soften faster.
2. What can I use instead of graham crackers for the crust?
If you’re out of graham crackers, vanilla wafers, shortbread cookies, or digestive biscuits make great substitutes. Just crush them into fine crumbs and follow the same steps with sugar and melted butter.
3. Can I freeze Cherry Delight?
I wouldn’t recommend it. Freezing tends to alter the texture of the cream cheese layer, making it grainy when thawed. This dessert is best enjoyed fresh from the fridge.
4. Can I make this recipe in advance?
Absolutely! Cherry Delight is perfect for making ahead. You can prepare it the night before and keep it refrigerated until serving. Just wait to add the cherry topping until a few hours before serving to keep the layers looking fresh.
5. Can I double the recipe for a larger crowd?
Yes! Just double all the ingredients and use a 9×13-inch pan. The layering works exactly the same way, but you’ll probably want to chill it a bit longer to make sure everything sets properly.
6. Is there a way to reduce the sweetness?
If you prefer a less sweet dessert, reduce the powdered sugar in the cream cheese mixture to ¾ cup, and use a tart cherry pie filling or make your own fruit topping using fresh or frozen cherries with minimal added sugar.
7. How do I get clean, professional-looking slices?
The secret is in the knife. Use a sharp knife and wipe it clean with a damp cloth between cuts. Chilling the dessert overnight also helps firm up the layers for clean slicing.
FINAL THOUGHTS: A DESSERT YOU’LL KEEP COMING BACK TO
Cherry Delight is one of those recipes that just sticks with you. It’s easy, reliable, and delivers big flavor with minimal effort. Whether you’re new to no-bake desserts or a seasoned pro, this one’s a keeper.
It checks all the boxes: buttery crust, creamy filling, fruity topping—and the fact that it’s completely no-bake makes it even better. Bring it to your next BBQ, holiday dinner, or office potluck, and you’ll be the hero of the dessert table.
PrintCherry Delight
Cherry Delight is a no-bake, crowd-pleasing dessert featuring a buttery graham cracker crust, creamy cheesecake layer, and vibrant cherry topping. Effortless yet elegant, it’s ideal for potlucks, BBQs, or a simple indulgent treat after dinner.
- Author: Mark's Recipe
Ingredients
For the crust
9 graham crackers
2 Tablespoons granulated sugar
½ cup (1 stick) salted butter, melted
For the cheesecake
16 ounces (2 blocks) cream cheese, room temperature
1 cup powdered sugar
1 teaspoon vanilla extract
8 ounces (1 tub) Cool Whip
For the topping
21 ounce can cherry pie filling
Instructions
Prepare an 8×8-inch baking dish by spraying generously with non-stick spray and lining the bottom with parchment paper, leaving overhang on two sides for easier removal.
In a food processor, pulse the graham crackers into crumbs, then add the granulated sugar and melted butter and pulse until the mixture holds together. If you don’t have a food processor, place crackers in a resealable bag and crush them with a rolling pin, then mix by hand.
Transfer the crumb mixture into the prepared pan and press firmly into an even crust layer using the bottom of a measuring cup or glass.
In the bowl of a stand mixer fitted with a paddle attachment (or using an electric hand mixer), beat the cream cheese on medium-high for 4–5 minutes until completely smooth.
Add the powdered sugar and vanilla extract and mix until just combined.
Fold in the Cool Whip with a spatula until evenly blended, taking care not to deflate the mixture.
Spread the cheesecake layer over the crust and refrigerate for at least 4 hours or overnight to firm up.
When ready to serve, gently smooth the cherry pie filling over the chilled cheesecake layer.
Use the parchment paper handles to lift the dessert from the pan, slice into nine squares, and serve.
Notes
Line the pan with parchment overhang to make removing and slicing neat bars effortless. Ensure cream cheese is fully at room temperature before beating to avoid lumps. When folding Cool Whip in, use gentle strokes from the bottom up to keep the mixture light and airy. For a thinner crust, reduce the crumb layer slightly and bake it briefly at 350°F for 5–7 minutes before building the layers. Store leftovers in an airtight container in the refrigerator for up to three days—chilling helps the bars hold their shape.


")
