
If you’re anything like me, then the words “molten chocolate” are enough to make your heart skip a beat. I mean, who can resist a warm, gooey chocolate cookie with a rich, melted center just waiting to ooze out the moment you take a bite? These Chocolate Lava Cookies are exactly that kind of indulgent treat—and they might just be the best thing to ever come out of your oven.
What I love most about this recipe is that it gives you the soft chewiness of a classic chocolate cookie, but then surprises you with that glorious lava-like center. It’s like a cross between a cookie and a lava cake, all bundled into one deliciously decadent bite. This is the kind of dessert you pull out when you want to wow your dinner guests, impress your date, or just treat yourself after a long day (no shame in that game).
I first made these for a small get-together with friends, and let me tell you—people were raving. The kind of raving that results in zero leftovers and multiple requests for the recipe. Since then, they’ve become a regular in my baking rotation, especially when I want something that feels a little fancy without actually requiring a lot of fuss. Because yes, you can absolutely pull these off even if you’re not a seasoned baker.
So, let’s jump right in and get started with these heavenly little cookie bombs of joy.
Ingredients You’ll Need
Here’s what you’ll need to make about 12–14 of these decadent cookies:
-
1 cup unsalted butter, softened
-
1 cup brown sugar
-
½ cup granulated sugar
-
2 large eggs
-
1 teaspoon vanilla extract
-
2¼ cups all-purpose flour
-
½ cup unsweetened cocoa powder
-
1 teaspoon baking soda
-
½ teaspoon salt
-
1 cup semi-sweet chocolate chips
-
12 to 14 chocolate truffles or baking chocolate squares (for the lava center)
And here’s a little pro tip: for the gooey center, go for good-quality chocolate truffles or ganache squares. Trust me—it makes all the difference.
STEP 1: Preheat and Prep
Start by preheating your oven to 350°F (175°C). Line a large baking sheet with parchment paper so the cookies don’t stick. This step also makes for easy cleanup, which is always a win in my book.
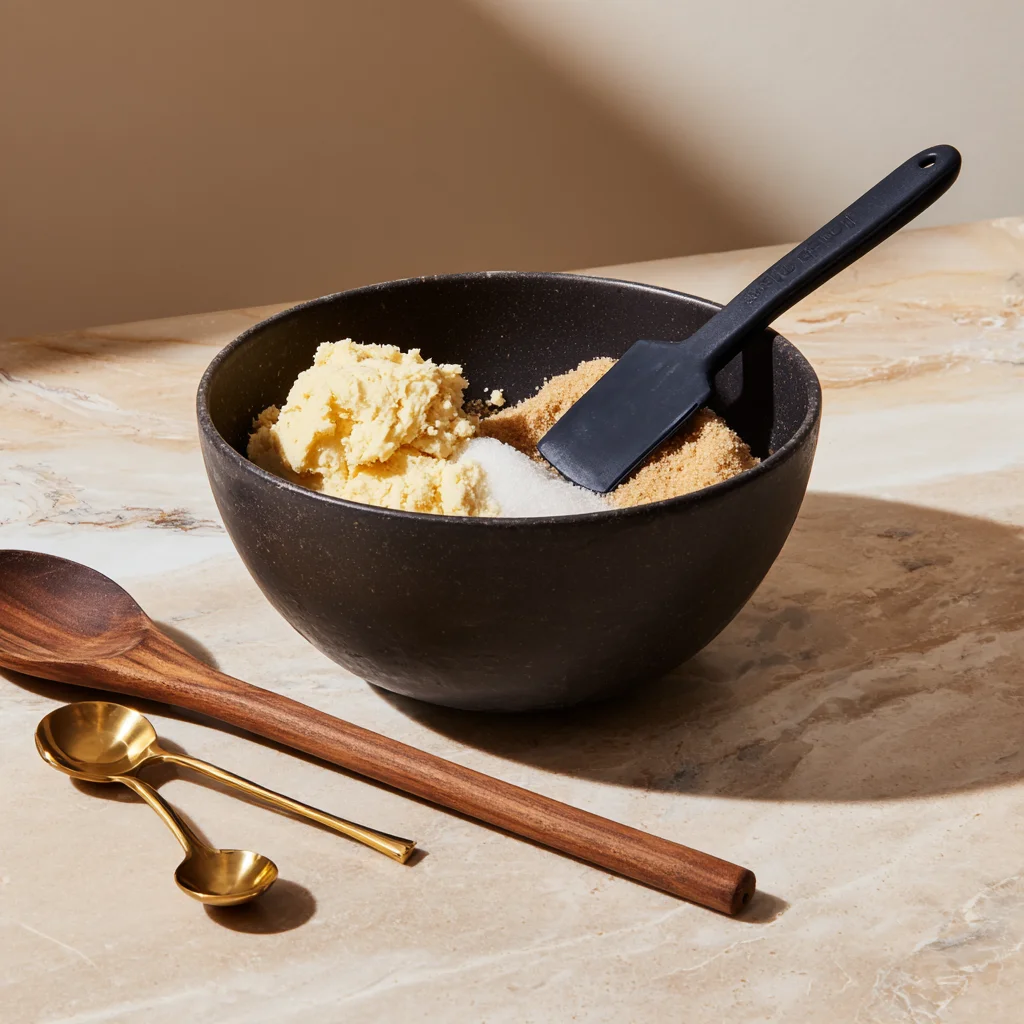
STEP 2: Cream the Butter and Sugars
In a large mixing bowl, cream together the softened butter, brown sugar, and granulated sugar. You want to mix this until it’s light, fluffy, and fully combined. I usually use a hand mixer, but a stand mixer works great too if you have one.
Once the mixture looks pale and creamy, crack in the eggs—one at a time—mixing well after each. Then stir in the vanilla extract. Your dough should already be smelling pretty heavenly at this point.
STEP 3: Combine the Dry Ingredients
In a separate bowl, whisk together your flour, unsweetened cocoa powder, baking soda, and salt. This helps evenly distribute the leavening agent and cocoa so your cookies bake up just right.
Gradually add the dry ingredients into the wet mixture. Don’t dump it all in at once—go in stages and mix after each addition. This keeps your dough from getting clumpy and ensures everything blends smoothly.
STEP 4: Fold in the Chocolate Chips
Once the dough is fully combined, gently fold in the semi-sweet chocolate chips. These little bits of chocolate melt just enough to give you pockets of extra richness in every bite.
Now here’s the key to getting those perfectly thick, soft cookies: chill your dough. Pop the entire bowl in the fridge for about 30 minutes. Not only does this make the dough easier to handle, but it also helps prevent your cookies from spreading too much while baking.

STEP 5: Form the Lava-Filled Dough Balls
Now comes the fun part. Scoop about 2 tablespoons of chilled dough into your hands and flatten it slightly into a disc. Place one chocolate truffle or baking square right in the center. Then carefully wrap the dough around the chocolate and seal it up into a ball.
Make sure the lava center is completely covered—you don’t want any chocolate peeking out or it might leak during baking. Set each finished dough ball on your prepared baking sheet, leaving a couple of inches between each one for spreading.
Bake, Serve & Expert Tips
Alright, now that we’ve prepped and stuffed our cookie dough balls with that dreamy molten chocolate center, it’s time to bake and bring these gooey delights to life. This part is where the magic happens—when those soft chocolate cookies puff up just enough to hold that warm, rich center and you get that perfect contrast of chewy and molten in every bite.
If you’ve chilled your dough and sealed those chocolate centers well, you’re already halfway to cookie greatness. So let’s keep it going!
STEP 6: Bake to Gooey Perfection
Once your cookie dough balls are all lined up on the baking sheet, slide them into your preheated 350°F oven. Bake for 10 to 12 minutes, depending on the size of your cookies and your oven’s personality (yes, ovens have moods, or at least mine does).
You’ll know they’re ready when the edges are just set, but the centers still look a little soft and puffy. That softness is what keeps the molten chocolate in the center from drying out. Do not overbake—that’s the #1 way to lose the lava effect.
When you take them out, let the cookies sit on the baking sheet for about 5 minutes. They’ll continue to cook slightly as they rest, and this helps them firm up just enough to transfer to a wire rack without falling apart.
STEP 7: Cool (Just a Bit) & Serve Warm
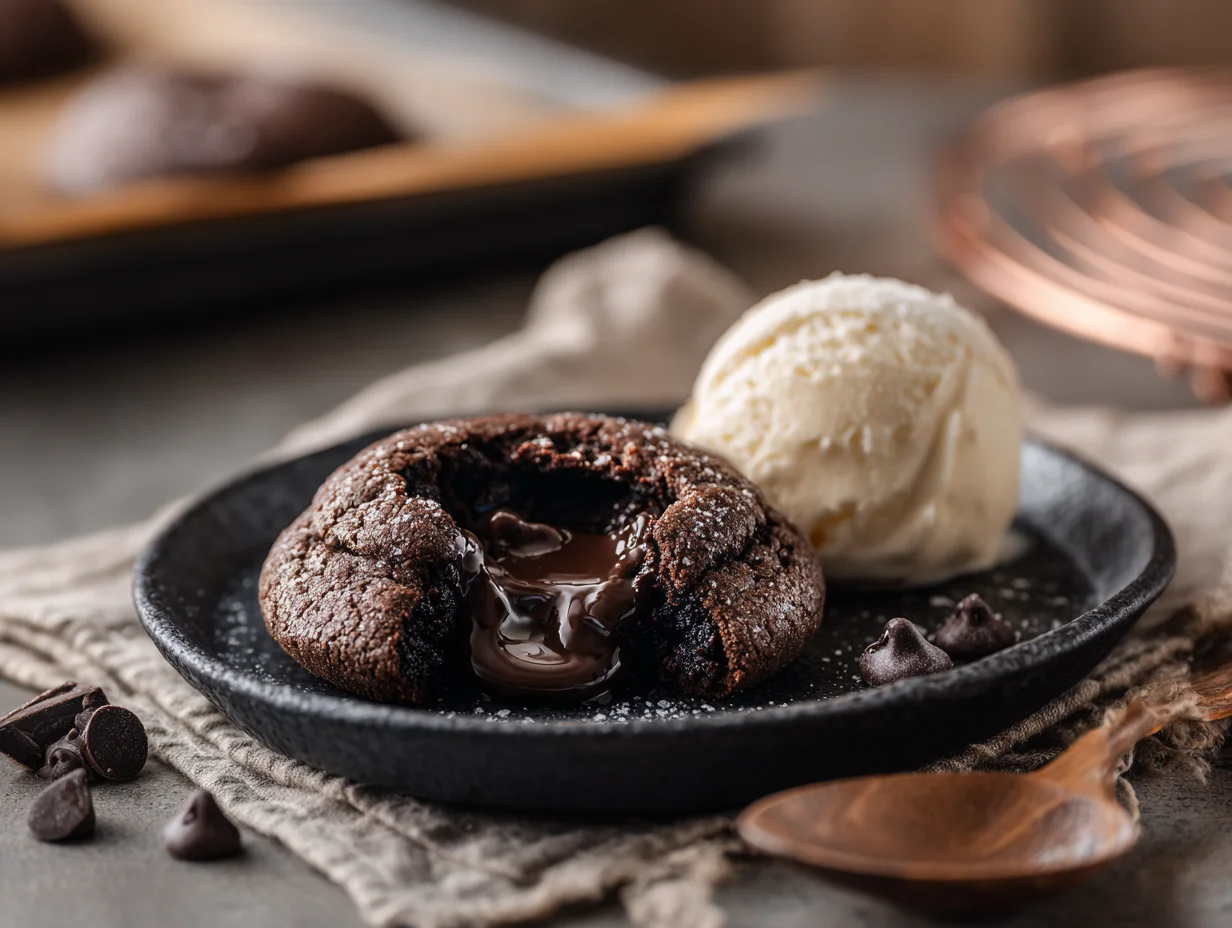
Once the cookies are stable enough to move, transfer them to a wire rack to cool a little further. But let’s be honest—these are meant to be enjoyed warm. That’s when the center is still gloriously gooey, and every bite feels like something out of a fancy dessert menu.
If you really want to level things up, serve them with a scoop of vanilla ice cream on top. The contrast of cold and hot, melty and creamy? Absolutely next-level.
Make-Ahead and Storage Tips
One of my favorite things about this recipe is how well it works for making ahead. You can freeze the cookie dough balls (already stuffed with chocolate) and just pop them in the oven whenever the craving hits. Perfect for holiday baking, dinner parties, or those late-night “I need chocolate now” moments.
Here’s how to do it:
-
After forming the dough balls, place them on a baking sheet and freeze for about 1 hour.
-
Once firm, transfer them to a freezer-safe bag or container.
-
When ready to bake, add an extra 1–2 minutes to the baking time (no need to thaw).
Once baked, store any leftovers in an airtight container at room temperature for up to 3 days. To reheat, microwave a cookie for 10 to 15 seconds—just enough to bring the lava back to life without overcooking.
Fun Variations to Try
While the original recipe is pretty perfect, there’s always room to get creative. Here are a few variations I’ve played around with:
-
Mint Chocolate Lava Cookies: Swap the chocolate truffles with peppermint patties or mint chocolate squares. A holiday favorite!
-
Peanut Butter Core: Use peanut butter cups in the center for a salty-sweet twist.
-
Spicy Kick: Add a pinch of cayenne or chili powder to the dough for a Mexican hot chocolate vibe.
-
Double Dark Chocolate: Use dark chocolate truffles in the center and dark chocolate chips in the dough for the ultimate chocolate overload.
Each version brings a little something new to the table, but the base recipe remains solid every time.
Why Chilling the Dough Matters
Let’s take a moment to talk about dough chilling, because yes, it’s worth the wait. Chilling helps the fats solidify, which means:
-
Less spreading in the oven
-
Thicker, chewier cookies
-
A better hold for the molten center
If you’re short on time, even 15–20 minutes in the fridge is better than nothing, but 30 minutes is ideal. If you have more time, you can even chill it overnight for deeper flavor.
FAQ & Final Thoughts
By now, you’ve seen just how decadent and surprisingly easy these Chocolate Lava Cookies are to make. Whether you’re baking them fresh or pulling a batch from the freezer for an impromptu dessert moment, this recipe is one of those gems that always delivers.
But before we wrap up, let’s tackle some of the most common questions people have about making these lava-filled beauties. From baking times to substitutions, I’ve got you covered.
Frequently Asked Questions
1. What’s the best chocolate to use for the lava center?
The magic of these cookies comes from that molten core, so using a high-quality chocolate really makes a difference. Look for chocolate truffles, baking squares, or even chocolate ganache cubes. Lindt, Ghirardelli, and similar brands melt beautifully and give you that smooth lava texture. Avoid candy bars with fillers or crunchy centers.
2. Why did my cookies leak chocolate during baking?
This usually happens when the dough isn’t sealed tightly enough around the center. Make sure the chocolate is completely wrapped in dough with no seams or holes. Also, chilling the dough before baking helps prevent the centers from leaking out.
3. Can I make these cookies gluten-free?
Absolutely! Just use a good-quality 1:1 gluten-free all-purpose flour (like Bob’s Red Mill or King Arthur). These blends are designed to substitute directly for regular flour without changing the texture too much. The rest of the ingredients are naturally gluten-free.
4. Can I use different types of chocolate chips in the dough?
Yes! You can use dark chocolate, milk chocolate, or even white chocolate chips if you prefer. Mini chips work too, though they’ll melt more evenly into the dough. I personally love semi-sweet because it balances the sweetness of the truffle center.
5. How long do these cookies stay fresh?
Stored in an airtight container at room temperature, these cookies will stay soft for up to 3 days. To reheat and bring back the molten center, microwave for 10–15 seconds. You can also freeze baked cookies for up to 2 months and reheat as needed.
6. Can I make these without an electric mixer?
Yes, you can mix by hand—it just takes a little more elbow grease. Be sure to cream the butter and sugars thoroughly to achieve the right texture. A sturdy spatula or wooden spoon will get the job done.
7. Can I make these smaller for a cookie platter?
You can, but keep in mind that smaller cookies mean less room for the lava center. If you want to do mini versions, try using small chocolate squares (like the ones from a chocolate bar) instead of full truffles. Bake for a slightly shorter time—about 8 to 9 minutes.
Final Thoughts: Your New Go-To Chocolate Cookie
There’s something truly satisfying about biting into a warm cookie and discovering that melty, rich chocolate center hiding inside. It’s the kind of dessert that feels impressive but doesn’t require a pastry chef’s touch to pull off.
These Chocolate Lava Cookies are a crowd-pleaser every single time. They look like they came from a fancy bakery, but they’re made with pantry staples and a little baking love. Whether you’re making them for a special occasion or just because it’s Tuesday and you need chocolate, this recipe never disappoints.
So here’s your challenge: make a batch, serve them warm, and watch everyone’s eyes light up when they hit that molten center. And don’t forget to come back and let me know how they turned out! I’d love to hear if you tried any fun twists—like swapping in a caramel center or adding a sprinkle of sea salt on top.
PrintChocolate Lava Cookies
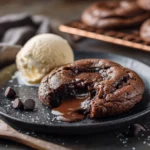
Chocolate Lava Cookies are soft, rich, and filled with a molten chocolate center that oozes with every bite. These indulgent cookies combine the chewiness of classic chocolate cookies with the decadent surprise of gooey melted chocolate inside. Perfect for chocolate lovers, they make an impressive dessert for dinner parties or a cozy night in. Serve warm for the full lava effect, preferably with a scoop of vanilla ice cream.
- Author: Mark's Recipe
Ingredients
1 cup unsalted butter, softened
1 cup brown sugar
½ cup granulated sugar
2 large eggs
1 teaspoon vanilla extract
2¼ cups all-purpose flour
½ cup unsweetened cocoa powder
1 teaspoon baking soda
½ teaspoon salt
1 cup semi-sweet chocolate chips
12 to 14 chocolate truffles or baking squares (for the lava center)
Instructions
Preheat the oven to 350°F and line a baking sheet with parchment paper.
In a large bowl, cream together the butter, brown sugar, and granulated sugar until light and fluffy. Add eggs one at a time, then mix in the vanilla extract.
In a separate bowl, whisk together the flour, cocoa powder, baking soda, and salt. Gradually add the dry ingredients to the wet mixture and mix until fully combined.
Fold in the chocolate chips until evenly distributed. Chill the dough in the refrigerator for 30 minutes to make it easier to handle.
Scoop about 2 tablespoons of dough and flatten it slightly in your palm. Place one chocolate truffle or baking square in the center, then wrap the dough around it, sealing the edges to form a ball. Repeat with remaining dough.
Place the cookie dough balls on the prepared baking sheet, leaving enough space between each for spreading.
Bake for 10 to 12 minutes, or until the edges are set but the centers are still soft. Do not overbake to preserve the lava center.
Let the cookies cool for 5 minutes on the baking sheet before transferring to a wire rack. Serve warm to enjoy the gooey center.
Notes
For the lava center, use high-quality chocolate truffles, ganache cubes, or baking chocolate squares. Chilling the dough helps prevent the cookies from spreading too much during baking. If you want to reheat later, pop a cookie in the microwave for about 10 to 15 seconds to restore the melted center. These cookies can be frozen before baking, making them a great make-ahead treat for special occasions.


")
