If you’re anything like me, you love a good dessert that doesn’t require hours in the kitchen — especially when it still tastes like it did. That’s exactly what makes this Cherry Pineapple Dump Cake such a winner in my book. It’s one of those magical “dump and bake” recipes that you can throw together in minutes, and yet it comes out of the oven looking and tasting like a million bucks. Whether you’re hosting a casual get-together, planning a holiday spread, or just treating yourself on a quiet night in, this is one of those go-to desserts that never disappoints.
What I especially love about this recipe is that it doesn’t ask much from you. Four simple ingredients, one baking dish, and hardly any cleanup — that’s my kind of baking. I remember the first time I made this for a Sunday family dinner. I was short on time (and, let’s be honest, energy), and I needed something easy but still delicious enough to impress. Let me tell you — the moment I pulled this bubbling, golden beauty out of the oven and served it with a scoop of vanilla ice cream, I was getting recipe requests before dessert was even finished!
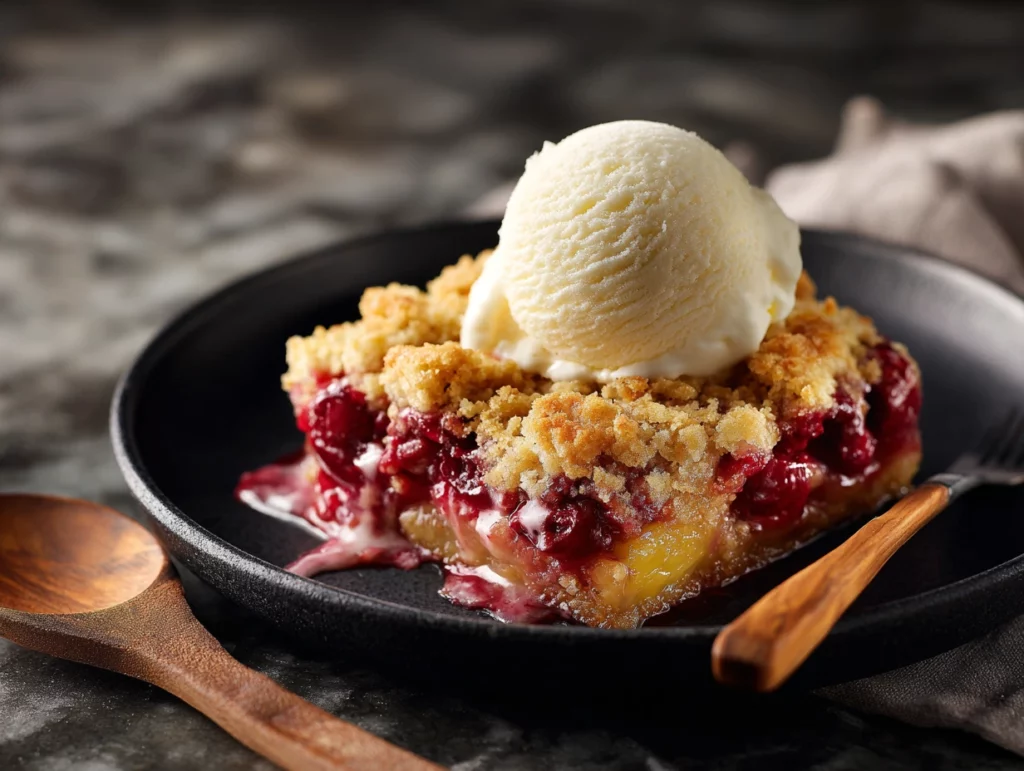
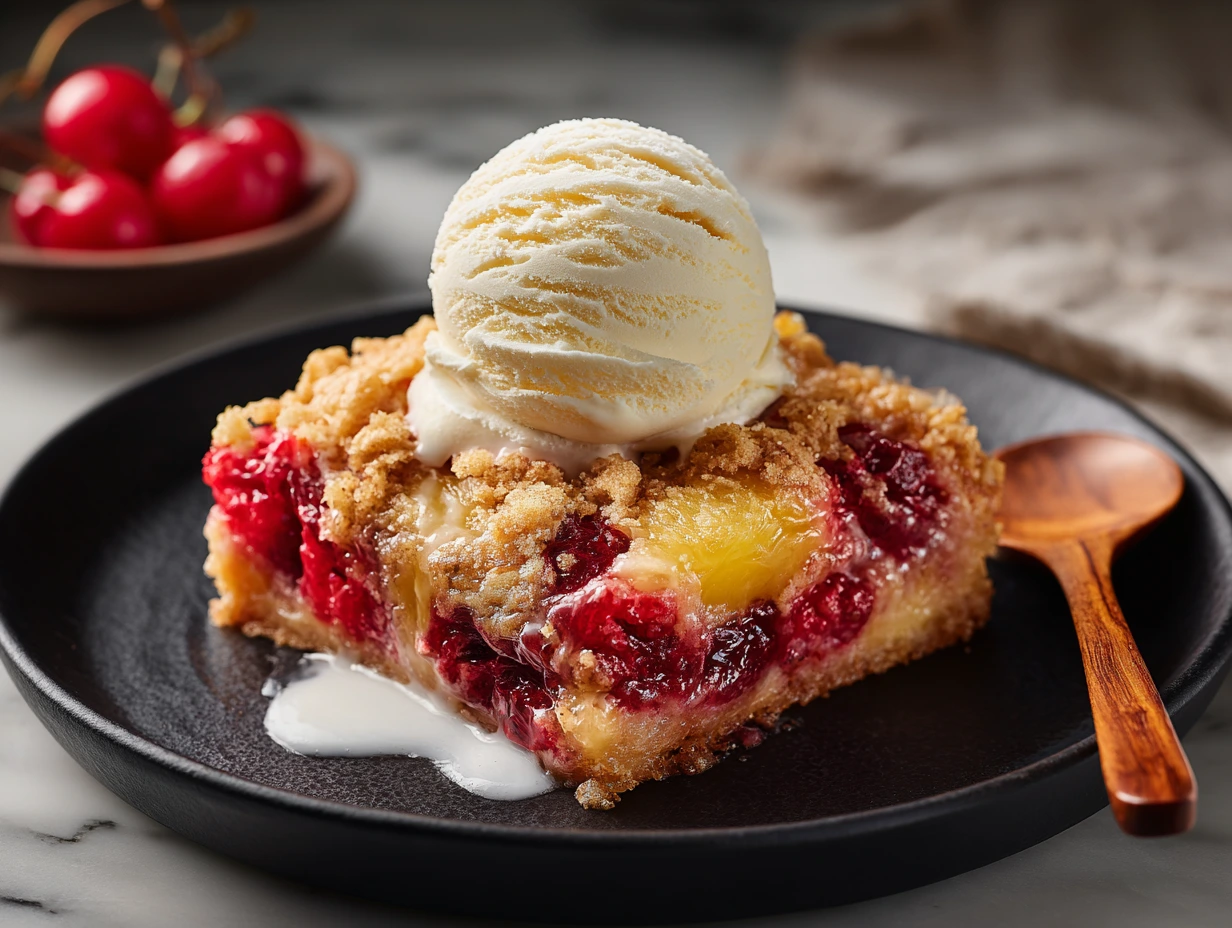
This recipe brings together the sweet, juicy tartness of cherries, the tropical brightness of pineapple, and the buttery richness of a golden cake crust. And the best part? No bowls, no mixers, and absolutely no fuss. Just layer, bake, and enjoy.
Let’s dive into how to make this irresistible Cherry Pineapple Dump Cake.
Ingredients You’ll Need
-
1 (20 oz) can crushed pineapple, undrained
-
1 (21 oz) can cherry pie filling
-
1 box yellow cake mix
-
1 cup (2 sticks) unsalted butter, sliced into thin pats
STEP-BY-STEP INSTRUCTIONS
Step 1: Preheat and Prep
Start by preheating your oven to 350°F (175°C). Lightly grease a 9×13-inch baking dish with non-stick spray or a bit of butter. This step ensures your dump cake doesn’t stick and makes cleanup a whole lot easier.
Step 2: Add the Crushed Pineapple
Open your can of crushed pineapple — juice and all — and pour it directly into the prepared baking dish. Use a spoon or spatula to spread it out evenly. The juice helps keep the cake moist and gives it that gooey, fruity base we’re after.
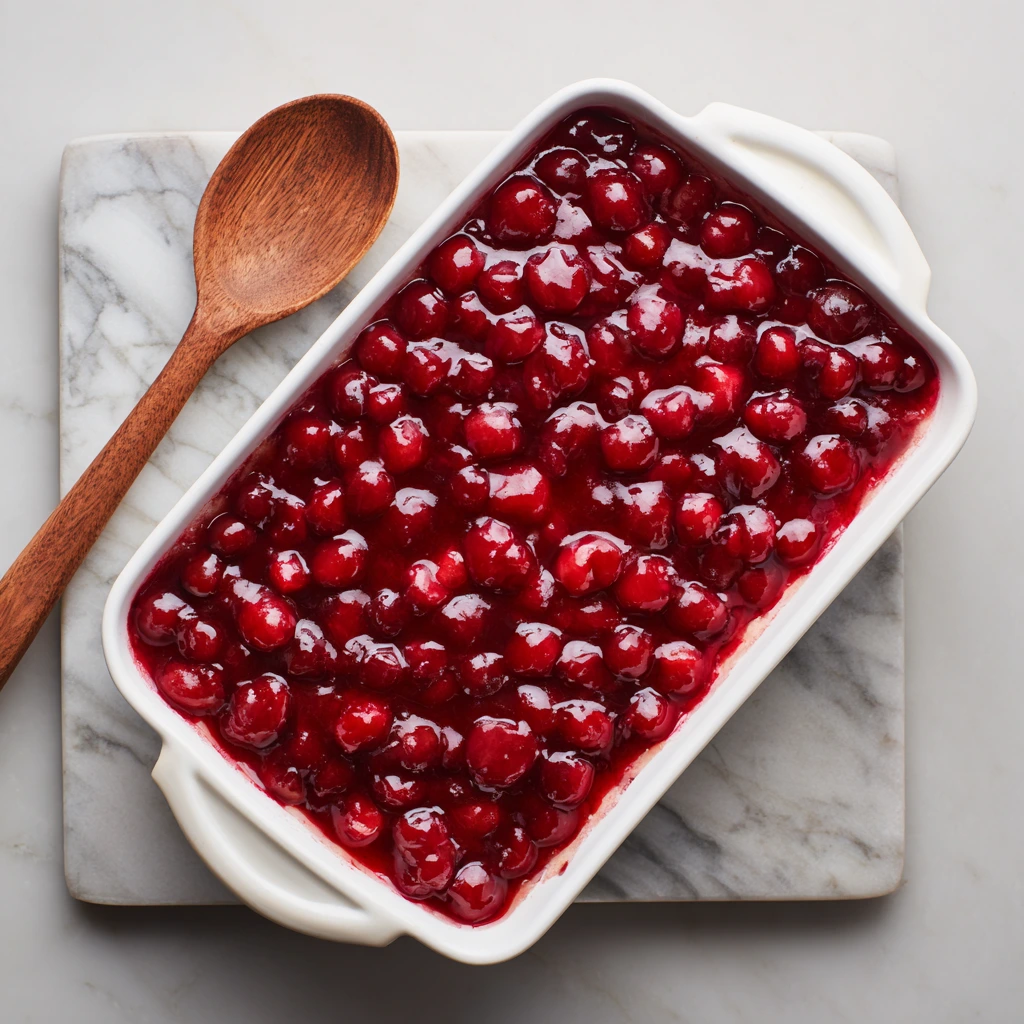
Step 3: Layer on the Cherry Pie Filling
Next comes the cherry pie filling. Spoon it carefully over the pineapple, doing your best to spread it out without mixing the layers. The goal here is to keep those two fruity layers distinct so they create that beautiful, marbled effect once baked.

Step 4: Sprinkle on the Cake Mix
Now for the “dump” part! Open your box of yellow cake mix and sprinkle it evenly over the top of the fruit. Don’t mix it in — just let it sit on top like a blanket. This is what’s going to form that delicious, buttery, golden crust on top.
Step 5: Add the Butter
Finally, top the cake mix with thin slices of butter, placing them as evenly as possible across the entire surface. Try to cover as much of the cake mix as you can — the butter will melt in the oven and help turn that dry mix into a crisp, golden topping.
How to Bake, Serve & Customize Cherry Pineapple Dump Cake
Now that we’ve got everything layered and ready to go in the baking dish, it’s time for the oven to work its magic. This is the part where all those layers transform into something truly delicious — warm, gooey fruit on the bottom and a buttery, golden crust on top. Trust me, the smell alone is enough to make anyone’s mouth water!
This Cherry Pineapple Dump Cake has become a go-to in our house not just because it’s so easy, but because it’s the kind of dessert that feels homemade and comforting without the stress or extra work. Let’s go ahead and finish up the recipe so you can get that first sweet bite.
Step 6: Bake to Golden Perfection
Place the dish in your preheated 350°F oven and bake for 45 to 50 minutes. You’ll know it’s ready when the top is golden brown and you see those fruity edges bubbling up around the sides.
Every oven is a little different, so I like to start checking at the 45-minute mark. If the top isn’t quite golden or still has some dry cake mix peeking through, give it a few more minutes. You want that top to be fully baked and lightly crisped.
Step 7: Let It Cool Slightly
Once it’s out of the oven, let the cake cool for about 10–15 minutes before serving. This helps the layers settle a bit and makes it easier to scoop. Plus, it’ll still be warm — just the way we like it.
How to Serve Cherry Pineapple Dump Cake
Honestly, this dessert is amazing all on its own. The warm fruit filling and buttery topping are rich, flavorful, and totally satisfying. But if you want to take it up a notch? Here are a few of my favorite ways to serve it:
-
With vanilla ice cream – A cold scoop melts perfectly into the warm fruit and cake topping. It’s classic for a reason.
-
Topped with whipped cream – Light, fluffy, and a great contrast to the gooey richness underneath.
-
With a drizzle of caramel sauce – This one’s indulgent, but if you’re serving it for a special occasion, go for it.
Tips & Variations
Want to make this recipe your own? Here are a few simple ways to tweak it for different tastes or occasions:
1. Try Different Cake Mix Flavors
While yellow cake mix is the traditional choice, you can absolutely switch it up. White cake mix gives a slightly lighter flavor, while butter or golden butter mix adds even more richness. Spice cake mix can add a warm twist in the fall months.
2. Add Crunch with Nuts
Before baking, sprinkle ½ cup of chopped pecans or walnuts over the cake mix for a nutty, crunchy finish. It adds texture and makes every bite more interesting.
3. Make it a Tropical Twist
Feeling adventurous? Add a handful of sweetened shredded coconut on top of the fruit layers before the cake mix. It pairs beautifully with the pineapple and adds a toasty tropical flavor once baked.
4. Go Mini
Want individual servings? Divide the ingredients into ramekins or small baking dishes and bake for about 30–35 minutes. Perfect for dinner parties or portion control.
5. Use Fresh or Frozen Fruit (Optional)
If you prefer using fresh or frozen fruit, you can! Just make sure to cook it down slightly and add a bit of sugar to mimic the sweetness and consistency of pie filling. You’ll still want some moisture to help the cake mix cook properly.
Cherry Pineapple Dump Cake FAQs and Final Thoughts
If you’ve never made a dump cake before, I totally get that you might have a few questions. I’ve been there — wondering if I really shouldn’t stir the ingredients (you shouldn’t), or whether it’s okay to change up the cake mix (absolutely). Below, I’ve gathered some of the most common questions I’ve heard about this easy and delicious Cherry Pineapple Dump Cake — and I’ve got answers to help you feel confident from the first scoop to the last bite.
FREQUENTLY ASKED QUESTIONS
1. Can I make Cherry Pineapple Dump Cake ahead of time?
Yes, you can! This dump cake can be made the night before and stored in the refrigerator. Just let it cool completely, cover tightly, and pop it in the fridge. When you’re ready to serve, you can reheat individual portions in the microwave or warm the whole dish in the oven at 300°F for about 15-20 minutes.
2. Do I have to use yellow cake mix?
Not at all. Yellow cake mix is the classic base for dump cake, but white, butter, or even spice cake mix can work beautifully. Each will bring a slightly different flavor to the dish, so feel free to experiment with what you like or have on hand.
3. Should I stir the layers before baking?
Nope — don’t stir. This is probably the biggest rule in dump cake making. The layering is key to the texture: fruit on the bottom, dry cake mix in the middle, and butter on top. As it bakes, the butter soaks into the cake mix and creates that golden, buttery topping. Stirring would make everything too mushy.
4. Can I add nuts or coconut?
Absolutely. Adding chopped pecans, walnuts, or even shredded coconut can give the topping a nice crunch and flavor twist. Just sprinkle them over the cake mix before you add the butter pats.
5. What’s the best way to store leftovers?
Leftover dump cake can be stored in the fridge, covered tightly, for up to 4 days. It tastes great cold or reheated in the microwave. If you want to freeze it, I recommend doing so in individual portions. Just thaw and reheat as needed.
6. Can I use fresh or frozen fruit instead of canned?
Yes, but with a caveat. Canned fruit (especially pie filling) has added sweetness and a syrupy consistency that works perfectly in this recipe. If you’re using fresh or frozen fruit, you may need to cook it down with a bit of sugar and cornstarch first to mimic the texture and sweetness of pie filling.
7. What if I don’t have unsalted butter?
You can use salted butter if that’s all you have. Just be aware that it might add a slightly saltier flavor to the topping, which can still be delicious. If you prefer full control over the salt content, unsalted is ideal.
Why You’ll Keep Coming Back to This Dump Cake
There’s something so satisfying about a recipe that delivers big flavor with almost zero effort. Cherry Pineapple Dump Cake checks every box: it’s quick, uses pantry staples, doesn’t dirty a bunch of dishes, and it makes your house smell incredible while it bakes. But beyond the simplicity, it’s just plain good. The tart cherries, the sweet pineapple, the soft fruit base against the golden crust — every bite is comforting and delicious.
Whether you serve it at a summer BBQ, whip it up on a snowy night with a cup of hot coffee, or bring it to a holiday gathering, this is one of those desserts that people remember. And the best part? They’ll think you spent way more time on it than you actually did.
So next time you’re craving something sweet — or need a no-fail dessert to impress your guests — keep this Cherry Pineapple Dump Cake in your back pocket. Try it once, and I promise it’ll earn a permanent spot in your dessert rotation.
PrintCherry Pineapple Dump Cake
Cherry Pineapple Dump Cake is one of the easiest and most satisfying desserts you can make with minimal ingredients and prep time. A buttery, golden cake topping blankets a sweet and tangy fruit filling, creating a warm, gooey treat that’s perfect for potlucks, holidays, or cozy nights in.
- Author: Mark's Recipe
Ingredients
1 (20 oz) can crushed pineapple, undrained
1 (21 oz) can cherry pie filling
1 box yellow cake mix
1 cup unsalted butter, sliced into thin pats
Instructions
Preheat oven to 350°F (175°C) and lightly grease a 9×13-inch baking dish.
Pour the crushed pineapple with its juice into the bottom of the dish and spread it evenly.
Spoon the cherry pie filling over the pineapple and gently spread to cover.
Sprinkle the dry cake mix evenly over the top of the fruit layers.
Place the butter slices evenly over the cake mix, covering as much of the surface as possible.
Bake for 45 to 50 minutes, or until the top is golden brown and bubbly.
Let cool slightly before serving. Serve warm on its own or topped with vanilla ice cream or whipped cream.
Notes
Do not stir the layers — the magic happens as it bakes. You can substitute white or butter cake mix if you prefer. For a crunchier topping, sprinkle chopped pecans or walnuts over the cake mix before baking. Leftovers can be stored in the refrigerator and enjoyed cold or reheated.


")
