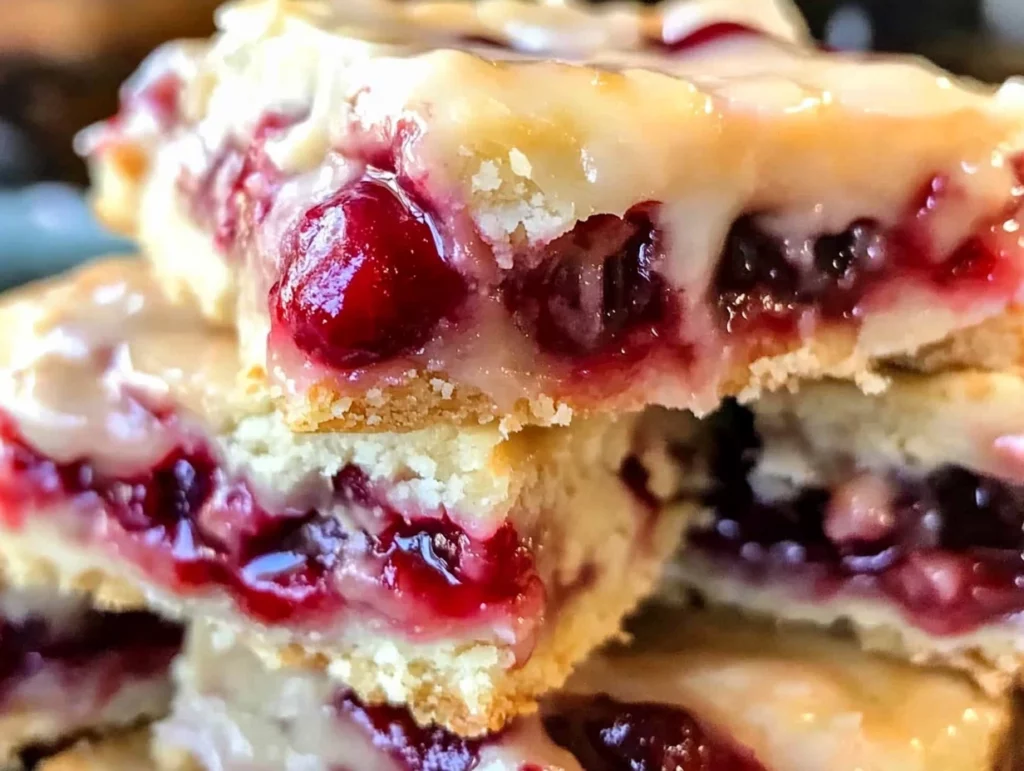
If you’re looking for a dessert that’s as beautiful as it is delicious—and way easier than making a whole pie—these Cherry Pie Bars are about to become your new best friend. They’ve got all the charm and flavor of a homemade cherry pie but in a simpler, slice-and-serve bar format that’s ideal for potlucks, picnics, bake sales, or just a cozy night in.
I first made these Cherry Pie Bars for a Fourth of July party, and let’s just say they were gone long before the fireworks started. The buttery, soft crust, the glossy cherry filling, and that dreamy almond-vanilla glaze—it’s the kind of dessert that gets people asking for the recipe before they’ve even finished their square.
One of my favorite things about this recipe (aside from how pretty it looks once sliced) is how little effort it actually takes. You’re using canned cherry pie filling, which saves a ton of prep time, but the end result still tastes homemade. It’s a win-win when you’re short on time but still want to impress.
Let’s dive in and get started with the first part of this delicious recipe.
Ingredients You’ll Need
For the Bars:
-
1 cup unsalted butter (2 sticks), softened
-
2 cups sugar
-
1 teaspoon salt
-
4 large eggs
-
1 teaspoon vanilla extract
-
¼ teaspoon almond extract
-
3 cups all-purpose flour
-
2 (21-ounce) cans cherry pie filling
For the Glaze:
-
1 cup powdered sugar
-
½ teaspoon vanilla extract
-
½ teaspoon almond extract
-
2–3 tablespoons milk
STEP-BY-STEP INSTRUCTIONS
Step 1: Preheat and Prep
Start by preheating your oven to 350°F. This is a big recipe, so grab a 15x10x1-inch baking pan and grease it well (or line it with parchment paper for even easier cleanup). Set that aside while you work on the dough.

Step 2: Cream the Butter and Sugar
In a large mixing bowl, cream together 1 cup of softened butter, 2 cups of sugar, and 1 teaspoon of salt. This step is key for that light, soft texture we’re after, so make sure you beat the mixture until it’s fluffy and well combined.
Step 3: Add the Eggs and Extracts
Next, add your 4 large eggs, one at a time, beating well after each addition. Once all the eggs are in, stir in 1 teaspoon of vanilla extract and ¼ teaspoon of almond extract. That almond extract may seem like a small amount, but it adds a bakery-style flavor that really makes these bars sing.
Step 4: Mix in the Flour
Gradually mix in 3 cups of all-purpose flour, just until the dough comes together. Don’t overmix it—this isn’t bread dough! You want everything to be nicely incorporated but still tender.
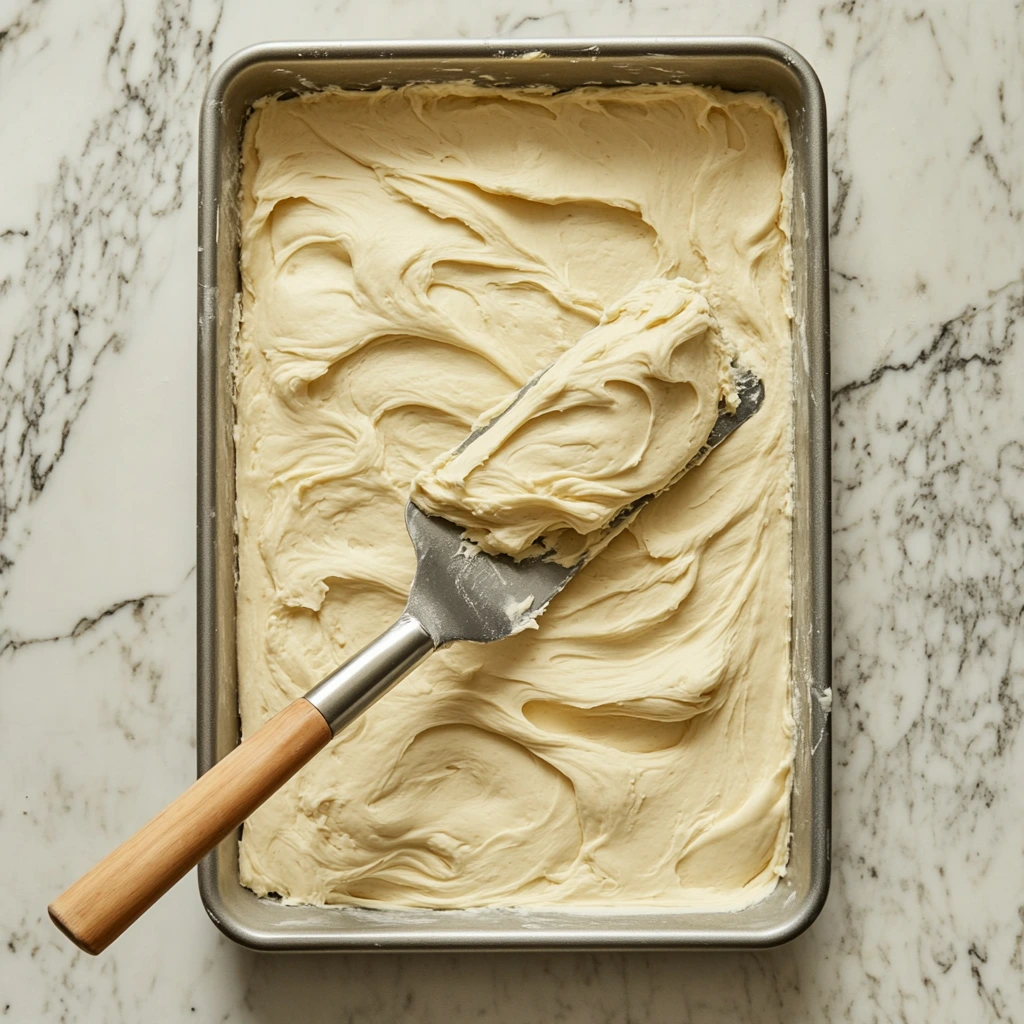
Step 5: Create the Base Layer
Take about three cups of the dough and spread it evenly across the bottom of your prepared baking pan. It doesn’t need to be perfect, but try to cover the whole surface as evenly as you can. This forms the buttery, soft base that will hold up the cherry filling.
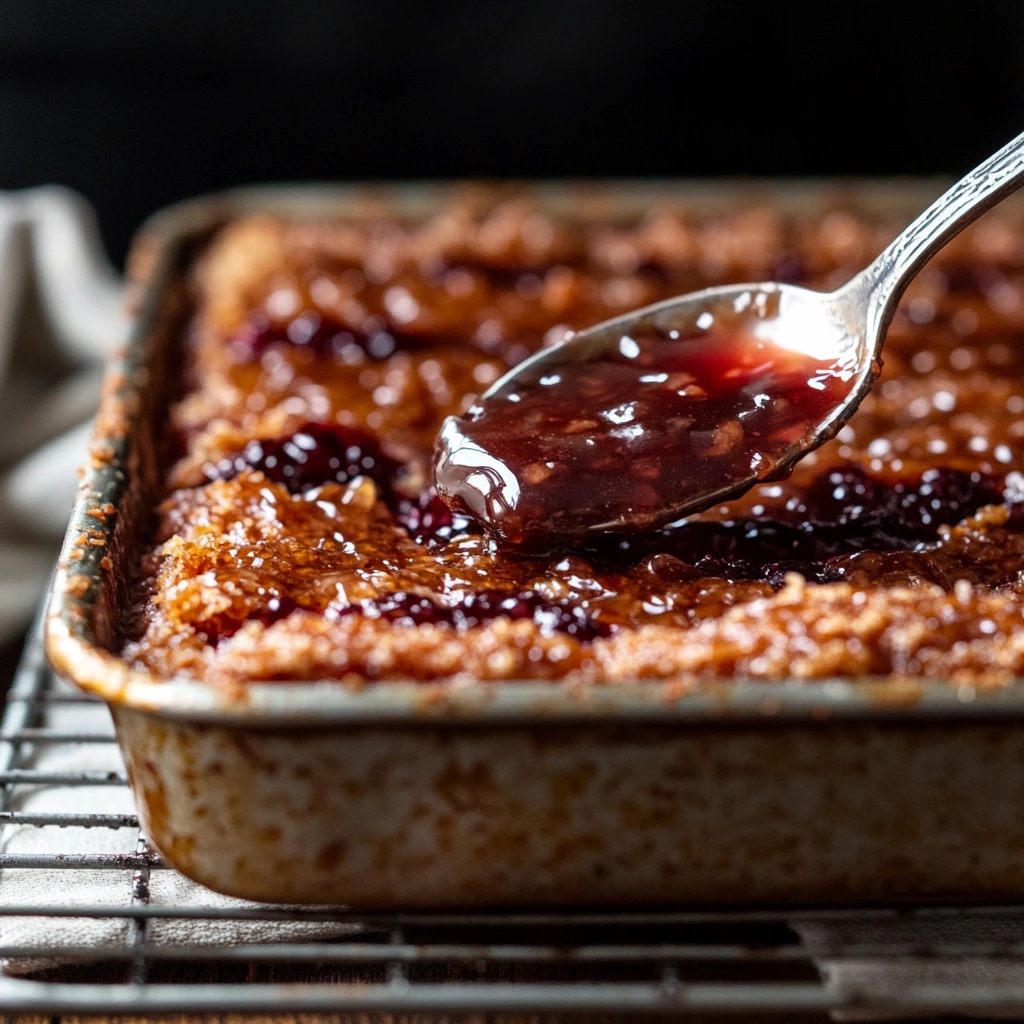
Step 6: Add the Cherry Pie Filling
Now it’s time for the star of the show—cherry pie filling. Spoon both cans evenly over the dough layer. Use the back of a spoon to spread it out so that every bite gets some of that sweet-tart cherry goodness.
Cherry Pie Bars: The Ultimate Easy Dessert for Any Occasion
Welcome back! In Part 1, we prepped our buttery dough, layered on that vibrant cherry pie filling, and got everything ready in the pan. Now we’re moving on to the fun part—finishing the layers, baking it all up to golden perfection, and adding that dreamy almond-vanilla glaze.
What I love about this recipe is that it’s not fussy. You don’t have to roll out dough or make a lattice top like a traditional pie. Instead, you just drop spoonfuls of dough over the filling, and it bakes up into the prettiest little rustic topping. And once you add that glaze? These bars go from delicious to bakery-worthy.
Let’s pick up right where we left off!
Step 7: Add the Top Layer of Dough
Take the remaining dough that you set aside earlier, and drop it by teaspoonfuls over the cherry pie filling. There’s no need to cover the whole surface—the cherry filling should peek through. This creates a pretty, craggy top that turns a lovely golden color as it bakes.
Step 8: Bake Until Golden
Place your pan in the preheated 350°F oven and bake for 30–35 minutes. You’ll know they’re done when the top is a light golden brown and the edges are just starting to pull away from the sides of the pan. The cherry filling may bubble a bit around the edges, which is totally normal (and kind of beautiful).
Once baked, remove the pan from the oven and place it on a wire rack to cool completely. This part is important—if you try to glaze or slice them before they’ve cooled, you’ll end up with a sticky mess. Patience here really pays off.
Let’s Make That Glaze
This glaze is super simple, but it gives the bars a polished finish that makes them look like they came from a bakery window. It also adds a little extra sweetness and that nostalgic almond flavor that pairs so well with cherries.
Step 9: Whisk the Glaze
In a small bowl, combine:
-
1 cup powdered sugar
-
½ teaspoon vanilla extract
-
½ teaspoon almond extract
-
2 to 3 tablespoons milk
Whisk until smooth. You want the glaze to be pourable but not too thin. If it’s too thick, add a touch more milk—just a little at a time. If it’s too runny, sprinkle in a bit more powdered sugar.
Step 10: Drizzle It On
Once the bars are completely cool, use a spoon to drizzle the glaze all over the top. You can go heavy or light here—your call. Let the glaze set for about 10–15 minutes before cutting into squares. If you’re making these for an event, you can even refrigerate the bars briefly to help the glaze firm up.
Tips and Variations
Here are a few little tweaks and tricks to help you make these bars your own:
-
Switch up the filling: Not a cherry fan? Try using blueberry, apple, or even peach pie filling. Just stick to the same amount (two 21-ounce cans) and follow the recipe as written.
-
Add a little crunch: If you like some texture, sprinkle sliced almonds or chopped pecans over the top of the bars before baking.
-
Gluten-free? Use a good 1:1 gluten-free flour blend in place of the all-purpose flour.
-
Make them ahead: These bars keep well in an airtight container at room temperature for 3–4 days, or you can freeze them for up to two months. Just let them thaw before serving.
Cherry Pie Bars: The Ultimate Easy Dessert for Any Occasion
We’ve mixed, layered, baked, and drizzled—and now you’re just about ready to enjoy your very own batch of delicious Cherry Pie Bars! Before we wrap things up, I wanted to take a moment to answer some common questions I’ve gotten about this recipe. Whether you’re a seasoned home baker or just trying this for the first time, these FAQs will help make sure your bars come out picture-perfect every time.
FREQUENTLY ASKED QUESTIONS
Can I use homemade cherry pie filling instead of canned?
Absolutely! If you have a favorite homemade cherry pie filling recipe, feel free to use it. Just make sure you have around 4 to 4½ cups to match the amount from the two cans in the original recipe.
Do these bars need to be refrigerated?
They don’t need to be refrigerated if you’re planning to eat them within 2–3 days. Just store them in an airtight container at room temperature. If your kitchen is warm or you want them to last longer, they can be refrigerated for up to 5 days.
Can I freeze Cherry Pie Bars?
Yes! These bars freeze very well. Let them cool completely and skip the glaze if you plan to freeze them. Once cooled, wrap them tightly in plastic wrap and then in foil or place in an airtight container. When you’re ready to serve, thaw them at room temperature and add the glaze fresh.
How do I cut the bars neatly without making a mess?
Wait until the bars are completely cooled and the glaze is set. Use a sharp knife, and for extra clean cuts, wipe the blade with a damp cloth between slices. If the bars are chilled, they’ll be even easier to cut cleanly.
Can I double the recipe?
This recipe already makes a large batch (in a 15×10-inch pan), but if you’re feeding a crowd and want more, you could double it and use two pans. Just don’t try to bake all the batter in a single, deeper pan—it won’t bake evenly.
What other extracts can I use if I don’t like almond?
If almond extract isn’t your thing, just leave it out and use extra vanilla extract instead. The bars will still be delicious, just with a more classic vanilla flavor.
Can I add fresh fruit or nuts to the topping?
Definitely! A handful of sliced almonds sprinkled on top before baking adds a nice crunch and flavor. You could also mix in some fresh pitted cherries with the pie filling if you want extra texture and a pop of natural flavor.
FINAL THOUGHTS
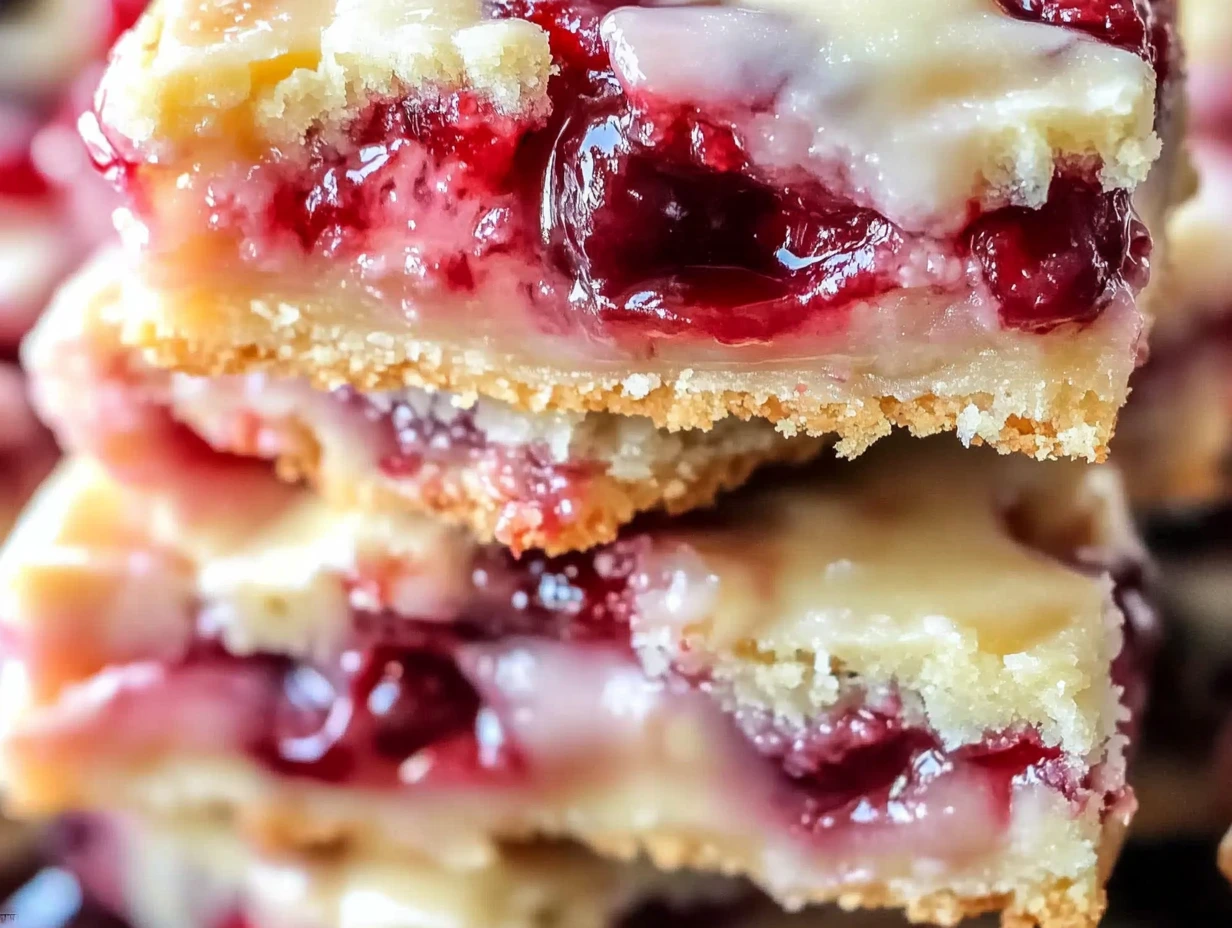
There’s something so comforting about the combination of cherries, buttery cake, and sweet glaze. These Cherry Pie Bars strike that perfect balance between easy and impressive. They come together with basic pantry ingredients, don’t require any special skills, and the result is a dessert that tastes like something straight out of grandma’s kitchen—but with half the effort.
Whether you’re bringing them to a family get-together, making a tray for a school bake sale, or just craving a fruity treat, these bars check all the boxes: beautiful, delicious, and wonderfully simple.
I hope you love these as much as we do in our house. If you try them, I’d love to hear how they turned out! Leave a comment, share your favorite variation, or tell me if you made them with a different filling—I always enjoy seeing the creative twists you come up with.
PrintCherry Pie Bars
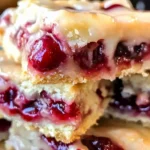
Cherry Pie Bars are a delightful dessert with a soft, buttery base, a vibrant cherry pie filling center, and a sweet almond-vanilla glaze drizzled on top. These bars are perfect for holidays, potlucks, or any time you want the flavor of cherry pie in a more portable, crowd-friendly format.
- Author: Mark's Recipe
Ingredients
For the bars:
1 cup unsalted butter (2 sticks), softened
2 cups sugar
1 teaspoon salt
4 large eggs
1 teaspoon vanilla extract
¼ teaspoon almond extract
3 cups all-purpose flour
2 (21 ounce) cans cherry pie filling
For the glaze:
1 cup powdered sugar
½ teaspoon vanilla extract
½ teaspoon almond extract
2–3 tablespoons milk
Instructions
1️⃣ Preheat the oven to 350°F. In a large mixing bowl, cream together the softened butter, sugar, and salt until the mixture is light and fluffy.
2️⃣ Add the eggs one at a time, beating well after each addition. Mix in the vanilla and almond extracts.
3️⃣ Gradually add the flour, mixing just until combined.
4️⃣ Spread about three cups of the dough into a greased 15x10x1-inch baking pan, creating an even base.
5️⃣ Spoon the cherry pie filling evenly over the dough layer.
6️⃣ Drop the remaining dough by teaspoonfuls over the cherry filling.
7️⃣ Bake for 30–35 minutes or until the top is golden brown. Remove from oven and let cool completely in the pan on a wire rack.
8️⃣ In a small bowl, whisk together the powdered sugar, vanilla extract, almond extract, and milk until smooth and drizzle-worthy.
9️⃣ Once the bars are fully cooled, drizzle the glaze over the top. Let set before cutting into squares.
Notes
You can substitute other pie fillings like blueberry or apple for variety. These bars store well in an airtight container and can be frozen for longer storage. The almond extract gives the glaze and bars a nostalgic, bakery-style flavor.

")
