If you’re anything like me, you probably have a soft spot for those simple, nostalgic desserts that always seem to show up at family gatherings. Cherry Delight is one of those recipes that’s been a staple in my family for years. I still remember my grandma pulling out her trusty 8×8-inch pan from the fridge, slicing it into perfect little squares, and handing me a plate with a big smile. Every bite of that creamy, sweet, and slightly tangy goodness brings back so many fond memories.
And the best part? This dessert is ridiculously easy to make. No baking, no complicated steps, and no fancy equipment needed. Whether you’re preparing for a holiday party, a summer potluck, or just need a quick dessert to satisfy your sweet tooth, this Cherry Delight has you covered. Let’s dive right into how to make this crowd-pleaser from scratch!
LET’S GET STARTED WITH THE CRUST AND FILLING
Before we jump into the details, make sure you’ve got all your ingredients ready and your 8×8-inch baking dish prepared. I promise, once you get everything laid out, this dessert comes together in no time.
INGREDIENTS YOU’LL NEED
For the crust:
-
9 graham crackers
-
2 tablespoons granulated sugar
-
½ cup salted butter, melted
For the cheesecake filling:
-
16 ounces cream cheese, room temperature
-
1 cup powdered sugar
-
1 teaspoon vanilla extract
-
8 ounces Cool Whip
For the topping:
-
21-ounce can cherry pie filling
STEP 1: PREPARE YOUR PAN
First things first: spray your 8×8-inch baking dish generously with non-stick spray. This helps prevent sticking when you’re ready to slice and serve later. Then, line the bottom with parchment paper, leaving a little extra hanging over the sides. Trust me, this little trick makes lifting the bars out of the pan a total breeze after they’ve chilled.
STEP 2: MAKE THE GRAHAM CRACKER CRUST
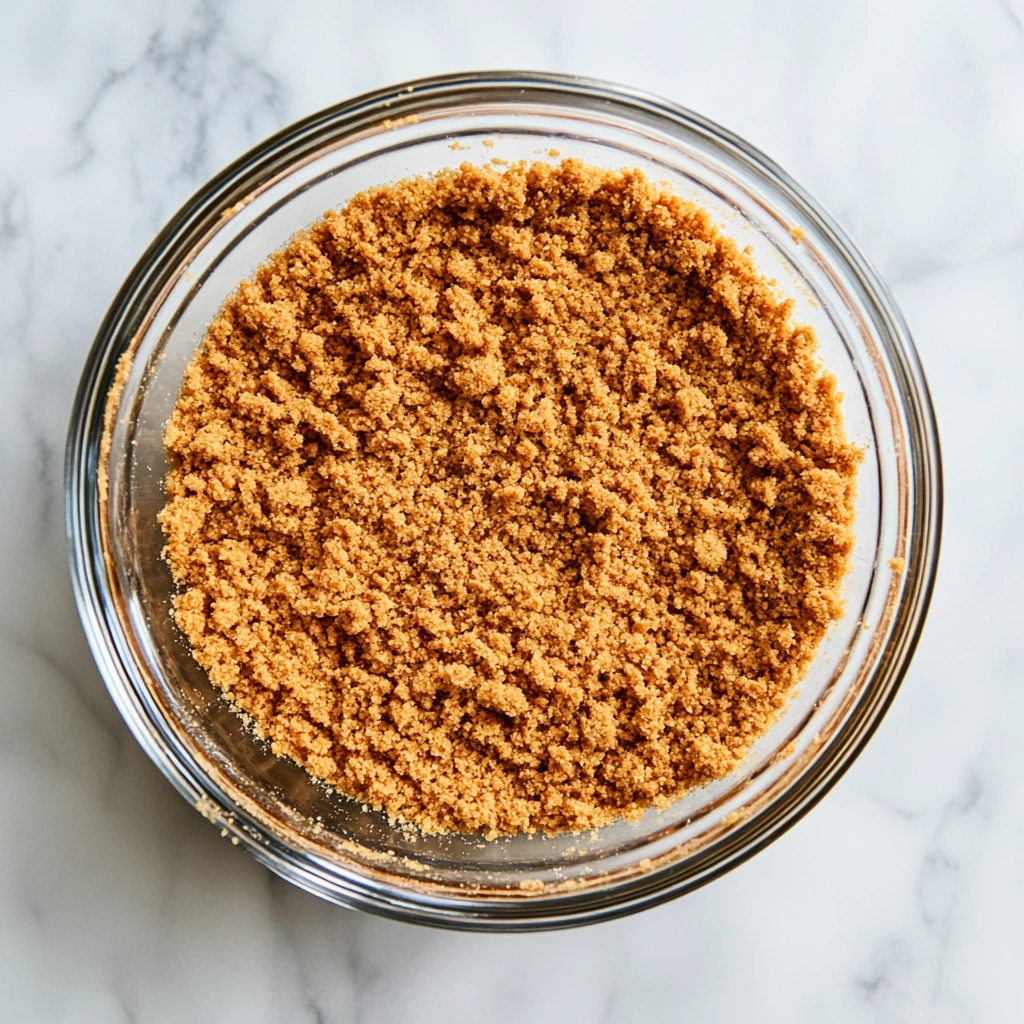
Now for that buttery, crunchy base we all love. If you’ve got a food processor, go ahead and pulse your graham crackers into fine crumbs. Don’t worry if you don’t own one — simply place the graham crackers in a sealed bag and crush them with a rolling pin until you get a nice, even crumb.
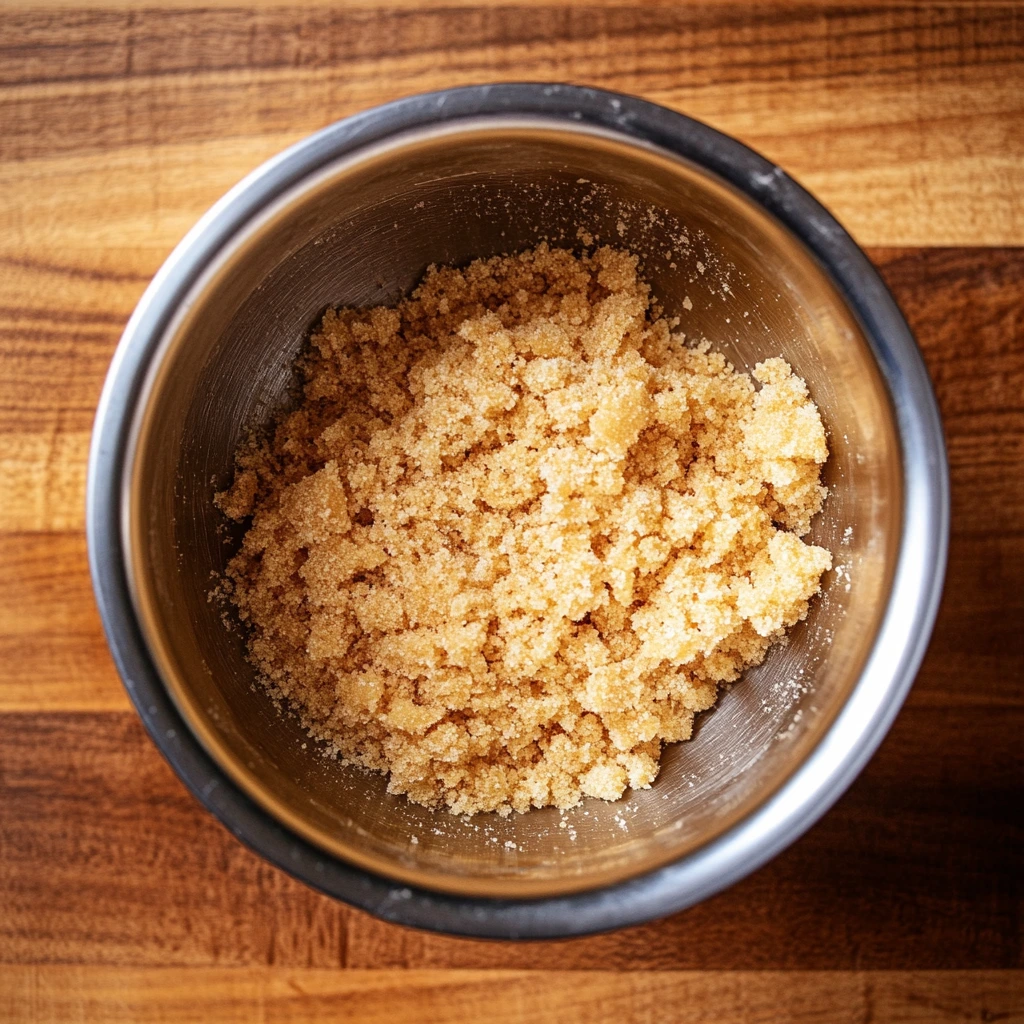
Next, mix the graham cracker crumbs with 2 tablespoons of granulated sugar and your melted salted butter. If you’re using a food processor, you can just pulse until everything is combined. Otherwise, a bowl and a spoon work just fine for this step.
Once your mixture is ready, pour it into your prepared pan. Use the bottom of a glass or a measuring cup to firmly press the mixture into an even layer. You want a nice, solid crust that will hold up when you slice into the dessert later.
Optional Tip: If you like a firmer crust, you can bake it at 350°F (175°C) for 8 to 10 minutes. Just be sure to let it cool completely before adding your filling.
STEP 3: WHIP UP THE CREAMY CHEESECAKE FILLING
Now comes my favorite part — the luscious cheesecake layer. In a stand mixer fitted with the paddle attachment, or using an electric hand mixer, beat your room temperature cream cheese on medium-high speed for 4 to 5 minutes. You’re looking for a smooth, creamy consistency with no lumps.
Once your cream cheese is perfectly whipped, add in the powdered sugar and vanilla extract. Mix until just combined — you don’t want to overmix at this stage.
Finally, grab your spatula and gently fold in the Cool Whip. Folding instead of stirring helps keep the mixture light and airy. Once everything is fully combined and smooth, your cheesecake filling is ready to go.
STEP 4: ASSEMBLE THE BASE LAYERS
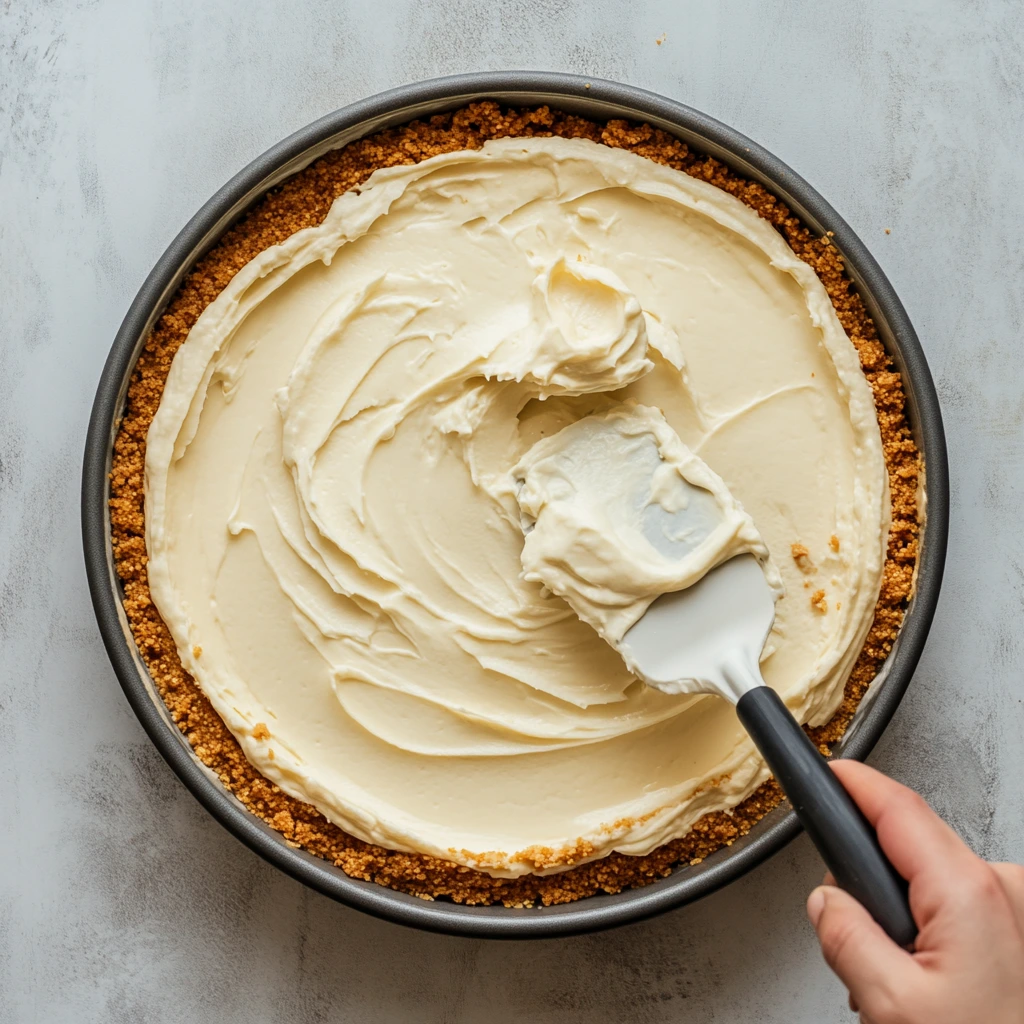
Spread the cheesecake mixture evenly over the graham cracker crust, using your spatula to smooth out the top. Take a moment to make sure it’s nice and even — this will make your finished dessert look so pretty when you add the cherry topping later.
FINISHING YOUR PERFECT CHERRY DELIGHT: TOPPING, CHILLING & TIPS
Alright, now that we’ve built that delicious foundation of buttery graham cracker crust and creamy cheesecake filling, it’s time to bring this no-bake beauty across the finish line. The cherry topping and proper chilling are what truly bring the Cherry Delight together — giving you those beautiful layers and that refreshing, sweet flavor in every bite.
STEP 5: LET IT CHILL
Patience really is a virtue here, and this step is one you don’t want to rush. Once you’ve spread the cheesecake filling evenly over the crust, cover your baking dish with plastic wrap or foil. Then, pop it into the refrigerator for at least 4 hours.
Personally, I like to prepare my Cherry Delight the night before and let it chill overnight. This extra time allows the layers to set beautifully, making the bars easier to slice and serve while also letting all those flavors meld together. Trust me, it’s worth the wait!
STEP 6: ADD THE CHERRY TOPPING
Now for the star of the show — that glossy, ruby-red cherry pie filling. After your cheesecake layer has had plenty of time to chill and firm up, carefully spread the cherry pie filling evenly over the top.
I like to use an offset spatula to gently guide the cherries into place, ensuring an even layer from edge to edge. The vibrant color makes the dessert look absolutely stunning — perfect for any special occasion or even just a regular Tuesday night treat.
STEP 7: SLICE AND SERVE
Once your Cherry Delight is fully assembled and chilled, it’s time to serve. Thanks to the parchment paper lining, you can lift the entire dessert out of the pan and onto a cutting board for cleaner, more even slices. Use a sharp knife, wiping it clean between cuts, to get those picture-perfect squares.
Serve immediately or store any leftovers in an airtight container in the refrigerator for up to three days.
TIPS FOR THE BEST CHERRY DELIGHT
Even though this recipe is super simple, here are a few extra tips to help you make it absolutely perfect every time:
-
Use softened cream cheese: Make sure your cream cheese is fully softened before mixing. Cold cream cheese can lead to a lumpy filling, which we definitely don’t want.
-
Be gentle folding the Cool Whip: Folding keeps the filling light and fluffy. Stirring too aggressively can deflate the mixture and make it dense.
-
Chill long enough: Don’t cut corners on chilling time. Giving the dessert plenty of time to set ensures clean slices and perfect texture.
-
Switch up the fruit topping: While cherry is the classic choice, you can easily substitute with blueberry, strawberry, or even mixed berry pie filling if you want to switch things up.
-
Bake the crust (optional): If you prefer a firmer base, bake your crust at 350°F for 8–10 minutes, then cool it completely before adding the filling.
WHY I LOVE THIS DESSERT SO MUCH
One of the reasons Cherry Delight holds such a special place in my heart is because it’s truly foolproof. Whether you’re an experienced home baker or a beginner just starting out, you really can’t go wrong with this one. There are no complicated steps, no finicky techniques, and no baking (unless you choose to bake the crust).
Plus, it’s so versatile. I’ve brought Cherry Delight to summer BBQs, Thanksgiving dinners, birthday parties, and everything in between. It’s always a hit — the perfect combination of creamy, sweet, tangy, and crunchy. And the fact that it only takes about 20 minutes to assemble makes it one of my go-to recipes anytime I need a quick dessert that looks impressive but comes together with minimal effort.
CHERRY DELIGHT FAQS & FINAL THOUGHTS
Before you head to the kitchen to whip up your own Cherry Delight, I want to answer some of the most common questions that tend to pop up when making this recipe. These tips will help you feel even more confident and make sure your dessert turns out perfectly every single time.
FREQUENTLY ASKED QUESTIONS
Can I make Cherry Delight ahead of time?
Absolutely! In fact, I highly recommend it. Making Cherry Delight a day ahead gives it plenty of time to chill and set, making it easier to slice and serve. It’s the perfect make-ahead dessert for holidays and gatherings.
Can I freeze Cherry Delight?
While you technically can freeze Cherry Delight, I don’t usually recommend it. The texture of the cream cheese filling can change after freezing and thawing, becoming a bit grainy or watery. It’s best enjoyed fresh or stored in the fridge for up to three days.
What can I use instead of Cool Whip?
If you prefer not to use Cool Whip, you can substitute it with homemade whipped cream. Just whip 1 cup of heavy whipping cream with a few tablespoons of powdered sugar until stiff peaks form, and fold it into the cream cheese mixture as you would with Cool Whip.
Can I use a different fruit topping?
Yes! This recipe is super versatile. Blueberry, strawberry, raspberry, or even a mixed berry pie filling all work beautifully. You can switch it up depending on your taste or the season.
Do I have to bake the crust?
Not at all. The no-bake crust holds together very well after chilling. Baking the crust for 8–10 minutes at 350°F is completely optional and can add a little extra firmness if you prefer.
How do I prevent lumps in the cream cheese mixture?
The key is to start with fully softened cream cheese. Let it sit at room temperature for about 30 minutes before mixing. Beat it well on its own before adding the powdered sugar and vanilla extract. This ensures a silky smooth filling.
Can I double the recipe?
Yes! If you’re serving a larger crowd, you can easily double the recipe and prepare it in a 9×13-inch pan. Just adjust your chilling time slightly to make sure everything sets up properly.
FINAL THOUGHTS: GIVE THIS CHERRY DELIGHT A TRY
Cherry Delight has truly earned its place as one of my all-time favorite no-bake desserts. It’s easy, it’s quick, and it never fails to impress. The combination of the buttery graham cracker crust, the smooth and creamy cheesecake layer, and that vibrant cherry topping is pure comfort food in every bite.
What I love most is how adaptable it is. Whether you stick with the classic cherry topping or get creative with different fruits, you’ll end up with a dessert that’s just as beautiful as it is delicious. Plus, the make-ahead convenience means you can spend more time enjoying your guests and less time fussing in the kitchen.
If you give this recipe a try, I’d love to hear how it turned out for you. Feel free to share your favorite variations or any little tips you’ve discovered along the way. Happy no-baking, and enjoy every sweet, creamy bite!
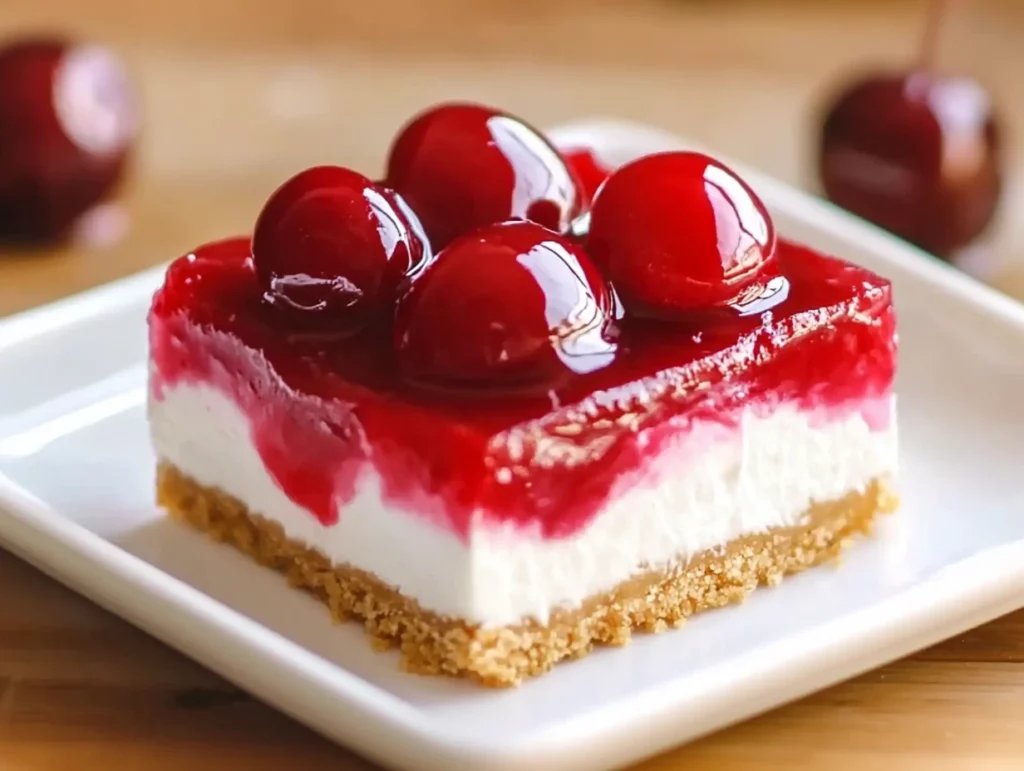
PrintCherry Delight
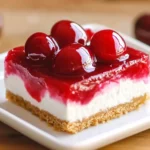
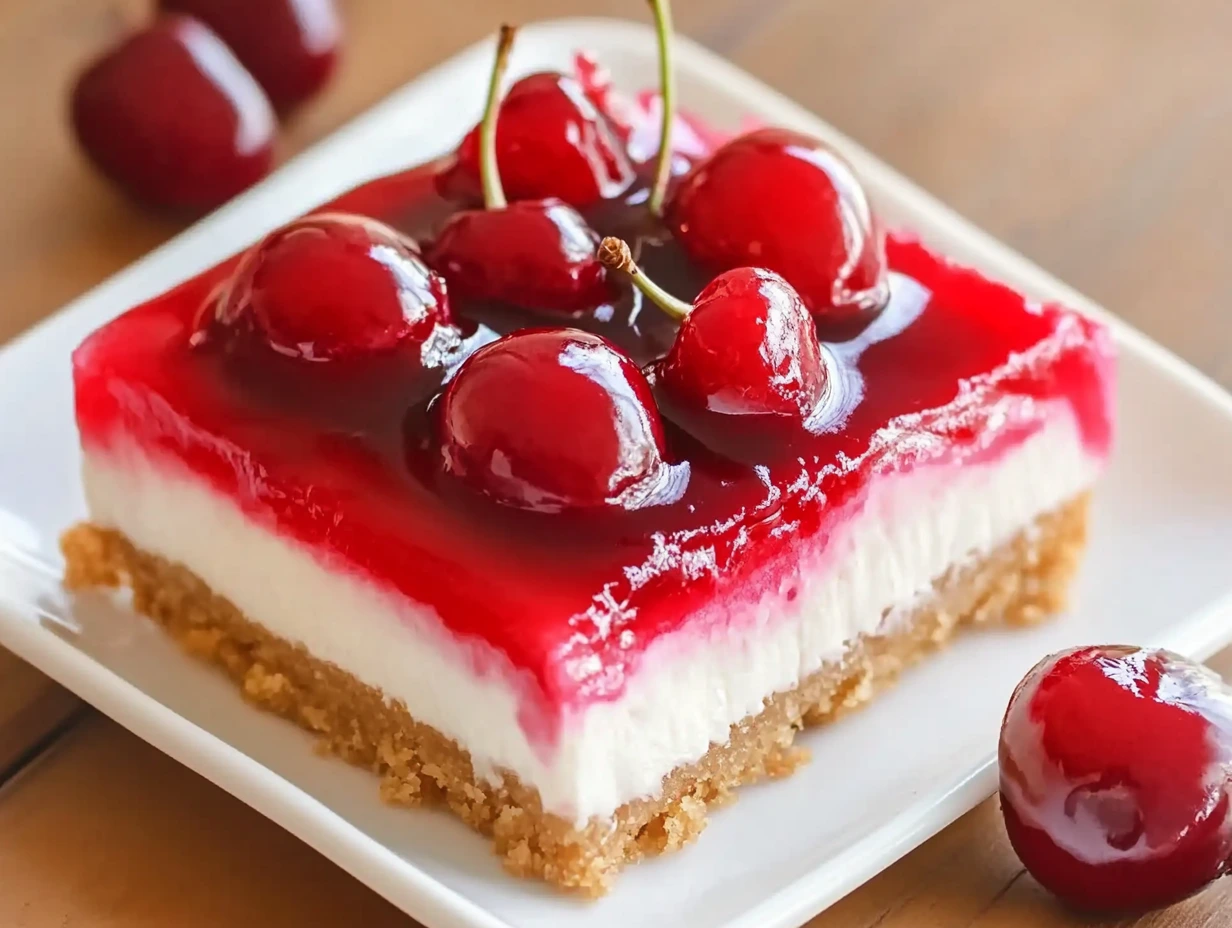
Cherry Delight is a classic no-bake dessert that combines a buttery graham cracker crust, creamy cheesecake filling, and sweet cherry pie topping. This simple, crowd-pleasing treat is perfect for potlucks, holidays, or any time you need a refreshing and easy dessert.
- Author: Mark's Recipe
Ingredients
For the crust
9 graham crackers
2 tablespoons granulated sugar
½ cup salted butter, melted
For the cheesecake
16 ounces cream cheese, room temperature
1 cup powdered sugar
1 teaspoon vanilla extract
8 ounces Cool Whip
For the topping
21 ounce can cherry pie filling
Instructions
Prepare an 8×8-inch baking dish by spraying it generously with non-stick spray. Line the bottom with parchment paper, leaving extra paper hanging over the sides to make lifting the bars easier after chilling.
In a food processor, pulse the graham crackers into fine crumbs. Add the granulated sugar and melted butter, pulsing until the mixture is just combined. If you do not have a food processor, place the graham crackers in a sealed bag and crush them with a rolling pin, then mix with sugar and butter in a bowl.
Pour the graham cracker crumb mixture into the prepared pan. Use the bottom of a glass or measuring cup to firmly press the crumbs into an even layer, forming the crust.
In a stand mixer fitted with the paddle attachment, or using an electric hand mixer, beat the room temperature cream cheese on medium-high speed for 4 to 5 minutes until completely smooth and creamy.
Add the powdered sugar and vanilla extract to the cream cheese and mix until just combined.
Gently fold the Cool Whip into the cream cheese mixture using a spatula, stirring until fully combined and smooth.
Spread the cheesecake mixture evenly over the graham cracker crust, smoothing the top with a spatula.
Refrigerate the dessert for at least 4 hours, or preferably overnight, to allow it to fully set.
Before serving, spread the cherry pie filling evenly over the chilled cheesecake layer. Cut into squares and serve.
Store any leftovers in an airtight container in the refrigerator for up to three days.
Notes
For a firmer crust, you can bake the crust at 350°F (175°C) for 8 to 10 minutes, then allow it to cool completely before adding the filling, though this step is optional. Be sure the cream cheese is fully softened before mixing to ensure a smooth and lump-free filling. The cherry pie topping can be substituted with blueberry, strawberry, or any other fruit filling for variation.

")
