
There’s just something magical about the smell of apples and cinnamon wafting through the kitchen, especially when the weather turns cool and cozy blankets start calling your name. If you’re like me and can’t resist a warm, spiced dessert once the leaves start falling, then these Cheesecake-Stuffed Baked Apples are about to become your new favorite treat.
This recipe brings together two of my favorite comfort desserts—baked apples and creamy cheesecake—in the most satisfying way. The apples turn soft and tender in the oven, soaking up all that sweet cinnamon aroma, while the cheesecake filling gets warm, rich, and velvety smooth. And let’s not skip over that buttery graham cracker topping—it adds the perfect little crunch to balance it all out.
Whether you’re making these for a casual fall dinner or as a show-stopping dessert for Thanksgiving, they’re simple to prep but look (and taste!) like you spent all day on them. And if you’re anything like me, you’ll find yourself sneaking an extra one for breakfast the next morning. No judgment.
Let’s get into it!
Why You’ll Love These Cheesecake-Stuffed Apples
-
Quick and easy: Just 15 minutes to prep and about 35 to bake.
-
Cozy fall flavors: Apples, cinnamon, graham crackers… need I say more?
-
Individually portioned: Perfect for serving at a dinner party or small gathering.
-
Make-ahead friendly: You can prep the filling in advance and stuff the apples when you’re ready to bake.
-
Versatile: Serve warm, chilled, or even with a scoop of ice cream or drizzle of caramel.
Ingredients You’ll Need
Here’s what you’ll need to make four of these delicious stuffed apples:
-
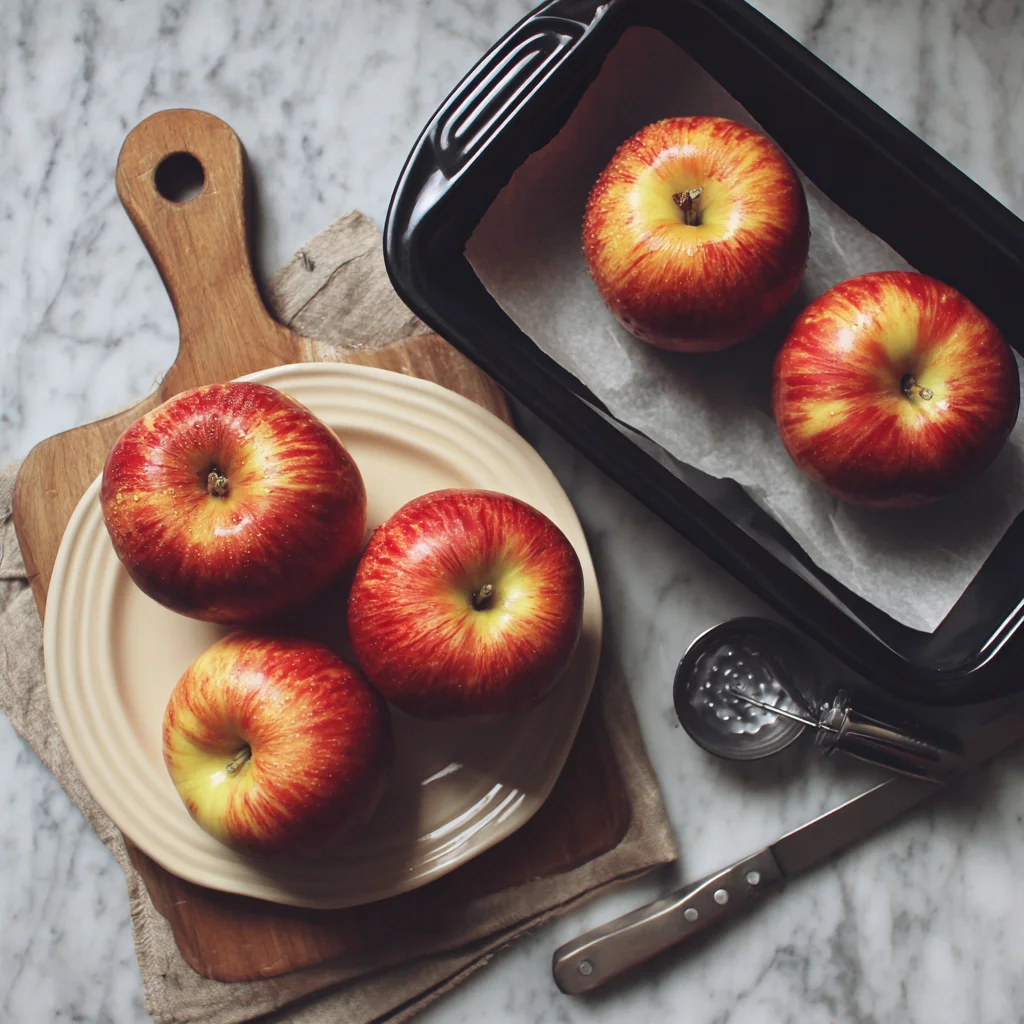
4 large firm apples – Honeycrisp or Fuji work best because they hold their shape and have just the right sweetness.
-
8 oz cream cheese, softened
-
¼ cup granulated sugar
-
1 teaspoon vanilla extract
-
1 egg yolk
-
½ teaspoon ground cinnamon
-
¼ cup graham cracker crumbs
-
1 tablespoon melted butter
-
Optional: extra cinnamon and sugar for topping
STEP 1: Preheat and Prep Your Apples
Start by preheating your oven to 350°F. You’ll want to give your apples a good wash, then carefully core them. The trick is to remove the center while keeping the bottoms intact—think of them as little bowls for your cheesecake filling. I like to use a small paring knife and spoon to scoop out just enough to make room without cutting all the way through.
If you’re prepping these ahead of time, you can rub a little lemon juice inside the hollowed apples to keep them from browning too quickly.
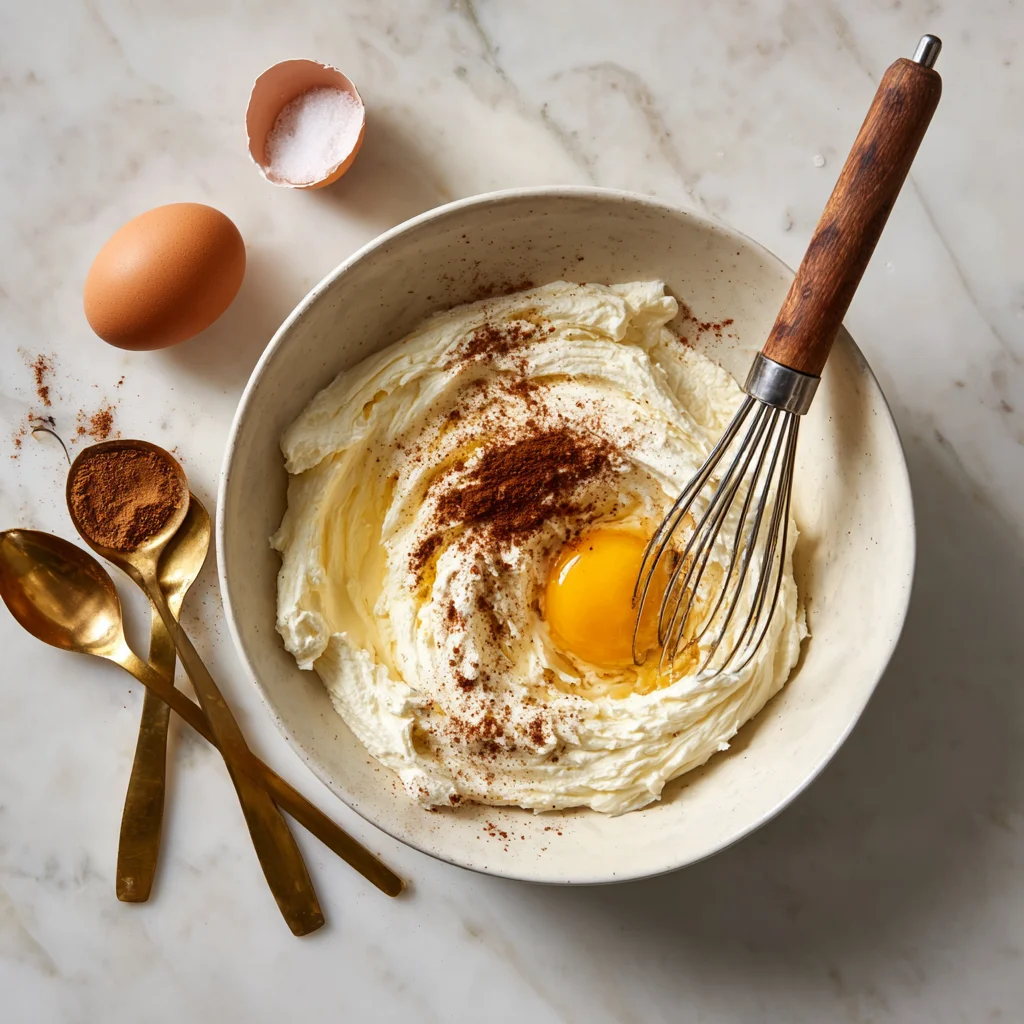
STEP 2: Make the Creamy Cheesecake Filling
In a medium mixing bowl, beat together the cream cheese, sugar, vanilla extract, egg yolk, and cinnamon until the mixture is completely smooth. This filling should be thick, creamy, and slightly tangy—just like a classic cheesecake batter.
Tip: Make sure your cream cheese is nice and soft before mixing. If it’s too cold, it won’t blend as smoothly and you’ll end up with little lumps.
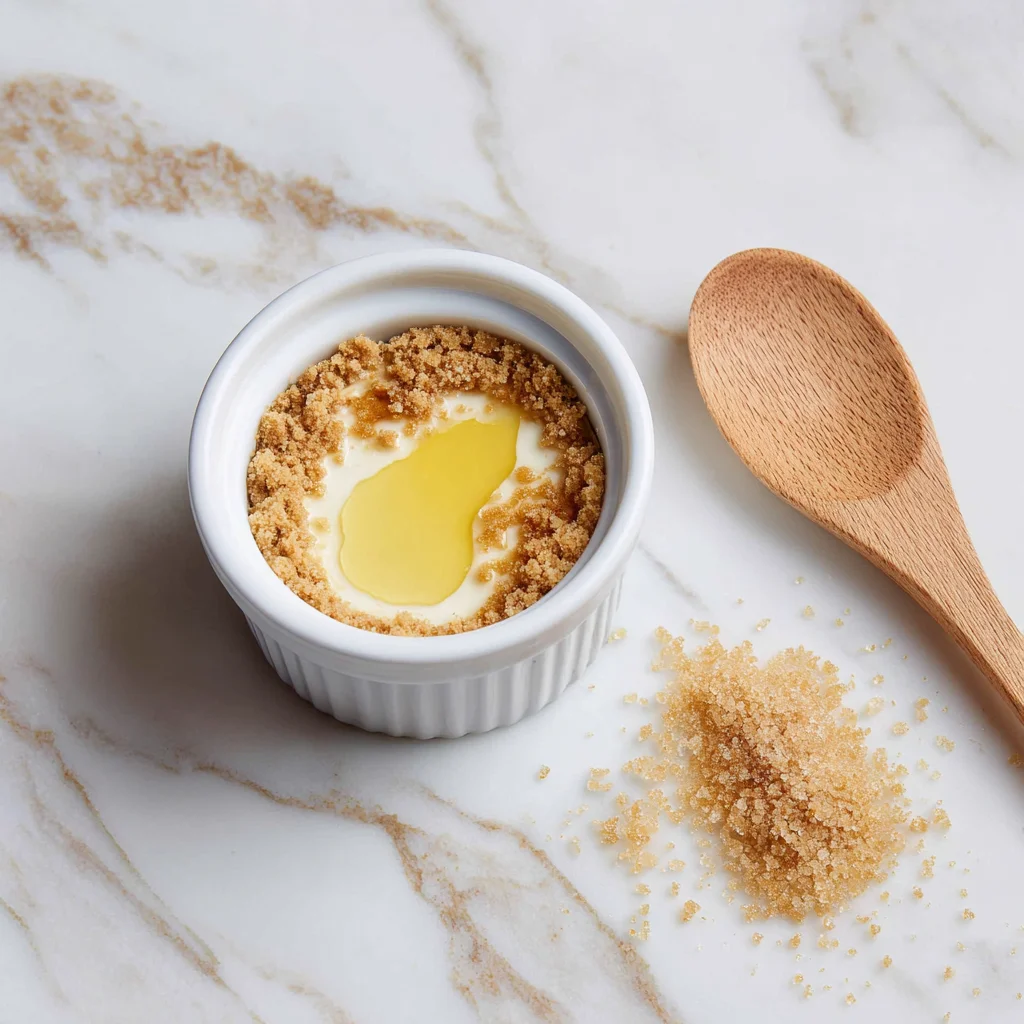
STEP 3: Prepare the Graham Cracker Topping
In a small bowl, stir together the graham cracker crumbs and melted butter until the crumbs are evenly coated. This mixture is going to sit on top of the cheesecake filling and bake into a golden, buttery crust—so don’t skip it!
You can also sprinkle a little extra cinnamon-sugar on top here for an added sweet crunch.
How to Bake and Serve the Perfect Cheesecake-Stuffed Apples
Alright, now that our apples are cored, filled, and topped with that irresistible graham cracker crunch, it’s time to bring everything together in the oven. This is where the magic happens—the apples soften, the cheesecake firms up just enough, and your kitchen starts to smell like a cozy fall bakery. Trust me, if you weren’t excited yet, you will be once they start baking.
This next part is super simple, but there are a few little tips that can really make the difference between “pretty good” and “absolutely incredible.” So let’s keep going.
STEP 4: Fill and Top the Apples
Spoon the cheesecake mixture into each apple cavity, filling it just below the rim. You don’t want to overfill—this isn’t the time to test gravity, because the filling will puff slightly as it bakes.
Once filled, take your graham cracker mixture and sprinkle it generously over the tops of the cheesecake filling. Press down lightly to help it stick, but not too much. The topping should stay loose and crumbly so it bakes into that perfect golden crust.
You can also sprinkle on a pinch of cinnamon-sugar here for an added touch of sweetness and a little sparkle on top.
STEP 5: Bake to Soft and Golden Perfection
Place the stuffed apples into a baking dish. To help with even baking and prevent the apples from sticking, pour a small amount of water into the bottom of the dish—just about 1/4 inch is plenty. This little steam bath helps the apples cook evenly without drying out or burning on the bottom.
Cover the dish loosely with foil and place it in your 350°F preheated oven.
Bake for 25 minutes covered, then carefully remove the foil and bake for another 10 to 15 minutes uncovered. You’re looking for the apples to be tender (but not mushy), and the graham cracker topping to be a lovely golden brown.
Tip: If you’re unsure whether the apples are done, gently poke one with a fork or skewer—it should slide in easily but still meet a little resistance. You want that perfect balance between soft and structured.
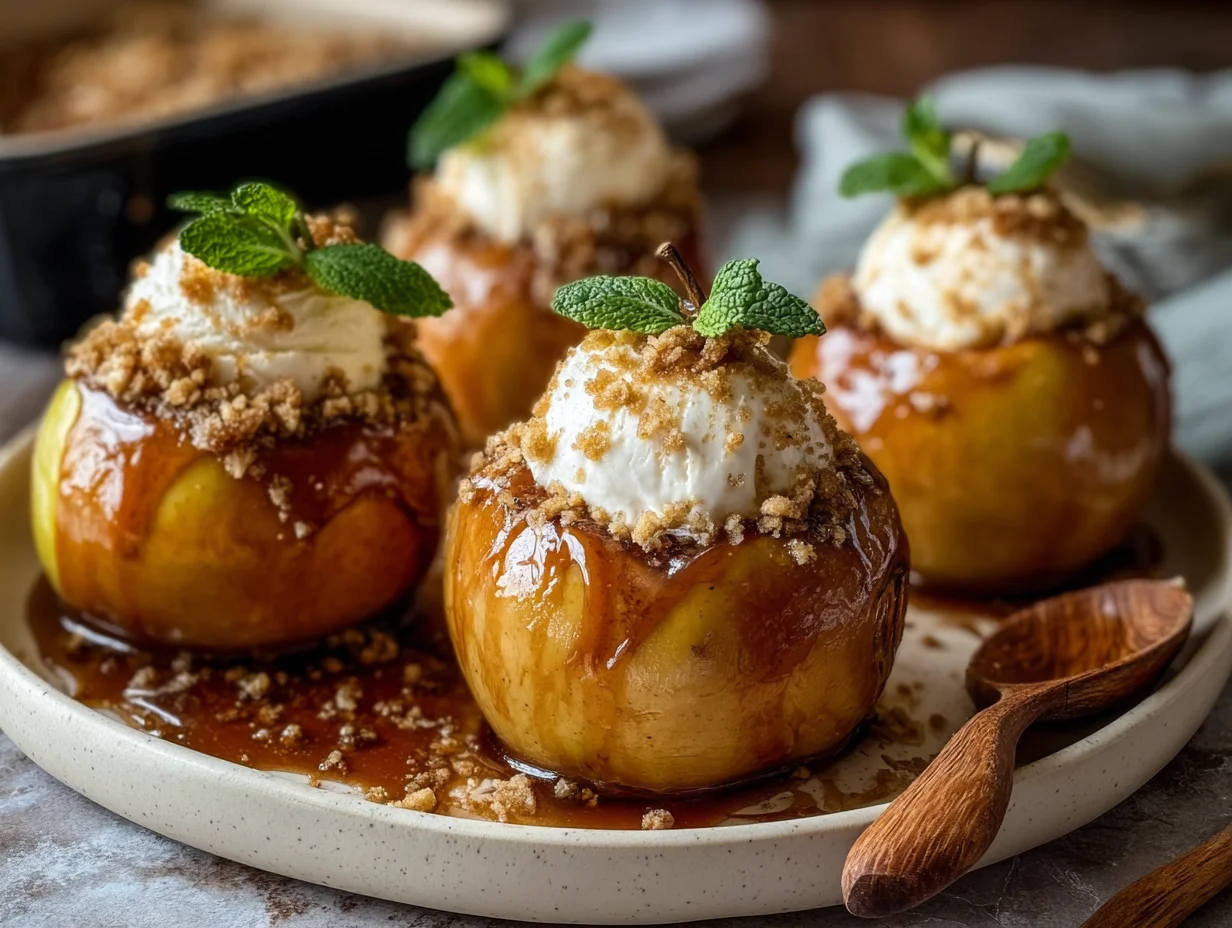
STEP 6: Cool Slightly and Serve
Once the apples are out of the oven, let them cool for at least 10 minutes before serving. This lets the cheesecake filling firm up a bit and makes them easier to handle.
Now, here comes the best part—serving. These are absolutely delicious warm, straight from the oven, especially with a little something extra on top:
-
A scoop of vanilla ice cream that melts right into the warm apple
-
A drizzle of warm caramel sauce
-
A dusting of powdered sugar
-
Or even a dollop of whipped cream
And if you’re making them ahead or just prefer a firmer cheesecake texture, go ahead and chill them in the fridge before serving. They’re equally amazing cold—like a mini apple pie meets cheesecake situation that’s perfect for dessert trays or parties.
Tips & Variations for the Best Cheesecake-Stuffed Baked Apples
Here are a few simple tips and fun variations to make this recipe truly your own:
-
Choose the right apples: Honeycrisp and Fuji hold up beautifully in the oven. Avoid softer varieties like Red Delicious—they tend to collapse or become too mushy.
-
Make ahead: You can prepare the cheesecake filling a day in advance and store it in the fridge. When you’re ready to bake, just core and stuff your apples.
-
Add nuts: Try mixing chopped pecans or walnuts into the graham cracker topping for added texture and flavor.
-
Go gluten-free: Use gluten-free graham crackers or oat-based topping for a gluten-free version that still brings the crunch.
-
Add a citrus twist: A small splash of lemon juice in the filling brightens up the flavor and adds a slight tang, which pairs beautifully with the sweetness of the apples.
-
Spice it up: Feel free to play around with warming spices—add a pinch of nutmeg, cloves, or even a little pumpkin spice to the cheesecake mixture for an extra cozy twist.
Cheesecake-Stuffed Baked Apples FAQ + Final Thoughts
We’ve walked through every delicious step of making these warm, cozy, and creamy Cheesecake-Stuffed Baked Apples—but maybe you still have a few questions. No worries! Here are some of the most common questions that come up when making this recipe, along with quick, helpful answers to keep your baking stress-free and your apples absolutely perfect.
Frequently Asked Questions
1. What type of apple works best for baking?
Firm apples that hold their shape are key. I personally love using Honeycrisp or Fuji because they have a great balance of sweetness and structure. Granny Smith also works if you like a more tart flavor. Avoid softer apples like McIntosh or Red Delicious—they tend to collapse during baking.
2. Can I make these ahead of time?
Yes! You can prep the cheesecake filling in advance and keep it in the fridge for up to 2 days. You can also stuff the apples a few hours ahead and keep them covered in the refrigerator until ready to bake. Just note that the apples may brown slightly, so a squeeze of lemon juice inside each one can help prevent that.
3. Should I serve them warm or cold?
Both ways are delicious. Warm gives you that melty, cozy texture—especially with a scoop of ice cream or caramel on top. Cold gives you a firmer, more traditional cheesecake feel, which is great for making ahead or serving at gatherings. I say try both and see what you prefer!
4. What should I do if the apples tip over while baking?
If your apples are rolling around in the dish, try slicing a tiny bit off the bottom to give them a flat base. Also, make sure they’re snugly placed in your baking dish—using a smaller dish that keeps them close together can help keep them upright.
5. Can I double the recipe?
Absolutely! This recipe scales up easily. Just make sure to use a large enough baking dish, and keep an eye on the oven to make sure everything bakes evenly. You might need to rotate the dish halfway through baking if your oven has hot spots.
6. What if I don’t have graham crackers?
No problem. You can substitute crushed vanilla wafers, shortbread cookies, or even a simple mix of oats, brown sugar, and butter for a streusel-like topping.
7. Can I make this recipe gluten-free?
Yes! Just swap in gluten-free graham crackers or use crushed gluten-free cookies for the topping. The rest of the ingredients are naturally gluten-free.
Final Thoughts: Why You Need to Make These Apples ASAP
There’s just something about the combination of crisp apples, cinnamon spice, creamy cheesecake, and that buttery graham cracker crunch that hits every note you want in a fall dessert. These Cheesecake-Stuffed Baked Apples feel fancy enough for a special dinner but come together with just a handful of simple ingredients—and in under an hour!
I’ve made these for family dinners, holiday parties, and even just quiet nights at home when I wanted something cozy and sweet without a lot of effort. They’ve never failed to impress.
If you give them a try, I’d love to hear how they turned out! Leave a comment with your favorite variation (maybe you added chopped nuts? a caramel drizzle?), and don’t forget to share with someone who could use a little extra fall flavor in their life.
PrintCheesecake-Stuffed Baked Apples

Cheesecake-Stuffed Baked Apples are a warm, cozy dessert that brings together the comforting flavor of baked apples with the creamy richness of cheesecake filling. These individual treats are perfect for fall gatherings, holidays, or anytime you want an easy but impressive dessert. The apples are tender and cinnamon-scented, while the filling is smooth, sweet, and slightly tangy—just like classic cheesecake.
- Author: Mark's Recipe
Ingredients
4 large firm apples (Honeycrisp or Fuji work well)
8 oz cream cheese, softened
¼ cup granulated sugar
1 teaspoon vanilla extract
1 egg yolk
½ teaspoon ground cinnamon
¼ cup graham cracker crumbs
1 tablespoon melted butter
Optional: extra cinnamon and sugar for topping
Instructions
1 Preheat the oven to 350°F. Wash and core the apples, removing enough from the center to make room for the filling while keeping the bottoms intact.
2 In a mixing bowl, beat the cream cheese, sugar, vanilla extract, egg yolk, and cinnamon until smooth and creamy.
3 In a separate small bowl, mix the graham cracker crumbs with melted butter until evenly coated.
4 Spoon the cheesecake mixture into each hollowed apple until just below the top. Sprinkle the graham cracker mixture over the cheesecake filling.
5 Place the stuffed apples in a baking dish with a small amount of water in the bottom to prevent sticking and help with steaming. Cover loosely with foil and bake for 25 minutes. Remove the foil and bake for another 10 to 15 minutes until the apples are tender and the tops are golden.
6 Let cool for a few minutes before serving warm. Can also be chilled and served cold for a firmer cheesecake texture.
Notes
These are best served slightly warm with a drizzle of caramel or a scoop of vanilla ice cream. Use apples that hold their shape well during baking to avoid collapsing. You can prepare the filling ahead of time and store it in the fridge until ready to assemble. If you prefer a tangier flavor, add a squeeze of lemon juice to the filling.
")
