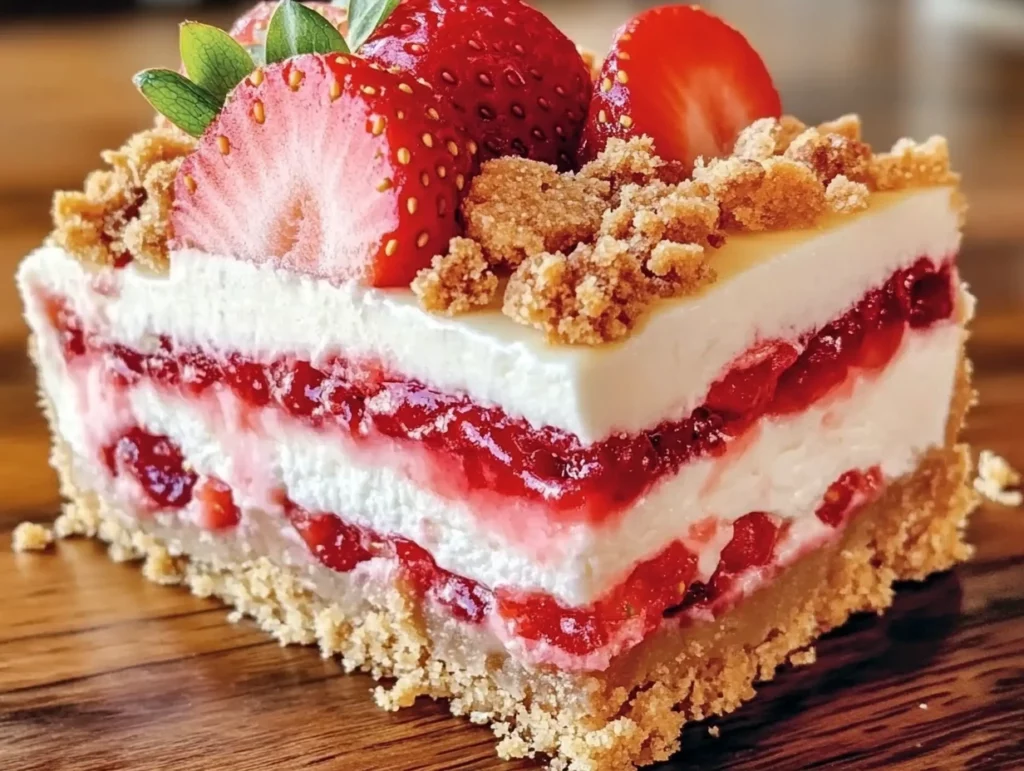
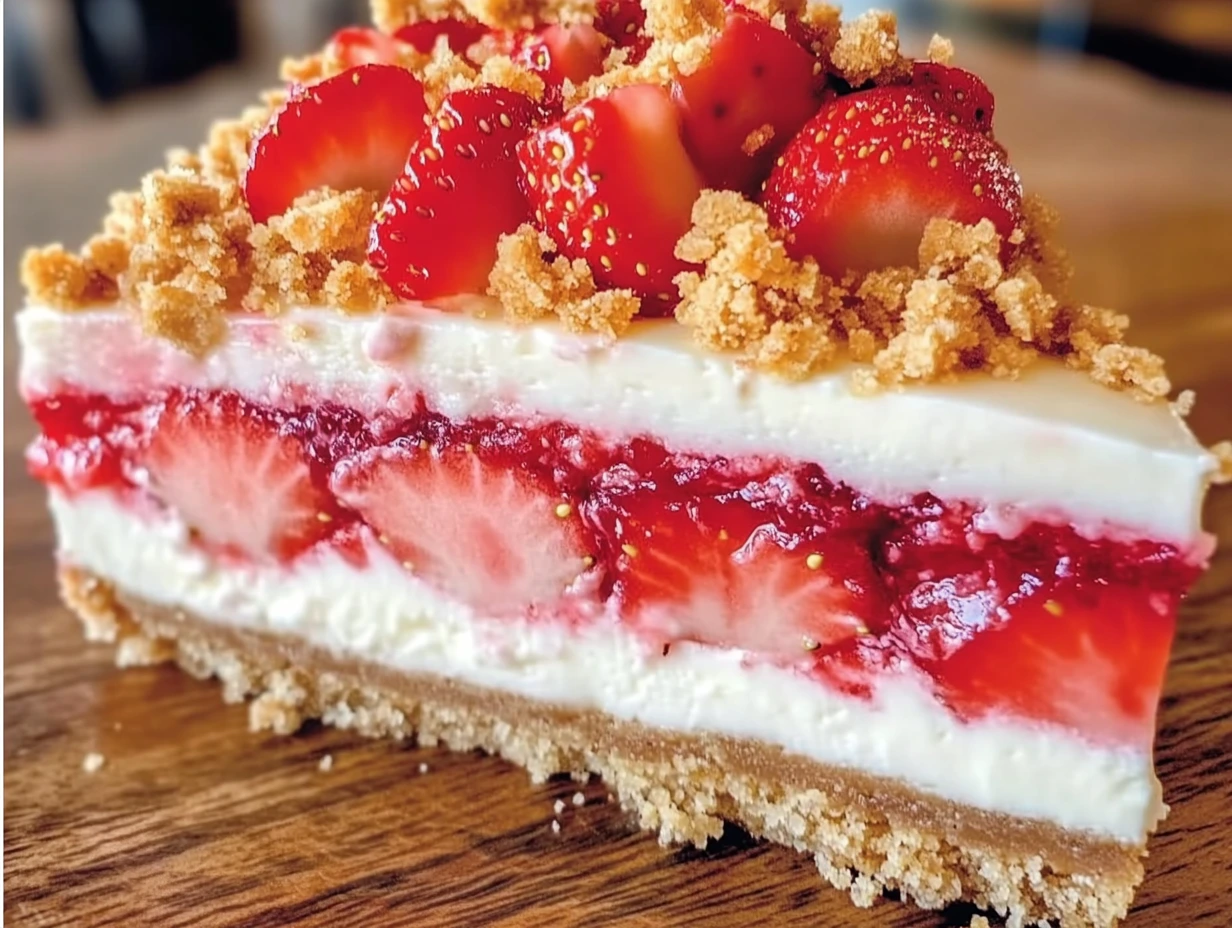
If you’re a fan of cheesecake and you love the burst of flavor from fresh strawberries, then you’re in for a treat! This Berrylicious Strawberry Crunch Cheesecake is a no-bake dessert that’s as delicious as it is beautiful. With a creamy cheesecake filling, a sweet and crunchy strawberry topping, and a decadent strawberry crunch layer, this dessert has something for everyone. Whether you’re planning a summer picnic, a birthday party, or simply want to impress your family with a homemade dessert, this cheesecake will do the trick.
When I first made this cheesecake, I was looking for something light but satisfying, and I knew I wanted it to have that signature strawberry flavor. I had the idea of combining the smooth creaminess of cheesecake with a little crunch, and of course, some fresh strawberries for that burst of color and freshness. I have to say, it turned out better than I ever imagined! The best part? It’s completely no-bake, making it easy to prepare, and the layers just come together perfectly. You’ll love every bite of this treat!
Let’s dive into how to make this Berrylicious Strawberry Crunch Cheesecake. I promise, it’s so easy and fun to put together, and it’s a showstopper when you serve it to your friends and family.
Ingredients You’ll Need:
For the Crust:
-
2 cups crushed graham crackers (or vanilla wafer cookies for extra flavor!)
-
½ cup melted butter
For the Cheesecake Filling:
-
2 cups whipped cream (homemade or store-bought like Cool Whip)
-
1 cup cream cheese, softened
-
½ cup powdered sugar
-
1 tsp vanilla extract
For the Strawberry Crunch Topping:
-
1 cup crushed Golden Oreos (or vanilla wafers)
-
½ cup freeze-dried strawberries, crushed
-
3 tbsp melted butter
For the Strawberry Topping:
-
1 cup fresh strawberries, diced (or strawberry pie filling for a shortcut!)
-
¼ cup granulated sugar
-
½ tsp lemon juice
Now that we have our ingredients, let’s jump into the steps. Don’t worry, I’ve broken everything down to be as simple as possible. You’ll be amazed at how quickly you can put this together!
Step 1: Prepare the Crust
Start by preparing the crust, which is the base of your cheesecake. In a medium bowl, combine the crushed graham crackers (or vanilla wafer cookies) with the melted butter. Mix until everything is well coated and it starts to resemble wet sand. I love using vanilla wafers for a bit of extra flavor, but graham crackers work perfectly too.
Next, press the mixture firmly into the bottom of a 9-inch springform pan or pie dish. You want to make sure it’s packed tightly, so your crust holds together well when you cut into it. Once that’s done, place the crust in the refrigerator for at least 15 minutes to firm up. This helps it set so it doesn’t crumble when you’re serving it later.
Step 2: Make the Cheesecake Filling
While the crust is setting in the fridge, it’s time to make the cheesecake filling. In a large bowl, beat the softened cream cheese with an electric mixer until it’s nice and smooth. You want it to be fluffy and free of lumps, so take your time with this step.
Once the cream cheese is smooth, add the powdered sugar and vanilla extract to the bowl. Mix everything together until well combined. This is where the flavor really starts to come together, and the vanilla adds such a lovely sweetness to the cream cheese.
Now, gently fold in the whipped cream using a spatula. I love using Cool Whip for ease, but you can absolutely use homemade whipped cream if you’re feeling extra. Just make sure you fold it in gently so the whipped cream stays light and airy. The result will be a super creamy, fluffy filling that pairs perfectly with the crunchy crust.
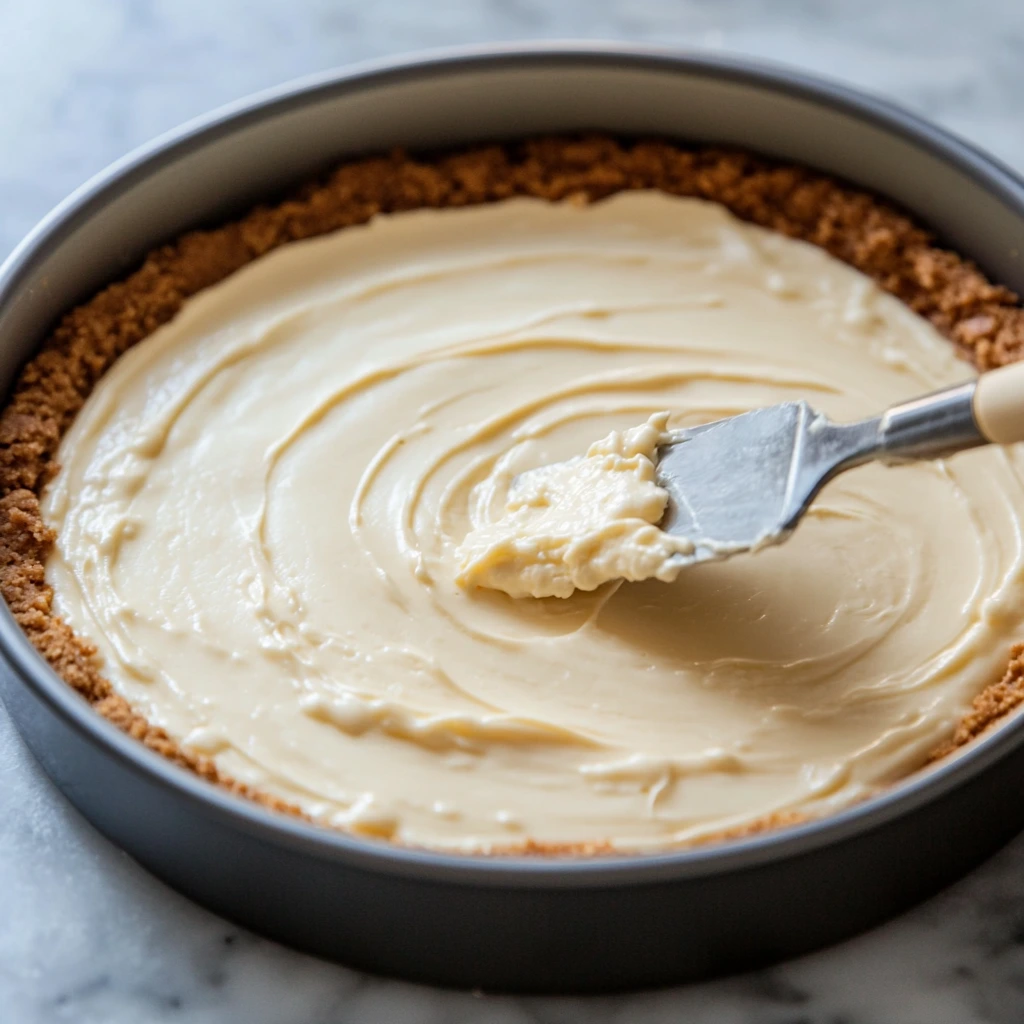
Step 3: Assemble the Cheesecake
With the crust set and the cheesecake filling ready, it’s time to assemble everything! Take the cheesecake filling and spread it evenly over the chilled crust. Use a spatula to smooth the top so it looks nice and even. Once the filling is spread out, place the cheesecake in the fridge for at least 2 hours to let it set. If you have the time, letting it chill overnight will give it the best texture.
This step is one of the most satisfying moments of the process—watching everything come together and knowing that you’re so close to having a delicious cheesecake!
The Finishing Touches – Strawberry Crunch Topping and Decoration
Now that the cheesecake has had some time to chill and firm up, it’s time to add those layers of strawberry goodness and crunch! This part is where all the magic happens, and it’s what truly takes this Berrylicious Strawberry Crunch Cheesecake to the next level. We’re going to create a delightful strawberry crunch topping and add a fresh strawberry topping for that extra burst of flavor. Trust me, this is the step that will make everyone go “wow!”
Let’s dive into how to finish assembling this masterpiece.
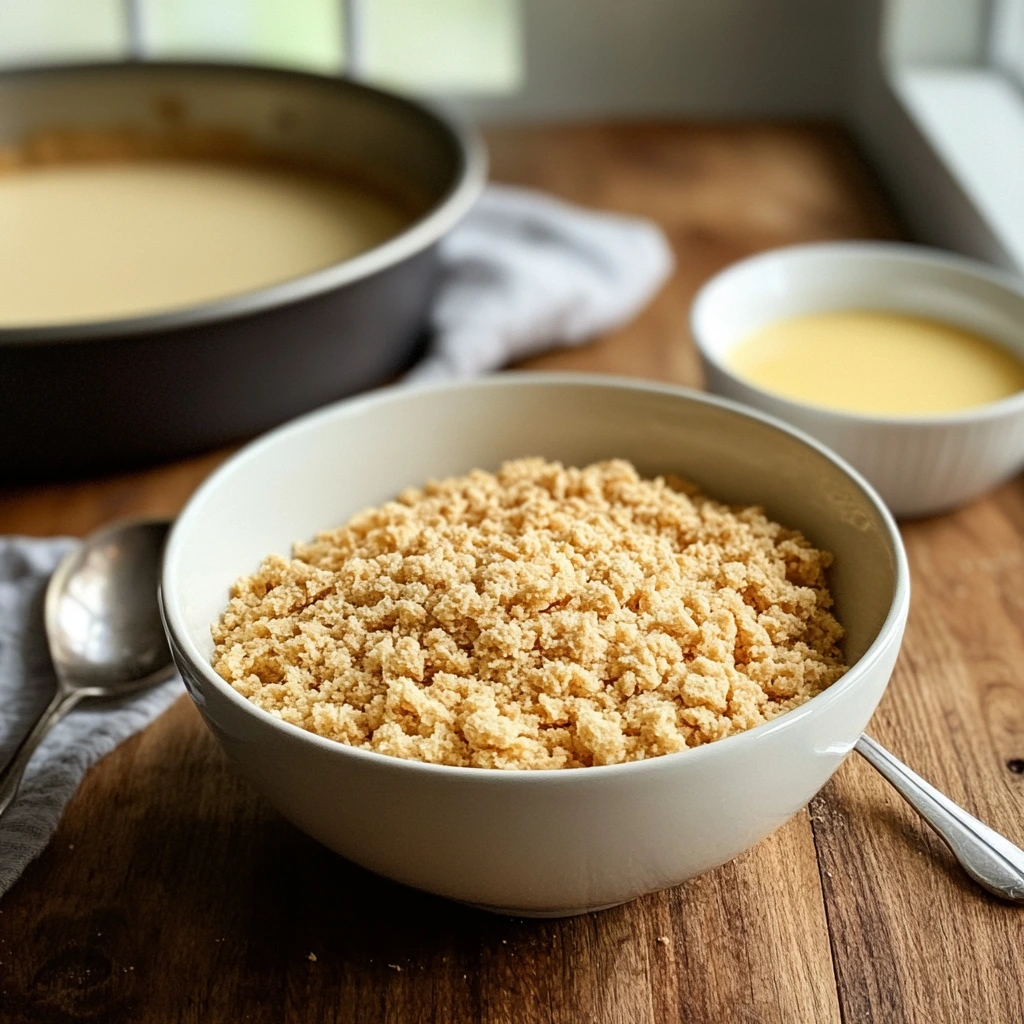
Step 4: Prepare the Strawberry Crunch Topping
The strawberry crunch topping is what gives this cheesecake its irresistible texture. It’s sweet, crunchy, and full of strawberry flavor, making it the perfect complement to the creamy cheesecake filling. To start, combine the crushed Golden Oreos (or vanilla wafers) and freeze-dried strawberries in a small bowl. The freeze-dried strawberries are key here—they add an intense strawberry flavor without making the topping too wet or soggy. They’re also super fun to work with!
Once you’ve got the cookies and strawberries combined, drizzle in the melted butter. Mix everything together until all the crumbs are coated with butter. The mixture should hold together a little bit when pressed, which means it’s ready to sprinkle over the cheesecake.
Set the strawberry crunch topping aside for now; we’ll add it on top of the cheesecake in just a moment. You can even store it in the fridge to keep it chilled while you finish the rest of the dessert.
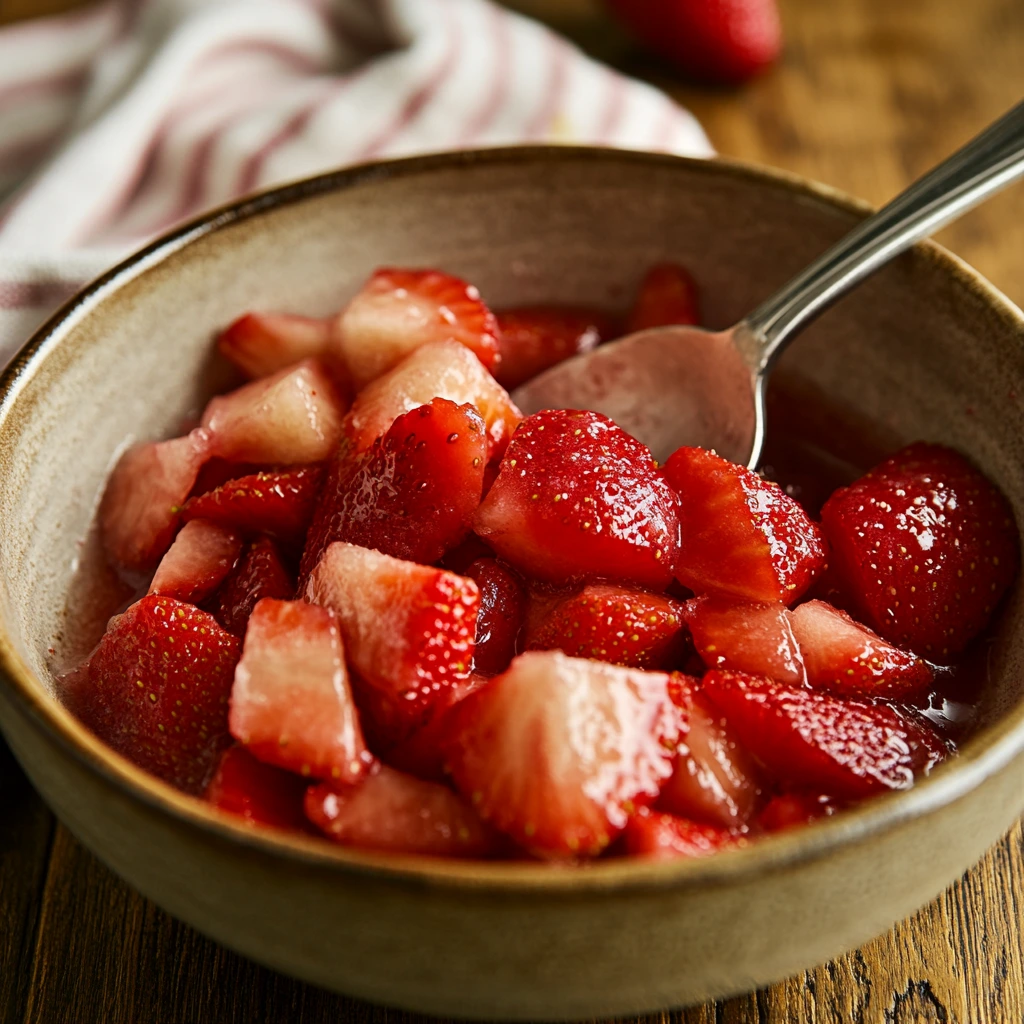
Step 5: Prepare the Strawberry Topping (Optional but Highly Recommended!)
This next step is where you get that juicy, fresh strawberry flavor that perfectly balances out the richness of the cheesecake filling. If you want to go all out and make your cheesecake extra special, I highly recommend adding the fresh strawberry topping. It’s so simple, yet it adds so much freshness!
In a small bowl, combine the diced fresh strawberries with the granulated sugar and lemon juice. Stir the mixture gently, making sure the strawberries are coated with the sugar and lemon juice. Let the strawberries sit for about 10–15 minutes. During this time, they’ll release their natural juices and form a syrupy consistency. This strawberry syrup is a game-changer, making every bite of cheesecake even more delicious.
If you’re short on time or want to skip this step, you can always use store-bought strawberry pie filling as a shortcut. It’s still a tasty option, but the homemade strawberry topping really brings something extra to the table.
Step 6: Decorate and Serve!
This is the moment you’ve been waiting for—time to finish assembling and serve your beautiful cheesecake! Carefully remove the cheesecake from the fridge, and sprinkle the strawberry crunch topping evenly over the top. Don’t be shy here! Make sure to cover the cheesecake with that deliciously crunchy, buttery topping so each slice gets some of that perfect crunch.
Next, take the fresh strawberry topping you prepared earlier (or the strawberry pie filling if you’re using that) and spoon it over the cheesecake. You can drizzle the syrupy strawberries all over the top for a beautiful presentation, or serve them on the side so everyone can add their own. I love serving them on the side, especially when I’m entertaining, because it gives people the option to add as much or as little as they want.
Once everything is assembled, it’s time to slice into this beauty! Serve it cold, straight from the fridge, and watch everyone’s eyes light up when they see the layers of creamy cheesecake, crunchy topping, and juicy strawberries.
Frequently Asked Questions and Conclusion
Now that you’ve made your own Berrylicious Strawberry Crunch Cheesecake, let’s take a moment to answer some frequently asked questions. This way, you can troubleshoot any concerns you may have and ensure your cheesecake turns out perfect every time. After that, we’ll wrap things up and talk about how to store and enjoy your delicious creation!
FAQ Section
1. Can I use a different type of cookie for the crust?
Absolutely! While graham crackers are the traditional choice for cheesecake crusts, you can definitely use vanilla wafer cookies or even chocolate cookies for a different flavor profile. I personally love using vanilla wafers because they give the crust an extra burst of flavor. Just keep in mind that using chocolate cookies will change the overall taste, but in a good way!
2. Can I make the cheesecake filling without whipped cream?
Yes! If you want a richer, denser filling, you can skip the whipped cream and just use cream cheese with powdered sugar and vanilla extract. Some people like to use heavy cream or mascarpone cheese for a thicker, more decadent filling. Just be sure to adjust the texture to your preference!
3. What if I can’t find freeze-dried strawberries?
No worries! If freeze-dried strawberries are hard to find, you can substitute them with other freeze-dried fruits like raspberries or blueberries. If you can’t find any freeze-dried fruit, you can skip this ingredient altogether or use finely crushed regular cookies (like Golden Oreos) for the crunch. While it won’t be the exact same, it will still be delicious.
4. How far in advance can I make this cheesecake?
You can make this cheesecake up to 1-2 days in advance, and it will still taste great. I recommend letting it chill in the fridge overnight for the best results. If you need to make it even further ahead of time, you can also freeze it for up to a month. Just wrap it tightly, and when you’re ready to serve, let it thaw in the fridge for a few hours before decorating.
5. Can I use store-bought whipped cream instead of making my own?
Yes! Using store-bought whipped cream like Cool Whip makes this dessert even easier to prepare, and it’s a great shortcut. Just be sure to fold it in gently when making the cheesecake filling so it stays nice and fluffy.
6. Can I substitute fresh strawberries with strawberry pie filling?
While fresh strawberries provide a natural, sweet burst of flavor, strawberry pie filling is an excellent shortcut if you’re pressed for time. It’s sweet, gooey, and adds a nice layer of flavor to your cheesecake. You can either mix it into the cheesecake filling or use it as a topping, depending on your preference.
7. How do I store leftovers?
If you happen to have any cheesecake left over (which is rare because it’s so delicious!), you can store it in an airtight container in the refrigerator for up to 2-3 days. If you’d like to keep it for a longer period of time, you can freeze individual slices for up to a month. Just make sure to wrap them tightly before freezing, and thaw them in the fridge before enjoying.
Conclusion
There you have it! You’ve created a Berrylicious Strawberry Crunch Cheesecake that’s full of creamy goodness, a crunchy topping, and juicy strawberries—perfect for any occasion. From picnics to parties, this no-bake cheesecake is bound to be a hit with everyone who tries it.
I hope this recipe inspires you to get into the kitchen and create something sweet and memorable. It’s a fun, easy dessert that delivers big on flavor and presentation. Whether you stick to the classic recipe or make a few tweaks of your own, this cheesecake will never disappoint.
Feel free to share your experience in the comments below. I’d love to hear how it turned out for you, or if you tried any fun variations! And as always, don’t forget to pass this recipe along to friends and family—you never know who might need a little cheesecake in their life. Enjoy every delicious bite, and happy baking!
PrintBerrylicious Strawberry Crunch Cheesecake
This Berrylicious Strawberry Crunch Cheesecake is a no-bake delight that combines creamy cheesecake, a crunchy strawberry topping, and a decadent strawberry crunch layer. It’s a beautiful dessert that’s perfect for any occasion—whether it’s a summer picnic, a birthday party, or just a sweet treat to enjoy at home. The layers of flavor and texture come together in every bite, offering a delightful contrast of creamy, crunchy, and fruity goodness.
- Author: Mark's Recipe
Ingredients
For the Crust:
2 cups crushed graham crackers (or vanilla wafer cookies for extra flavor!)
½ cup melted butter
For the Cheesecake Filling:
2 cups whipped cream (homemade or store-bought like Cool Whip)
1 cup cream cheese, softened
½ cup powdered sugar
1 tsp vanilla extract
For the Strawberry Crunch Topping:
1 cup crushed Golden Oreos (or vanilla wafers)
½ cup freeze-dried strawberries, crushed
3 tbsp melted butter
For the Strawberry Topping:
1 cup fresh strawberries, diced (or strawberry pie filling for a shortcut!)
¼ cup granulated sugar
½ tsp lemon juice
Instructions
Prepare the Crust
In a medium bowl, mix the crushed graham crackers (or vanilla wafer cookies) with the melted butter until the mixture resembles wet sand. Press the crust mixture firmly into the bottom of a 9-inch springform pan or pie dish. Place in the refrigerator to set for at least 15 minutes while preparing the filling.
Make the Cheesecake Filling
In a large bowl, beat the softened cream cheese with an electric mixer until smooth and fluffy. Add the powdered sugar and vanilla extract, mixing until well combined. Gently fold in the whipped cream using a spatula until fully incorporated.
Assemble the Cheesecake
Spread the cheesecake filling evenly over the chilled crust, smoothing the top with a spatula. Refrigerate for at least 2 hours, or until set. (For best results, chill overnight!)
Prepare the Strawberry Crunch Topping
In a small bowl, mix together the crushed Golden Oreos and freeze-dried strawberries. Drizzle in the melted butter and toss to coat evenly. Set aside until ready to use.
Prepare the Strawberry Topping (Optional but highly recommended!)
In a bowl, combine diced fresh strawberries, granulated sugar, and lemon juice. Let sit for 10–15 minutes, allowing the strawberries to release their natural juices and form a syrupy mixture.
Decorate and Serve!
Remove the cheesecake from the fridge and sprinkle the strawberry crunch topping evenly over the top. Spoon the strawberry topping over the cheesecake, or serve it on the side for extra freshness. Slice and serve cold!
Notes
-
For an even richer cheesecake filling, feel free to use mascarpone cheese or a combination of cream cheese and heavy cream for added creaminess.
-
Freeze-dried strawberries are key to the strawberry crunch topping as they add a punch of concentrated strawberry flavor without excess moisture.
-
If you prefer a shortcut, you can use pre-made strawberry pie filling, which adds an extra layer of sweetness to the topping.
-
This cheesecake is best enjoyed within 2-3 days, but it can also be frozen for up to a month. Simply wrap it tightly and allow it to thaw in the refrigerator before serving.

")
